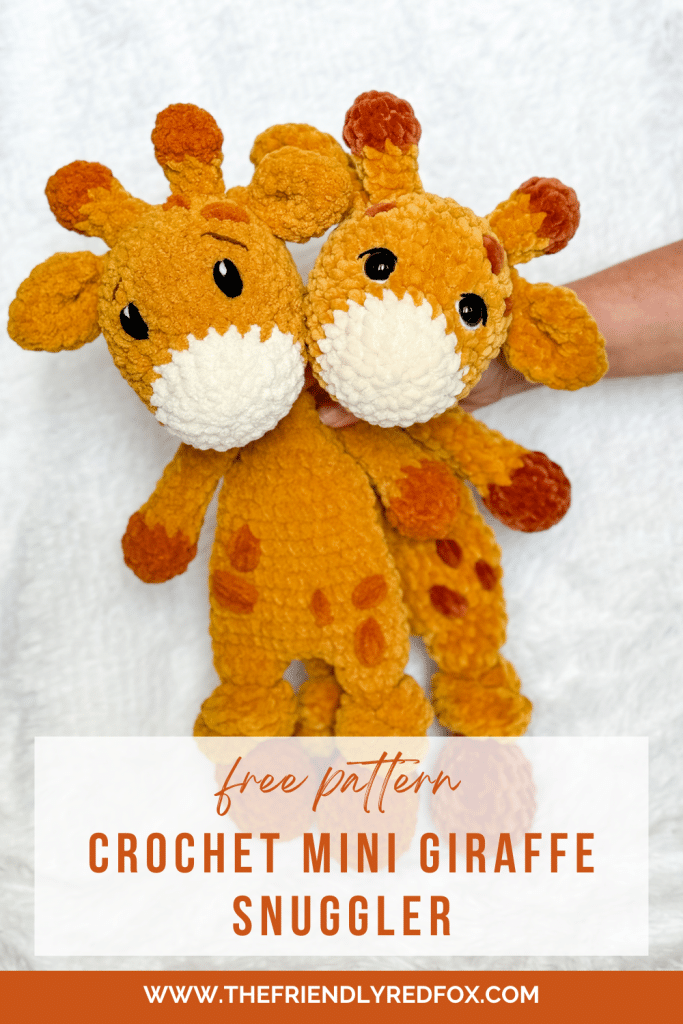
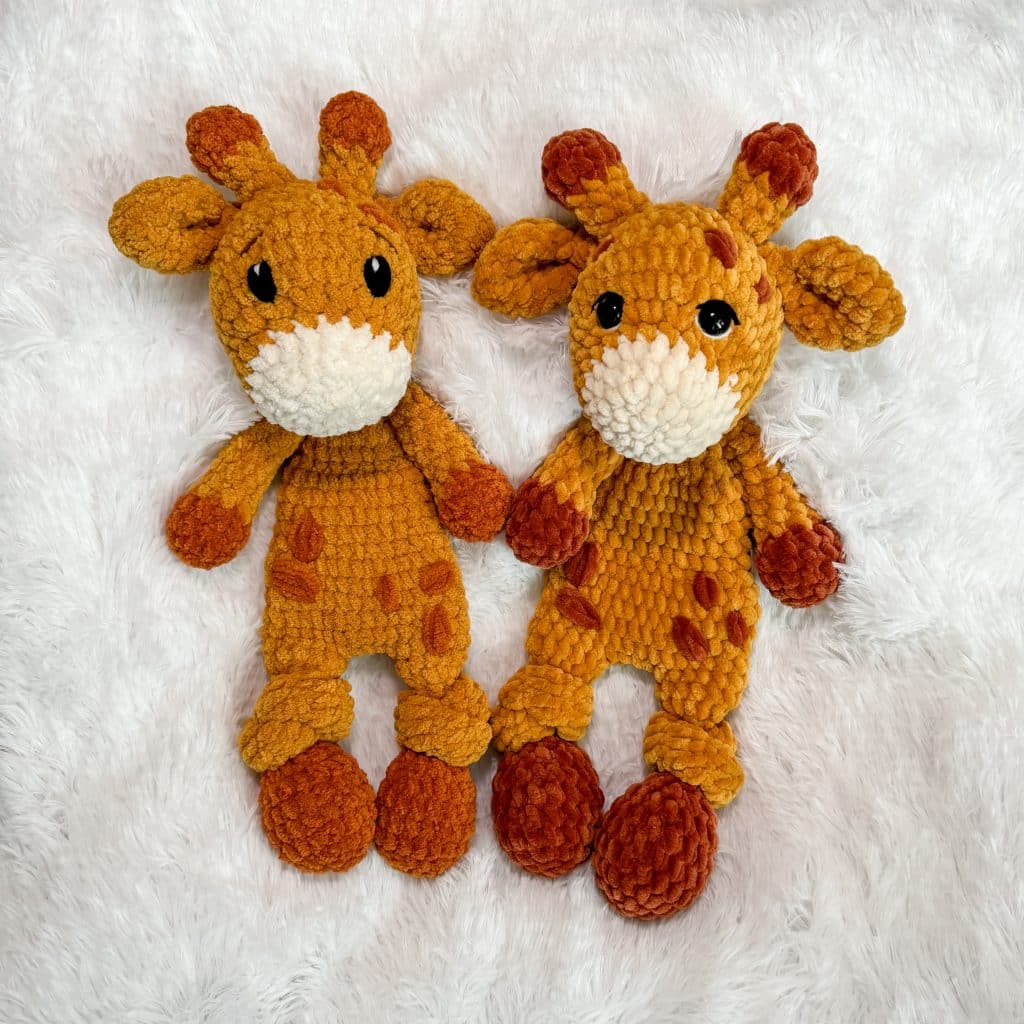
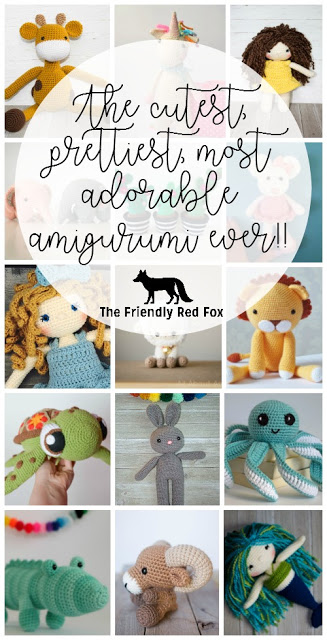
Free Crochet Snuggler Pattern-Mini Giraffe
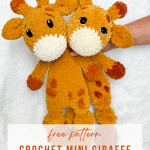
This Free Crochet Snuggler pattern creates a sweet giraffe. The giraffe is such a timeless animal for any nursery! A crochet snuggler pattern is a half stuffy, half blanket- the best of both worlds!
Crochet Snuggler Pattern
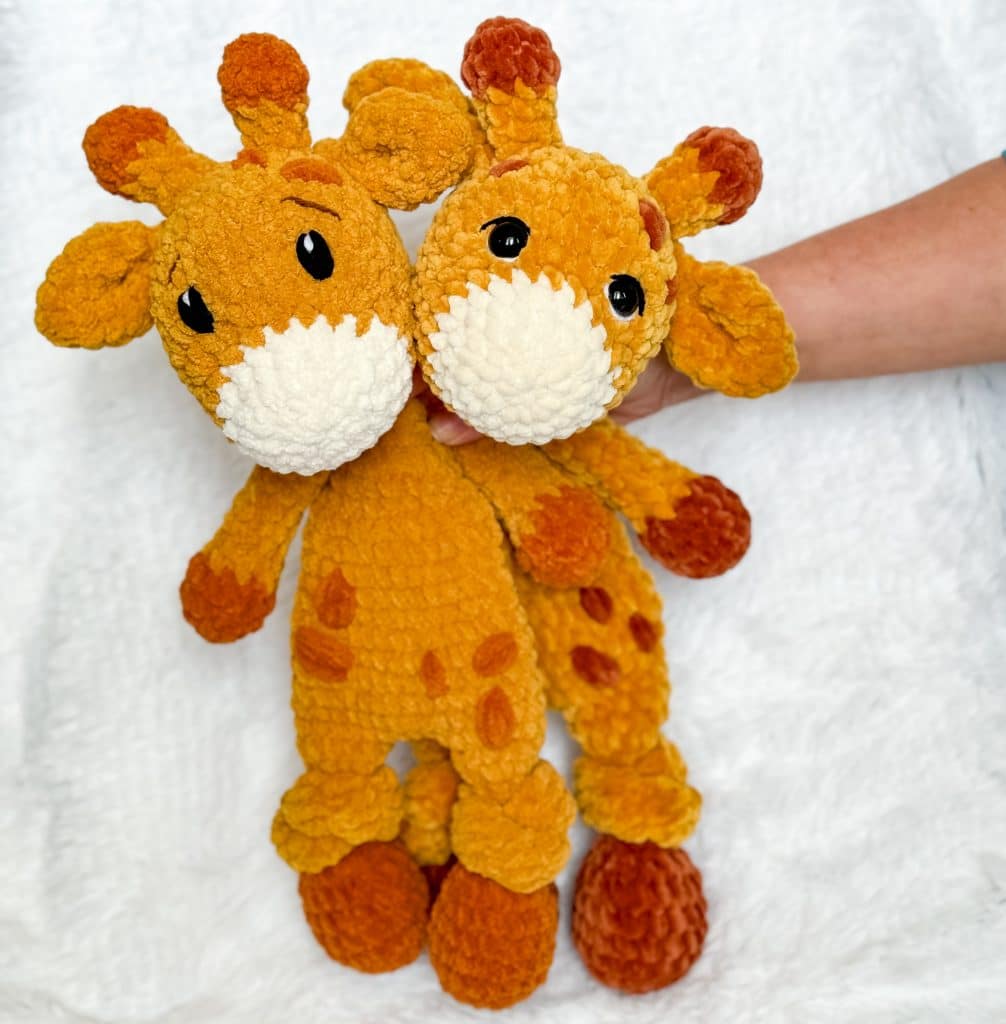
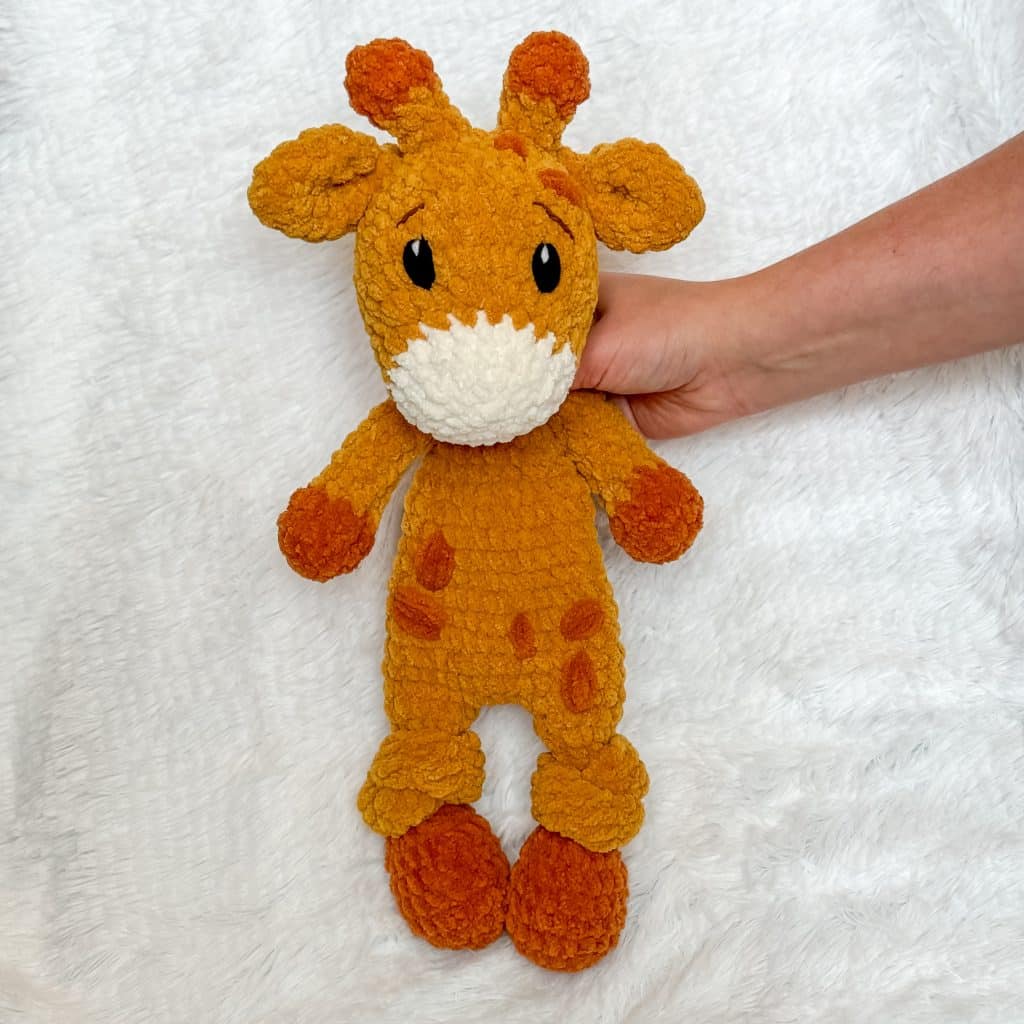
Everyone loves a friendly giraffe. I have a huge love for all type of stuffed animals, but I have an extra soft spot for the giraffe, right behind the classic teddy bear . This free crochet snuggler pattern makes a smaller version of the orignal size snuggler that some of my other patterns come in. If you have been around for a while, you know I love the snuggler– half blanket, half stuffed animal. The hands, feet and head are stuffed, but you leave the body flat, more like a blanket or lovey.
I made this crochet snuggler pattern with two different types of yarn- Michael’s Loops and Threads Home Chenille Slim and Premier Basix Chenille. If you are making this for a very young child, I prefer the Premier, because it sheds much, much less. Once you get rid of the inital shed with the Loops and Threads one, however, I don’t feel like it sheds all the time, so don’t let that keep you from trying it out!
I love the larger versions, but for very small hands (and for those that are short on time!) I think this free crochet snuggler pattern is perfect. You don’t sacrifice the cuddly factor, but it is a more manageable size. This design comes in around 12 inches, instead of 16.
JOIN MY NEWSLETTER TO RECEIVE…
A free email course-Amigurumi 101
This free amigurumi email course gives you what you need to master the basics of amigurumi, along with some extra tips and tricks!
Wouldn’t this be such a dream to cuddle up with? If you want something just as lovable, you can make the puppy snuggler!
Want the Ad-free, Printable PDF?
You can find it in one of my stores!
Materials you’ll need
To get started making this free crochet snuggler pattern, you’ll want to gather all your materials first.
There is a whole section where you can find tutorial videos for different parts of this pattern. Most are linked in the section they are specific to, but if you want to view them before you begin you can see the collection here.
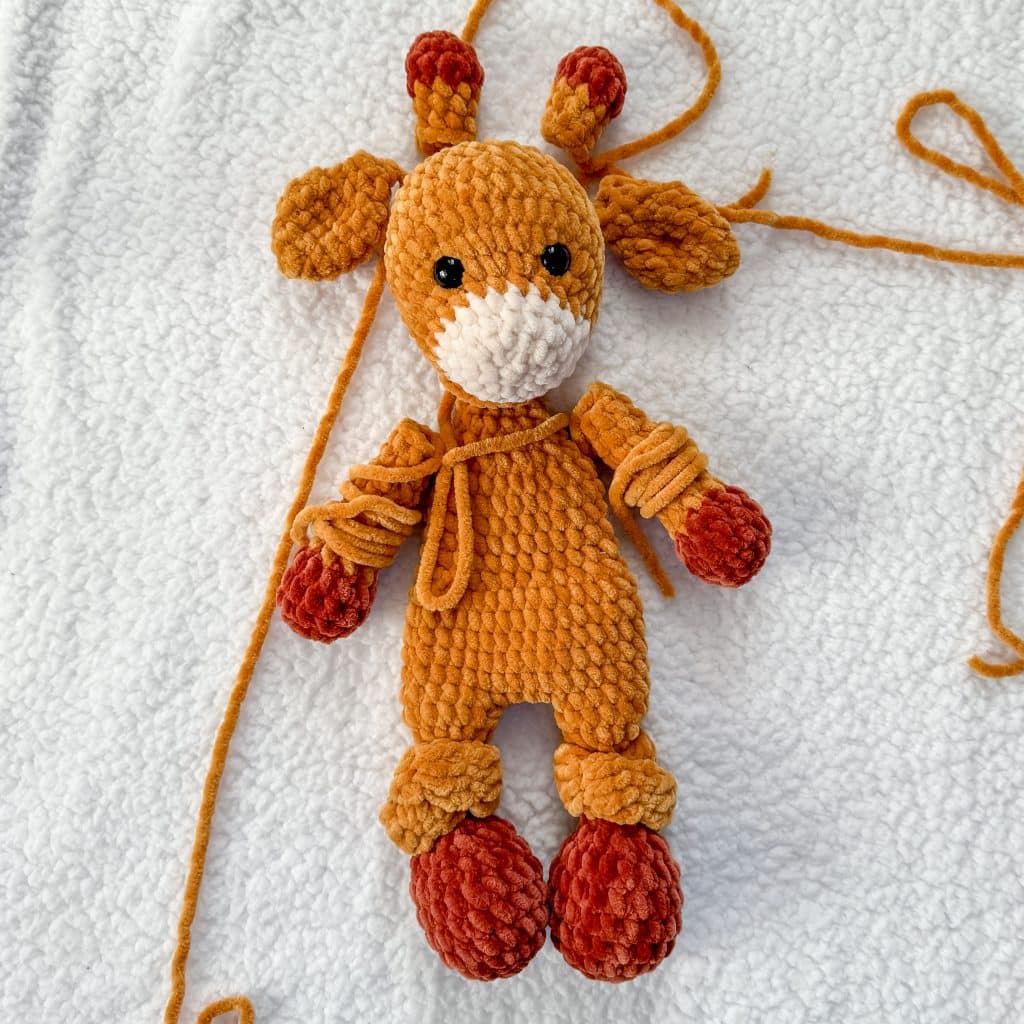
Notes: This snuggler pattern is made from the feet up. You will make two feet, fastening off one and then attaching them together from the second one. The body will decrease and then increase into a flat disc. This is what you will use to sew on the head. Because of the nature of this pattern, the head will still “flop” but that is what I expect of the lovey/blanket form.
The arms are attached with a long needle. You can find the video for that here.
I embroidered the eyes so it would be safe for a baby/toddler. You can find my collection of embroidery videos here.
Substitute yarns could be Bernat Blanket yarn or another plush yarn of similar weight and texture. You may need to change the hook size if you change the yarn.
Free Crochet Snuggler Pattern
Beginning with the feet and using the rust color:
Round 1: In a magic circle, SC 6.
Round 2: SC INC in each around. (12)
Round 3: SC in the first, SC INC in the next. Repeat around. (18)
Rounds 4-7: SC in each around. (18)
Round 8: SC in the first, INV DEC in the next. Repeat around. (12)
Round 9: INV DEC in each around. (6)
Change to mustard color.
Stuff the foot part, but not the next chain rows.
From here on, you will be chaining 2, DC in the same stitch and crochet around. Then attach to the first stitch with a slip stitch. This creates the part of the leg that you will knot. You can knot before you attach the legs or afterwards. The foot may be “squished” a bit as you tie, but there should be enough length. I created a video to show the next part of the leg, and you can see that here.
Rounds 10-18: DC in each around. (6)
Round 19: SC INC in each around. Attach to the first stitch with a slip stitch and chain 1 (12)
Round 20: SC in each around. (12)
Fasten off the first foot. On the second foot, chain 4 and slip stitch to the first leg where you fastened off.
Click here for a video and photo tutorial of this next part! (note that the numbers are different for this mini version, but the method is the same)
Round 21: Chain 1 and SC in each stitch around on the leg (12). SC in each chain across. (4) SC in each stitch around the second leg. (12) SC on the other side of the chain. (4) Attach to the first SC with a slip stitch. (a total of 32)
Rounds 22-26: SC in each around. (32)
Round 27: SC in the first two. INV DEC in the next. Repeat around. (24)
Rounds 28-32: SC in each around. (24)
Round 33: SC in the first two. INV DEC in the next. Repeat around. (18)
Round 34: SC in each around. (18)
Round 35: SC in the first. INV DEC in the next. Repeat around. (12)
Round 36: INV DEC in each around. (6)
From here we are increasing the base we will sew on to the head.
Round 37: SC INC in each around. (12)
Round 38: SC in the first stitch, SC INC in the next. Repeat around. (18)
Fasten off and leave a long tail to sew on.
Crochet Snuggler Giraffe Head and Ears
Head
Beginning with Winter White:
Round 1: In a magic circle, SC 6.
Round 2: SC INC in each around. (12)
Round 3: SC in the first, SC INC in the next. Repeat around. (18)
Rounds 4: SC in each around. (18)
Round 5: SC in the first 2, SC INC in the next. Repeat around. (24)
Change to mustard color.
Round 6: SC in each around. (24)
Round 7: SC INC in the next 6 stitches. SC in the remaining 18. (30)
Round 8: SC in the first, SC INC in the next. Repeat for a total of 6 times. SC in the remaining 18. (36)
Rounds 9-11: SC in each around. (36)
Insert safety eyes between rounds 7 and 8 or see below for embroidery instructions.
Round 12: SC in the first 4, INV DEC in the next. Repeat around. (30)
Round 13: SC in each around. (30)
Start stuffing here.
Round 14: SC in the first 3, INV DEC in the next. Repeat around. (24)
Round 15: SC in the first 2, INV DEC in the next. Repeat around. (18)
Round 16: SC in the first, INV DEC in the next. Repeat around. (12)
Round 17: INV DEC in each around. (6)
Sew the remaining hole closed.
Ears (make 2)
Round 1: In a magic circle, SC 6.
Round 2: SC INC in each around. (12)
Round 3: SC in each around. (12)
Round 4: SC in the first, SC INC in the next. Repeat around. (18)
Round 5: SC in each around. (18)
Round 6: SC in the first, INV DEC in the next. Repeat around. (12)
Round 7: INV DEC in each around. (6)
Round 8: SC in each around. (6)
Fasten off and leave a long tail to sew onto the head. Flatten and attach the ears around row 11, outside of where the eyes are (or will be if you are embroidering) about 10-11 stitches apart.
Horns (make 2)
With rust color:
Round 1: In a magic circle, SC 6.
Round 2: SC INC in each around. (12)
Round 3: SC in each around. (12)
Change to mustard color.
Round 4:SC in the first, INV DEC in the next. Repeat around. (9)
Rounds 5-6: SC in each around. (9)
Fasten off and leave a long tail to attach to the head. Sew them just inside of each ear.
Eyes
I use bulky black yarn and sew two eyes. Two stitches tall and four stitches apart, centered above the nose. Here is a video of me doing it!
I also experimented with the eye embroidery with size 4 yarn. If you want to see the video and picture tutorials for those, you can find the collection here.
Arms
NOTE: I highly suggest you visit this post before attaching the arms and the legs. This is my favorite method by far to attach limbs, and is worth watching the video and seeing the tutorial pictures!
Stuff the hand and the bottom half of the arm as you go.
With the Rust Color:
Round 1: In a magic circle, SC 6.
Round 2: SC INC in each around. (12)
Rounds 3-5: SC in each around. (12)
Change to Mustard color.
Round 6: SC in the first, INV DEC in the next. Repeat around. (8)
Rounds 7-12: SC in each around. (8)
Fasten off and leave an extra long tail. Sew the opening closed.
Attach the arms with the long needle method outlined in the attached PDF on rows 36 and 37, just below the head.
Embroidered Patches
Use the contrast yarn and treat each patch like the embroidered eyes.
1. Insert your needle through the side and out on the top layer where you want to begin the spot.
2. Cover three-four stitches in differing directions.
3. Always go through the same entrance and exit hole, guiding the yarn to lay flat as you pull it tight.
4. Don’t pull it too tight or it will stretch the stitches.
5. Make sure you aren’t going through both layers of the body.
6. When you are done, guide the needle out to the first insertion point and make sure you come out through the same hole. Tie a knot then use your needle to go back down through that hole and exit somewhere farther away. Trim the end so that it stays in the body.
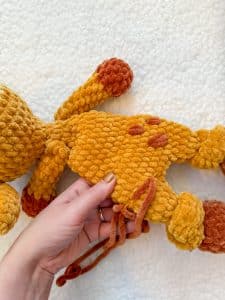
Attaching the Snuggler Crochet Head to the Body
Once you are ready to attach the head to the body, pin the flat disc that is at the top of the body where you want it on the head. Try to center it as best you can. I prefer mine to be slightly close to the nose so that the head flops forward more than backwards.
As you sew, go through both loops on the SC at the top of the disc. Pull tightly each time. Try to pull the disc out as you go, so that it lies as flat to the head as you can.
If you want to watch the video tutorial, you can find it here!
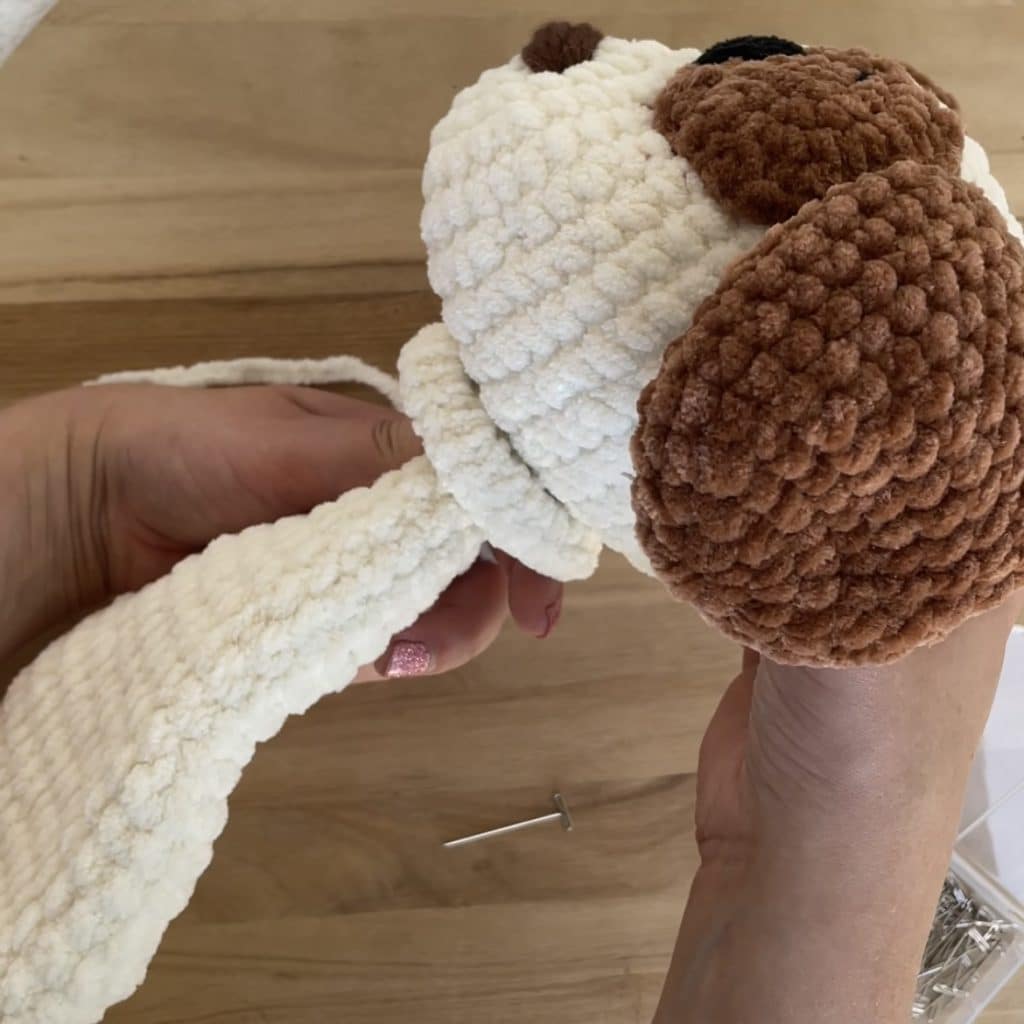
Note: These are pictures from the Snuggler Puppy Pattern, but the principle is the same!


Did you make this pattern?
Mention me @thefriendlyredfox so I can see your creations! You can also leave a comment below!
Thank You, Kali!
Your little snugglers are Absolutely Adorable!
Thank You for sharing You Incredible Crochet Inspiration and Experience!
Kind Regards from Texas!
Merry Christmas to You and Your Family!
Hermoso y muy didactica la explicación….. Saludos desde Chile….
What does INC and INV mean?
INC means increase (stitch 2 into the same stitch so that your count increases!)
INV means invisible (it’s a decrease that makes it look like just one stitch! Put your hook through the FRONT LOOP ONLY of the two stitches you are bringing together. Pull yarn through. You will have two loops on your hook. Pull yarn through both loops to finish the stitch.)
I am in the process of making my first lovey with this pattern. Curious about stuffing. I stuffed the feet as the directions said and wondered if you add any stuffing to the body and suggestions for the head and other body parts
Yes – the head and hands are stuffed, but the rest of the body and the arms are unstuffed! The stuffing instructions are throughout the pattern.
I love this giraffe snuggler pattern!! It was easy to make, thanks to your directions. It came out so adorable I wish I kept it for myself. I showed it to my 85 year old neighbor and I didn’t think she was going to give it back! I need to make another for a baby shower but I don’t have enough yarn. I hope I can find what I need because I am anxious to make another. Thanks for sharing your pattern!!
Is it okay to sell finished product with credit to you as the designer?
Yes it is! Thank you for asking!
So cute. Appreciate that you create such lovely critters and write patterns that we can follow 💜