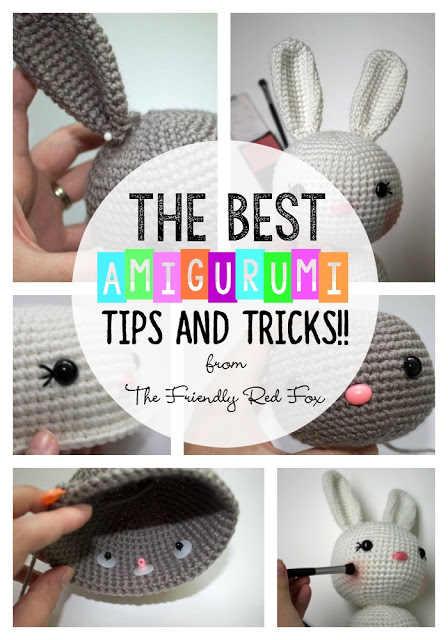
The Best Amigurumi Tips and Tricks!
I have fallen head over heels in love with amigurumi! I am entirely self taught when it comes to crochet (with help from youtube and blogs, of course!) and my first amigurumi projects turned out… interesting. Big gaps, floppy, misshapen heads… Not to mention that I didn’t know where to get half the stuff that the pattern called for. And I had a hard time tracking it down! It took a lot of Google and Pinterest, but I finally figured it out. I remember wishing that someone would just have it all in one place. Well my friends, that is what I am doing today! Some of these things seemed to be common knowledge in the crochet world so it is very basic but, I hope, helpful!
If you are new to amigurumi and want to know what tools and materials you need read THIS POST!
1. Use those stitch markers!!

2. Use the right hook!
These are my absolute favorite hooks! I hate using anything else.
3. Pick a way to crochet and stick with it!
Because there are usually a lot of parts to an amigurumi project, there are a lot of opportunities to get something wrong. Don’t be discouraged! It helps to be consistent with how tight you stitch, how your hold your yarn etc. This is true for every crochet project, but can be really noticeable with amigurumi! One of my first projects had a much larger arm, even though I triple checked and the pattern was correct. I just got better at it so my second arm was much more tight and even. It also helps to crochet everything that is a multiple (two legs, two arms, etc.) at the same time. They are more likely to be the same!
4. Stuff Wisely!
You will want to use polyfil to stuff your amigurumi. It is sold in a bag at most crafting stores… I usually get mine at Walmart. Stuff as you go, especially small parts like arms or legs. It will take more stuffing than you think! But go slowly with small bunches. If you try to cram too much in then it will get lumpy! But don’t understuff! As time goes on it will “deflate” a little, especially if it is played with! So I like to stuff until I have very little “give.” I generally use the stuffing stick that comes in the bag to tamp it down, but the end of a hook works too!
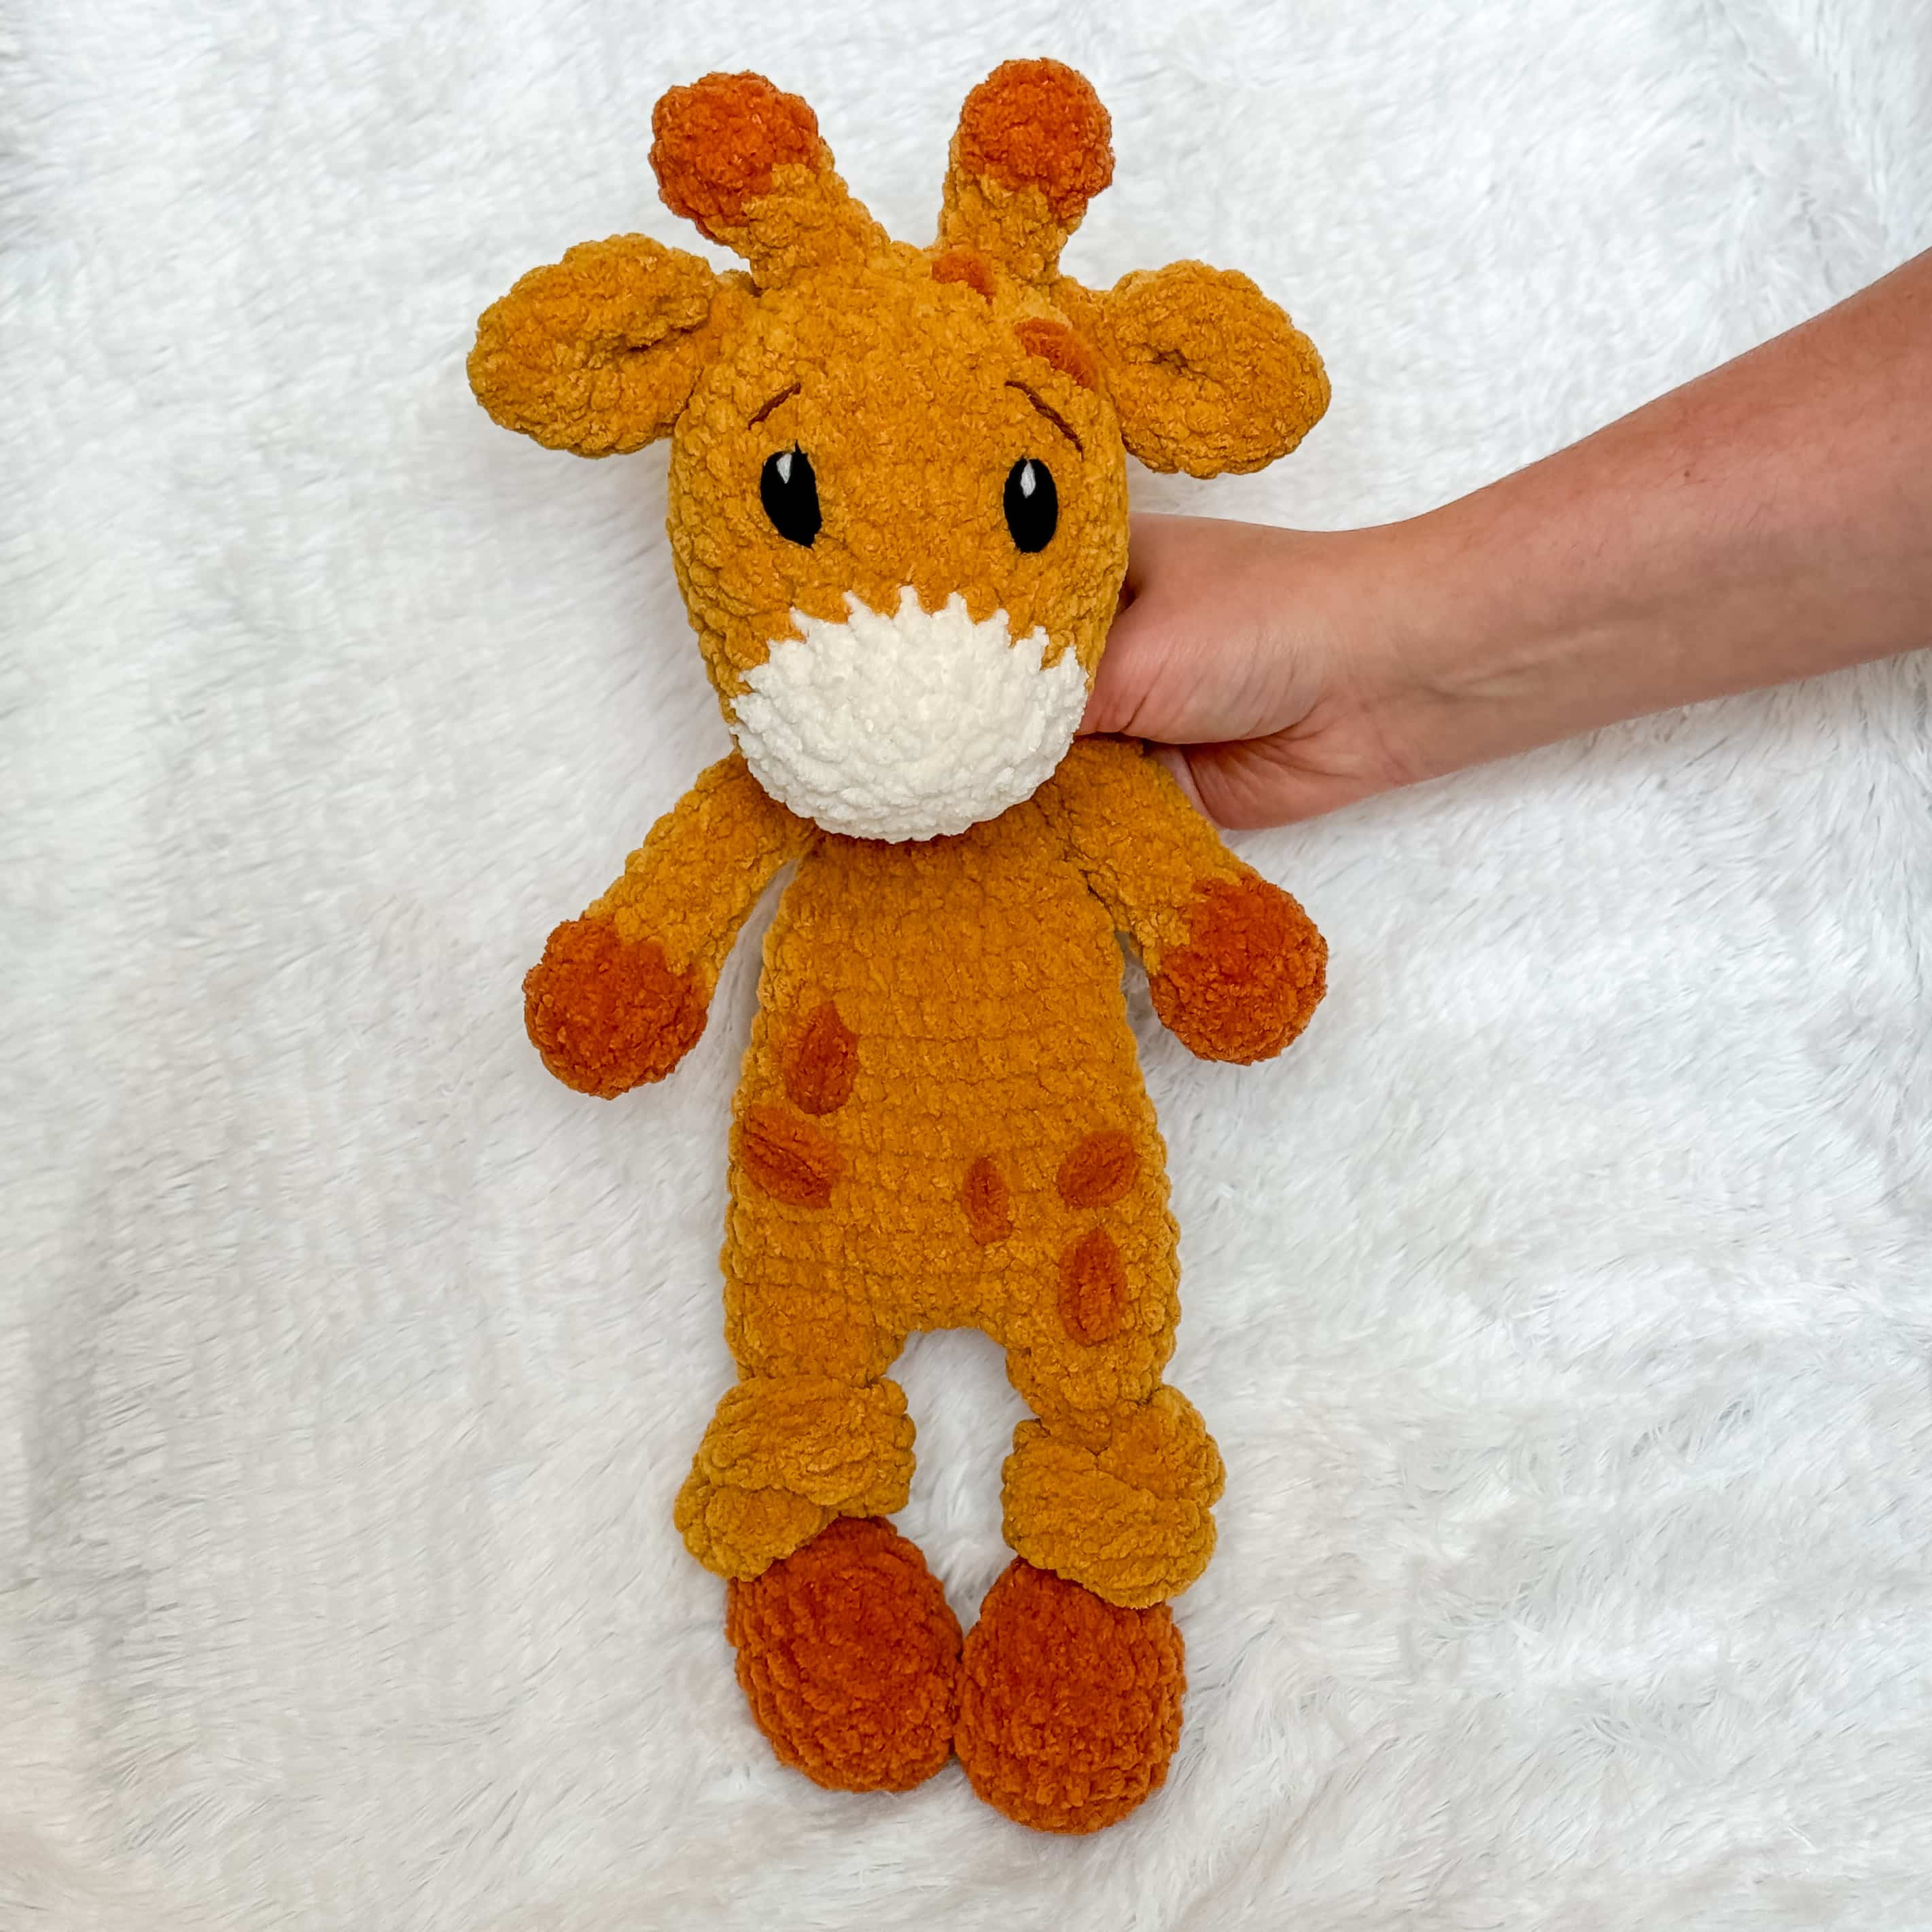
Things I stuff VERY well: heads, necks, body, and any round parts (like the feet on this giraffe.) or mermaid tails
Things I stuff VERY LIGHTLY: arms (sometimes I don’t even) and legs. This is because if you bunch it up they will show very uneven. If you want your amigurumi to stand you will want to stuff a lot more however. I stuff the legs pretty firm, but not as much as the head and body.
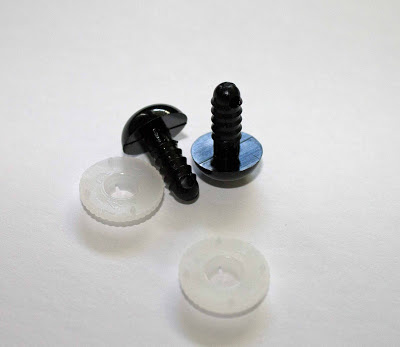
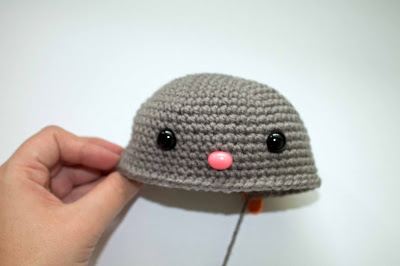
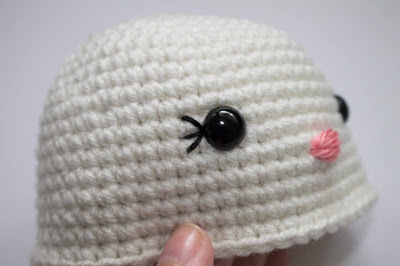
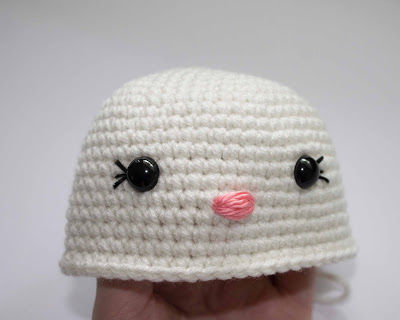
5. Use safety eyes!
This was one thing that I was very confused about. I had no idea where to find them! Turns out they are sold at most craft stores, although I find the best selection on Amazon and Etsy.
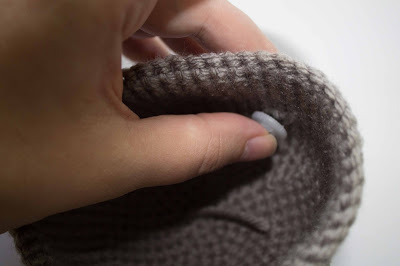
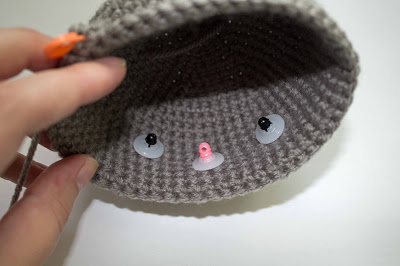
They come in different sizes and colors. The eye is attached to a screw like thing that you will poke through the stitches and then there is a washer that you will place on the back.

Sewing the parts together is my least favorite thing. I have picked up some tips and tricks that make it better however!
First, when you cut the yarn of the finished piece, leave a long tail. Use this to sew on to the other parts.
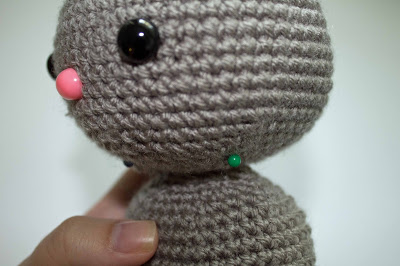
Second, use the lines of the piece. When you attach an arm, make sure it lies straight across the line of stitches! You don’t want to sew it all the way on and realize it is crooked! And use the same line for the other arm. Do a lot of counting and double checking before you sew. You will thank me later!
Third, use some kind of pin to keep it in place! I use normal sewing pins.
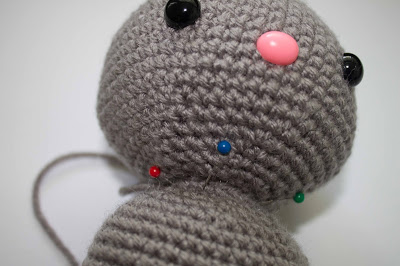
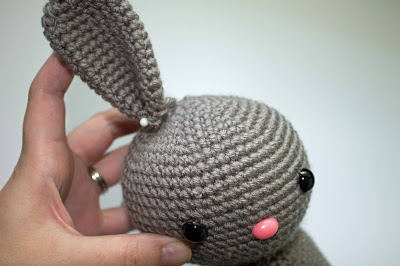
Then sew in every stitch around. I usually go around it twice (or more for big pieces like the head!). Take out the pins as you go. It also really helps to see the final product and move things around if you feel like before you have secured them.
7. How to add eyelashes
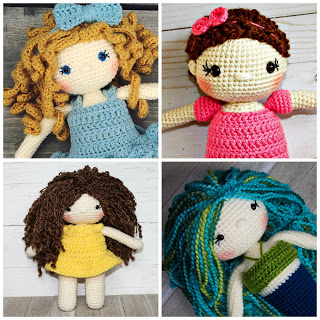
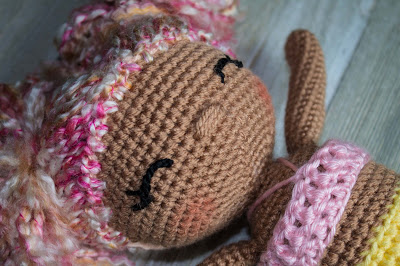
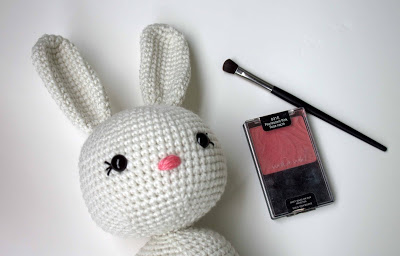
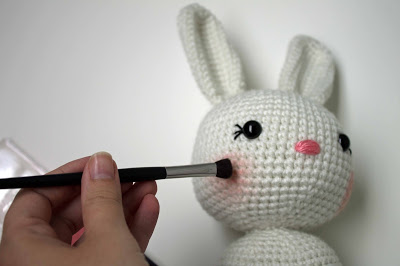
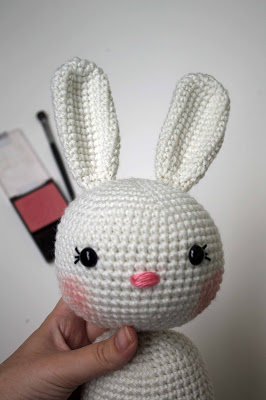
8. Adding Blush
9. Use an invisible decrease
There you go! Hopefully now your first attempts at amigurumi come off better than mine! And if you are looking for a great pattern try out my crochet octopus or teddy bear! Both are very beginner friendly!
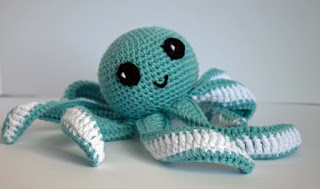


Your octopus is my first amigurumi ever!!! It turned out so cute! I am in love with it, and it was a big hit at the baby shower. I have learned a lot from you already 🙂
Oh I am so glad, you commented, made my day! He is such a fun little guy:)
Thank you for this post! Amigurumi is so cute, but I have not even attempted it, because of how much time and work goes into it. Because of this post, I feel less anxious about trying my first amigurumi toy. 🙂
You will love it! I am glad I could help:)
amigurumi is so cute! I rarely get to do it though b/c of the time that goes into them. I think your tips are going to help me be a littie more efficient! Thank you 🙂
I love making amigurumi too and while some of your tips I knew already this post was great and I love the blush idea…. Gorgeous!
Great tips! I've done several amigurumi project and have never used safety eyes because I could not find them. I will definitely have to order some. LOVE the idea of pinning all the limbs on before sewing. I think every project I've made had arms or legs crooked…I just said it was "character". LOL Thank you!!!
Love the blush idea! Also have to look for noses, I have used the eyes. I am also self taught, thoug from a book years ago, because I am a lefty. One thing I hate is the seperate body & head pieces as they never lime up. So I stopped seperating them. Now I decrease down to a neck size that will support the head and the increas back up for the body. Usually before I finish the decreasing I do the face, attach ears if there are some, and lightly stuff the head. Then I finish the decreas, probably down to 18 or 12 stiches depending, do another row the same and then increase from tht point for the body. If you add the heas and body row counts you know size, just decrease and end at the bottom instead!
Have you ever thought of video tutorials? I am terrible at sewing parts on.
Pillows from Walmart are cheaper than the bags of stuffing you buy like $3.00 compared to $6.00 for a bag of stuffing.
All these are great. I'm starting a very amateur crochet group between friends, it's mostly for the fun; I don't think I'm a very good teahcer, but this will definetly be a compulsory reading =P Thank you. =D
Thank you! I bought a bag of mixed sizes safety eyes. They come with no directions! No I see how easy they are! Thank you!
What happens to the blush when washed? Does it still stay on?
Kali thank you so much for all your wonderful designs. i think i will be busy for a while as this is something new for me. thank you again barbara
Thank you for sharing these tips! I,to am self taught!
Thank you
I am 77 years old. Never heard of Amigarumi before. Been crocheting since I was 10. I love the rouge idea! Thanks
Please Kali, would you help me by the wings of the silly goose? I don’t understand how they were sewn together at the curve. Do I have to fold it in half and then sew together? But then they are really thin.Or how do you mean it?
Thankful
Sabine
You will pinch the top of the wing only! Not the whole thing. I have a video here https://www.thefriendlyredfox.com/making-and-attaching-the-silly-goose-wings/
Aloha Kali,
I love all your tip for floppy neck which I used on my giraffe. I keep watching your tips in case I missed something. Mahalo for the many helpful videos. Have a wonderful and safe holiday.
Mele Kalikimaka,
Luana S.