Plush Mermaid Crochet Pattern-a free amigurumi pattern
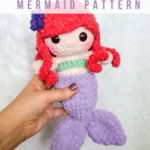

This free plush mermaid crochet pattern makes a sweet amigurumi doll! This amigurumi pattern works up quickly with plush blanket yarn-perfect for gifts and markets.

Plush Yarn Mermaid Crochet Pattern
I have fallen in love with plush yarn and the effect it has when using it for amigurumi! I can’t resist making free crochet plushie patterns, as you can see here! The bulkier yarn allows for a good sized project with less stitches, so I feel like I am flying through the creating process. Once you are familiar with this type of yarn, I think that this is a very beginner friendly project. This little crochet doll definitely works up much faster than the traditional amigurumi!
JOIN MY NEWSLETTER TO RECEIVE…
A free email course-Amigurumi 101
This free amigurumi email course gives you what you need to master the basics of amigurumi, along with some extra tips and tricks!
A mermaid crochet pattern was actually one of my very first that I shared, about 8 years ago. Crazy how time flies! This is based on that, but adjusted to the bulkier yarn. The fun thing, is that even though it takes less stitches, they work up about the same size! One problem I do have with bulky or plush yarn is that you need to be really careful when adding a lot of detail. I prefer to have relatively simple patterns when I use chenille yarn, or else I think you would have a very, very large final plushie!
So, I took great care to make sure that every detail was well thought out. There are a few tips below to make the most of the yarn and stitches in this plush mermaid crochet pattern, so please don’t miss them!
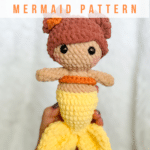
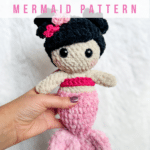
If you are interested in the different colors and types of yarn, I have this page with the dolls and links to the yarn I used for each one! Hopefully that can help with some color inspiration and to find the yarn, I know that can be tricky for skin colors!
If you’re looking for more plush doll inspiration, my Baby Princess and Bella the Plush Ballerina are super popular!
Would you like to save this project for later? Enter your email below, and the link will be sent to your inbox!

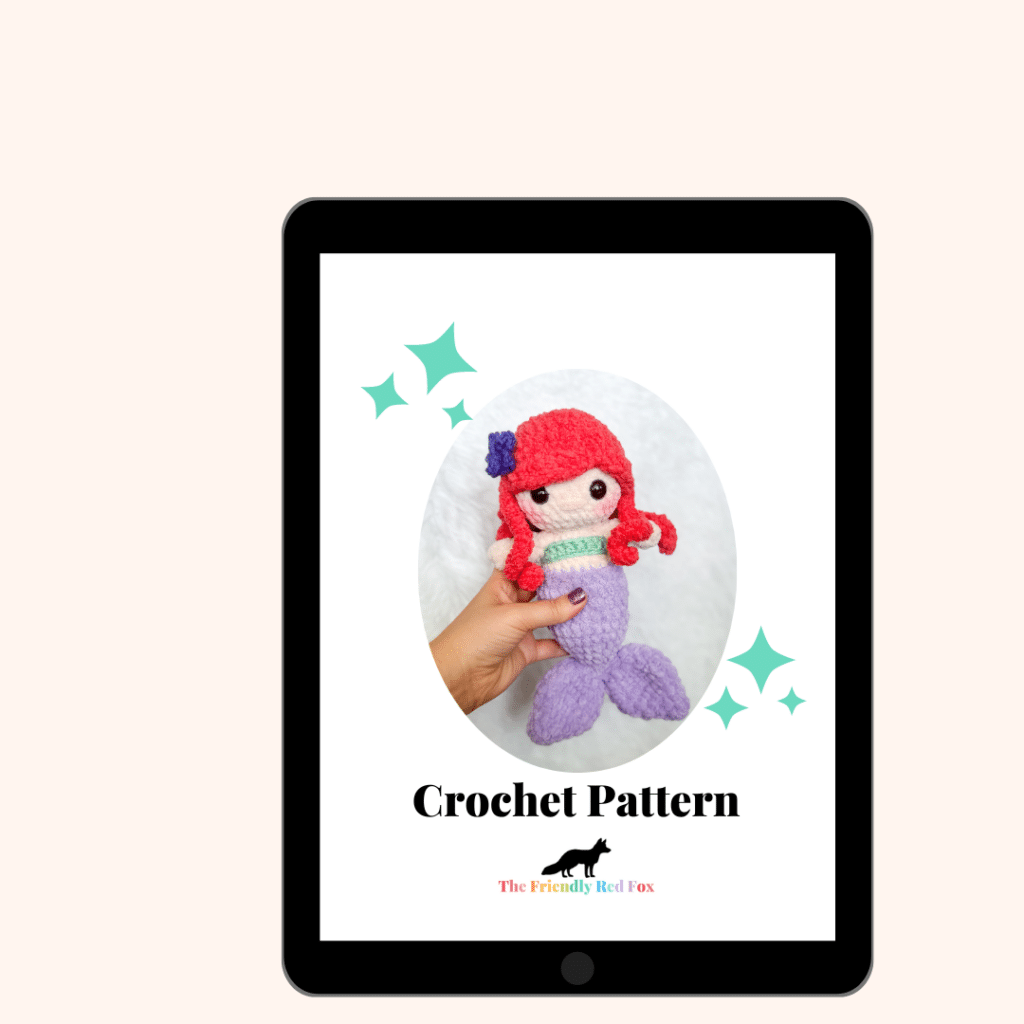
Want the Ad-free, Printable PDF?
You can find it in one of my stores!
Materials you’ll need
To get started making this free plush mermaid crochet pattern, you’ll want to gather all your materials first.
You will need:
- 40g Bernat Blanket yarn for the skin color (I have a whole post dedicated to skin colors, with pictures and links for you to check out!)
- 30g Blanket Yarn for the fins and Tail (see all the color combos below!)
- 30g Blanket yarn for the hair
- If you are wanting to embroider the eyes, you can check out these video tutorials. For this size I use worsted weight yarn, not bulky.
- Small amount of worsted weight yarn for the top
- 15mm safety eyes
- Crochet Hook in Size 4.5mm
- Tapestry Needle
- Polyfil
- stitch marker

Notes:
This plush Mermaid amigurumi pattern is made from the bottom to the head. The hair, fins and arms are attached at the end.
When made with the recommended yarn, the doll comes out to be about 10 inches tall. Changing the type of yarn you use may change the size of the doll.
The arms are attached with a long needle. You can find the video for that here.
You can use safety eyes or try out embroidered eyes so it would be safe for a baby/toddler. You can find my collection of embroidery videos here.
This little doll is part of my “Squish Pals” collection. If you want to check out the other adorable patterns you can see them all here!
If you like a worsted weight, taller mermaid doll, I have a free pattern you may like! This mermaid doll is the larger, more mature cousin to this one!
For this pattern, I used two methods for the single crochets. On the tail, fins and hair I use the yarn over/yarn over method. For anything that is skin-colored, I use the yarn under/yarn over method. I know this sounds complicated, but I promise it isn’t as bad as it may sound! I made the video below to show what I mean. If you are not interested in trying this method, using a slightly smaller hook or tighter tension could work. It is not, of course, mandatory. I just prefer this method, especially using plush yarn! Watch the video tutorial here!
Crochet Mermaid Doll Amigurumi Pattern
Neck strengthener
*Click here for a video and picture tutorial on how this works*
In a magic circle, SC 7. SC in each around for a total of 7 rows. Fasten off and leave a long tail to sew the hole closed and sew through the neck.
Tail/Body/Head
In tail color
Round 1: In a magic circle, SC 8.
Round 2: SC in each around. (8)
Round 3: SC INC in each around. (16)
Round 4: SC in each around. (16)
Round 5: SC in the first, SC INC in the next. Repeat around. (24)
Round 6-7: SC in each around. (24) *2 rows*
Round 8: SC in the first 2, SC INC in the next. Repeat around. (32)
Round 9: SC in each around. (32)
Round 10: SC in the first 2, INV DEC in the next. Repeat around. (24)
Change to skin color.
Round 11-12: SC in each around. (24) *2 rows*
Round 13: SC in the first, INV DEC in the next. Repeat around. (16)
Round 14: SC in each around. (16)
Begin to stuff here. Remember to stuff lightly and carefully.
Round 15: INV DEC in each around. (8)
Round 16: In the front loop only, SC INC in each around. (16)
Round 17: SC in the first, SC INC in the next. Repeat around. (24)
Round 18: SC in the first two, SC INC in the next. Repeat around. (32)
Rounds 19-23: SC in each around. (32) *5 rows*
Insert safety eyes between rounds 21 and 22, about 4 stitches apart. Insert neck strengthener if you haven’t already. Here is the video tutorial if you haven’t watched it yet!
Round 24: SC in the first 2, INV DEC in the next. Repeat around. (24)
Round 25: SC in each around. (24)
Stuff the head.
Round 26: SC in the first, INV DEC in the next. Repeat around. (16)
Round 27: INV DEC in each around. (8)
Fasten off and sew the remaining hole closed.
Embroider the nose with the skin color yarn, between the eyes. I only do two passes with this thick yarn.

Crochet Mermaid Parts
Arms
NOTE: I highly suggest you visit this post before attaching the arms and the legs. This is my favorite method by far to attach limbs, and is worth watching the video and seeing the tutorial pictures!
Round 1: SC 7 in a magic circle
Rounds 2-8: SC in each around. *7 rounds*
Fasten off and leave a long tail to sew on. Sew on between rounds 13 and 14.
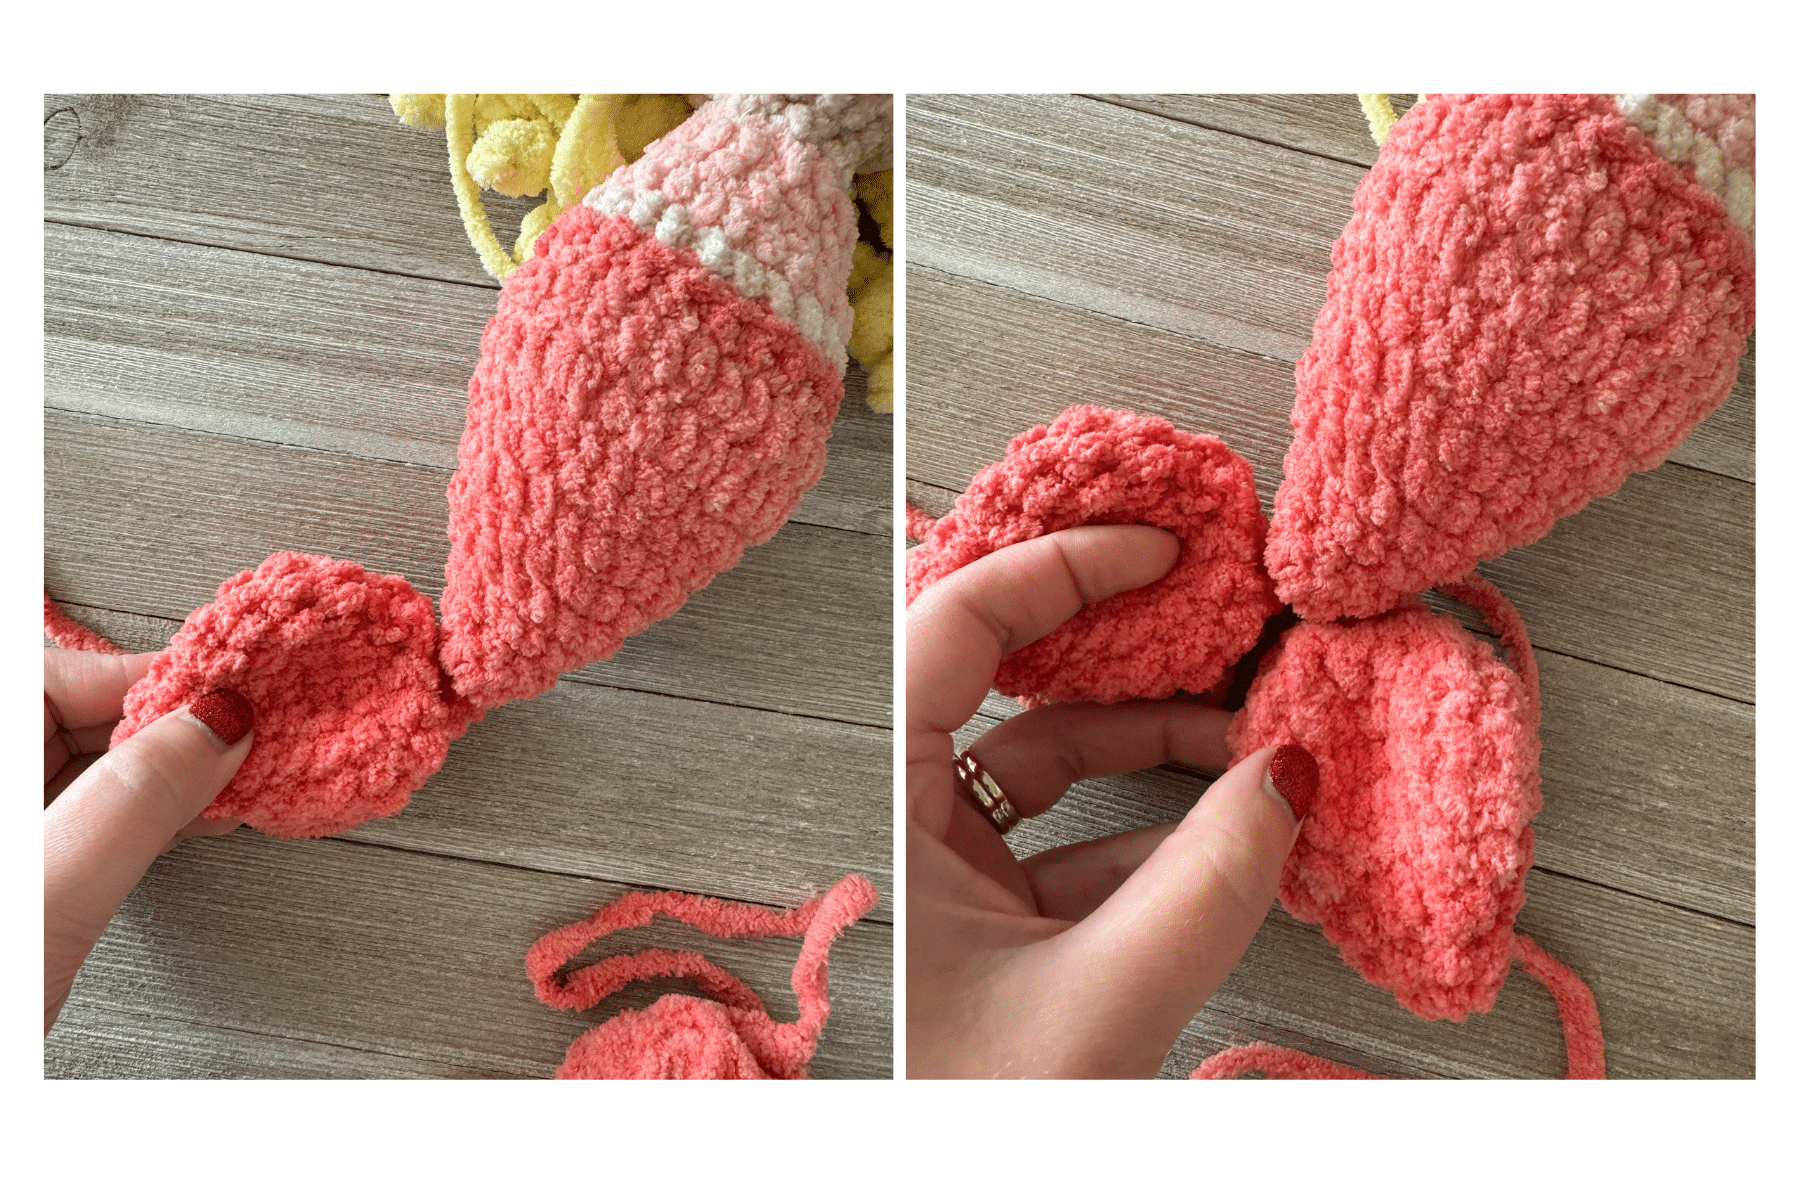
Fins
Round 1: In a magic circle, SC 8.
Round 2: SC in each around. (8)
Round 3: SC INC in each around. (16)
Round 4: SC in each around. (16)
Round 5: SC in the first, SC INC in the next. Repeat around. (24)
Round 6: SC in each around. (24)
Round 7: SC in the first, INV DEC in the next. Repeat around. (16)
Round 8: INV DEC in each around. (8)
Fasten off. Sew each fin to each side of the base of the tail.
Bikini Top
I used worsted weight yarn. Your hook size, how much you stuffed the body, and yarn type may affect this number. Luckily, you can easily adjust by adding/removing chains. I made sure the chains just overlapped when I “tried it on” the body. Then add two.
Row 1: Chain 25.
Row 2: Turn and DC the second chain from the hook. DC in each chain across (23)
Sew the two ends in the back, knot, then weave in the ends. Trim any remaining tails.
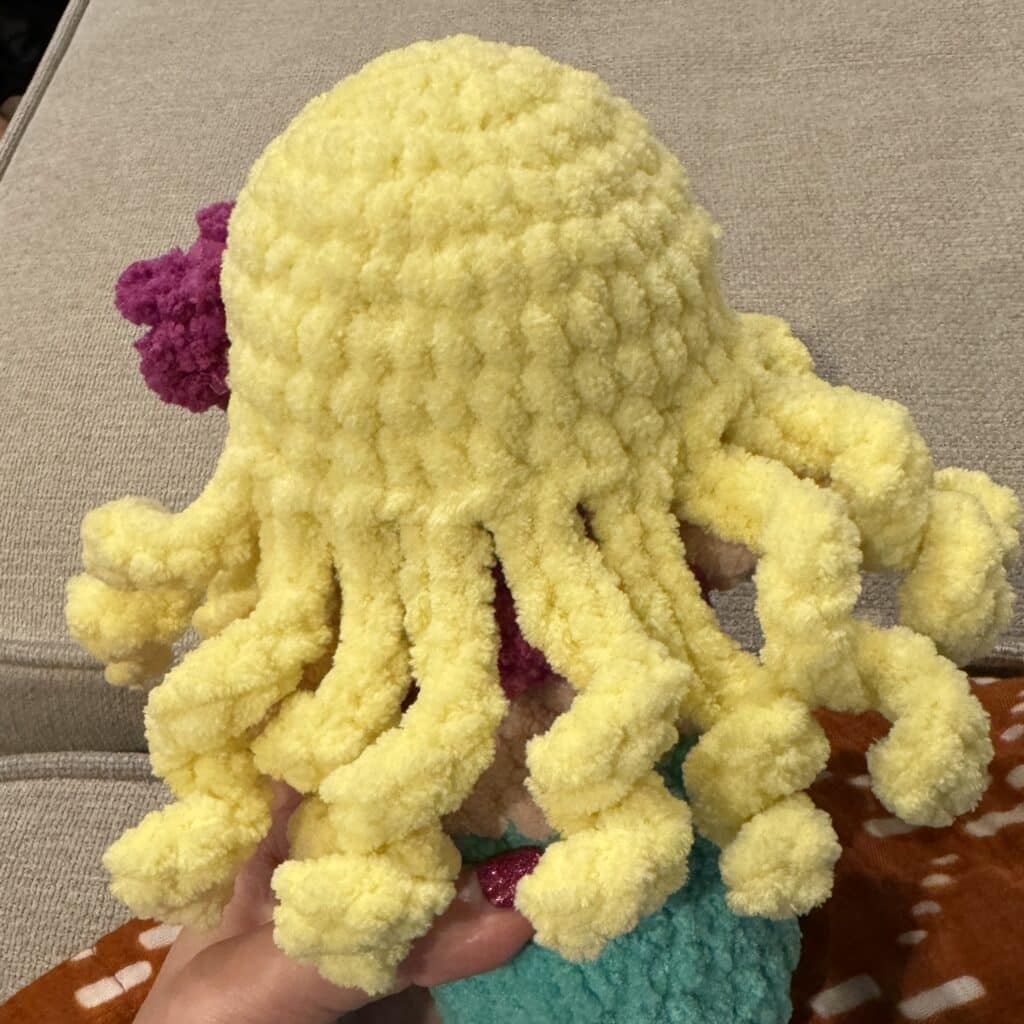
Hair
*Size up half a hook size or loosen your tension. This is to make sure you have the room to go over the head.*
Round 1: In a magic circle, SC 8.
Round 2: SC INC in each around. (16)
Round 3: SC in the first, SC INC in the next. Repeat around. (24)
Round 4: SC in the first 2, SC INC in the next. Repeat around. (32)
Rounds 5-8: SC in each around. (32)
Round 9: HDC, HDC INC, DC, DC INC, DC, DC INC, skip a stitch and slip stitch in the next. Skip a stitch and DC INC, DC , DC INC, HDC, SC. *If you are doing messy buns, finish the round with single crochets. Otherwise continue to the brackets*[Chain 20. Slip stitch back in each chain until you reach the top. SC in the next stitch. Slip stitch in the next.] Repeat this until you reach the end of the round. (10 curls) The more tightly you slip stitch, the tighter the curl.
Fasten off and attach with the “part” on an angle.
Messy Buns
Here is a video tutorial for this step. The number of chains may be different, but the method is the same.
Make a magic circle. Chain 6. Slip stitch back into the magic circle ring. Chain 6 more and slip stitch back into the circle. Lightly pull the ring almost closed, but leave enough room for your hook. Repeat the chain 6 and slip stitch until you have a bun. I made 8 loops.
Make two of these buns. Make the hair pattern from above until you get to round 9. Crochet round 9 until you get to the part where you would chain 20, and instead SC in each remaining stitch until you get to the end of the round. Fasten off and attach to the head. Attach the buns to the top.
Hair Flower
In a magic circle, chain 8. Slip stich into the center of the circle. (This is one petal.) Chain 8 and slip stitch to the middle. Repeat for a total of 5 petals.
Pull the circle closed, fasten off, and sew on the hair.
Did you make this pattern?
Mention me @thefriendlyredfox so we can see your creations! You can also leave a comment below!


Such a cute mermaid pattern. I’m struggling with the “curls,” they aren’t curls but the hair is straight. I did them so tight that I almost could not tear them out. Any suggestions? Thank you.
Hi! You can try sizing down a hook size or two on your way back up the chain. Or try doing 2 sc in each chain on your way up. Either one should work!
Thank you for the great pattern! How are you getting the blush on the cheeks?
I use actual blush and an eyeshadow brush!
Thank you for sharing this pattern! Quick question, is it worked in continuous rounds?
Yes it is!
I was wondering how to do the side pony hair because even the part looks different
Hi! I don’t have a tutorial written up for the side pony yet. It’ll be coming sometime in the future!
I just did the hair with the long tendrils/curls, but I only did 3 on the one side and then did SC the rest of the way around. It turned out pretty cute still!
Thanks for this lovely mermaid pattern! I am also stuck on getting the hair to curl. Do you have a video on how you are making the hair and attaching it?
I don’t have a video tutorial, but the best tip I can give you is to pull your slip stitches super tight! That will help the curl fold tighter in on itself.
Do you stuff the fins?
No- the fins are left unstuffed!
I adore this pattern! Have you written the pattern for the side pony hairstyle?
I haven’t! It’s just 3 of the curls at the back and then I tied them together with a piece of yarn. I also put the part in a slightly different spot, so you can line that up first before you put the curls on!
Any tips on attaching the hair. Worked up so cute. Can’t wait to see her all attached. ❣️❣️
I sometimes will cheat and use a little hot glue on the top so it doesn’t shift while I sew it on. You can also use pins if you don’t love that idea. Once it’s in place, I sew the outside loop only and tug slightly as I go so there’s no gapping. Don’t pull too tight otherwise it will gather and you don’t want that!
I have a question about the body for Blossom the mermaid.
It says “Repeat Round” on Row 5, 8 and 10
Does that mean make 2 rows?
Thank you.
It says repeat Around – which means that you repeat the pattern from the beginning of the row 5, 8 and 10, all the way around. So for example, round 5 says sc in the first stitch, then sc inc. so you would repeat that sequence until the last stitch of the round.
Thank you for the pattern! It was fairly easy to make. I had created a larger mermaid from a different pattern that was a gift and when I saw your pattern, I instantly knew I had to try your pattern for my own mermaid! I used Hobby Lobby’s Yarn Bee for the body and biki top and Bernat Blanket for the hair. I went with messy buns. I struggled at first to make them since your video was not showing, but I managed to get it after re-reading the instructions. It worked up super quick! Will be making more little mermaids as presents for some little ones I know! 🙂
OMG! This is so cute! I will make these for my granddaughters. Thank you for this pattern!
I added a ruffle around the top of the tail and a stitch in the middle of each fin to give it more if a 3D look, but I loved this pattern. It was super easy to work up. I made this for my niece’s 1st birthday because she’s our little red-headed mermaid. ❤️
Love this precious mermaid pattern! I used Premier Basix® Chenille Tie Dye Tropic Twist for the tail, bikini top, and flower. I used Premier Basix Chenille Brights Banana and Winter white for the hair and body.