Ten Tips and Tricks for Working with Fuzzy Yarn- Free Quokka Pattern
How to Crochet with Fuzzy Yarn
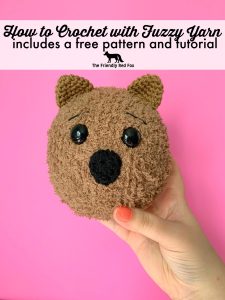
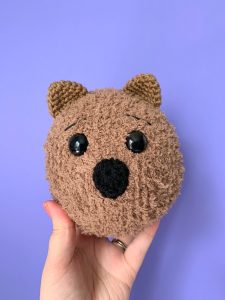
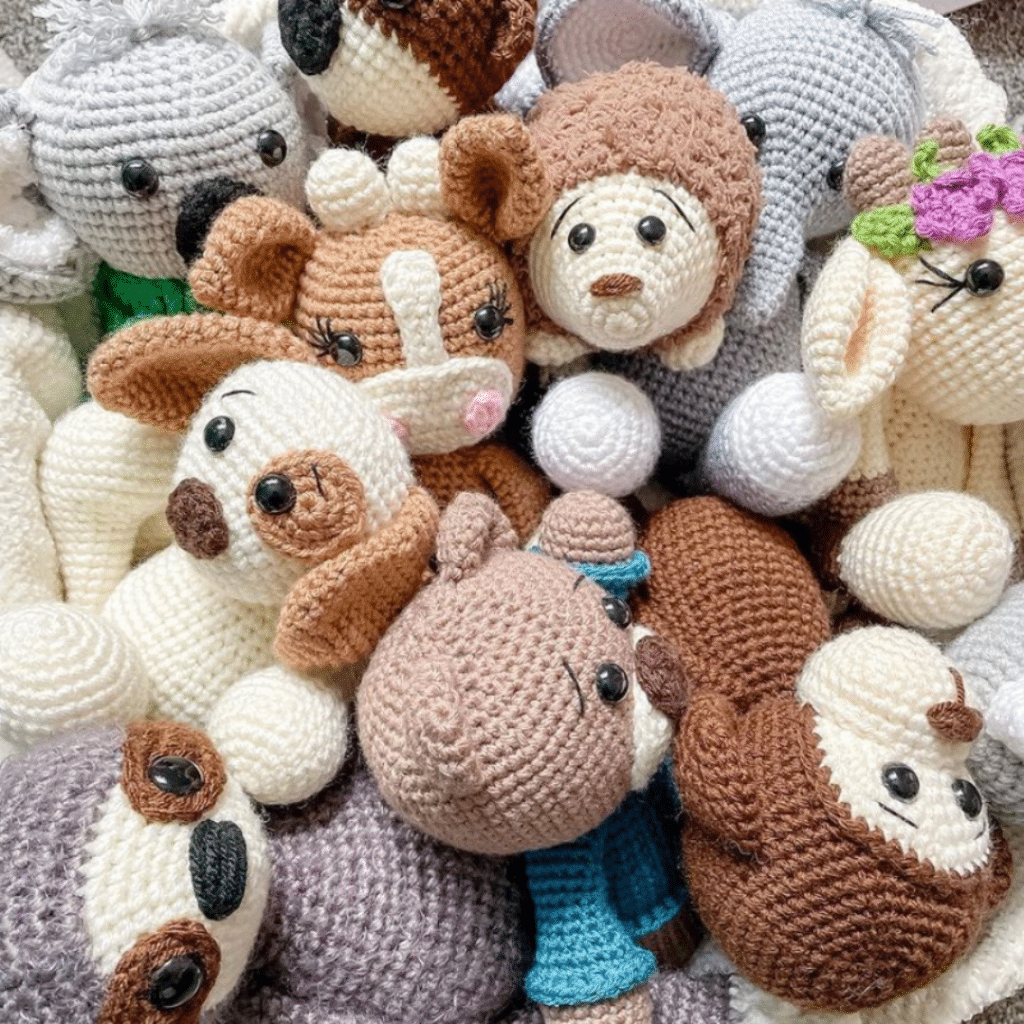
Working with fuzzy yarn can be difficult- but oh my goodness, the result can be fantastic! This design for the Amigurumi A to Z series is the perfect way to practice using that fuzzy yarn. This is a (loose interpretation of a) Quokka, a little animal native to Australia. Even though it is kind of a strange little fur ball, both of my older boys like playing with him. And you can practice using that furry yarn on a basic but sweet pattern.
Crocheting with Fuzzy Yarn
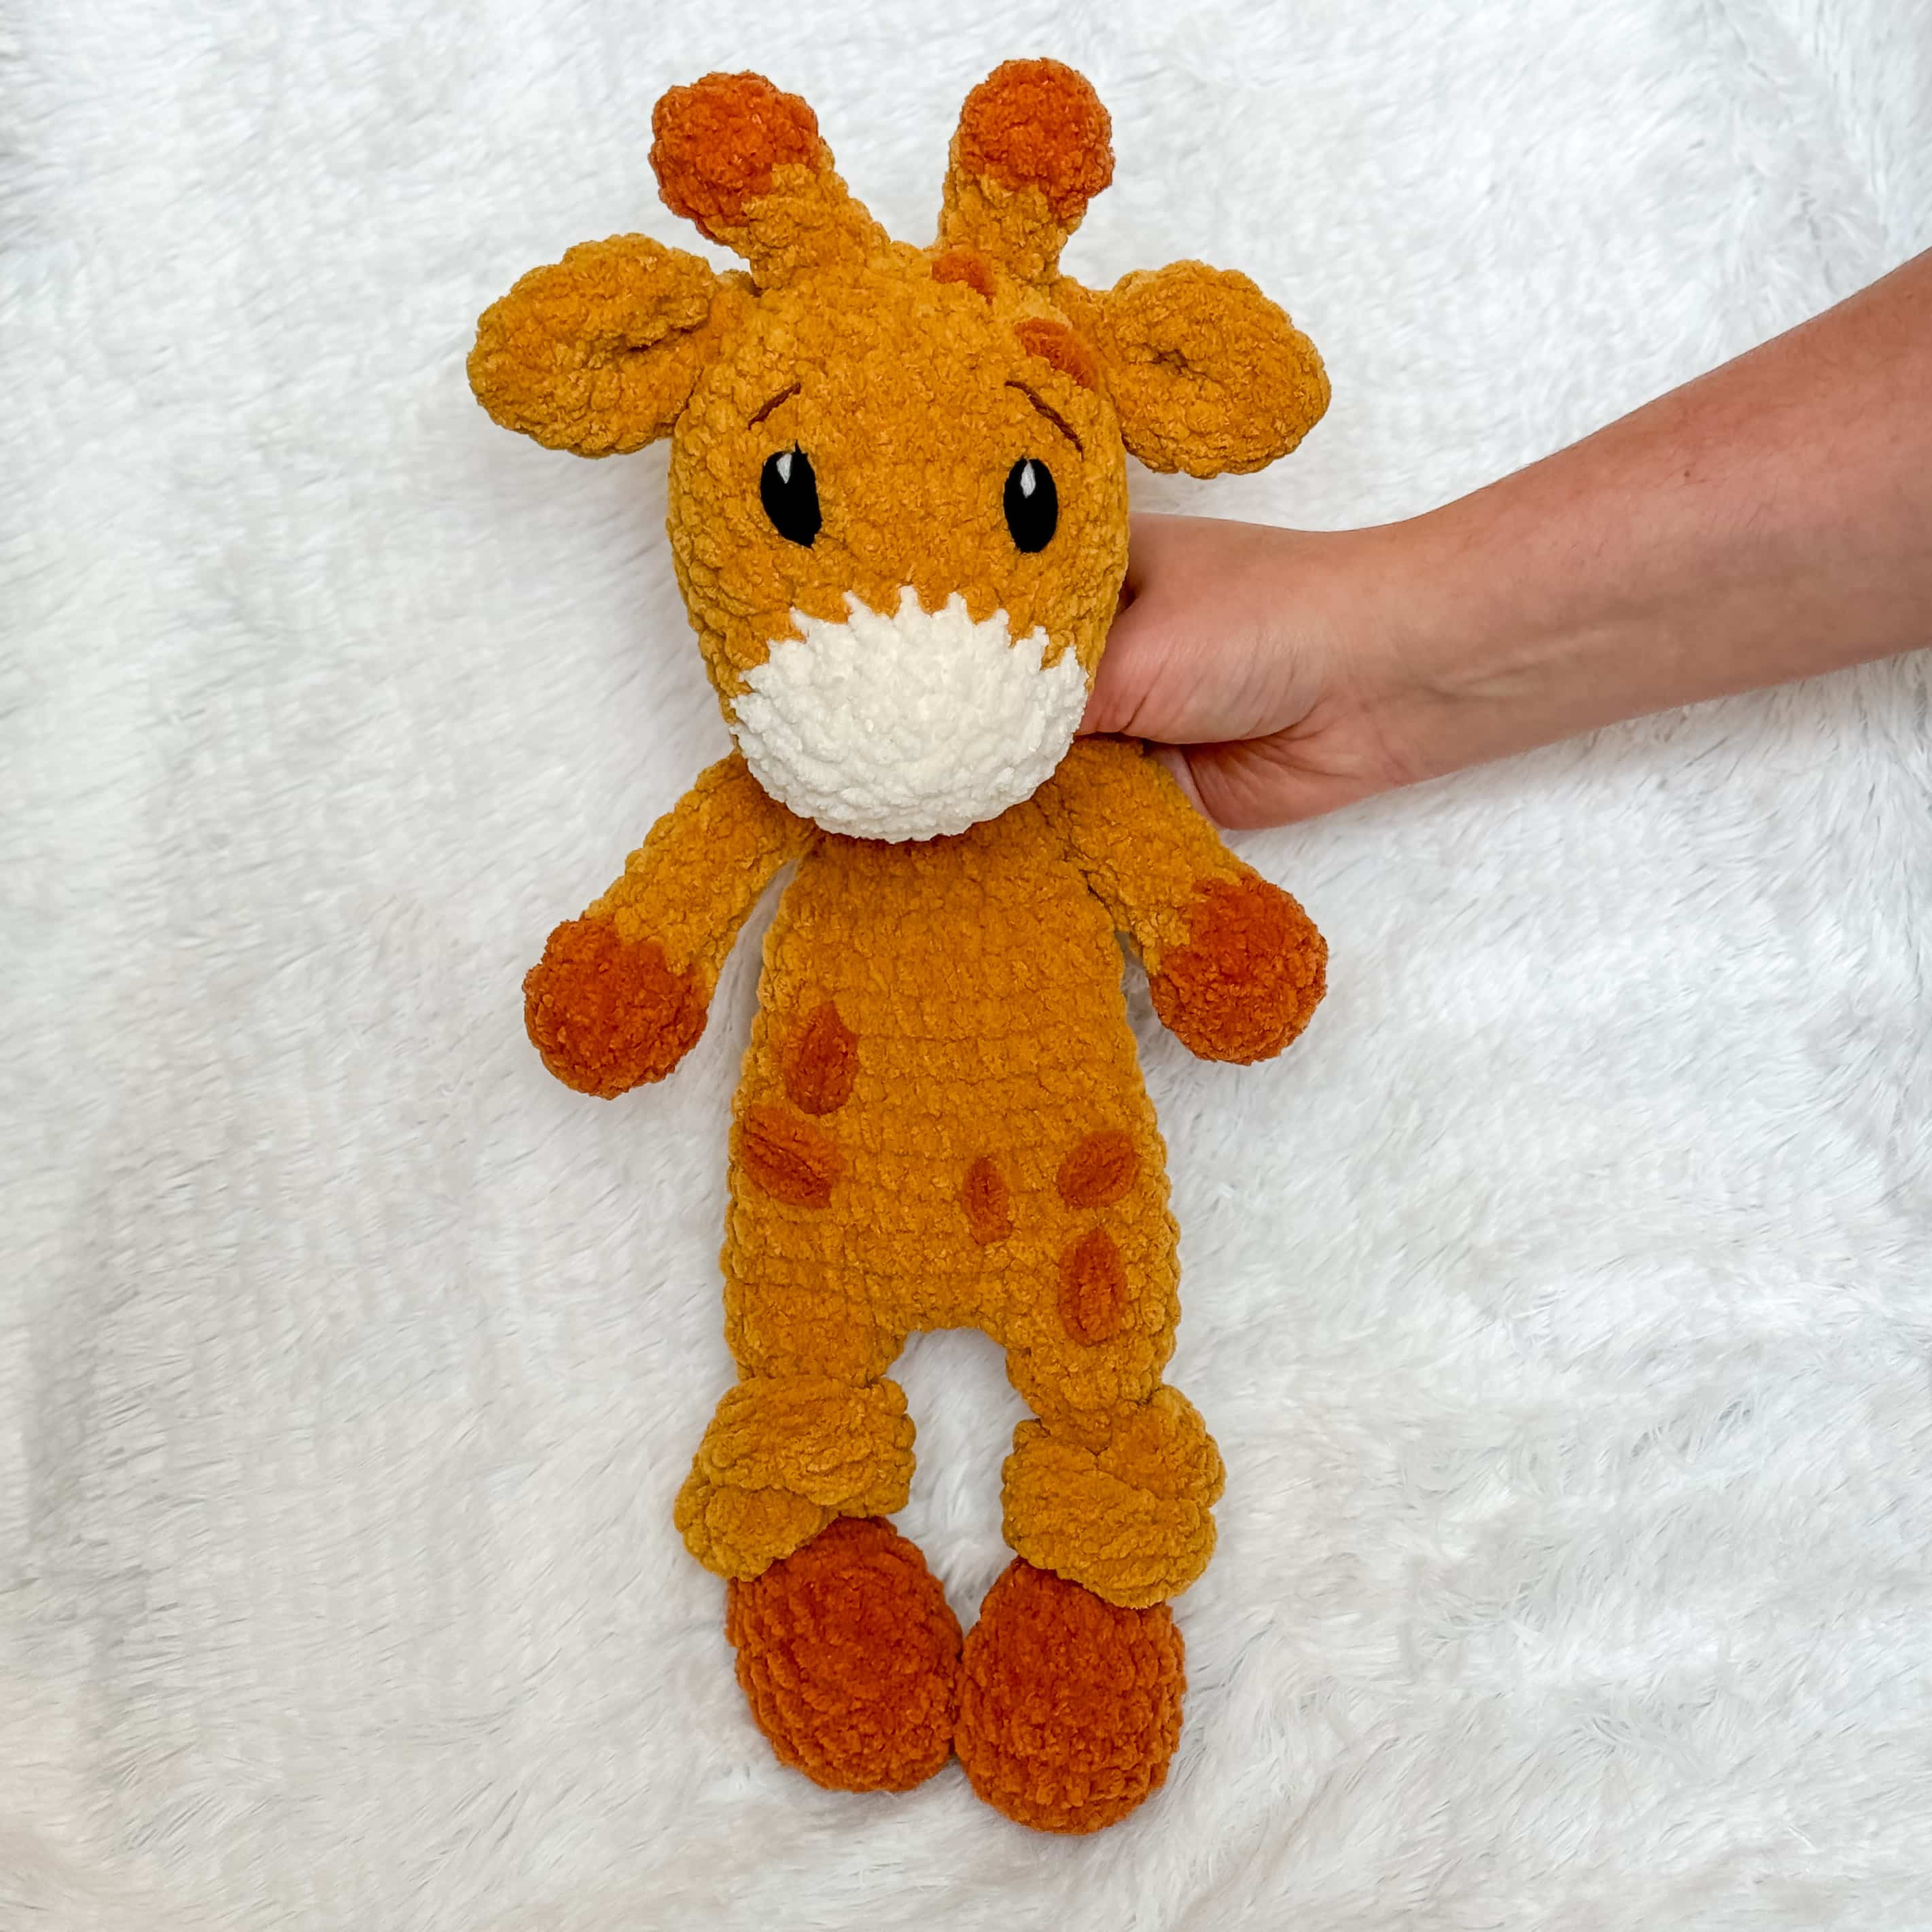
I know that working with fuzzy yarn can be a real pain point, but I love the look it gives to amigurumi! And while I agree that trying to work with furry yarn may not be a great idea for an absolute beginner, with some tips and the right pattern, you will come to love working with it as well! I have designed a couple other patterns with this yarn, the Friendly Llama, the Friendly Lamb, and the Friendly Hedgehog!
Want more Free patterns?
Join the newsletter for weekly free patterns, tips, and heads up on any sales!
10 Tips on Working with Fuzzy Yarn
I understand. I get it. Working with fuzzy yarn can make even an
experienced crocheter want to give up yarn forever. People swear they will
never try to work with those furry fibers, but may still look on longingly at
the soft fabric it creates. If this is you, and you really want to conquer your
fuzzy fear, then read on and maybe these 10 tips on working with furry yarn
will help!
1. Get in tune with your touchy/feely side. No, seriously. It will help to
“feel” where your stitches go, instead of looking for it in all the fun
fuzz. Like I suggested, furry yarn is not great for a beginner, but the
more you practice you can get a sort of instinct for it. Eventually it
won’t be that much harder than regular yarn.
2. You need to count. (WHAT? In a crochet pattern?!) Most patterns
that require furry yarn are not great ones to mindlessly work on while
you catch up on your favorite Netflix series. Use stitch markers to
help, if it feels overwhelming. Not just on the start of a new row, but
every ten stitches, or increase, or decrease-however makes the most
sense to you!
3. Be smart with how you use the furry yarn. Patterns that require a
lot of increases, decreases, color changes, etc. may be a little hard.
My own personal patterns were designed to be pretty basic, although
I couldn’t avoid all increases or decreases! Still I tried to make these
as basic as I could- It is the fun yarn that makes them special!
4. Don’t worry, be happy! This type of yarn tends to make some
people want to stab themselves in the eye with their crochet hook. If
you are of the perfectionist variety, this may go against the grain, but
honestly this yarn is very forgiving. A couple of missed stitches here
or there is hard to spot. Try not to worry, unless it seems to be WAY
off, chances are no one will be able to tell!
5. Look at your project from above. If you are like me, you generally
tend to view your project from the side. Sometimes, looking at if from
the top makes it easier to see the stitches. This will depend on the
type of yarn, but it is a pretty easy thing to try and see if it works for
you!
6. The more the merrier. Sometimes it can be helpful to double the fun.
Add another kind of yarn (or thread!) to the furry yarn. It may make it
much easier to work with. Keep in mind, this will change the gauge
and your project may turn out a little bigger. You will need to find a
similar color, a type of yarn (or thread) that won’t affect your project
TOO much, and you may need to adjust your hook size. This method
usually works best with the “eyelash” yarn varieties. I don’t feel like it
is that helpful for the bulky, furry yarn. BUT try it and see!
7. Change your hook size. Sometimes the recommended hook size is
too small for some people. Going up one size sometimes gives you
the breathing room you need to be successful. Just make sure your
fabric is not TOO loose- it will still need to hold and hide the stuffing.
And again, keep in mind that your project will turn out a little bigger.
8. Light it up, up, up! Make sure your have great lighting where you
are working. Someone in my crochet club used a head lamp so she
could REALLY shed some light on the situation. A flashlight could
also help! Or just good old, natural sunlight. You will be surprised
what a difference this makes!
9. Be choosy with what yarn (or color!) you work with. I have a hard
time working with black in a regular worsted yarn… It is MUCH harder
with a furry type yarn. Especially if you are working with this type of
yarn for the first time, I would recommend going for a lighter color
until you get the hang of it.
10. Gimme a break, gimme a break… Put in a stitch marker, make a
note of where you are (it’s harder to count that when your yarn is
fuzzy!) and step away. Try a granny square for a minute. But
remember how darn cute your project is going to be when you are
done!
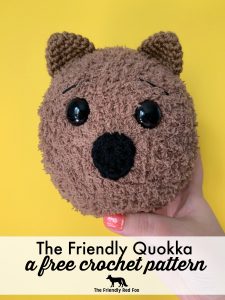
Please note this pattern is only for PERSONAL USE. Please feel free to make as many items as you wish for yourself, or as gifts. You may sell items made with this pattern but PLEASE LINK BACK OR GIVE CREDIT TO ME AS DESIGNER. In no way can you share, reproduce, or sell this pattern. Please respect my rights as a designer, this pattern belongs to The Friendly Red Fox.
You will need:
Approx 120 g Bernat Pipsqueak Yarn in Brown
Small amount of brown worsted weight
Small amount of black worsted weight
Crochet Hook in Size 4mm
Tapestry Needle
Polyfil
Black Embroidery Thread for eyebrows
18mm safety eyes
stitch marker
Abbreviations
SC- single crochet
SC INC- single crochet increase (2 SC in each stitch)
INV DEC- Invisible decrease (put hook through the FRONT LOOP ONLY of two consecutive stitches [two loops on hook] Yarn over pull through both loops. [two loops on hook] Yarn over pull through two loops)
Magic Circle- Make a loop, leaving a long tail to work with. Insert hook in center of loop, yarn over and draw up a loop. Yarn over, pull through to make the first chain (this does not count as a stitch!). Continue to crochet over the loop and tail with the number of stitches called for. (If you need 6 SC, then crochet 6 SC inside the ring.) Pull the tail to close the circle.
Always move your stitch marker to the last stitch in the round. This pattern is worked in continuous rounds.
Nose
Using the black:
In a magic circle, SC 3x, HDC, DC 2x, TRC 3x, DC 2x, HDC. Pull the circle tight. Slip stitch to the first stitch. (12)
Fasten off leaving a long tail to sew on. Center it between the eyes and one row down. I prefer to attach the nose before I close the head (see below) but you can attach it after if you like.
Ears (make two)
Using the brown worsted weight:
Round 1: In a magic circle, 6 SC.
Round 2: SC INC in each around. (12)
Round 3: SC in first, SC INC in next. Repeat around. (18)
Rounds 4-5: SC in each around. (18)
Fasten off and leave a long tail to sew the ears onto the head. Attach above the eyes, about 3 rounds from the middle. Use pins to make sure you are happy with the placement before sewing.
Head/Body
With the pipsqueak yarn:
Round 1: In a magic circle, 6 SC.
Round 2: SC INC in each around. (12)
Round 3: SC in first, SC INC in next. Repeat around. (18)
Round 4: SC in first 2, SC INC in next. Repeat around. (24)
Round 5: SC in first 3, SC INC in next. Repeat around. (30)
Round 6: SC in first 4, SC INC in next. Repeat around. (36)
Round 7: SC in first 5, SC INC in next. Repeat around. (42)
Round 8: SC in first 6, SC INC in next. Repeat around. (48)
Round 9: SC in first 7, SC INC in next. Repeat around. (54)
Rounds 10-19: SC in each around. (54)
Attach the eyes between rows 11 and 12, about 6 stitches apart. Center the nose between the eyes and one row down and sew on.
Round 20: SC in the first 7, INV DEC in the next. Repeat around. (48)
Round 21: SC in the first 6, INV DEC in the next. Repeat around. (42)
Round 22: SC in the first 5, INV DEC in the next. Repeat around. (36)
Round 23: SC in the first 4, INV DEC in the next. Repeat around. (30)
Round 24: SC in the first 3, INV DEC in the next. Repeat around. (24)
Round 25: SC in the first 2, INV DEC in the next. Repeat around. (18)
Round 26: SC in the first, INV DEC in the next. Repeat around. (12)
Round 27: INV DEC around. (6)
Sew the remaining hole shut and weave in the ends.