Crochet Hedgehog Pattern
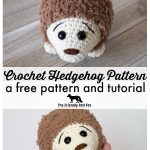
Crochet Hedgehog Pattern
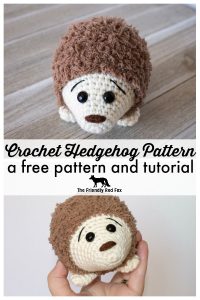
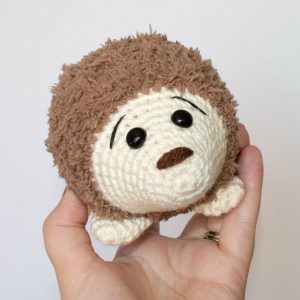
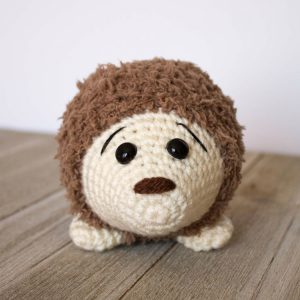
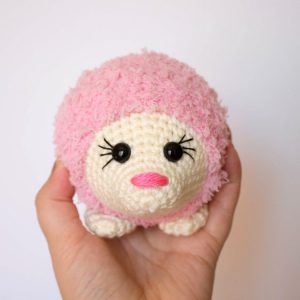
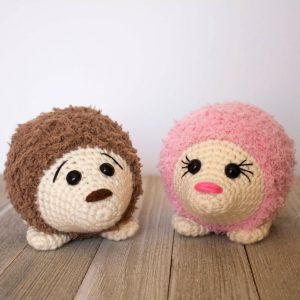
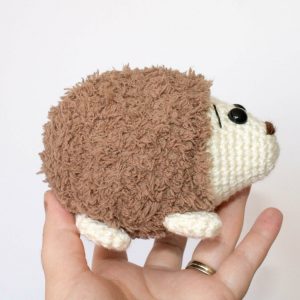
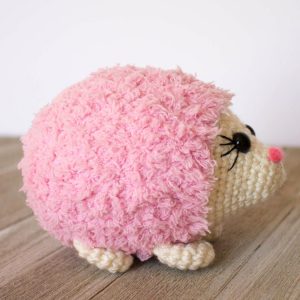
This crochet hedgehog pattern makes little amigurumi hedgehogs that are about 5 inches long and 3.5 inches tall. They work up super quickly, you could have your own little hedgehog family in no time! Make sure to stuff these VERY well. Use small amounts at a time and REALLY pack it. Don’t be intimidated by the fuzzy yarn! This pattern is designed to be easy- and the yarn really makes it!
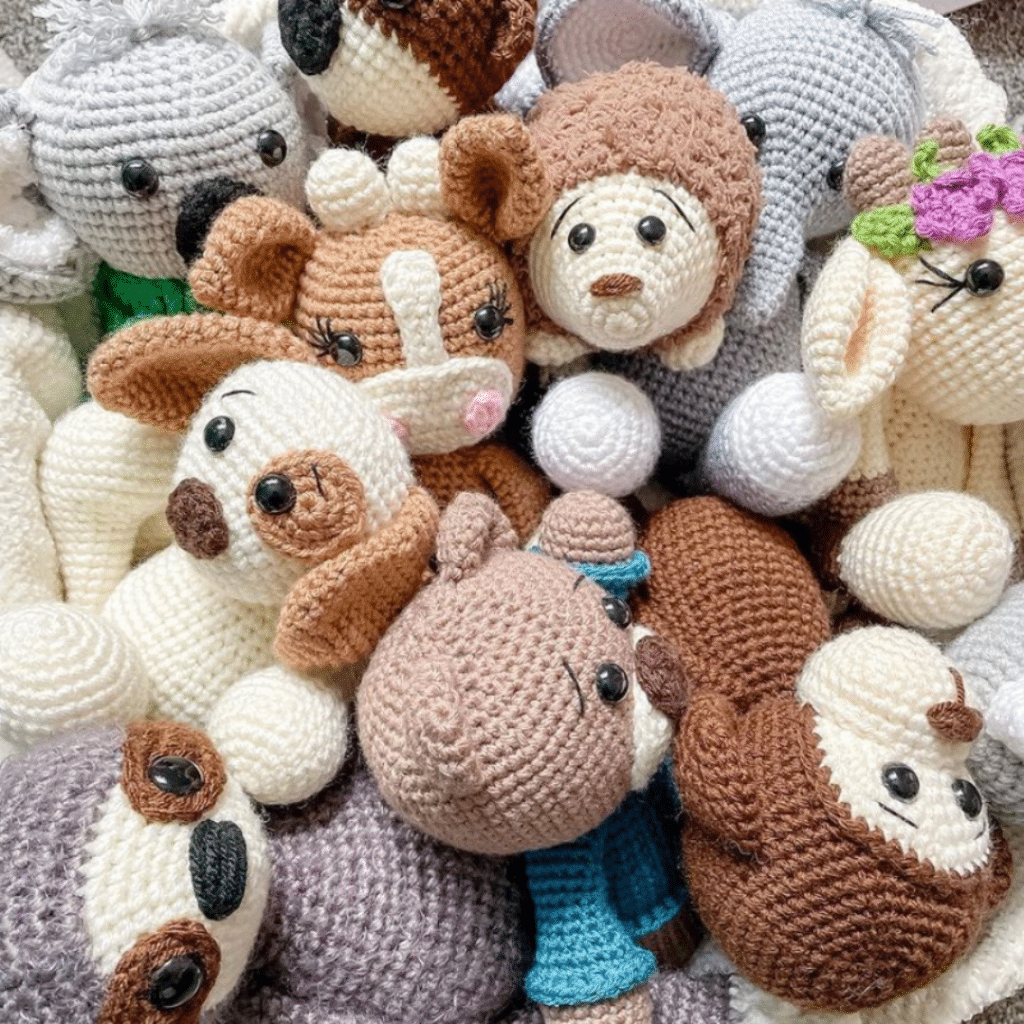
Prickles and Petunia are the Letter H pattern in my Amigurumi A to Z series! See the other patterns in the series here. Also, take a minute and read my amigurumi tips and tricks post. It will help a lot with all the details and how to get your amigurumi hedgehog just right!
You can purchase the ad-free, printable PDF or you can scroll down for the free pattern.
Want more Free patterns?
Join the newsletter for weekly free patterns, tips, and heads up on any sales!
Want 10 Tips and Tricks on Working with Fuzzy Yarn? I have a free PDF with my BEST advice and a beginner pattern just for you! Sign up for the Friendly Newsletter and the link and a password to the Friendly Freebies Files will show up in your inbox! You can download, save and print from there!
These little amigurumi hedgehogs are seriously so much fun to make! If you love hedgehogs, I bet you would love this punk hedgehog by Crafting Alice or this cute YouTube version. The nice thing with this pattern though, is it is so simple, the yarn really does the work!
This pattern is property of The Friendly Red Fox. Please note this pattern is only for PERSONAL USE. Please feel free to make as many items as you wish for yourself, or as gifts. You may sell items made with this pattern but PLEASE LINK BACK OR GIVE CREDIT TO ME AS DESIGNER. In no way can you share, reproduce, or sell this pattern. Please respect my rights as designer. Read through the entire pattern before you begin.
Materials and Details for the Crochet Hedgehog Pattern
You will need:
About 50g Bernat Pipsqueak Yarn
Small amount of tan (I used I Love this Yarn in Ivory)
10.5mm safety eyes
Stuffing
3.75mm hook
Needle for sewing
Stitch marker
Embroidery thread for eyelashes or eyebrows
Abbreviations
SC- single crochet
SC INC- single crochet increase (2 SC in each stitch)
INV DEC- Invisible decrease (put hook through the FRONT LOOP ONLY of two consecutive stitches [two loops on hook] Yarn over pull through both loops. [two loops on hook] Yarn over pull through two loops)
Magic Circle- Make a loop, leaving a long tail to work with. Insert hook in center of loop, yarn over and draw up a loop. Yarn over, pull through to make the first chain (this does not count as a stitch!). Continue to crochet over the loop and tail with the number of stitches called for. (If you need 6 SC, then crochet 6 SC inside the ring.) Pull the tail to close the circle.
Crochet Hedgehog Pattern-Tips for Working with Fuzzy Yarn
First, I will say that I have tried a lot of “furry” yarn trying to get various patterns to work, and I honestly think that this PipSqueak yarn is by far the easiest to work with. And if you try a different yarn, don’t expect the size to be right. This is a bulkier yarn than worsted weight, and this pattern is written accordingly.
Don’t be afraid of it! It is trickier than a regular worsted weight yarn, but a few things will really help. Be careful and count. Go slowly. You may need to feel for the stitches more than you normally would. Don’t crochet too tightly. Rely a little bit on your muscle memory. Don’t overthink it. This pattern is great for this yarn because it really is very simple.
Last thing, when you decrease, instead of the invisible decrease I usually recommend (see instructions above), use a regular decrease. It isn’t noticeable with this type of yarn, and seems to be quite a bit easier.
Crochet Hedgehog Pattern
Head/Body
Using the worsted weight yarn:
Round 1: In a magic circle, 6 SC.
Round 2: SC INC in each around. (12)
Round 3: SC in first, SC INC in next. Repeat around. (18)
Rounds 4-5: SC in each around (18)
Round 6: SC in first 2, SC INC in next. Repeat around. (24)
Round 7: SC in each around. (24)
Round 8: SC in first 3, SC INC in next. Repeat around. (30)
Round 9: SC in each stitch around. (30)
Round 10: SC in first 4, SC INC in next. Repeat around. (36)
Round 11: SC in each around. (36)
Change to Pipsqueak yarn.
Round 12: SC in first 5, SC INC in next. Repeat around. (42)
Round 13: SC in first 6, SC INC in next. Repeat around. (48)
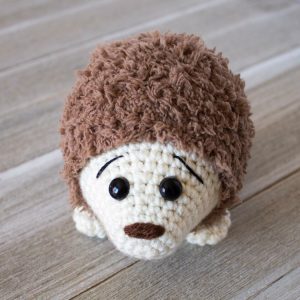
Place safety eyes between rows 7 and 8, about 4 stitches apart. Sew on the nose by looping the yarn a couple of times through 3 different stitches on the third row. Center between the eyes. Sew on the eyebrows or lashes here.
Round 14-19: SC in each around. (48)
Round 20: SC in the first 6, INV DEC in the next. Repeat around. (42)
Round 21: SC in the first 5, INV DEC in the next. Repeat around. (36)
Round 22: SC in the first 4, INV DEC in the next. Repeat around. (30)
Round 23: SC in the first 3, INV DEC in the next. Repeat around. (24)
Round 24: SC in the first 2, INV DEC in the next. Repeat around. (18)
Round 25: SC in the first, INV DEC in the next. Repeat around. (12)
Round 26: INV DEC around. (6)
Fasten off and carefully sew the remaining hole closed.
Feet (Make 4)
Round 1: In a magic circle, 6 SC.
Round 2: SC INC in each around. (12)
Rounds 3-5: SC in each around. (12)
Fasten off and leave a long tail to sew on. Attach to the bottom by sewing the opened edge to the body.