
Free Pig Crochet Pattern – Squishy
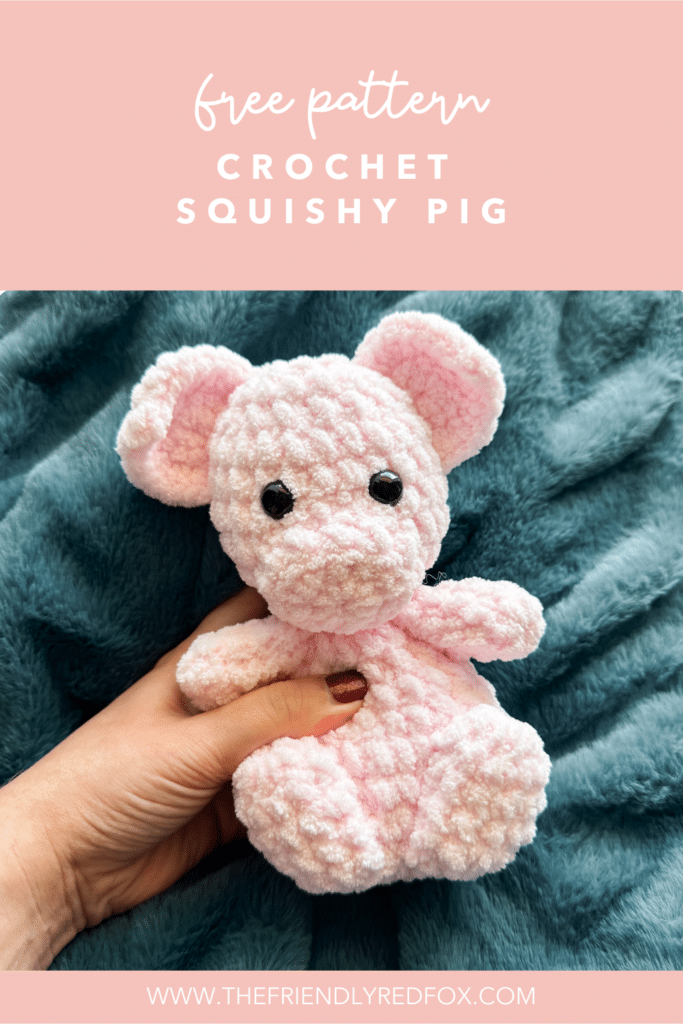
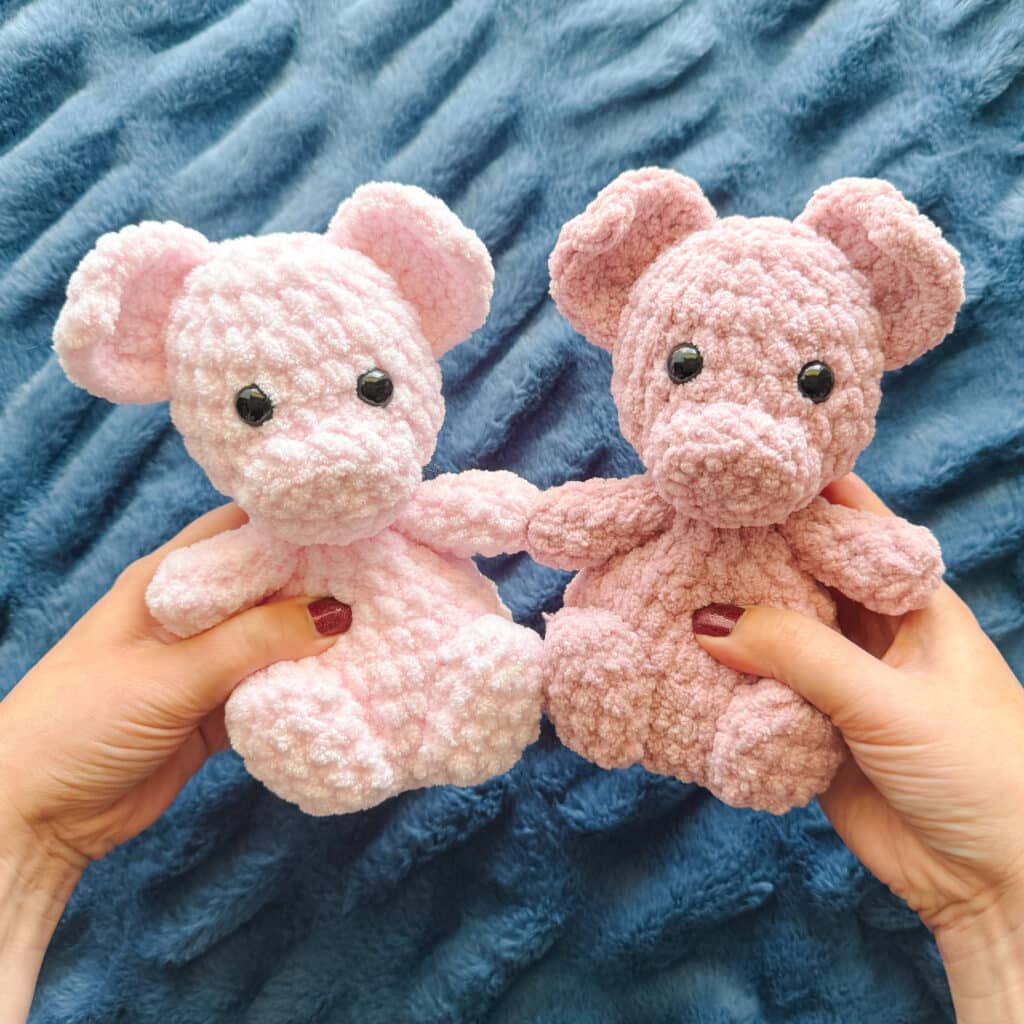
This squishy pig crochet pattern is too cute to handle! With those floppy ears, round snout, and soft, huggable shape, he’s bound to squeal his way right into your heart!
Free Squishy Pig Crochet Pattern Notes
This free pig crochet pattern works up quickly with blanket yarn to about 8 inches tall. This amigurumi version is the perfect size for small hands and a quick make! There are so many color options you can play around with!
This is another pattern in my “squishy” series! I called them that as an ironic nickname, and then it slowly became the official term. They are made with blanket yarn and the body is intentionally understuffed. This makes them adorably squishy! You will get hooked and want to make the entire collection! This Squishy Pig pairs perfectly with my Squishy Chicken or Highland Cow. Make yourself a whole Farm Squishy Bunch!
JOIN MY NEWSLETTER TO RECEIVE…
A free email course-Amigurumi 101
This free amigurumi email course gives you what you need to master the basics of amigurumi, along with some extra tips and tricks!
Ad-free, Printable PDF
My patterns are free on my website, but you can find them in my shop if you prefer a printable copy!
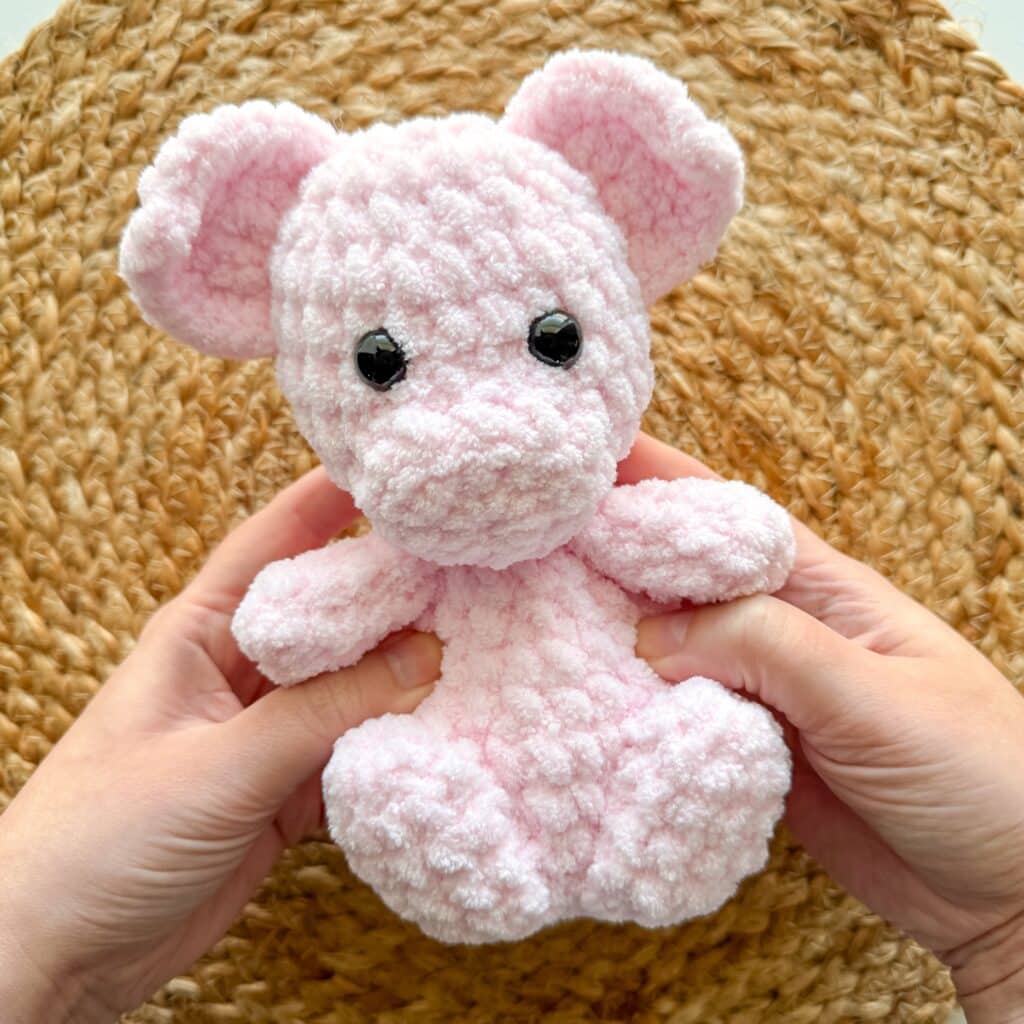
Squishy Pig
$6

Squishy Chicken
$6
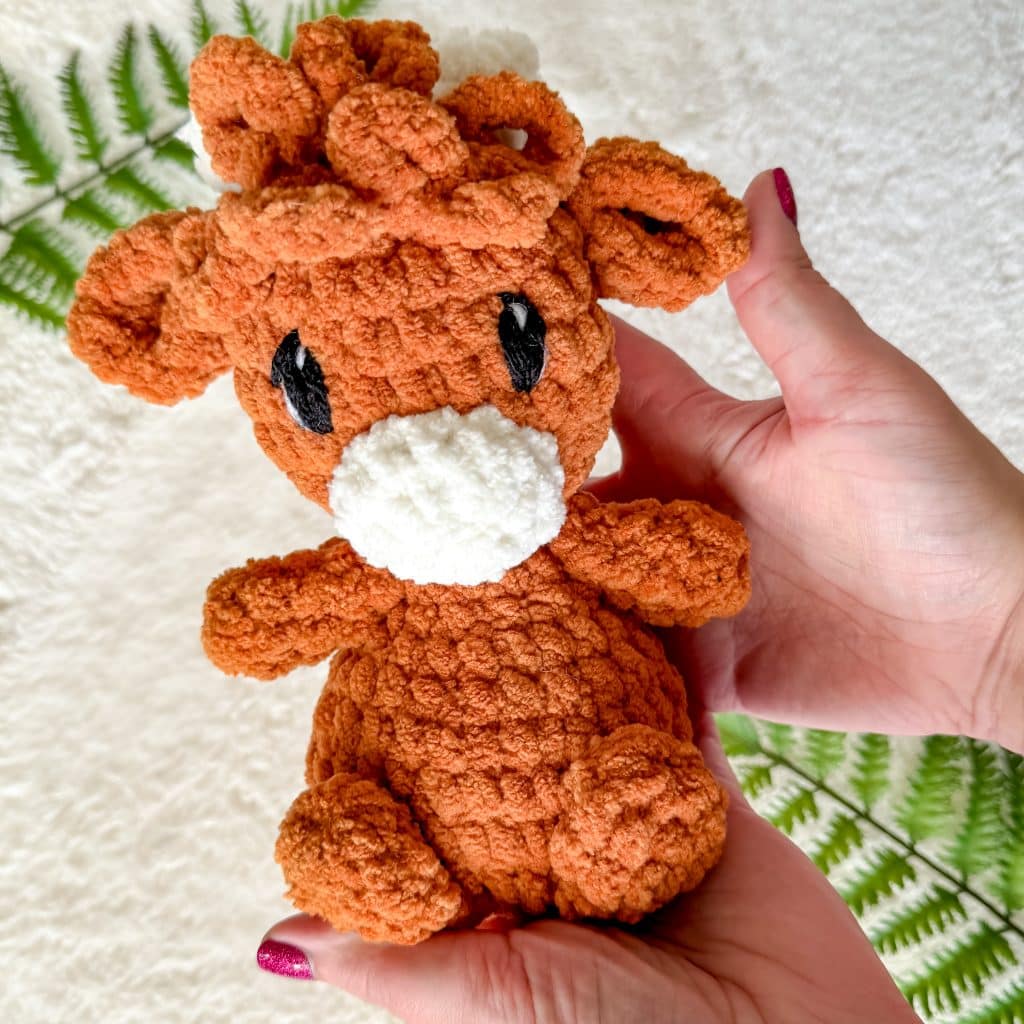
Squishy Highland Cow
$6
Materials you’ll need
To get started making this free Squishy Pig pattern, you’ll want to gather all your materials first.
You will need:
- You will need:
- 100g Premier Basix Chenille in Blush or Bernat Blanket in Baby Pink
- Stuffing
- 4.5mm crochet hook (or hook size that keeps stitches tight and feels comfortable)
- Needle
- Stitch marker

Important Notes:
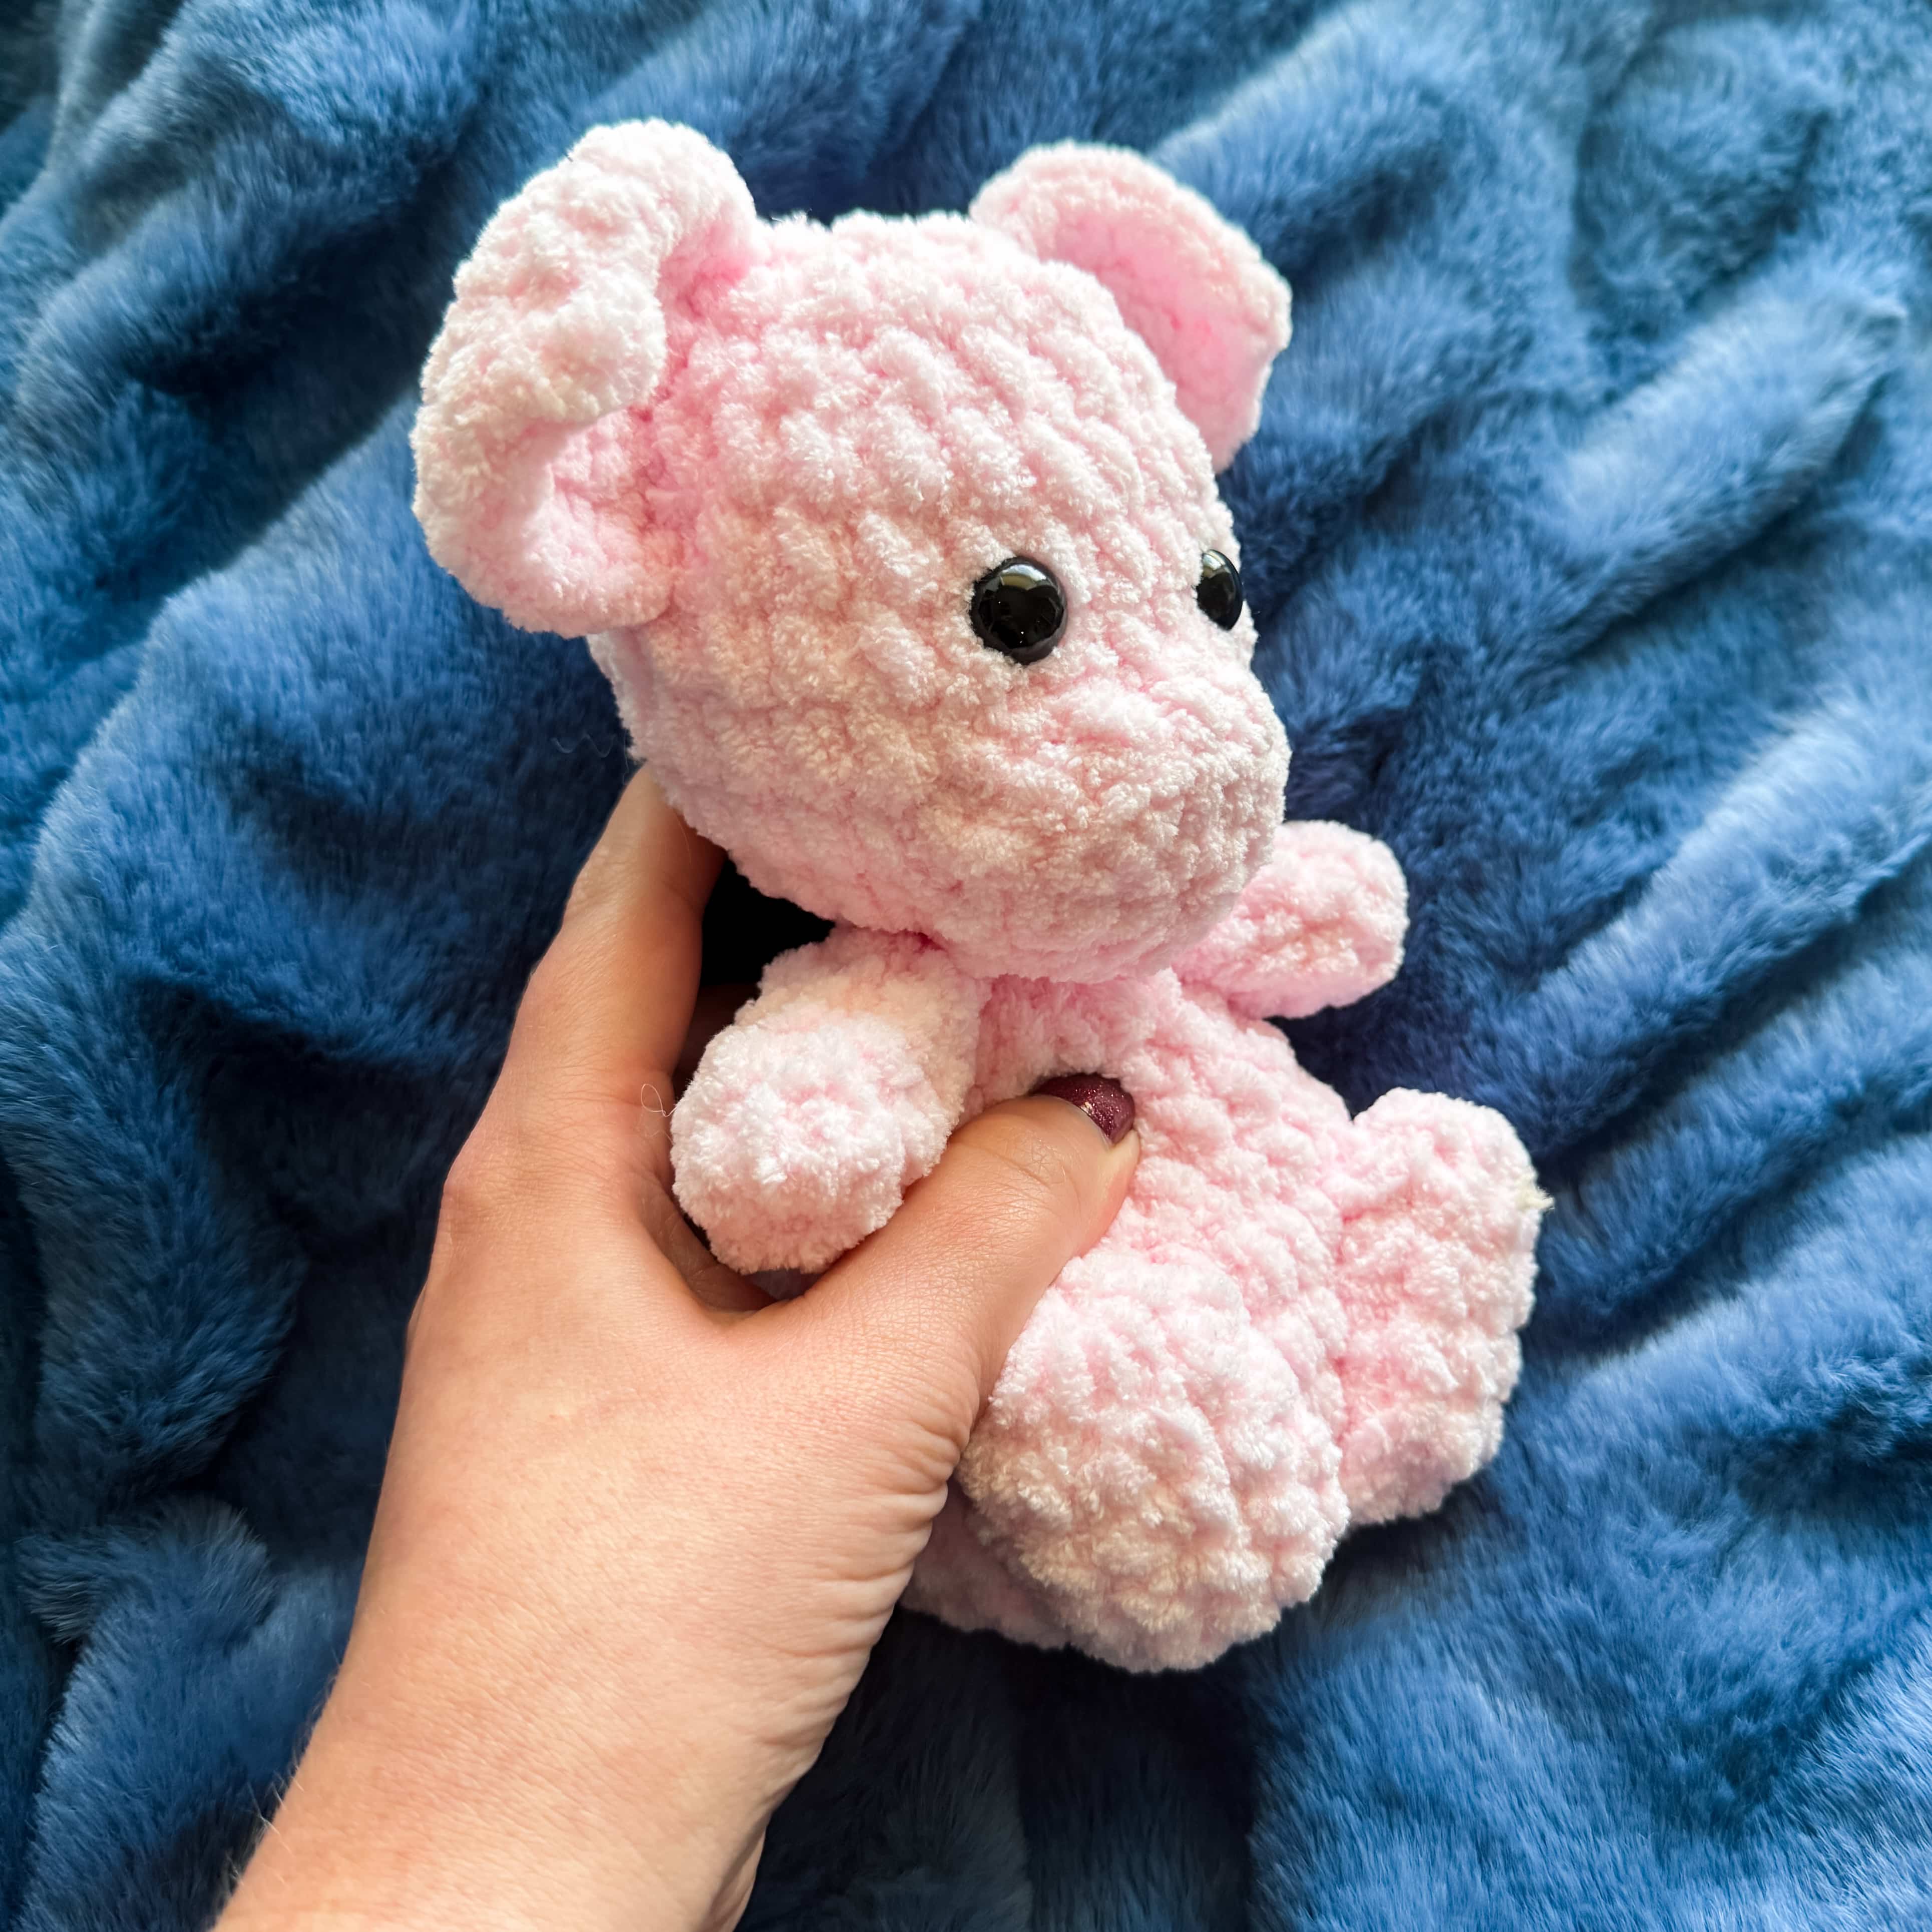
This sweet little pig is part of the Squishy Collection—extra soft, extra cuddly, and just plain fun to make! With simple shapes and that signature squishy feel, it’s a quick and satisfying project. Go classic with pink or have fun with your favorite colors. Either way, you’re going to love this snuggly little piggy!
You can use safety eyes or try out embroidered eyes so it would be safe for a baby/toddler. I have a collection of embroidery videos here.
Abbreviations
SC– Single Crochet
SC INC– Single Crochet Increase- (2 SC in each stitch)
INV DEC– Invisible decrease: – Invisible decrease (put hook through the FRONT LOOP ONLY of two consecutive stitches [two loops on hook] Yarn over pull through both loops. [two loops on hook] Yarn over pull through two loops)
Magic Circle- Make a loop, leaving a long tail to work with. Insert hook in center of loop, yarn over and draw up a loop. Yarn over, pull through to make the first chain (this does not count as a stitch!). Continue to crochet over the loop and tail with the number of stitches called for. (If you need 6 SC, then crochet 6 SC inside the ring.) Pull the tail to close the circle.
Free Squishy Pig Crochet Pattern
Always move your stitch marker to the last stitch in the round. This pattern is worked in continuous rounds.
Neck Strengthener
In a magic circle, SC 7. SC in each around for a total of 7 rows. Fasten off and leave a long tail. You will need this before you stuff the head.
Body and Head
Round 1: In a magic circle, SC 8.
Round 2: SC INC in each around. (16)
Round 3: SC in the first, SC INC in the next. Repeat around. (24)
Round 4: SC in the first 2, SC INC in the next. Repeat around. (32)
Round 5: SC in the first 3, SC INC in the next. Repeat around. (40)
Round 6: SC in the first 3, INV DEC in the next. Repeat around. (32)
Round 7: SC in each around. (32)
Round 8: SC in the first 2, INV DEC in the next. Repeat around. (24)
Round 9: SC in each around. (24)
Begin to stuff here. Remember to stuff lightly.
Round 10: SC in the first, INV DEC in the next. Repeat around. (16)
Round 11: SC in each around. (16)
Round 12: INV DEC in each around. (8)
Round 13: In the front loop only, SC INC in each around. (16)
Round 14: SC in the first, SC INC in the next. Repeat around. (24)
Rounds 15-19: SC in each around. (24) *5 rounds*
Insert safety eyes between rounds 17 and 18, about 4 stitches apart. Insert neck strengthener. See this video on how to make your head round
Round 20: SC in the first, INV DEC in the next. Repeat around. (16)
Stuff the head. Keep stuffing as you close.
Round 21: SC in each around. (16)
Round 22: INV DEC in each around. (8)
Fasten off and sew the remaining hole closed.
Arms (make 2)
Round 1: SC 7 in a magic circle
Rounds 2-5: SC in each around.
Leave unstuffed. Fasten off and leave a long tail to sew on.
Sew on between rounds 10 and 11. See here for my favorite method!
Feet (make 2)
Round 1: 10 SC in a magic circle (10)
Rounds 2-3: SC in each around.(10)
Round 4: INV DEC in each around. (5)
Leave unstuffed. Fasten off and leave a long tail to attach.
Sew the feet on flat to the body, with the bottom of the foot touching Round 4.
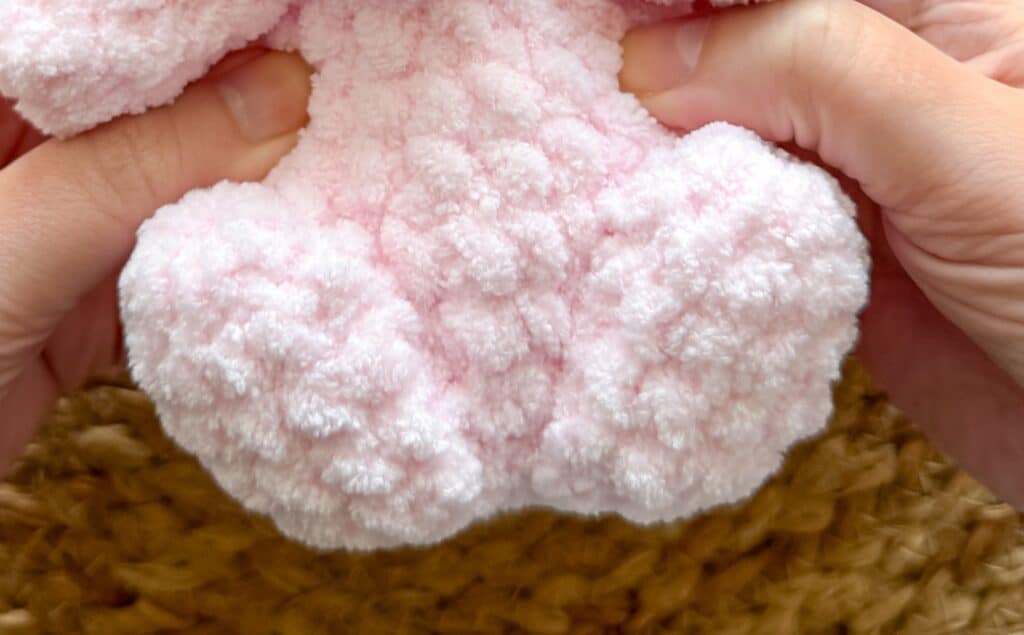
Ears (make 2)
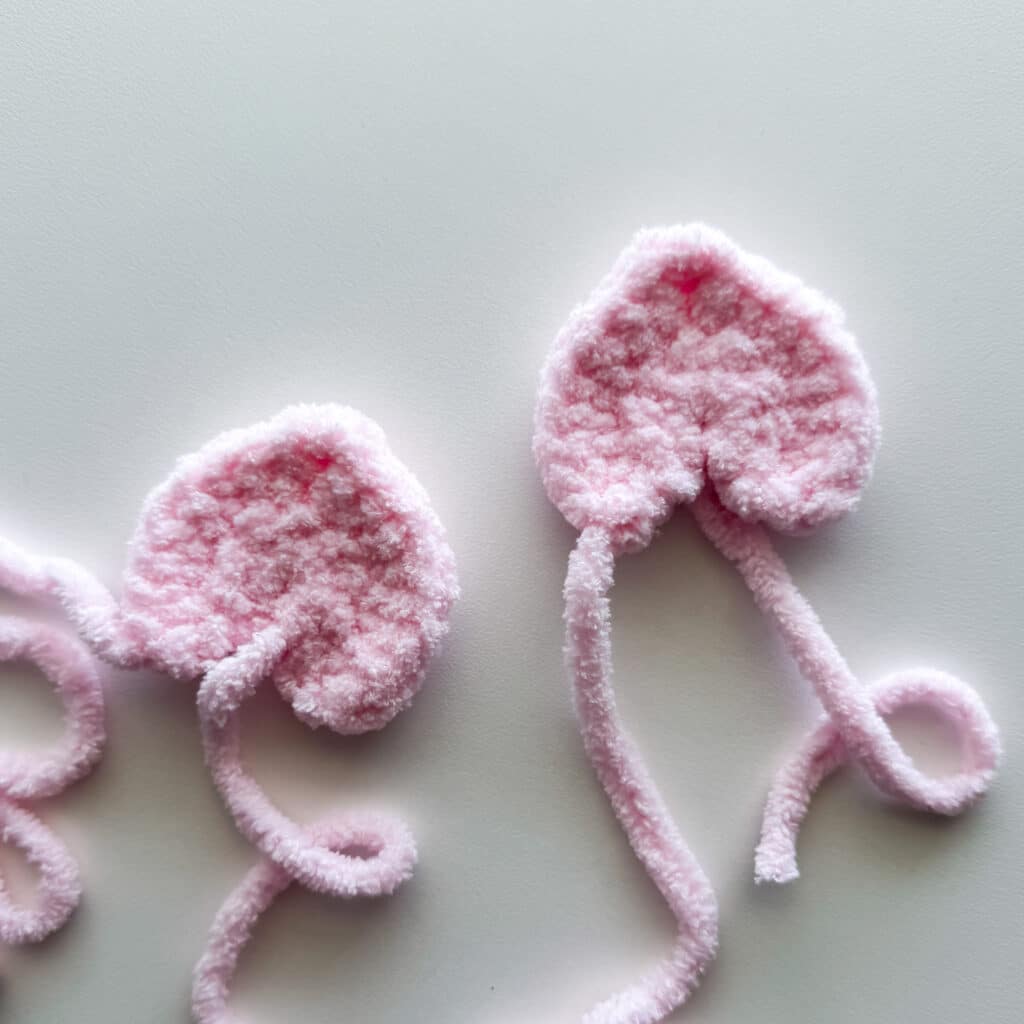
Round 1: 8 HDC in a magic circle. Chain 1 and turn. (8)
Round 2: HDC INC in the first 4 (total of 8 stitches) Chain 2. HDC INC in the remaining four. (16 HDC)
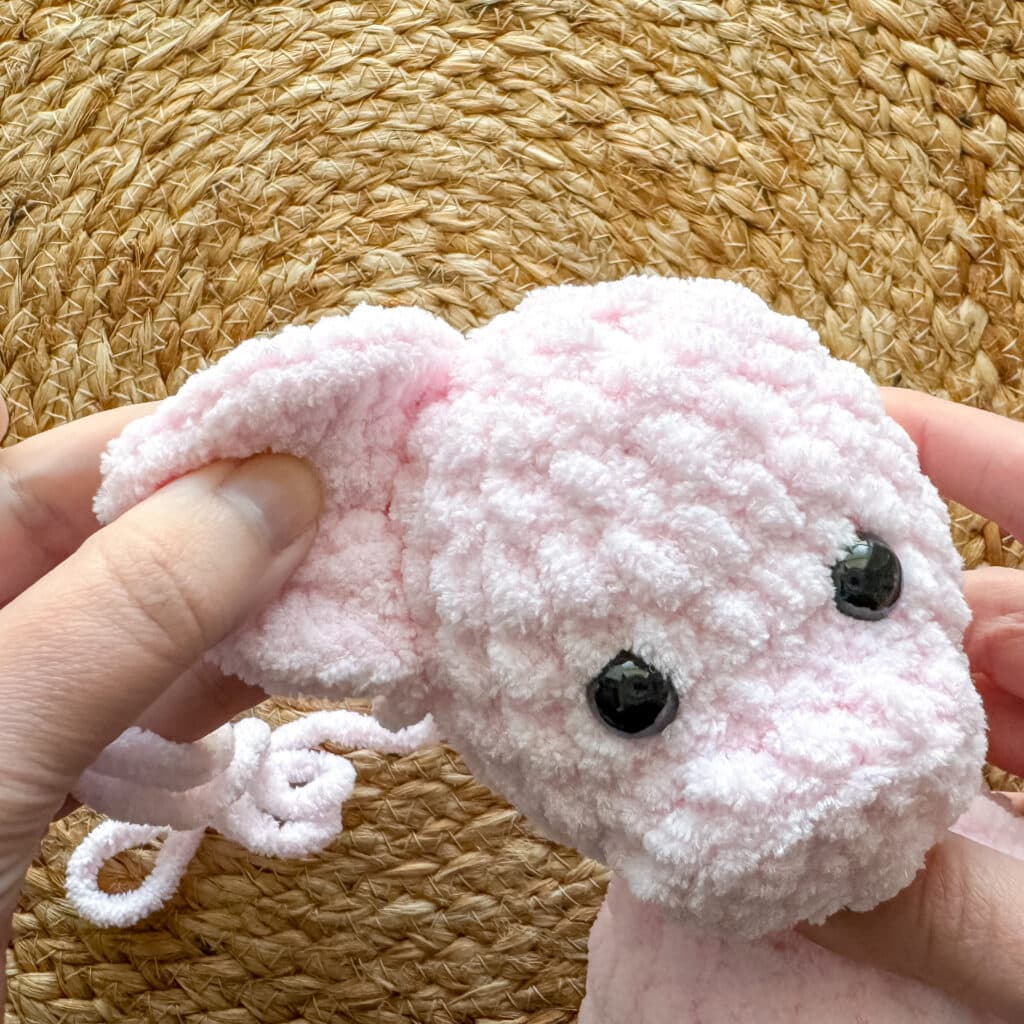
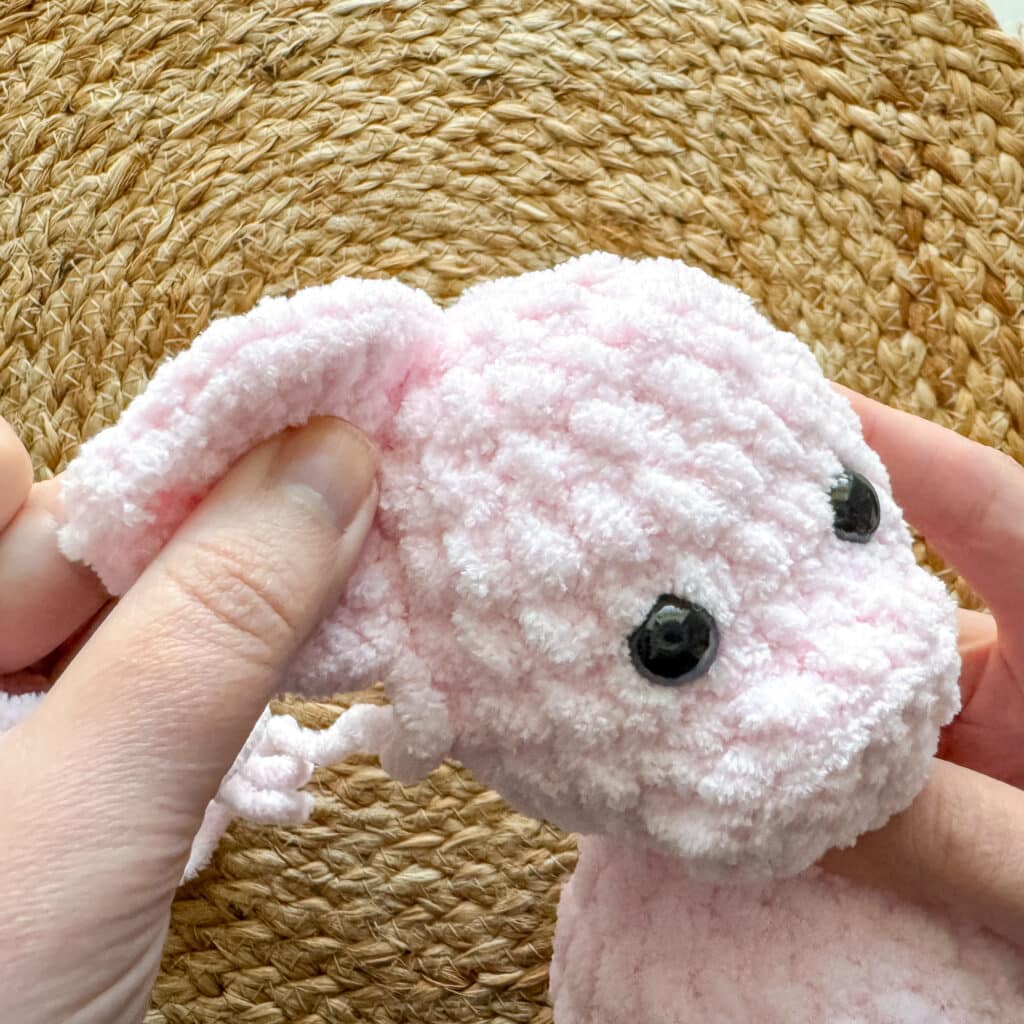
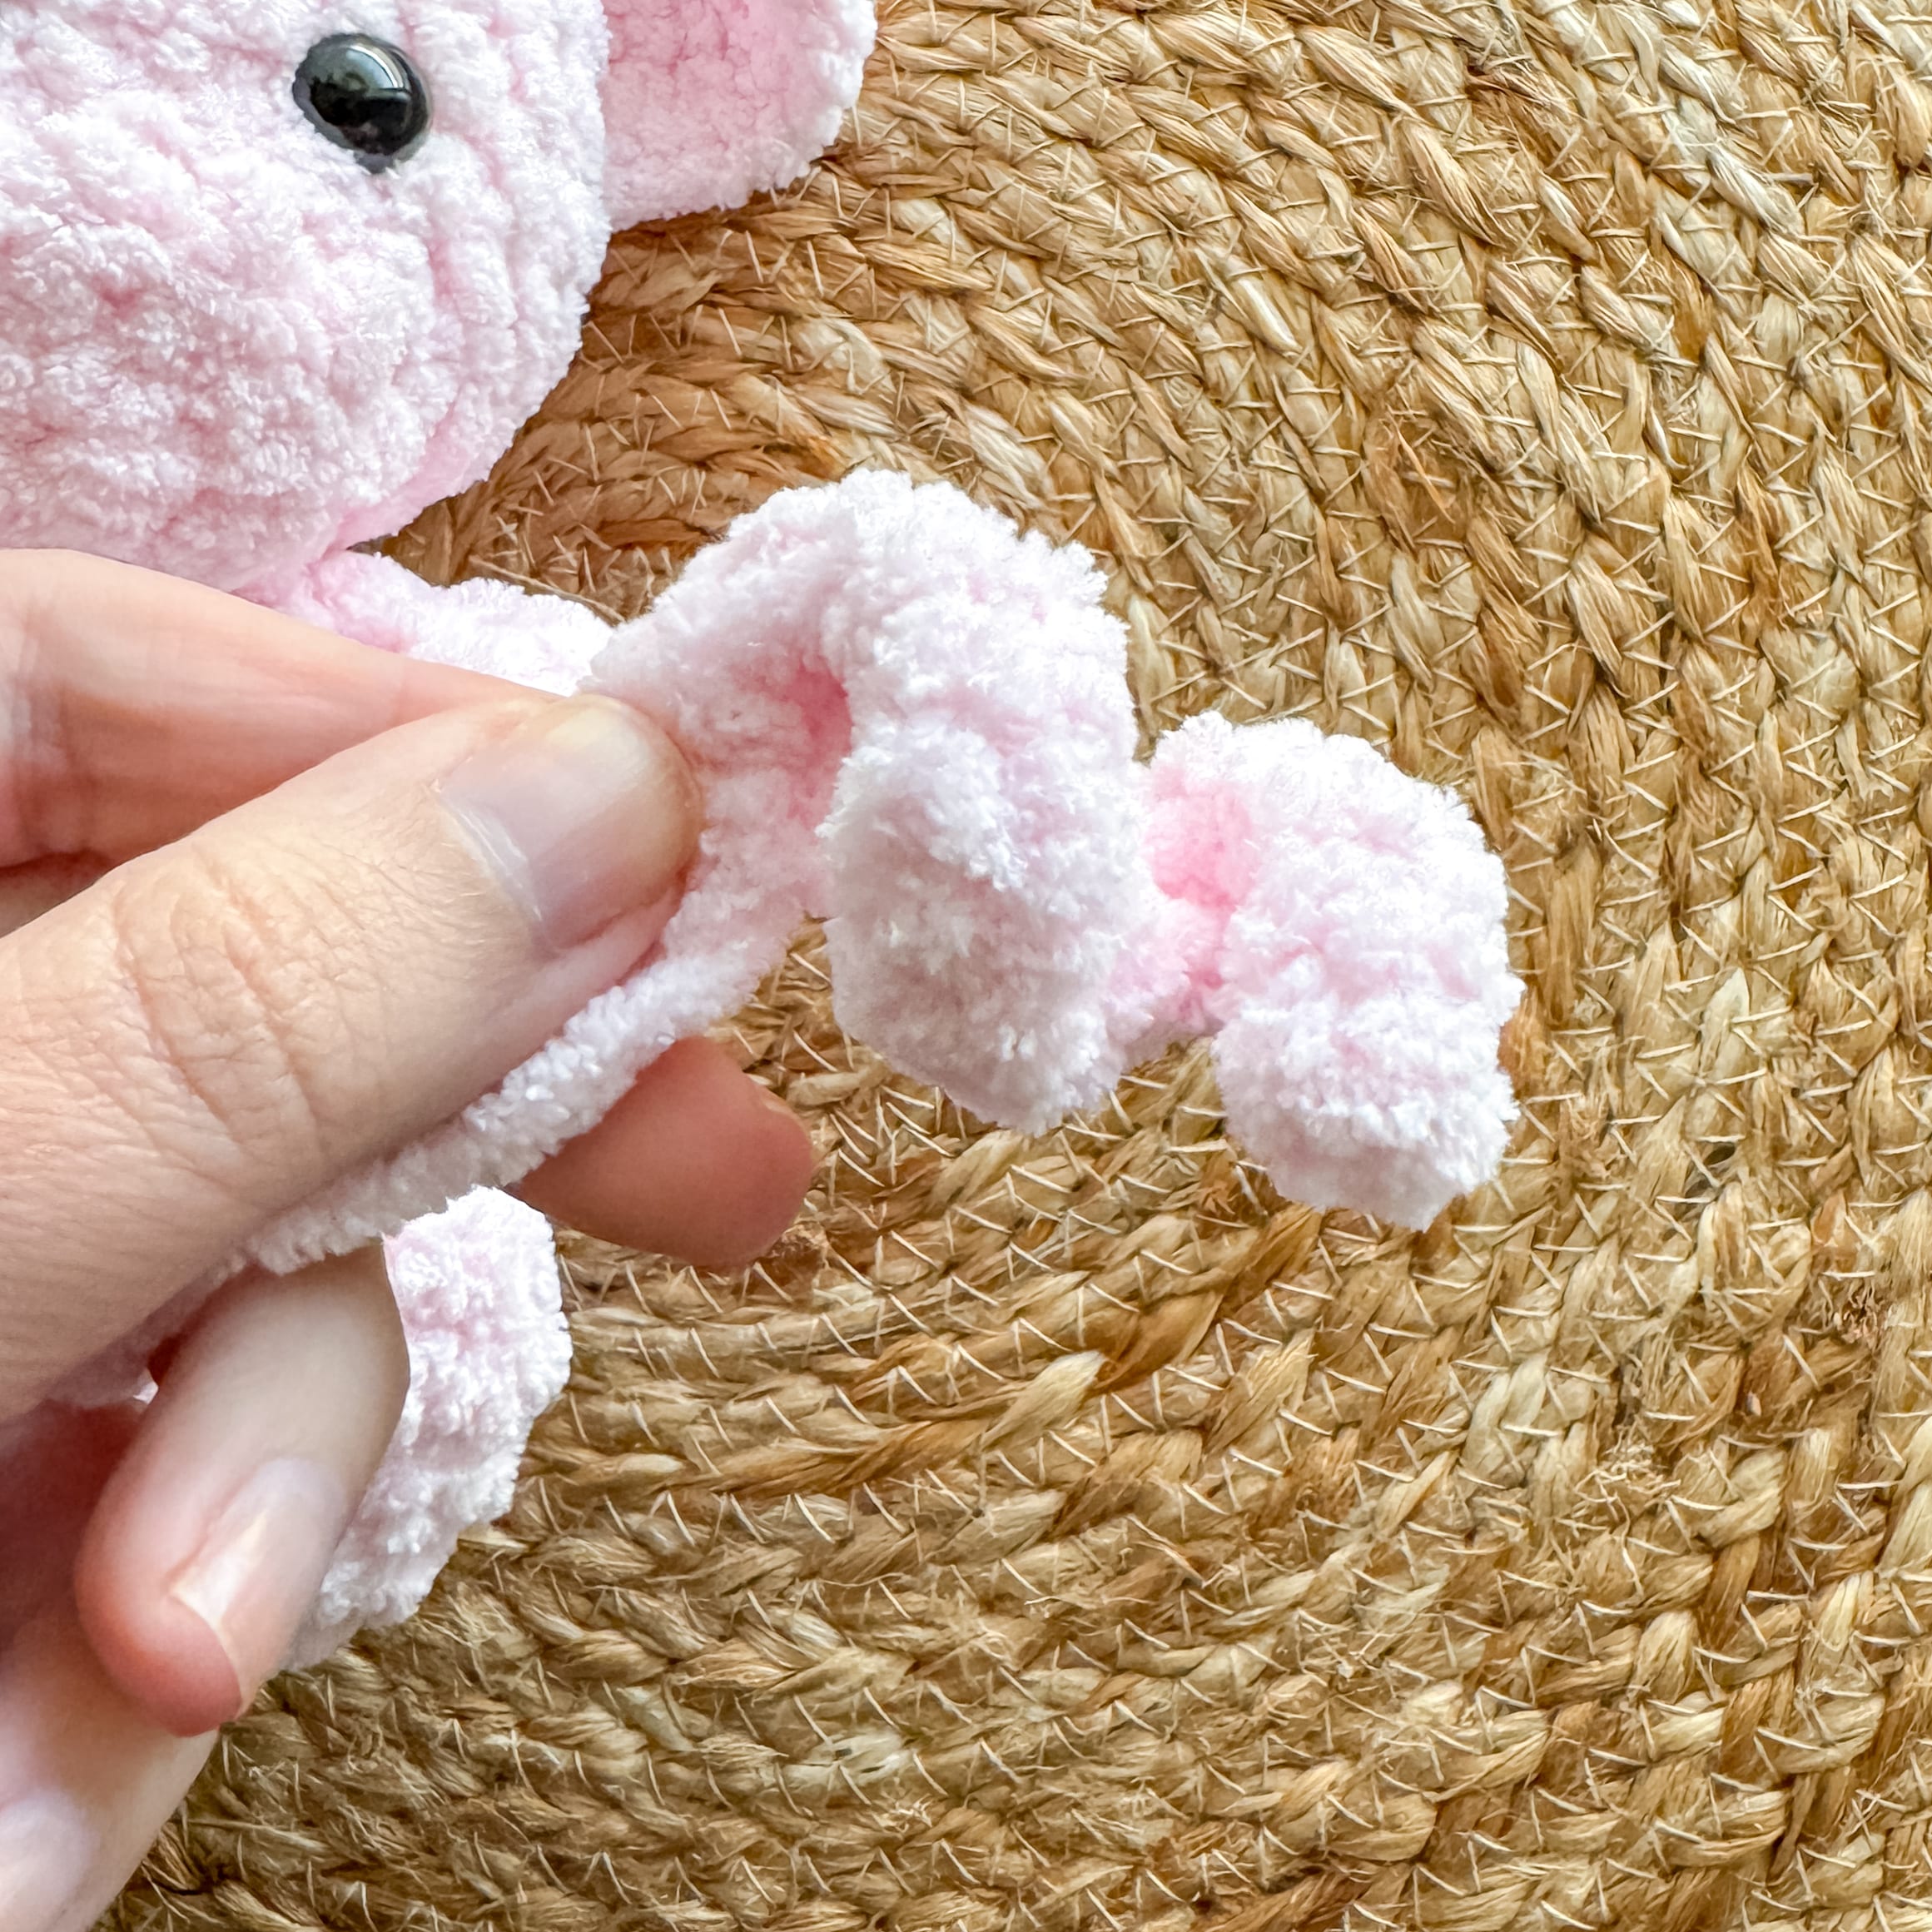
Fasten off. Stretch the ends so that the ear is triangular. Sew each ear on with the flat part against the head. One end should be on the third round from the center of the head and the other about one round above the eyes.
Nose
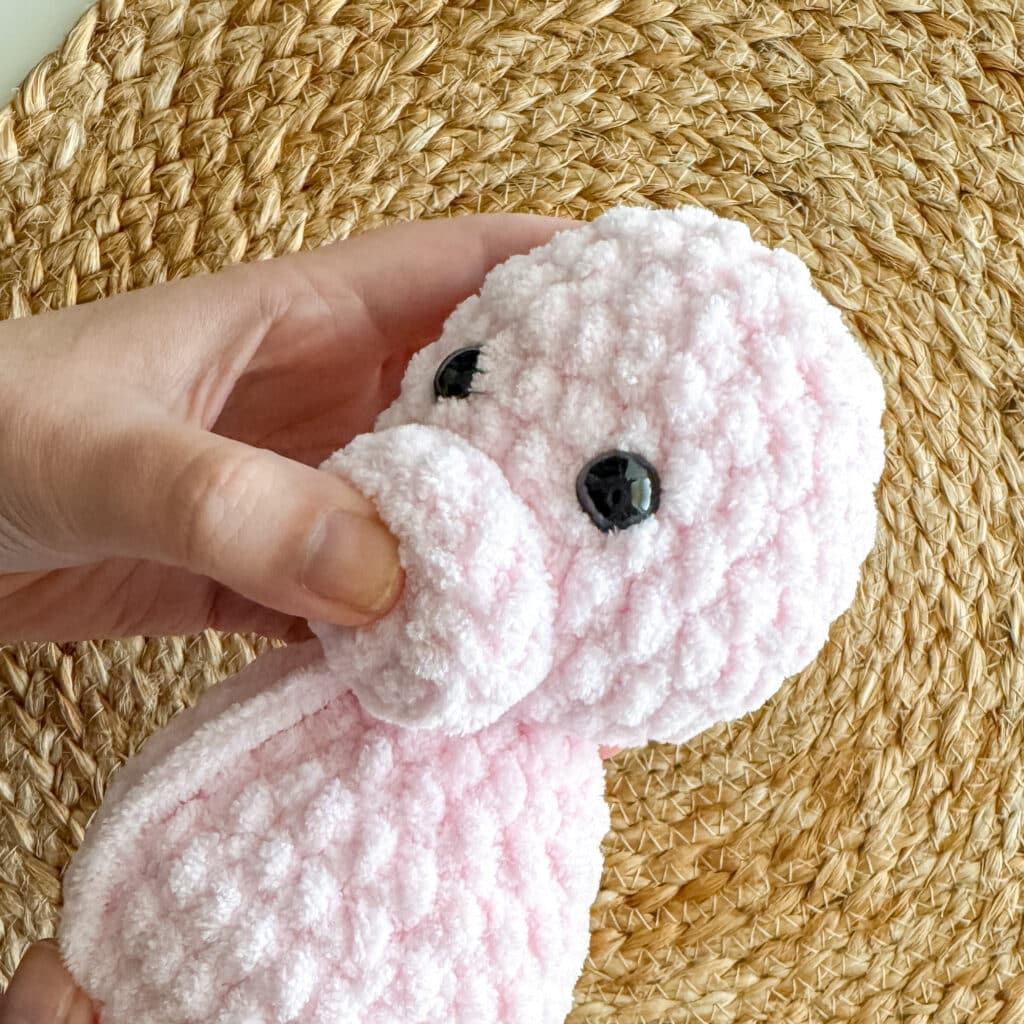
Round 1: 8 SC in a magic circle. (8)
Round 2: INC in the first 2, SC in the next 2. INC in the next 2. SC in the next 2. (12)
Round 3: In the back loop only, SC in each around. (12)
Fasten off and leave a long tail to sew on.
Tail
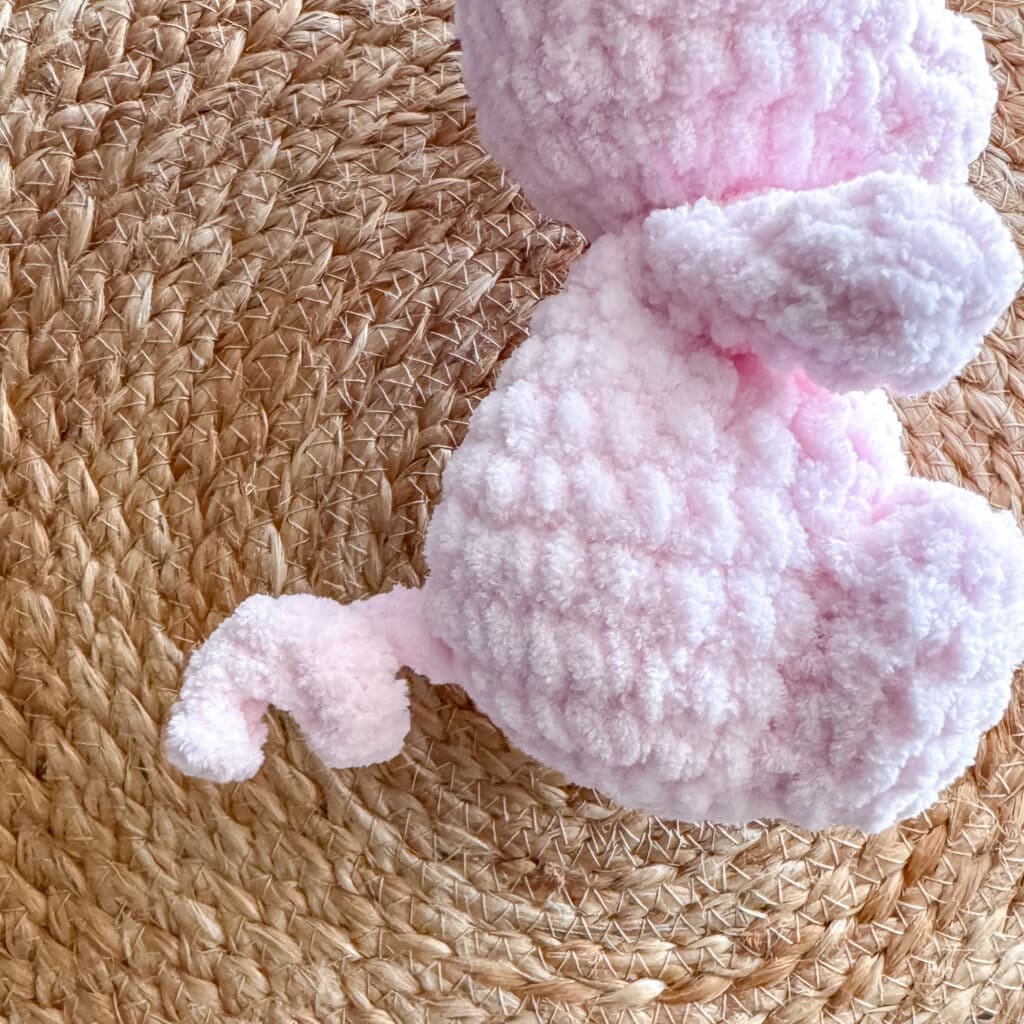
Chain 11. In the second chain from the hook, SC INC. SC INC in each remaining chain. (20)
Fasten off and leave a tail to sew it on, around rounds 4-5.
Want the Ad-free, Printable PDF?
You can find it in one of my stores!
Did you make this pattern?
Mention me @thefriendlyredfox so I can see your Squishy Pig Crochet Pattern creations! You can also leave a comment below!



Oh my goodness, that is adorable! Thank you for sharing the pattern.
LOVE your squishy animals. Every single one of them. I just wish I could crochet faster. I should really get all the squishies I still have left and take a picture.
Thank you so much
Diane
Thank you so much for this cute pattern – I’m definitely going to check out your other squishies, I’ve already saved some patterns! 😍
The tutorial was easy to follow and the video explanation for the head strengthener really helped. Even though my piggy is not completely symmetrical, it is so adorable!
I was wondering why you leave the arms and legs unstuffed? I just added a bit of stuffing to the limbs because that appeared curious to me.
I also stitched on two nose holes with black yarn.
Best wishes,
Luisa 😊
The limbs are unstuffed because the plush yarn is so squishy that stuffing them makes them stick out too much!