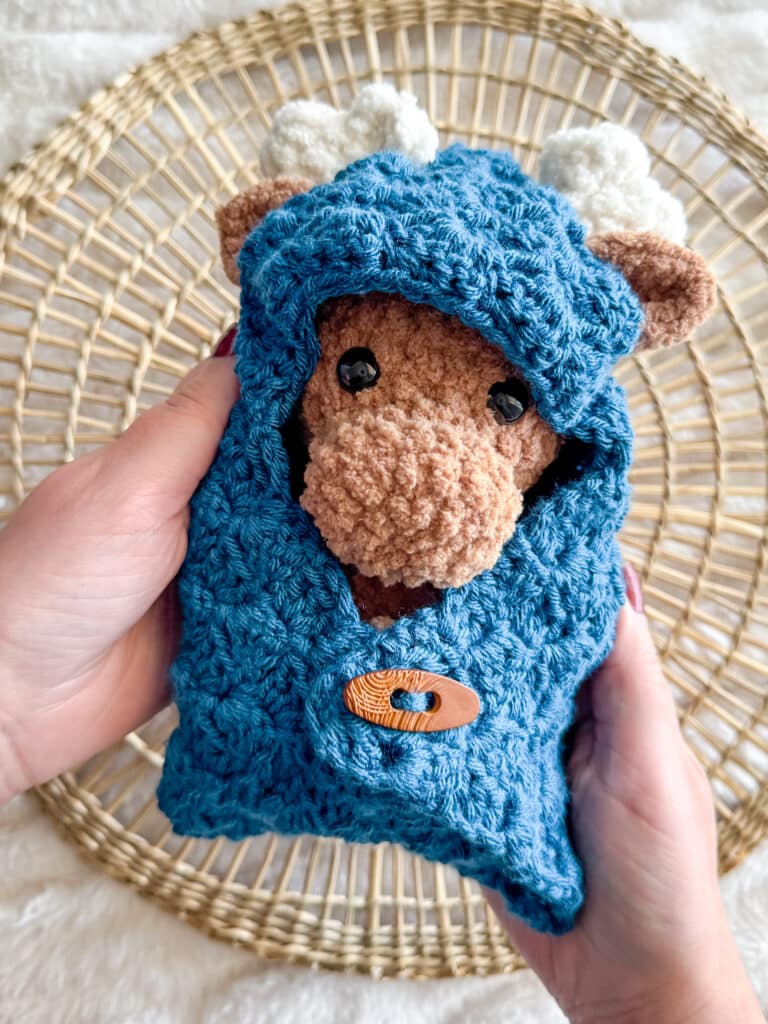
Amigurumi Swaddle Blanket: Step By Step Video Tutorial and Pictures
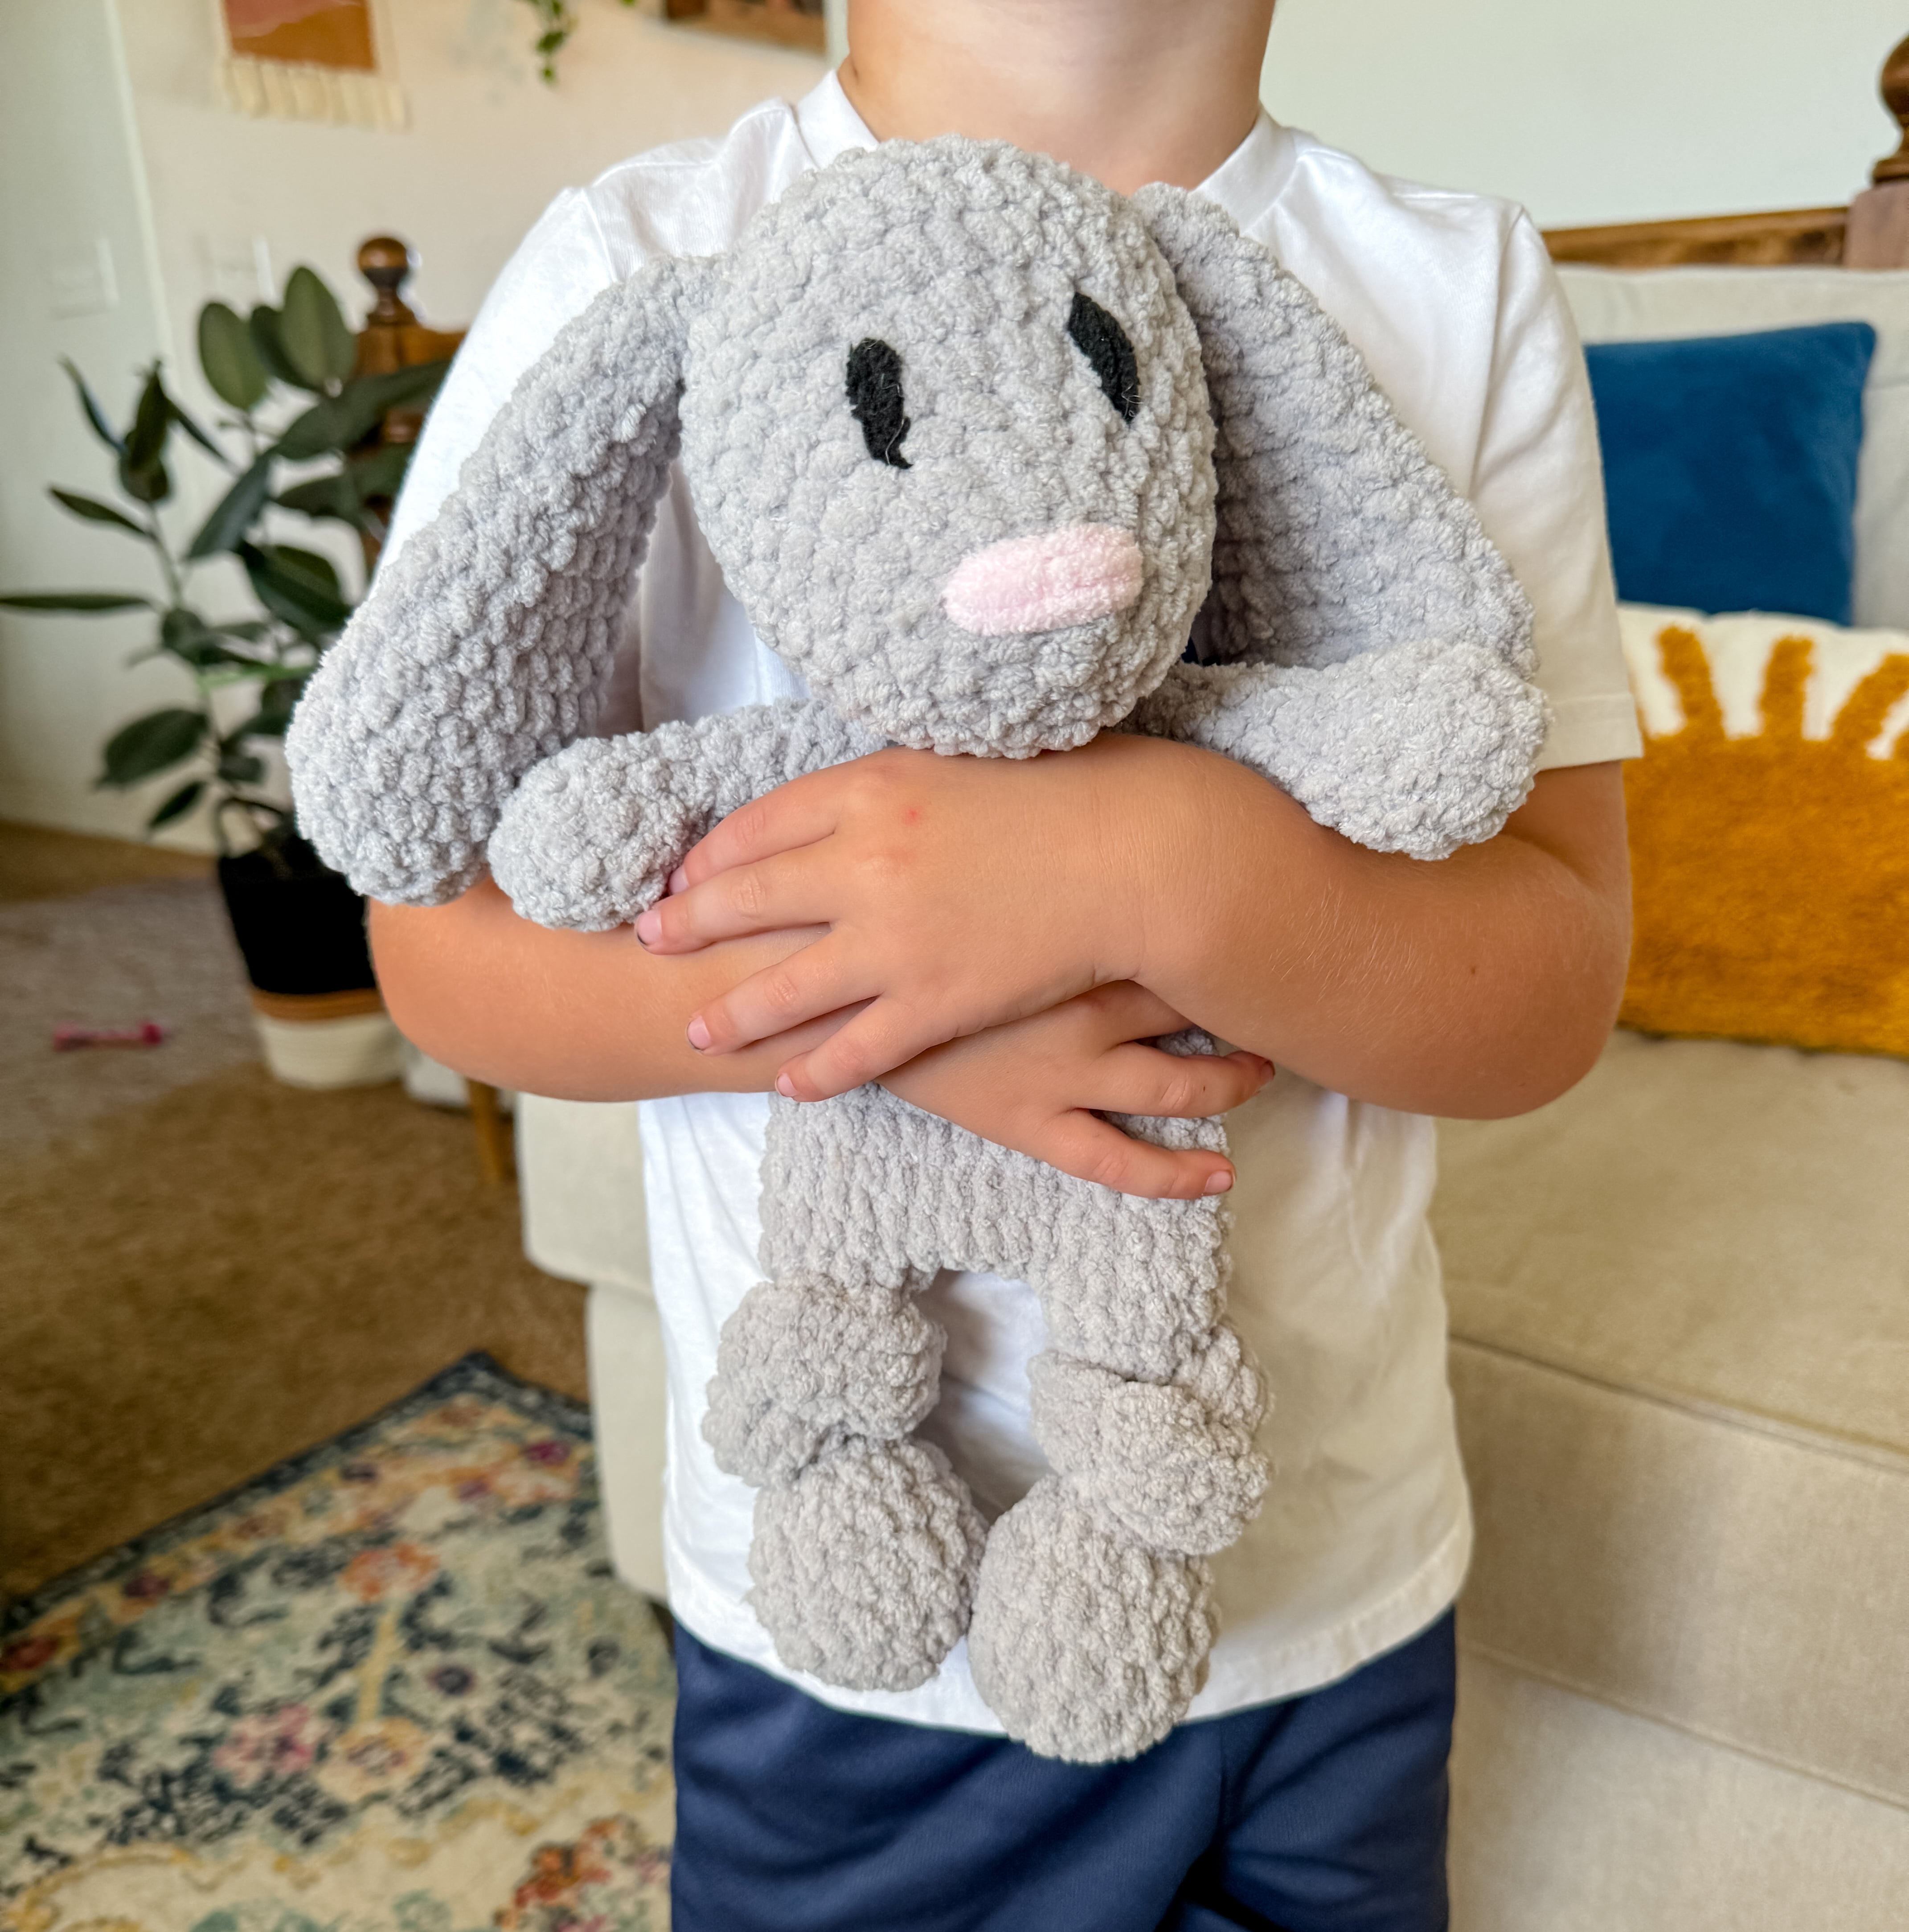
This swaddle blanket is absolutely perfect for the patterns in my Squish Pal collection. They work well because of their smaller size and because the feet are (mostly) sewn close to the body. That helps because the swaddle can be pretty compact, and doesn’t need to be so large and bulky to accommodate larger legs.
I was hesitant to write this up as a pattern… Mostly because I know there are a wide range of yarn types and different ways to crochet, so the squish pal amigurumi could be larger than mine, and the blanket could be a different size. The type of yarn you use, the hook size, and your tension can change the size, even if you crochet the recommended 14 rows. So I hope you look at this as more of a tutorial. I spent a lot of time on the video and photos here, so that even if you have to adjust, I hope it is easy for you to figure out how.
My squares come out to 9 inches using worsted weight 4 yarn and a 5mm hook. If you can get the desired 9 inches using a different type yarn or hook, it should still work. I will warn you that I tried to use bulky blanket yarn and would not recommend it. While I think it could have technically work, there was a lot of extra bulk and didn’t “fold” very well.
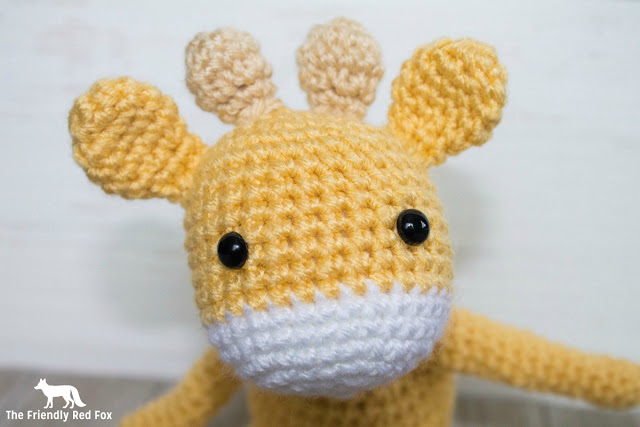
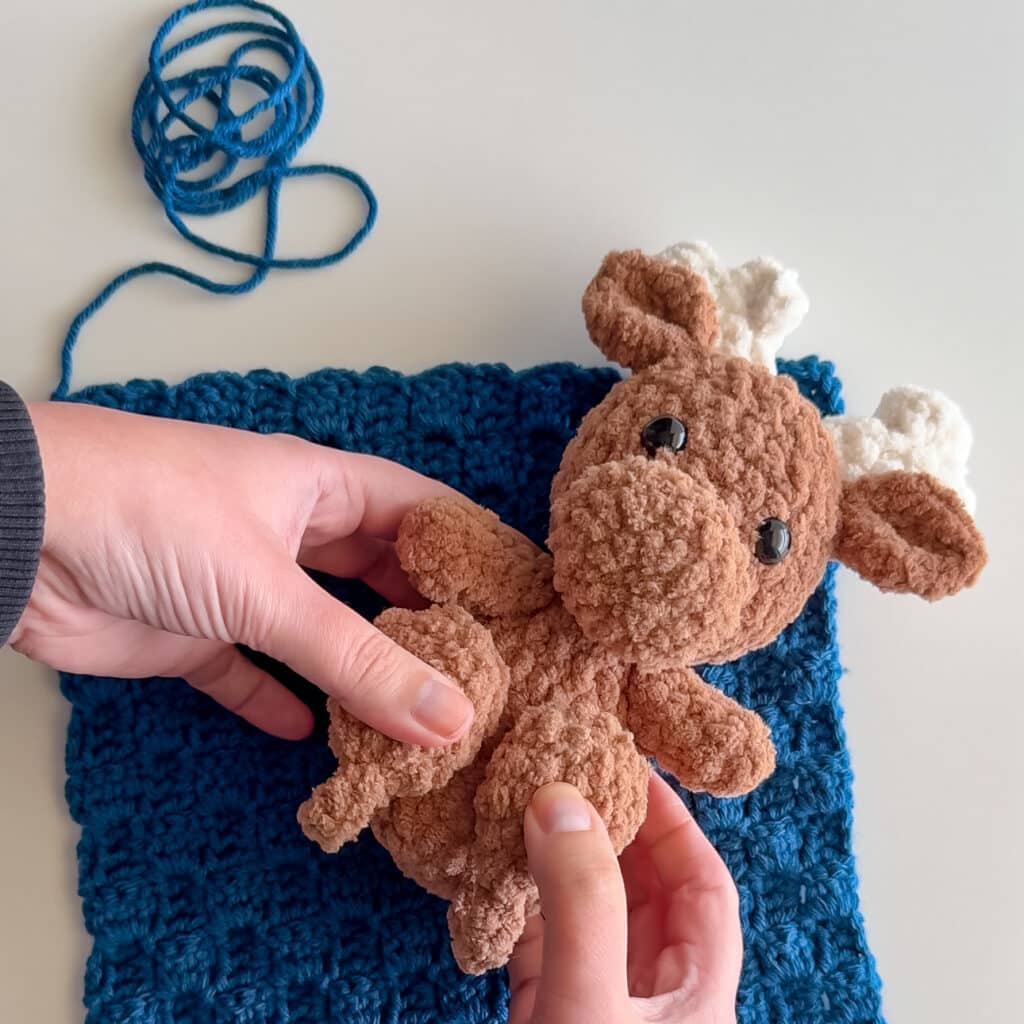
Like I mentioned, this was designed to work with my Squishy collection. I show you how to adjust the hood for the different ears and horns so you can really customize them. Both the Squishy Giraffe and Squishy Moose have horns and they’re absolutely adorable poking out of the hood! However, it is possible to make it bigger or smaller to fit a different amigurumi animal. You would need to adjust the size of your square and the hood. Unfortunately I haven’t done it myself, so it would be an experiment on your part! But I think the method I outline here would be a good starting point!
Ad-free, Printable PDF
My patterns are free on my website, but you can find them in my shop if you prefer a printable copy!
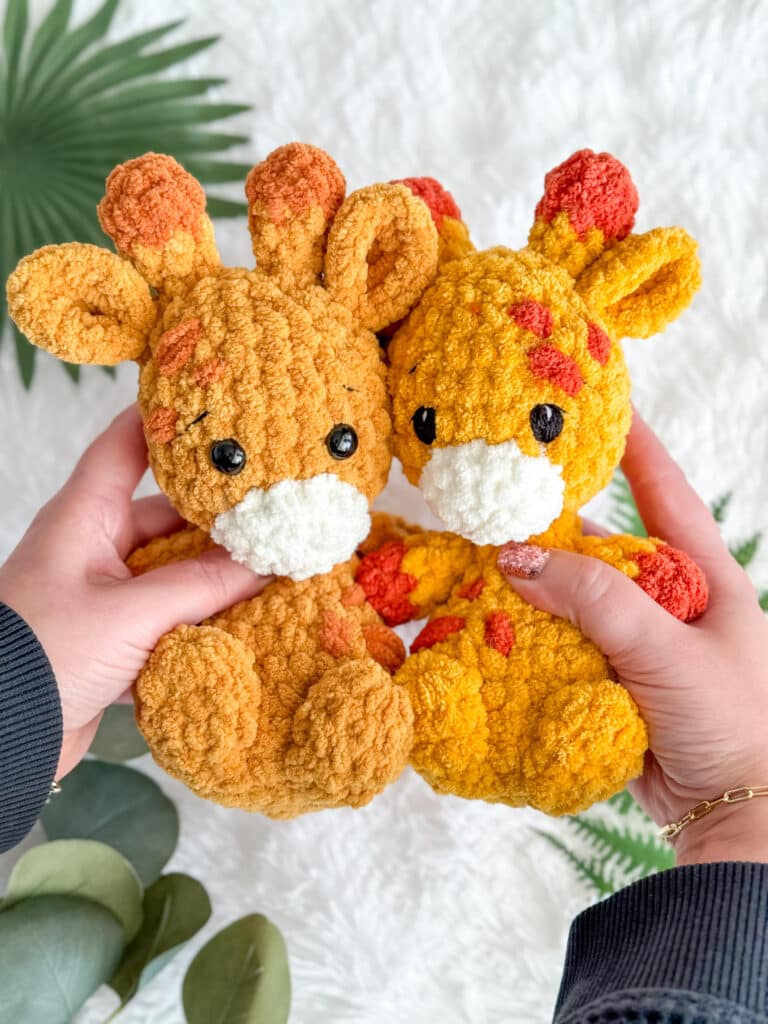
Squishy Giraffe Pattern
$6

Squishy Hippo Pattern
$6

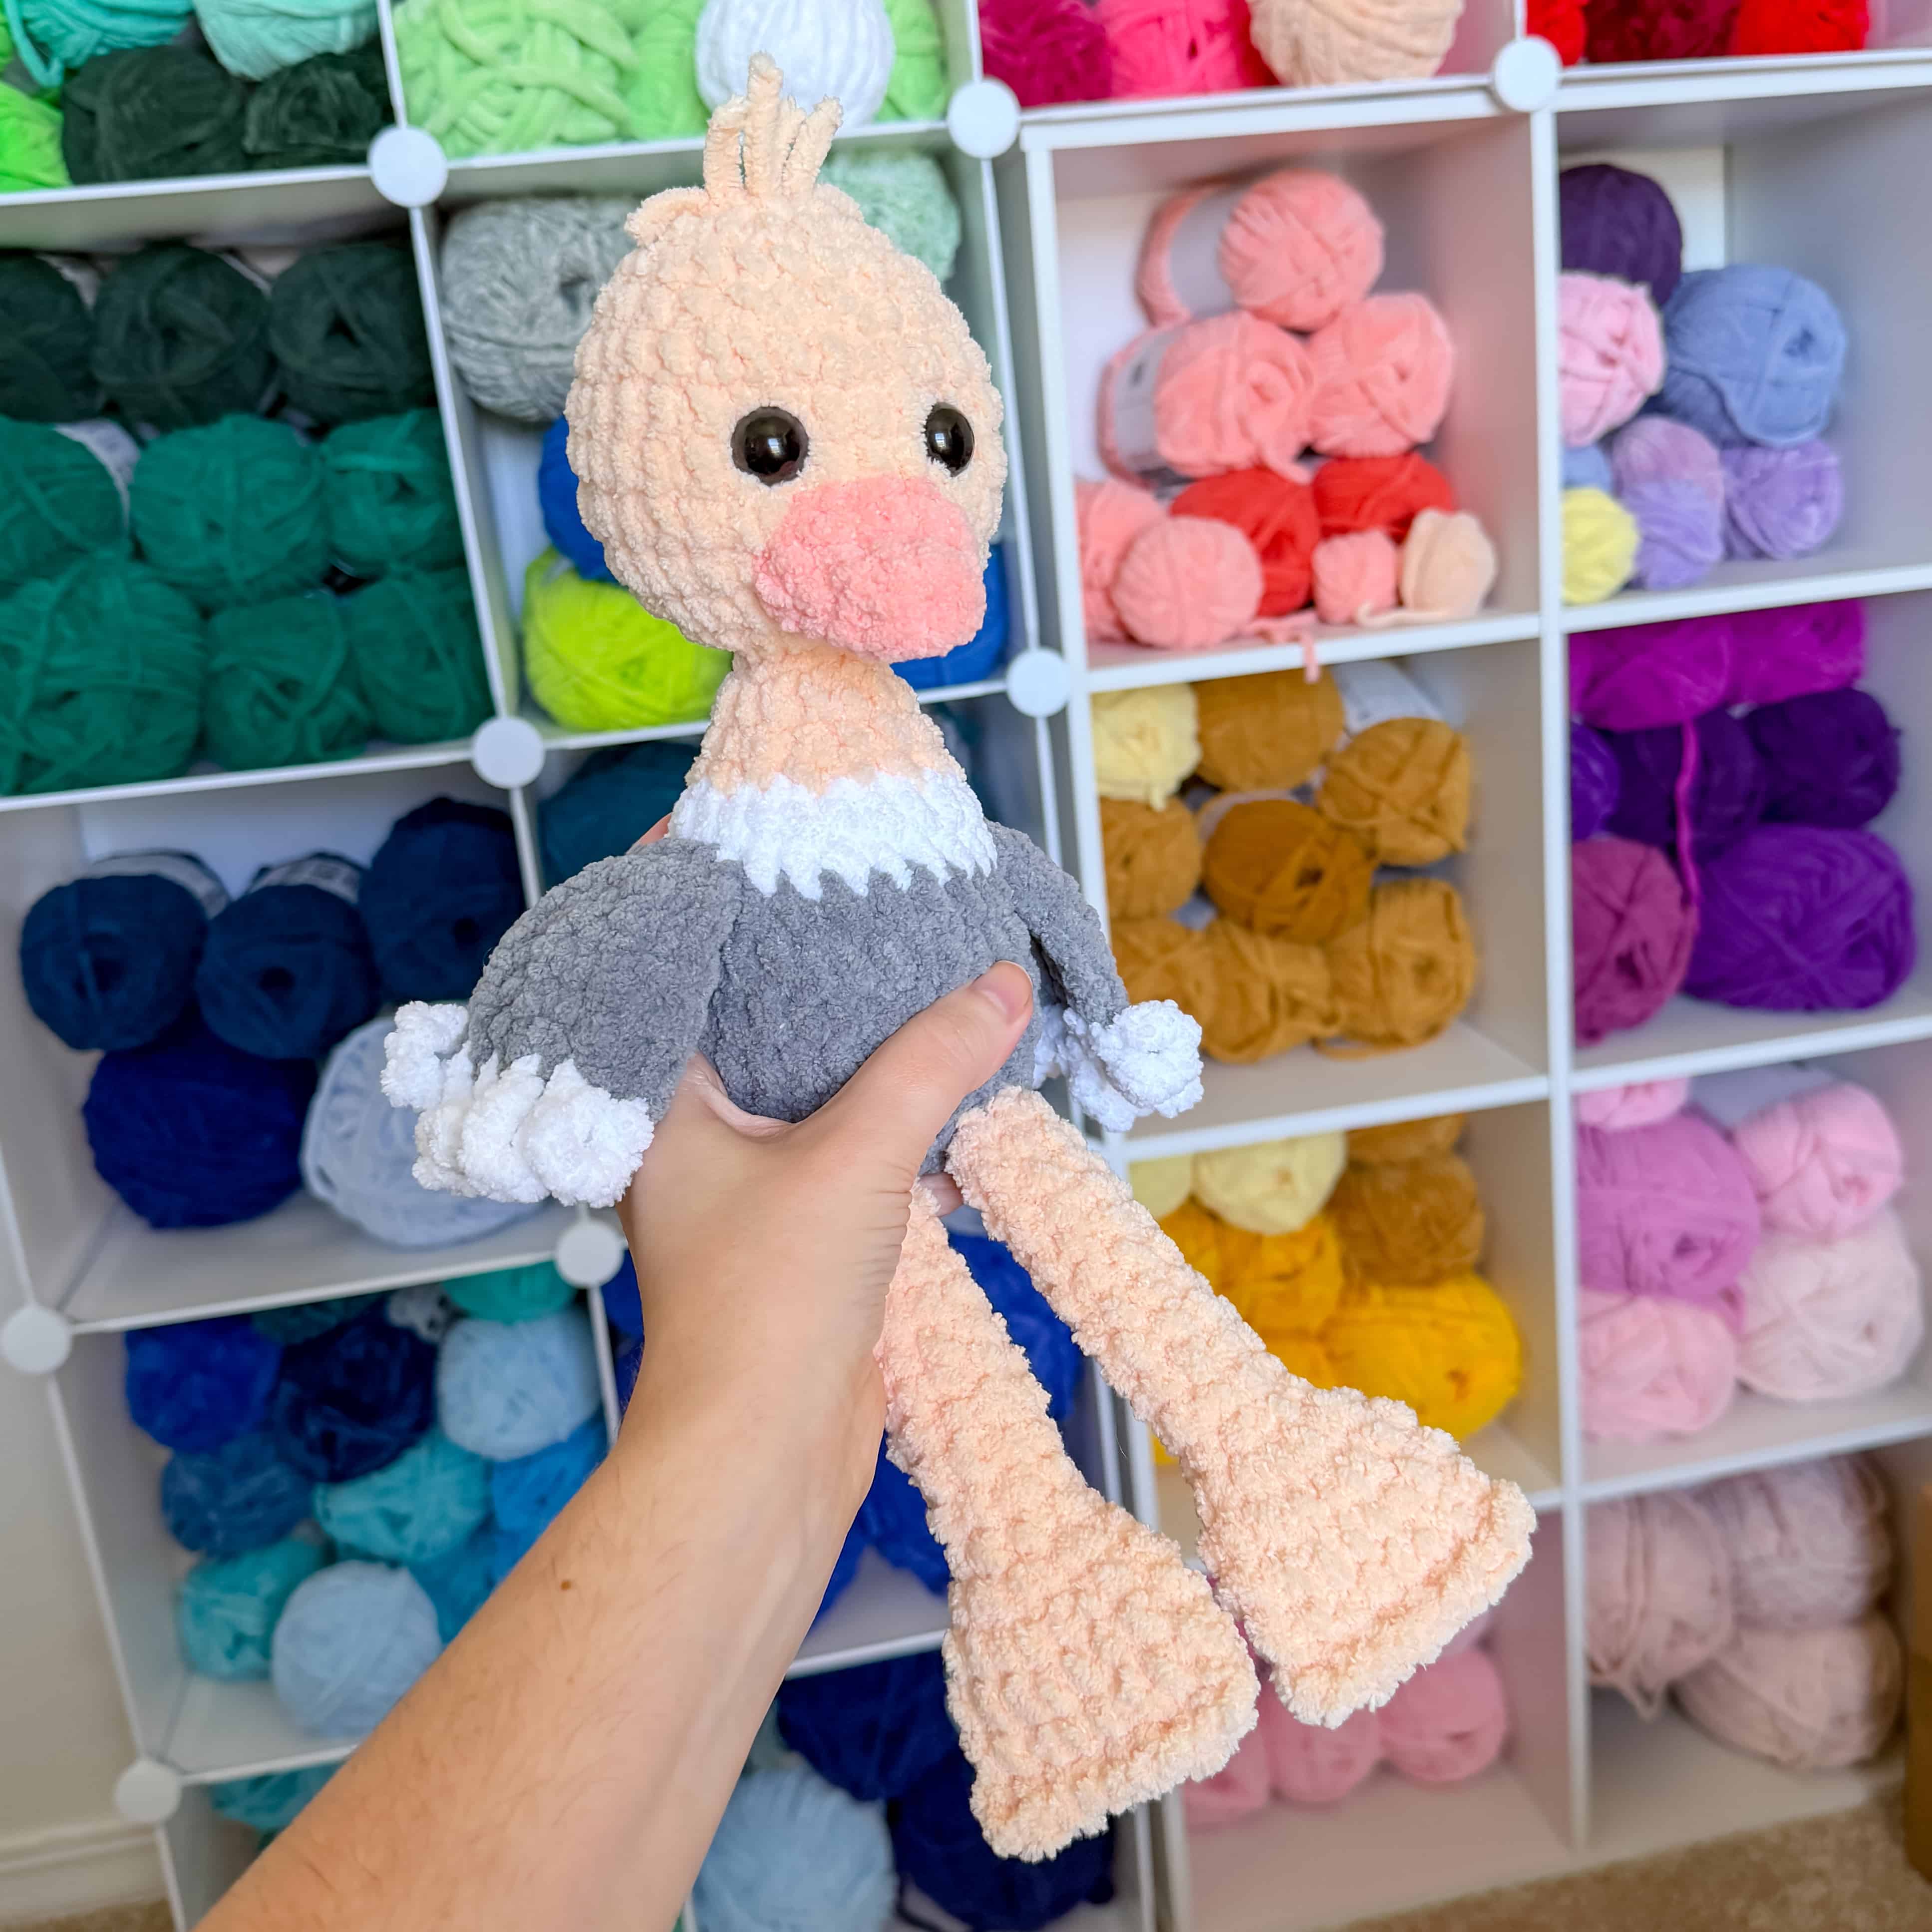
Squishy Chicken Pattern
$6
I share both a video and photo tutorial for this swaddle blanket. If you want more details and a more thorough explanation, please watch the video below.
How to Assemble Your Squishy Swaddle Blanket

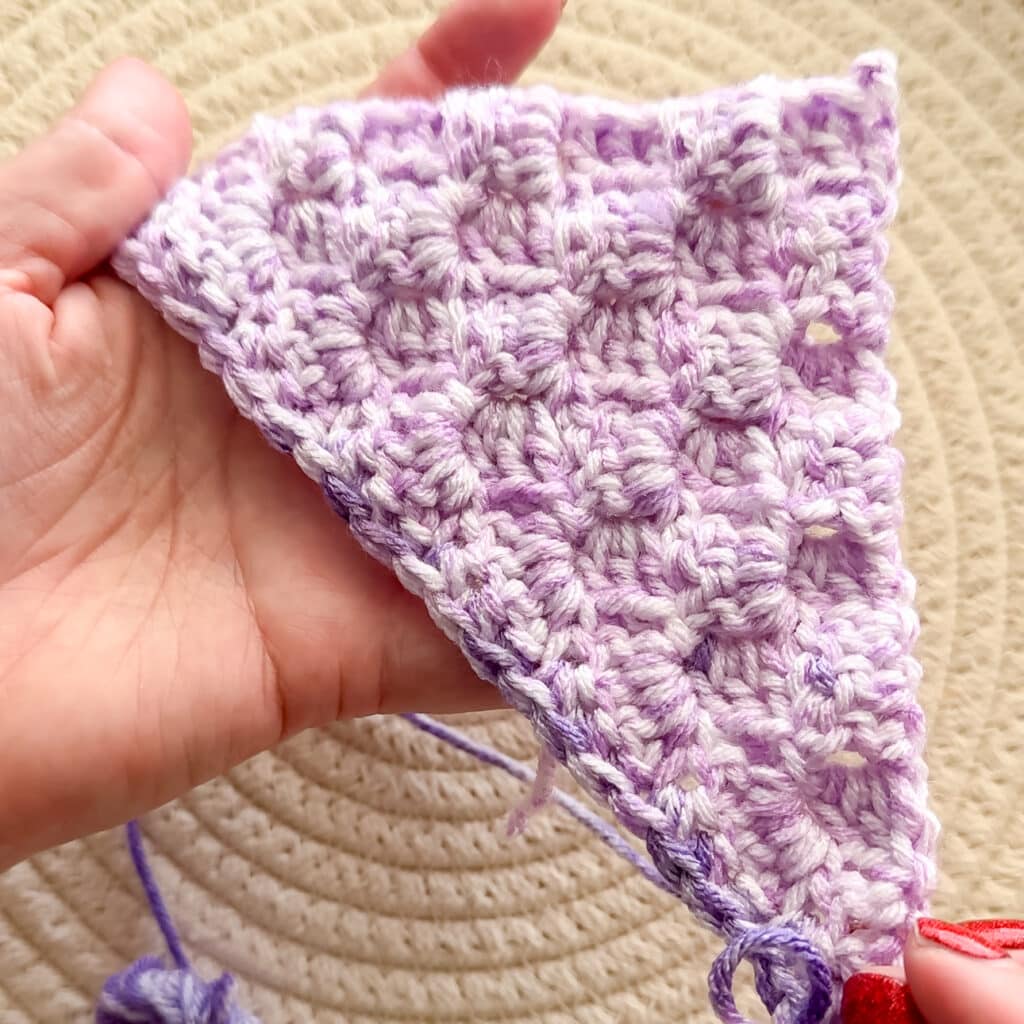
Crochet a square using the Corner to Corner Method. You need to make a square that is 9 inches. I make a C2C square with 14 rows to achieve that.
If you are new to this method please check out this video and photo tutorial!
Double check that the size is correct. The correct size can be determined by the head being in one corner with enough room to attach the hood.
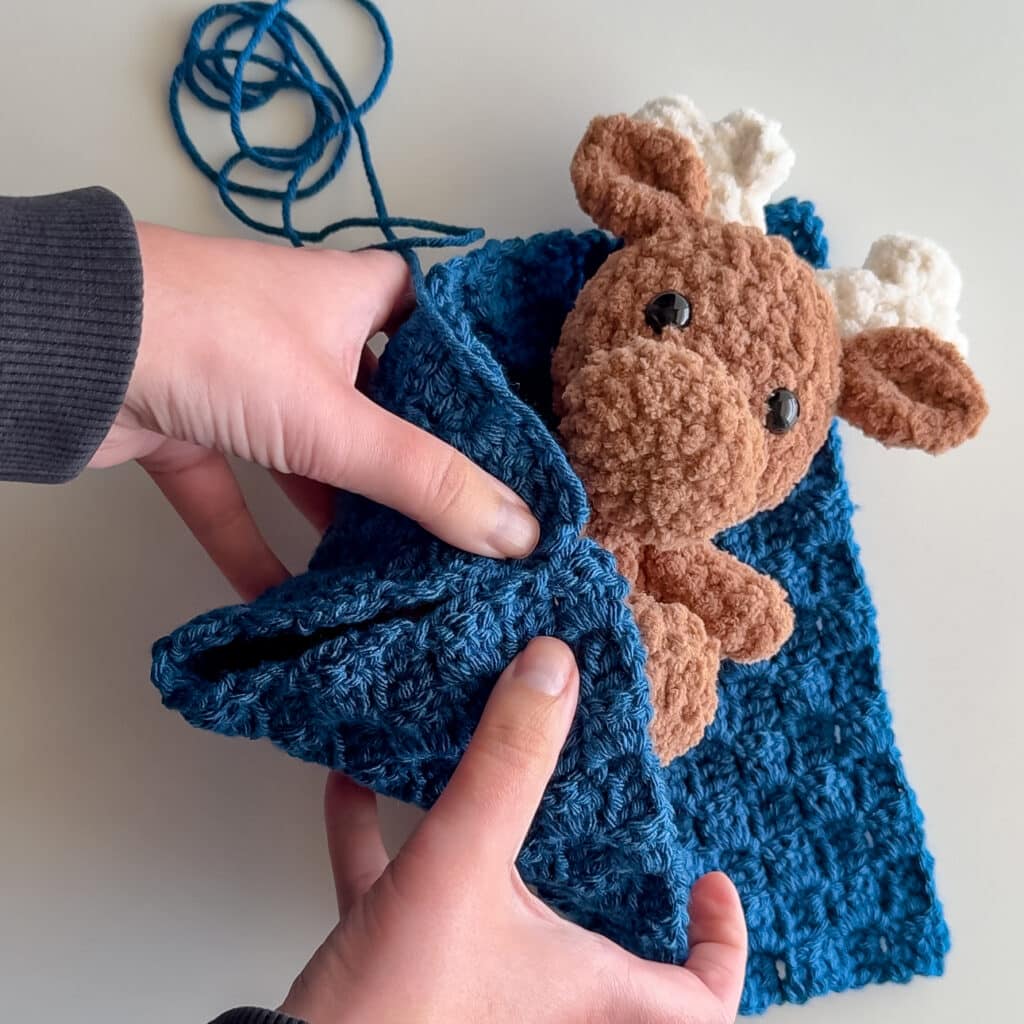
The bottom corners should be able to touch. The last corner should be able to reach over enough to have a button go through.
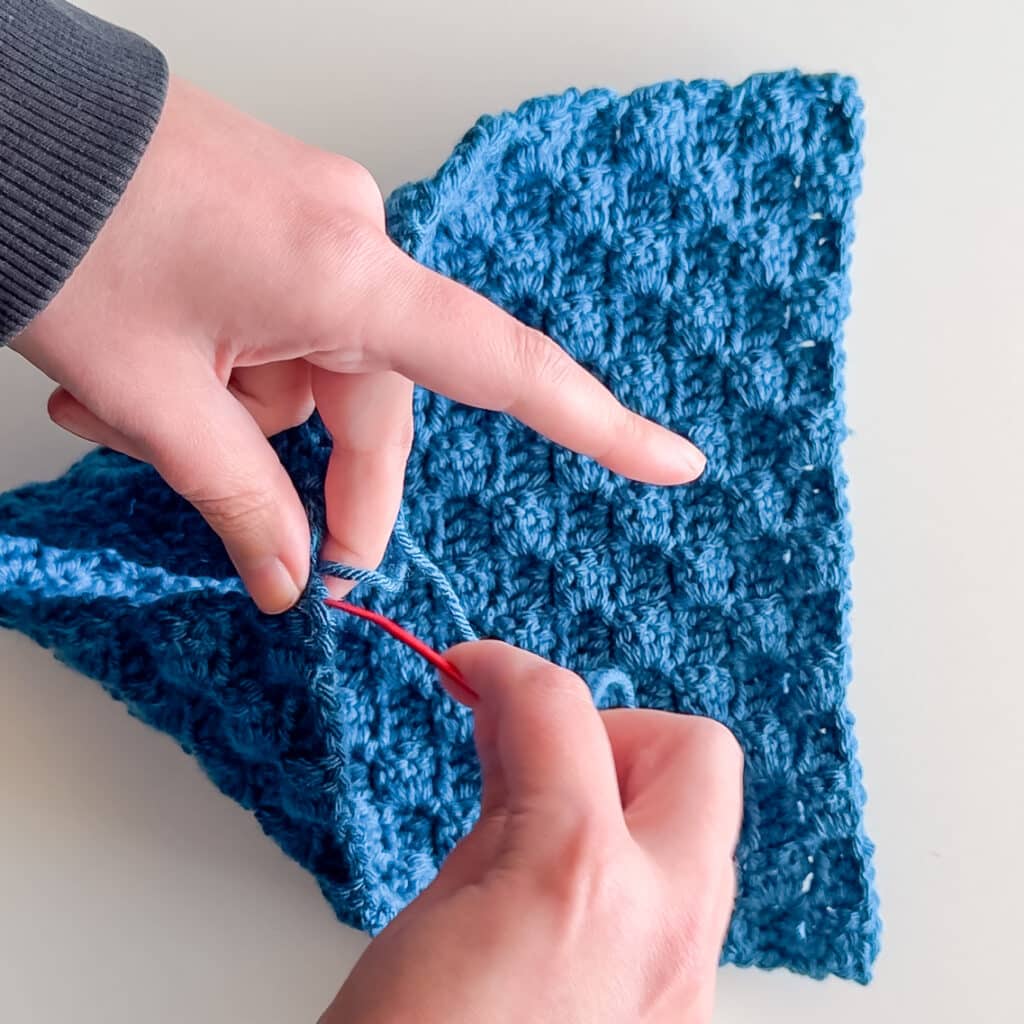
Make sure that the long tail remaining from fastening off is oriented so it is the left corner. Sew the two touching corners with the long tail. I used a whip stitch.
Creating the Hood
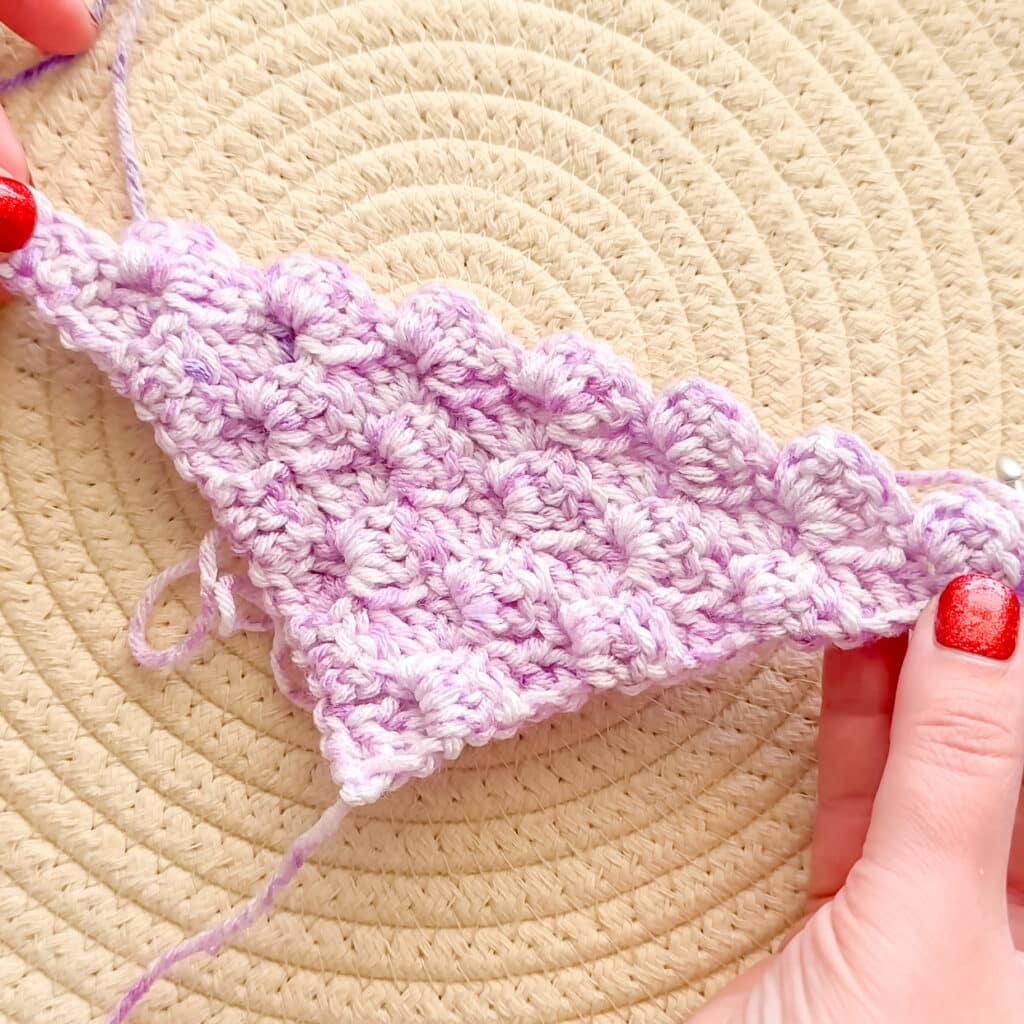
Begin your corner to corner square and go up to 8 rows. Again, you can adjust this to the size you need, but 8 worked well for all the squish animals I have made so far.
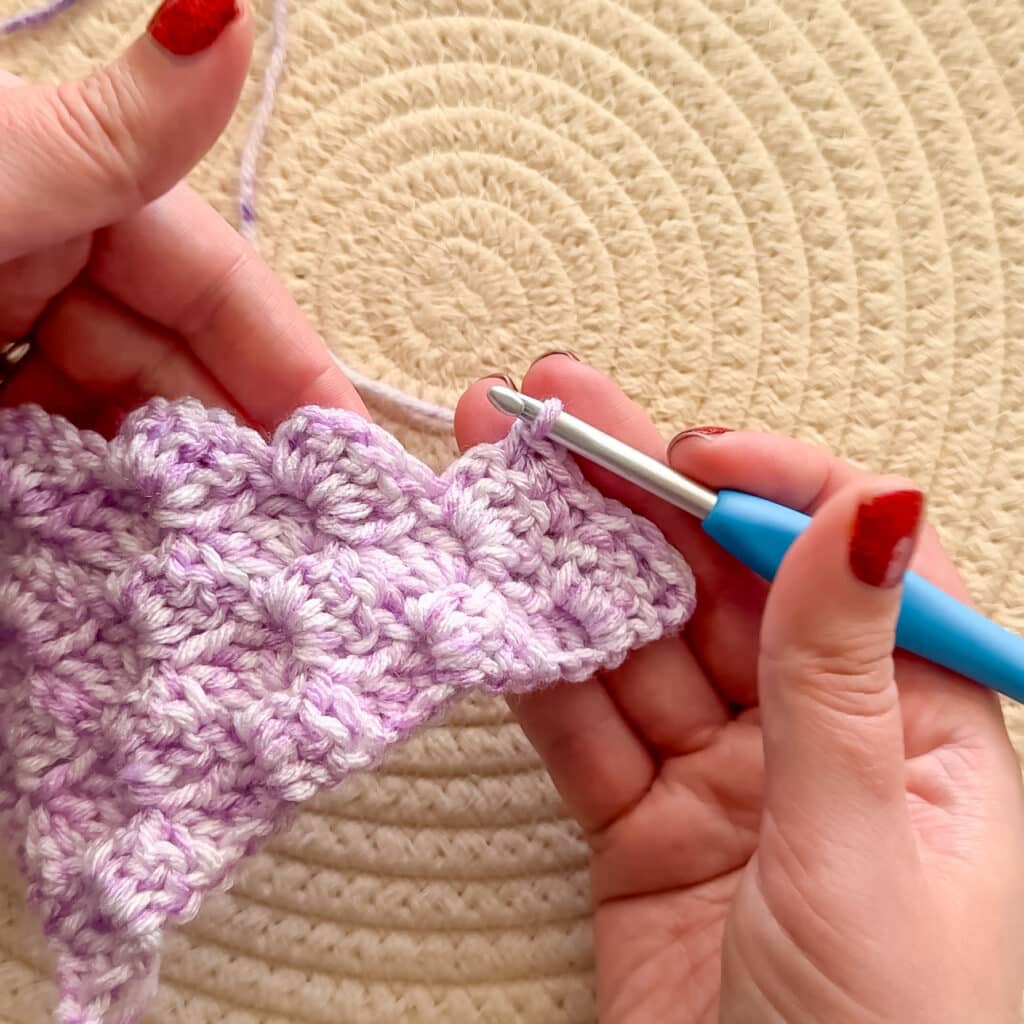
We want to keep it as a triangle, but the edge is weird. Here, chain 1 and turn. SC in each DC across. Once you get to a gap (shown in the picture) just put your hook in the next DC and SC. It will even out into a nice line, even if it seems like it shouldn’t!
Fasten off and leave a long enough tail to sew onto the swaddle.
Attaching the Hood
Step 1
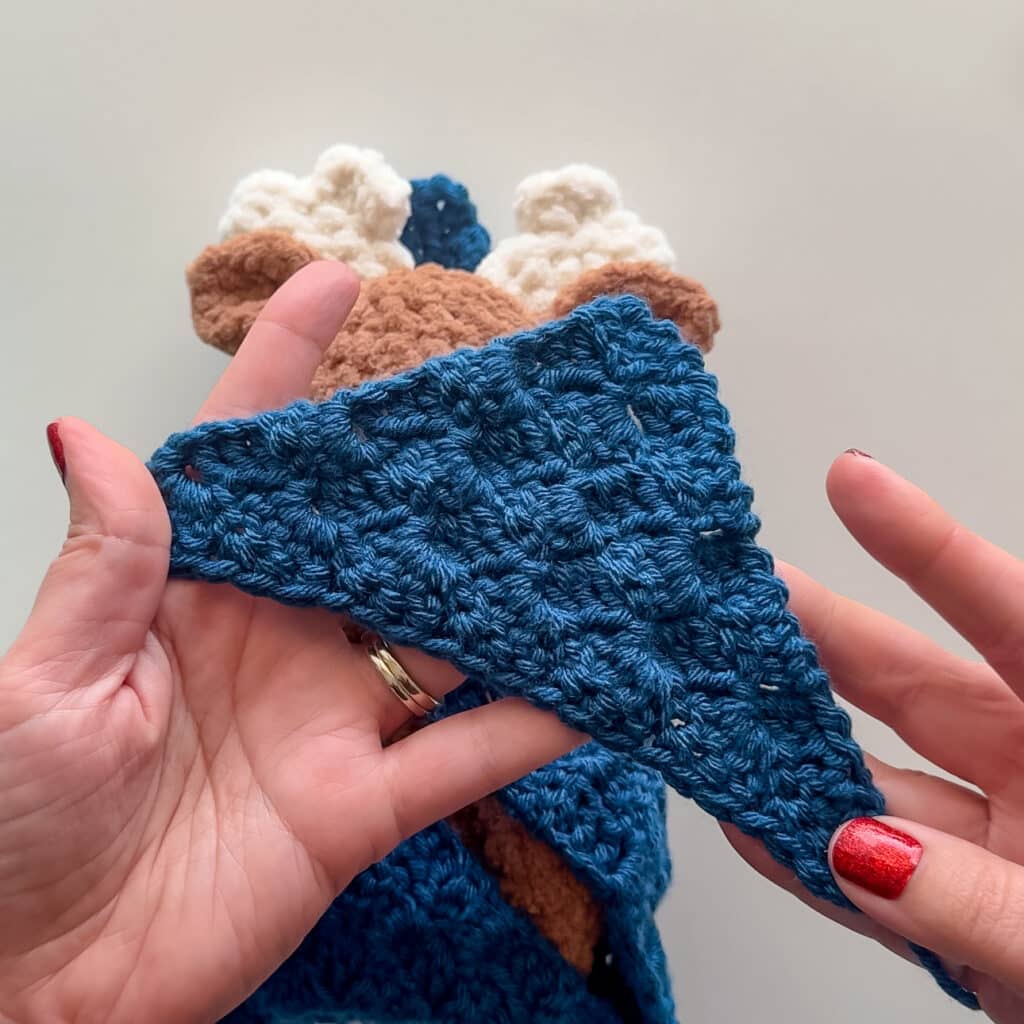
Arrange your animal with the head on the top corner. There should be enough room so that you can sew the top of the two corners together. Make sure you have already crocheted the edge on your triangle (see above.)
Step 2
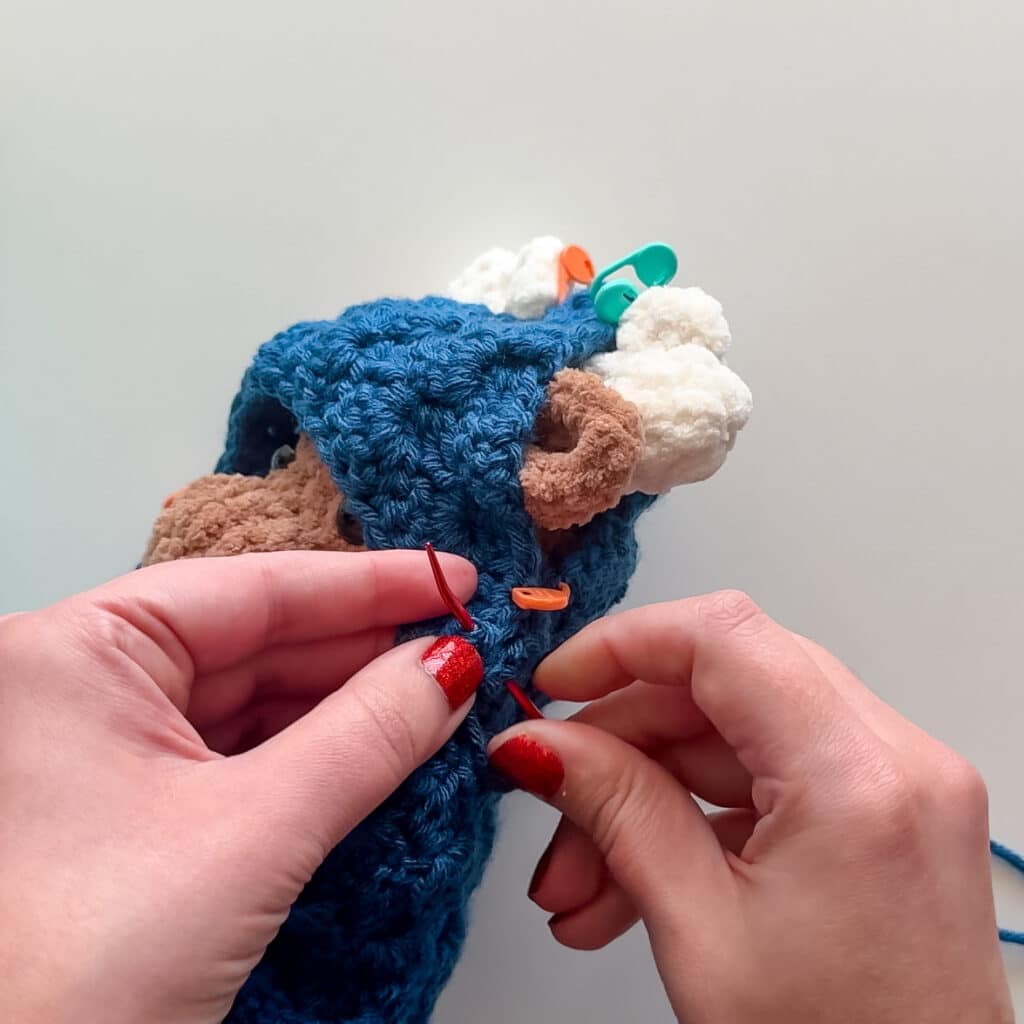
Using stitch markers, pin the two sides where the ears or horns begin and end. Make sure that the very top of the triangle is lined up correctly, as well as the first and last ones. These will keep it in place as you sew.
This is how you can adjust it to fit other types of ears or horns, just use the stitch markers to mark the correct spot.

Step 3
Using a whip stitch sew the hood onto the swaddle. Make sure you are lined up correctly as you go. When you reach the portion that the ears/horns stick out, continue to whip stitch, but only on the back piece, leaving the space open. Once you reach the other side, carefully weave in the end and trim off any excess.
Attaching the Button
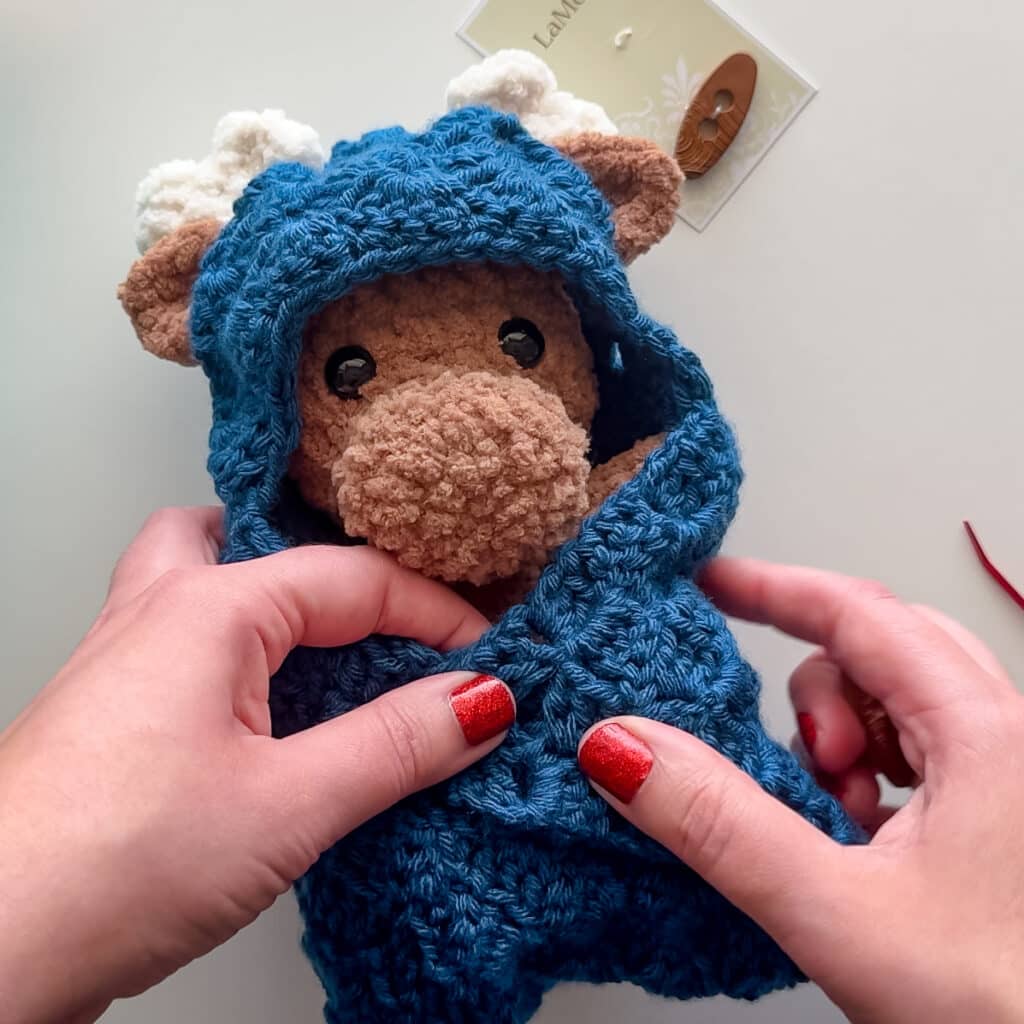
Bring the remaining corner over so that is crosses the other side. Locate the point that a button will be able to go through a gap made by the blocks of the C2C pattern/
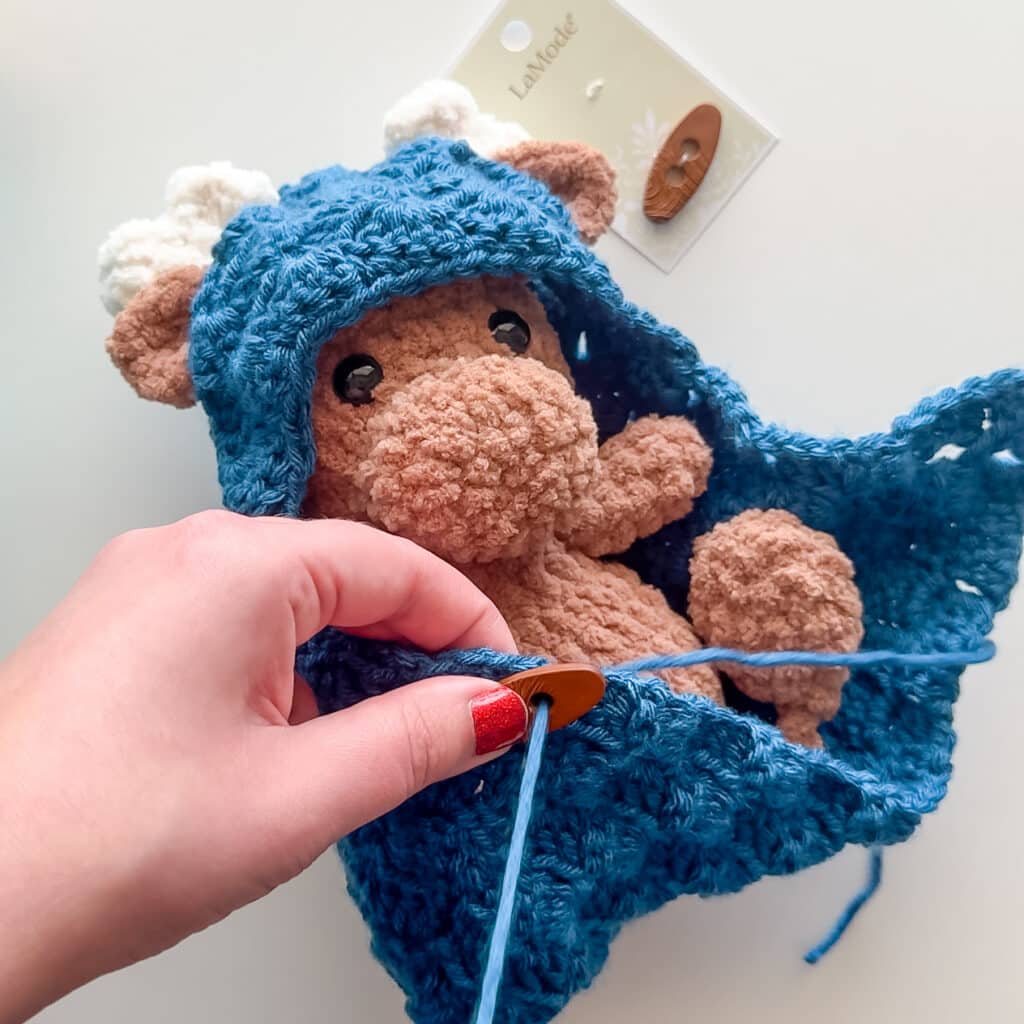
Using a length of yarn, sew the button in the spot. Take care that the button has large enough holes for yarn/tapestry needle to pass through.
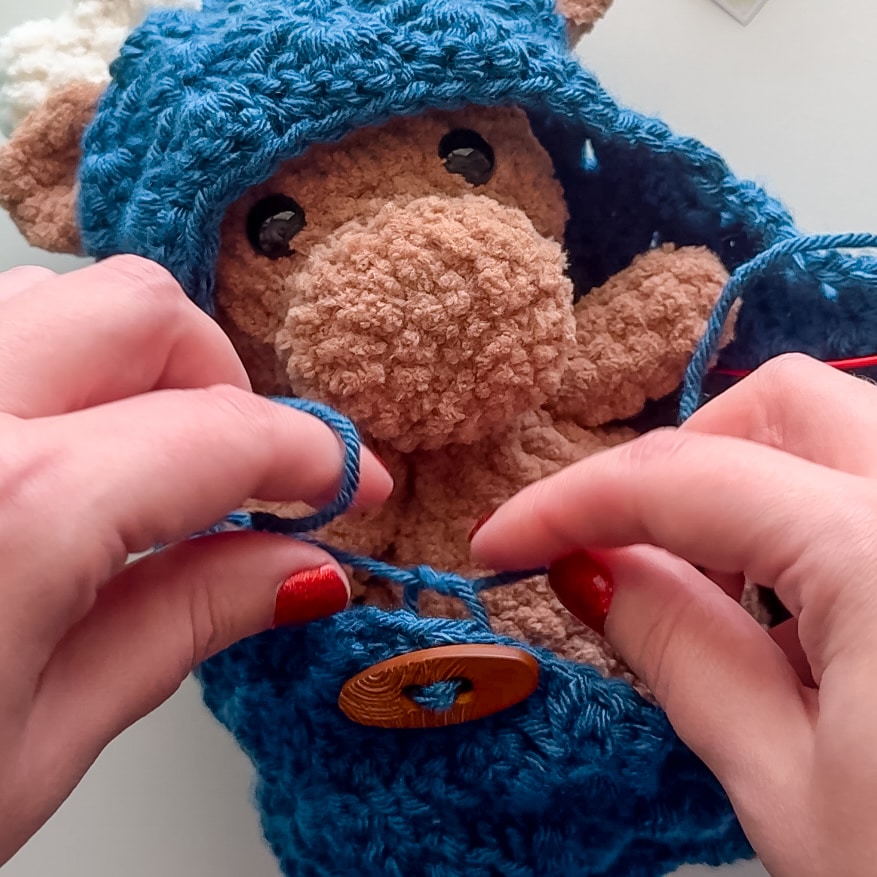
Tie it off and weave in the ends.
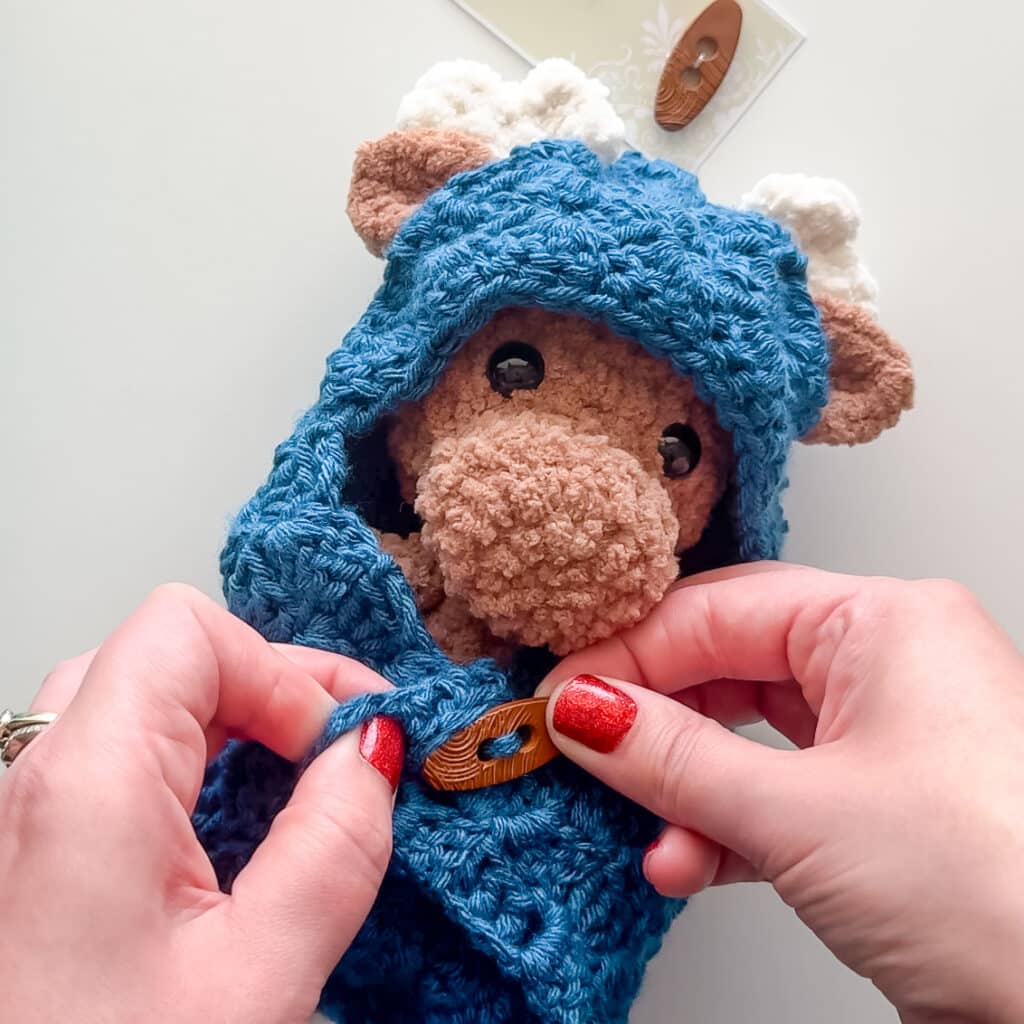
Put the button through the desired gap. Enjoy the cuteness.