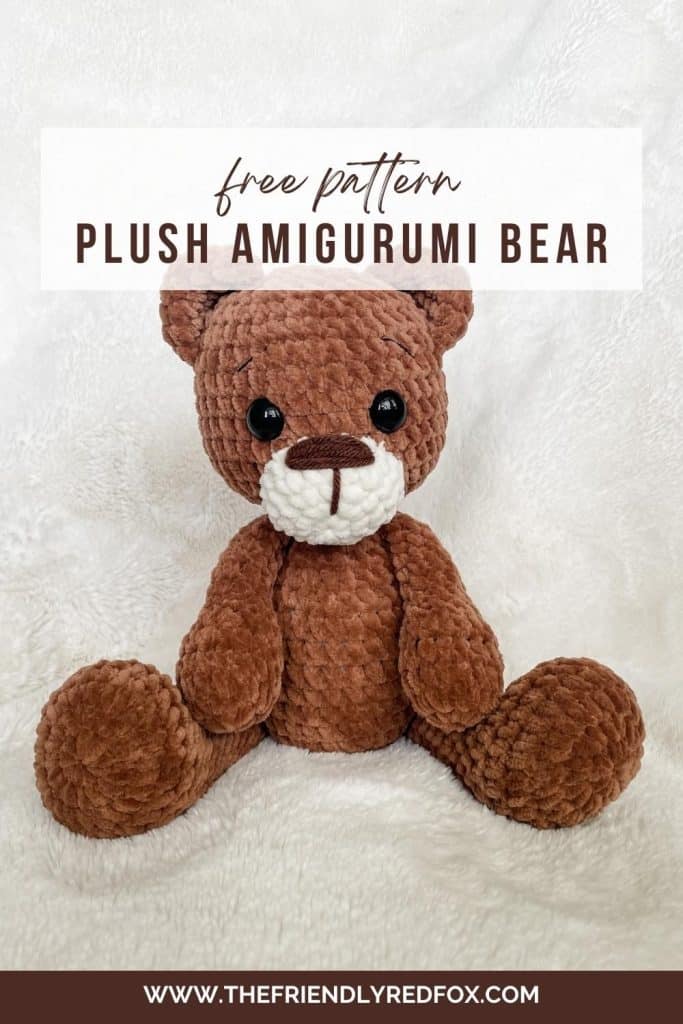
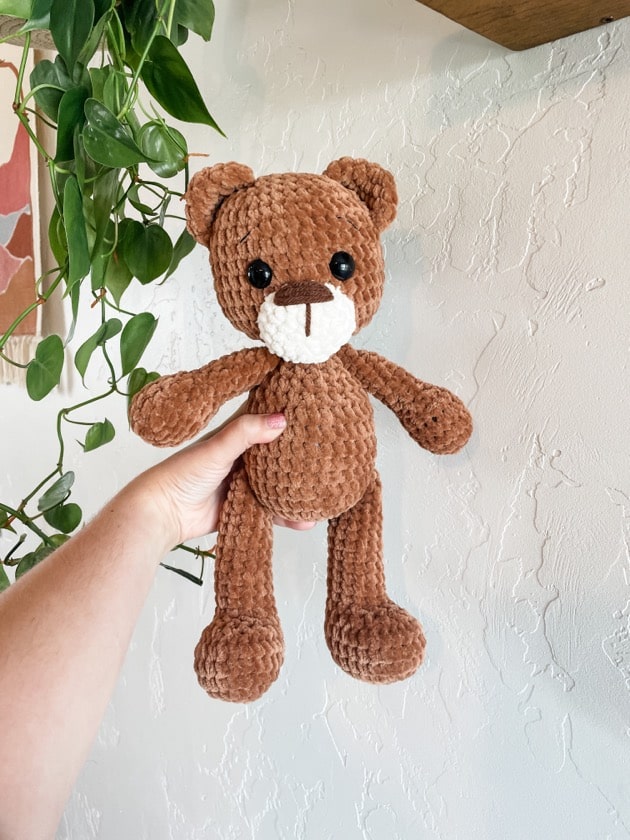
Free Plush Yarn Teddy Bear Crochet Pattern
The plush yarn teddy bear pattern is free! This is an easy crochet teddy bear pattern, you won’t be able to resist making few of these.
Plush Yarn Teddy Bear
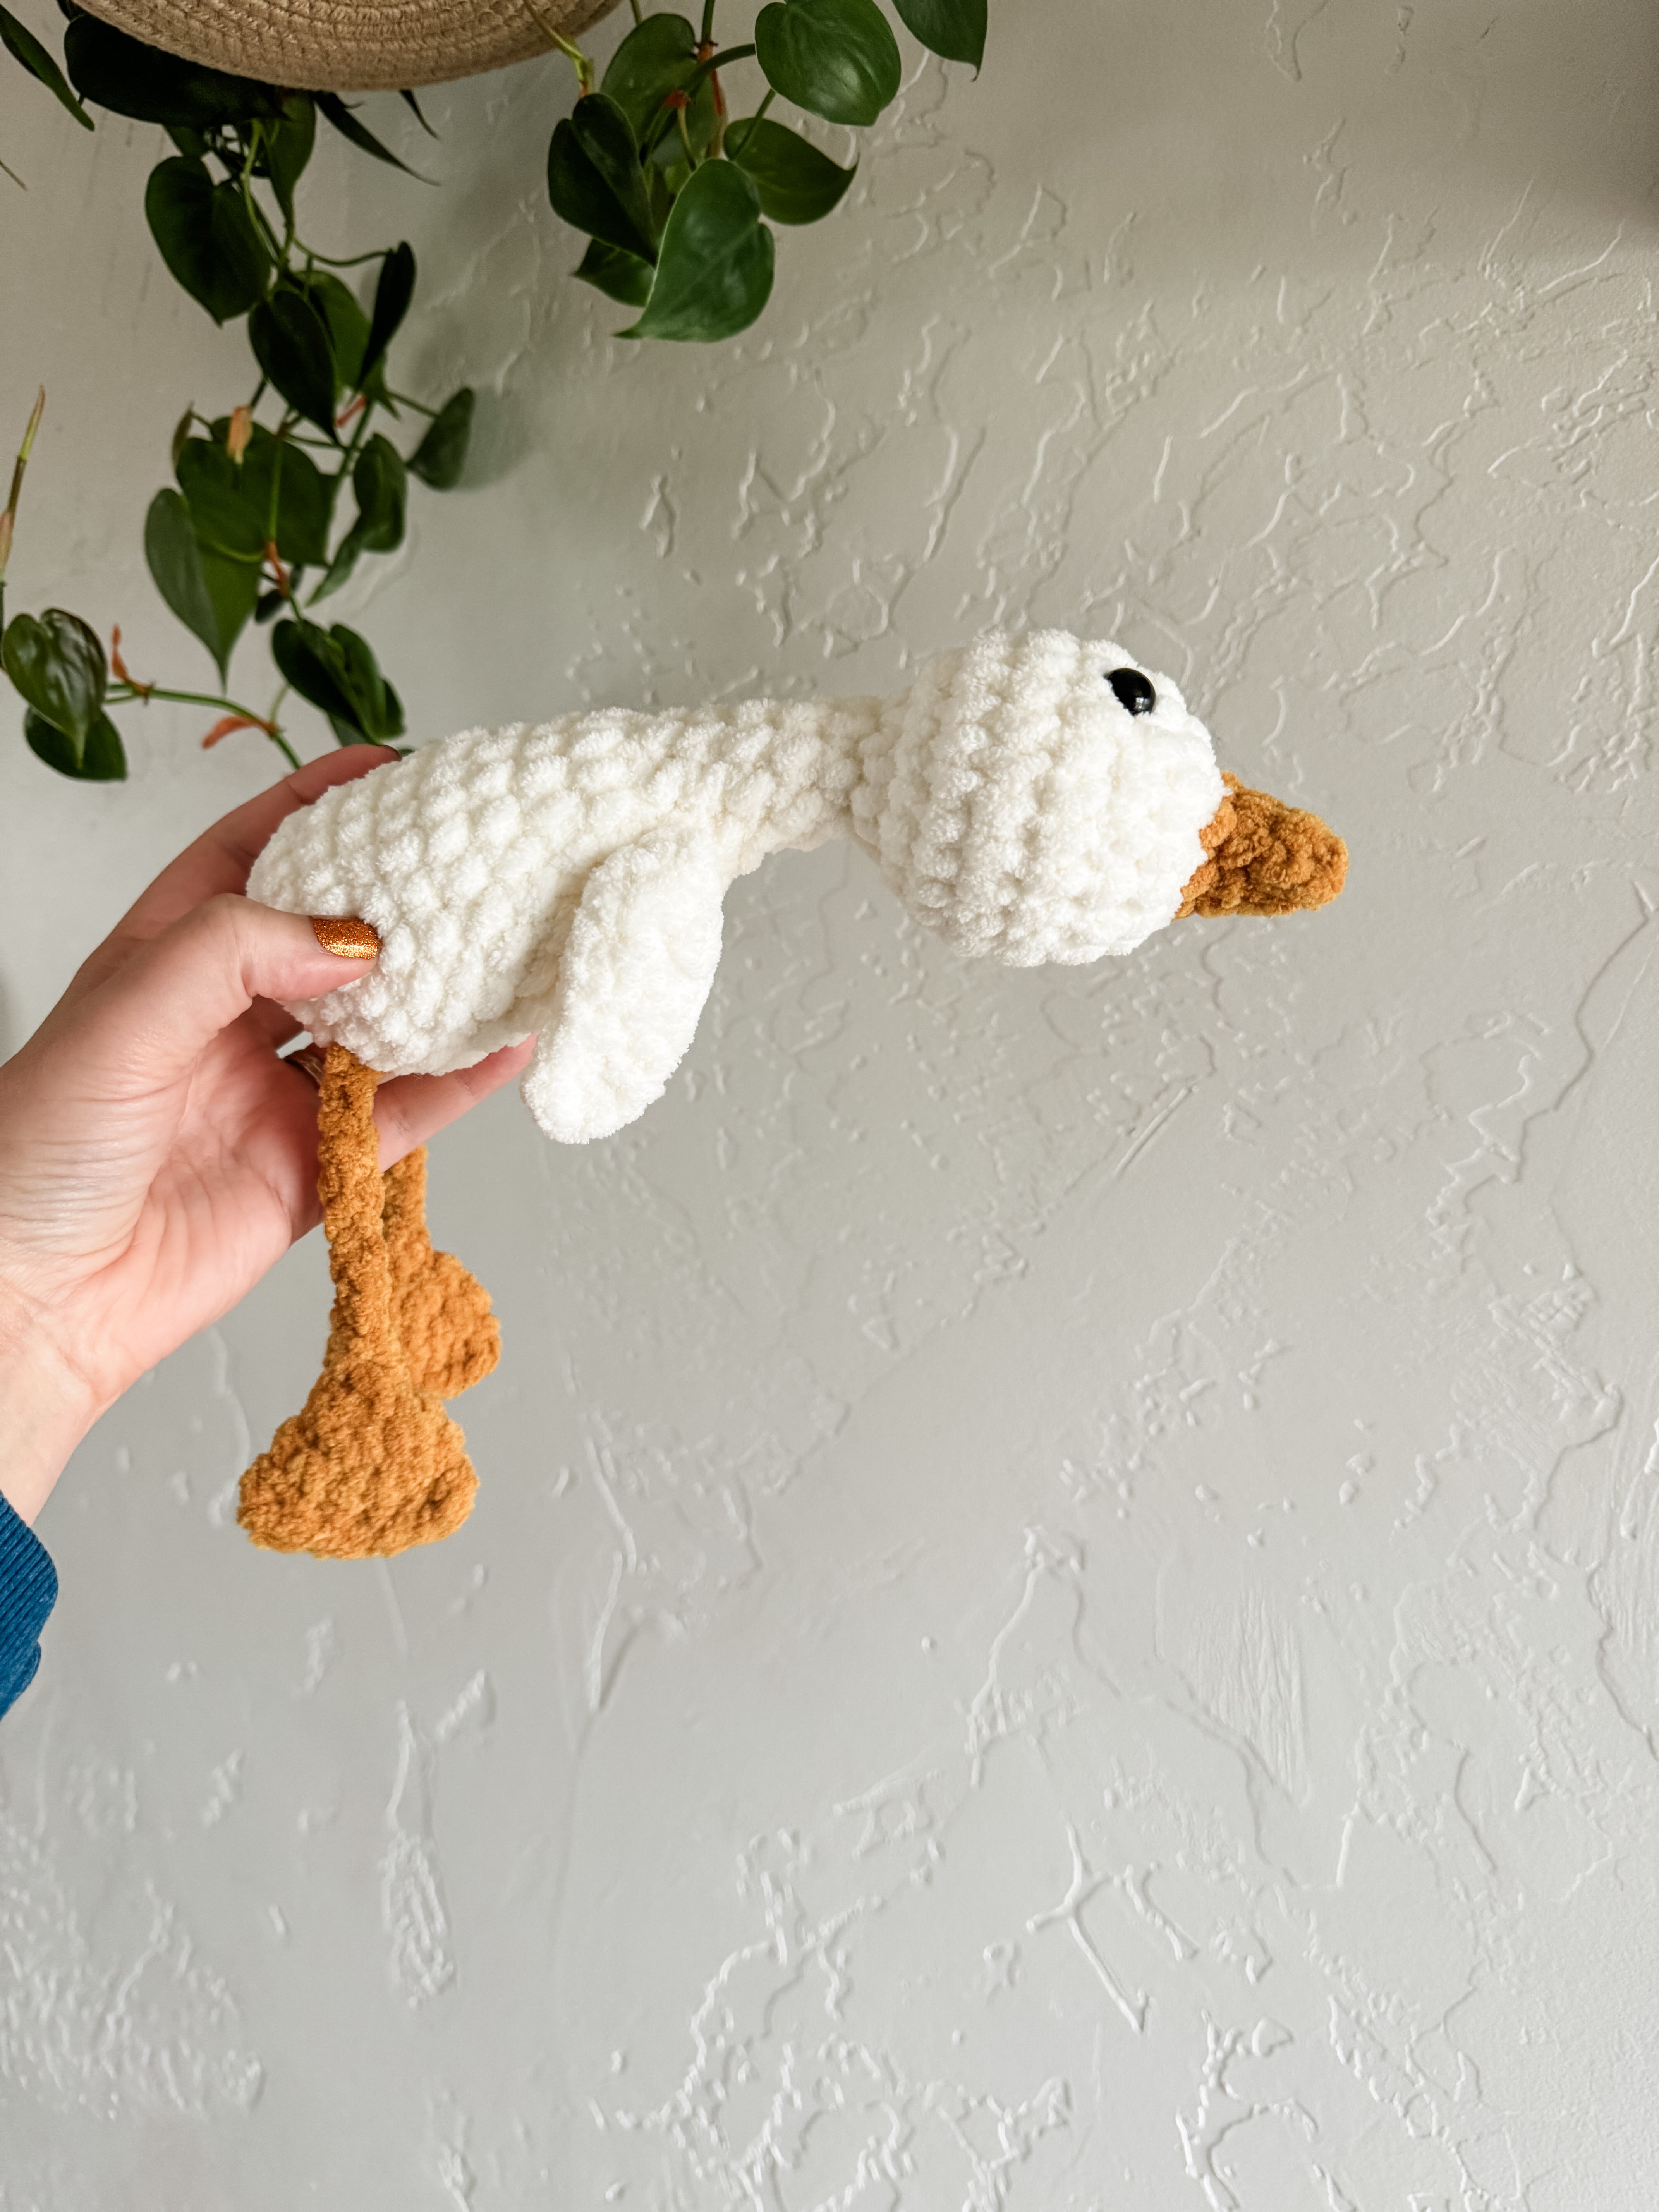
I have fallen in love with plush yarn and the effect it has when using it for amigurumi! I can’t resist making free crochet plushie patterns, as you can see here! The bulkier yarn allows for a good sized project with less stitches, so I feel like I am flying through the creating process. I love this plush yarn teddy bear crochet pattern, I hope you will, too!
JOIN MY NEWSLETTER TO RECEIVE…
A free email course-Amigurumi 101
This free amigurumi email course gives you what you need to master the basics of amigurumi, along with some extra tips and tricks!
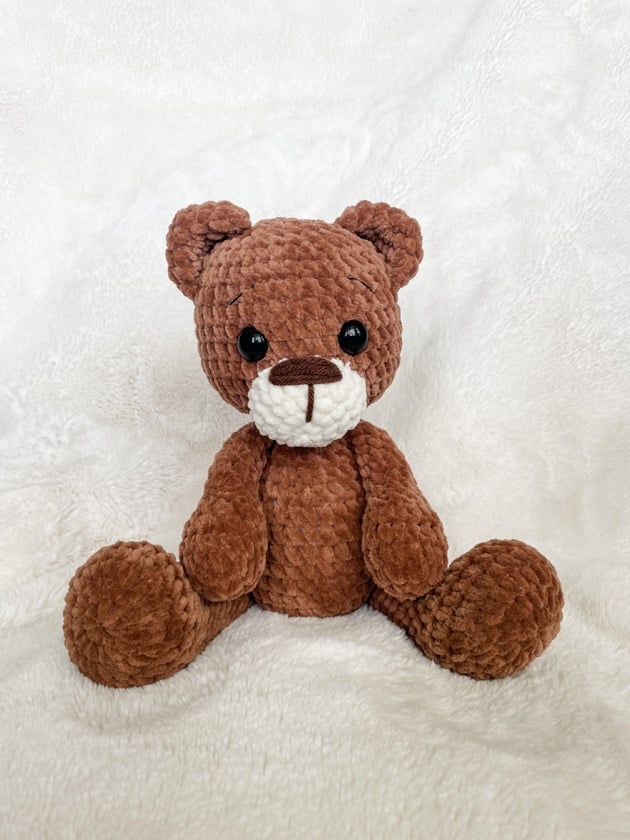
I have a deep love for plushies and animals of all kinds, but there is just really something about this plush yarn teddy bear pattern that I love. Once you are familiar with this type of yarn, I feel like this is a very beginner friendly project. Plus, this is a free teddy bear pattern, so if you find that plush yarn isn’t for you, no worries!
I feel like a plush teddy bear is such a classic gift. This other free teddy bear crochet pattern was designed for my sweet nephew’s nursery. It is a wonderful present for all ages and genders! Again, because of the yarn and design of this plushie, this amigurumi pattern is much quicker to make. Teddy Bears for everyone!!
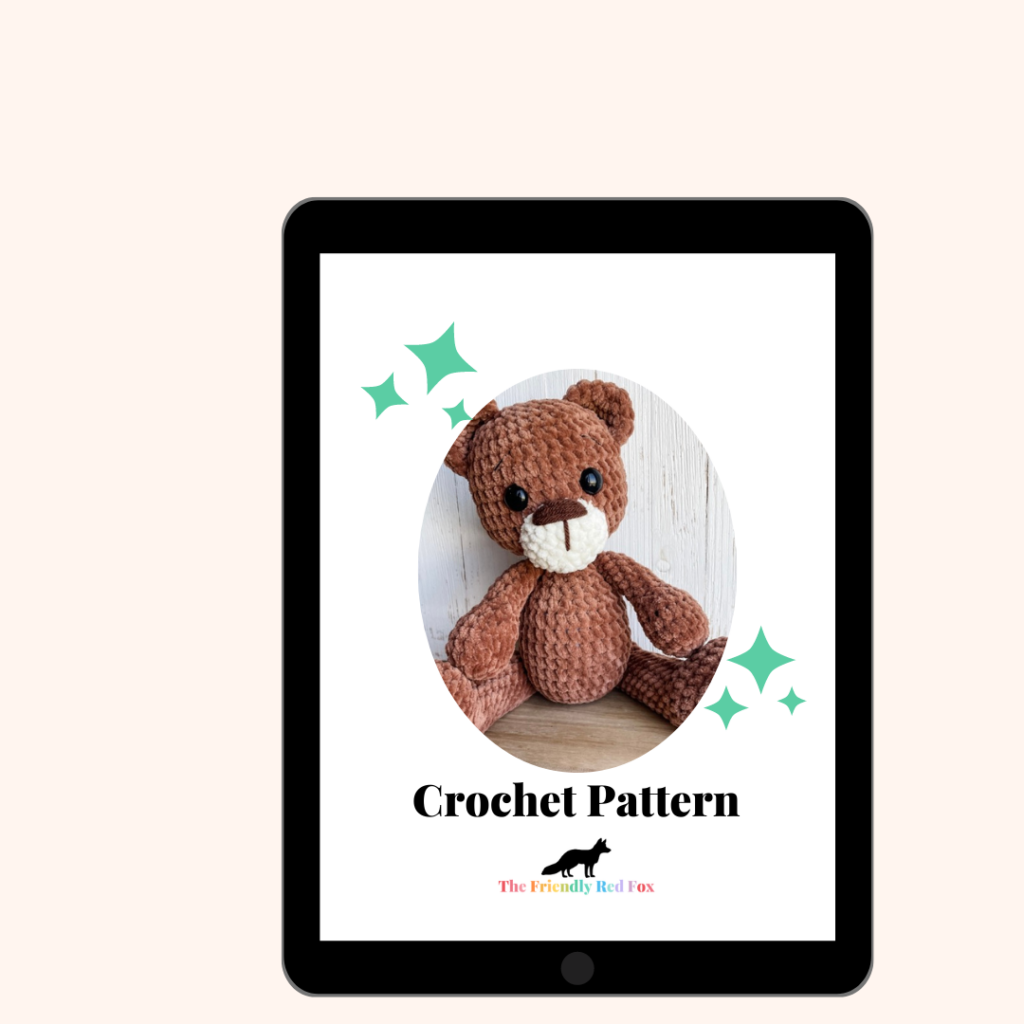
Want the Ad-free, Printable PDF?
You can find it in one of my stores!
Materials you’ll need
To get started making this plush teddy bear crochet pattern, you’ll first want to gather all your materials first.
Plush Teddy Bear Crochet Pattern
Neck strengthener
*Click here for a video and picture tutorial on how this works*
In a magic circle, SC 7. SC in each around for a total of 12 rows. Fasten off and leave a long tail to sew the hole closed and sew through the neck. See attached PDF.
Plush Bear Body Pattern
Body/Head
Made from the bottom up:
Round 1: In a magic circle, SC 8.
Round 2: SC INC in each around. (16)
Round 3: SC in the first, SC INC in the next. Repeat around. (24)
Round 4: SC in the first two stitches, SC INC in the next. Repeat around. (32)
Rounds 5-11: SC in each around. (32)
Round 12: SC in the first two, INV DEC in the next. Repeat around. (24)
Rounds 13-15: SC in each around. (24)
Round 16: SC in the first, INV DEC in the next. Repeat around. (16)
Round 17: INV DEC in each around. (8)
From here we are increasing the head. Have your neck strengthener ready to insert. Here is the video tutorial if you haven’t watched it already!
Round 18: In the front loop only, SC INC in each around. (16)
Round 19: SC in the first, SC INC in the next. Repeat around. (24)
Round 20: SC in the first two stitches, SC INC in the next. Repeat around. (32)
Round 21: SC in the first three stitches, SC INC in the next. Repeat around. (40)
Rounds 22-30: SC in each around. (40)
Attach the eyes between rows 25 and 26, about 4 stitches apart.
Round 31: SC in the first 3 stitches, INV DEC in the next. Repeat around. (32)
Round 32: SC in the first 2 stitches, INV DEC in the next. Repeat around. (24)
Round 33: SC in the first stitch, INV DEC in the next. Repeat around. (16)
Round 34: INV DEC around. (8)
Sew the remaining hole closed.
Crochet Bear Parts
Snout
In Ivory
Round 1: In a magic circle, SC 6
Round 2: SC INC in each stitch around (12)
Round 3: SC in first, SC INC in next. Repeat around. (18)
Rounds 4-5: SC in each around. (18)
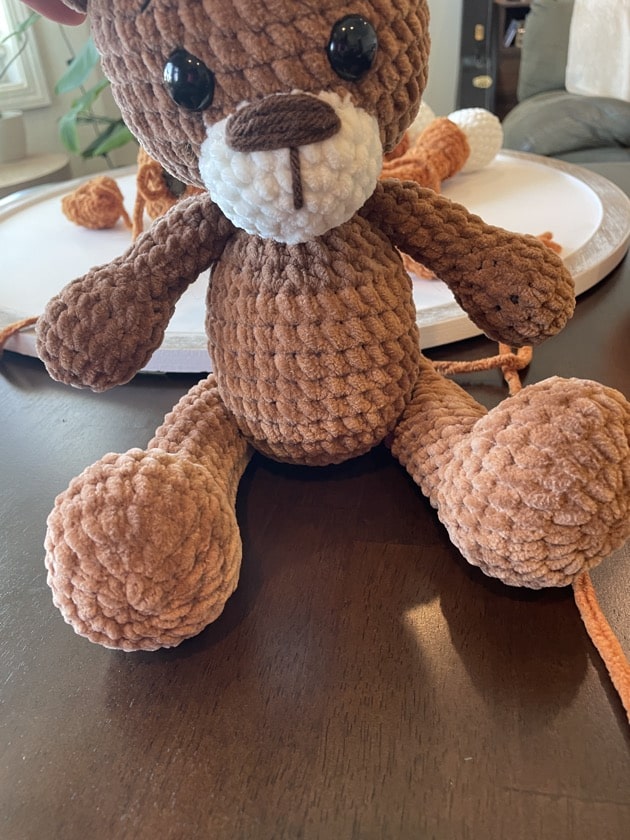
Fasten off and leave a long tail to sew on to the face. Get a long piece of brown yarn. Embroider the nose on about row 4, making about 4-5 passes through the same stitches. Bring the needle up from the back, and cover about 4-5 stitches.
With plush yarn, I find it easier to attach the snout after I stuff the head.
The bottom of the snout should be at round 20 and the top will hit round 24. Pin it in place and use the tail to attach it. Stuff it lightly before you close.

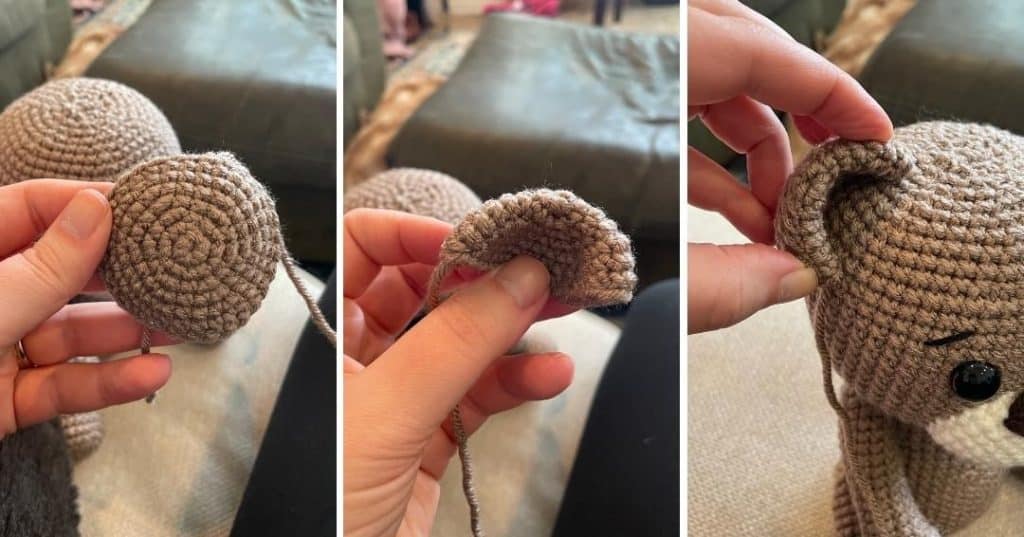
Ears (make 2)
Round 1: In a magic circle, SC 8.
Round 2: SC INC in each around. (16)
Round 3: SC in the first, SC INC in the next. Repeat around. (24)
Round 4: SC in each around. (24)
Fasten off and leave a long tail. Fold the ears in half. You will attach the ears through both halves of the ear and through the head. Sew the ears about 3 rows out from the top of the head. The halves will curve and span about 5 rows between each side. Here is a video on how I attached mine! It is a worsted weight yarn (like the picture below) but the exact same principle!
Arms
Stuff the hand and the bottom half of the arm as you go.
Round 1: In a magic circle, SC 8.
Round 2: SC INC in each around. (16)
Rounds 3-5: SC in each around. (16)
Round 6: INV DEC in each around. (8)
Rounds 7-15: SC in each around.
Fasten off and leave an extra long tail. Sew the opening closed.
Attach the arms between rows 15 and 16 of the body. Use the yarn through method, or if you prefer you can do it the traditional way.

Legs
Again, if you missed the link before, I really suggest this tutorial on how to attach the limbs!
Stuff the foot and ¾ of the leg.
Round 1: In a magic circle, SC 8.
Round 2: SC INC in each around. (16)
Round 3: SC in the first, SC INC in the next. Repeat around. (24)
Rounds 4-7: SC in each around. (24)
Round 8: INV DEC 7x. SC in the remaining 10. (17)
Round 9: INV DEC 4x. SC in the remaining 9. (13)
Rounds 10-20: SC in each around. (13)
Fasten off and leave an extra long tail. Sew the opening closed.
Attach the legs between rows 4 and 5 of the body, making sure the feet are the right direction. Use the yarn through method, or if you prefer you can do it the traditional way.
Did you make this pattern?
Mention me @thefriendlyredfox so we can see your creations! You can also leave a comment below!

What kind of Premier Yarn did you use? From the pictures it looks like Retro Velvet. But I want to be sure to buy the right plushy chunky yarn!
This is Premier Parfait Chunky! I haven’t used the retro plush, so I can’t give you an idea of how similar they are!
Absolute amazing!
My first time making a stuffed animal. And it came out amazing!! Great instructions and pattern.
I did have to change a few aspects of the pattern. I was using a 5.00m hook and babysoft velvet. So much smaller. But was able to make an amazing bear. I even added a tail.
(Followed the instructions for the nose and just made it a bit smaller.)
I made 5 of these for my grands and greats they were a hit the parents even liked them my grandson who is 30 wanted one so I made one for him wearing Miami dolphins colors and one for a lady in my crochet club so they are great for all ages.
Hi, I really love this pattern and am interested in making it. However, I don’t see the final dimensions if using the suggested yarn and hook size. Could someone please let me know how tall this teddy bear ends up being. I know we can adjust it by changing the hook size and so forth what I’m looking for is if it’s used with the suggested yarn and the suggested hook size. What size does it work up to be. Thank you in advance for all your help.
Hi! Finished size is about 9-10″ tall when sitting. The legs add about another 4-5″ depending on tension and where exactly you choose to attach them. Hope that helps!
Hello, I would love to try and crochet a teddy bear like this for my first grandchild that’s coming in February. I’m in BC Canada. Not sure where I can get this type of yarn and exact size of yarn ounces and whatnot. Any information you can provide would be greatly appreciated.
Hi! The list of materials is in the pattern, but I used 2 skeins of Premier Chunky yarn (about 180 yards). It’s a chenille yarn and you get it online right here! https://premier-yarns.pxf.io/gOVNP5
Super enjoyed this pattern! My grandbaby is turning 3 and asked for a blue bear for her birthday. So excited to find you! I don’t see an option to upload a pic!