Free Crochet Poodle Pattern
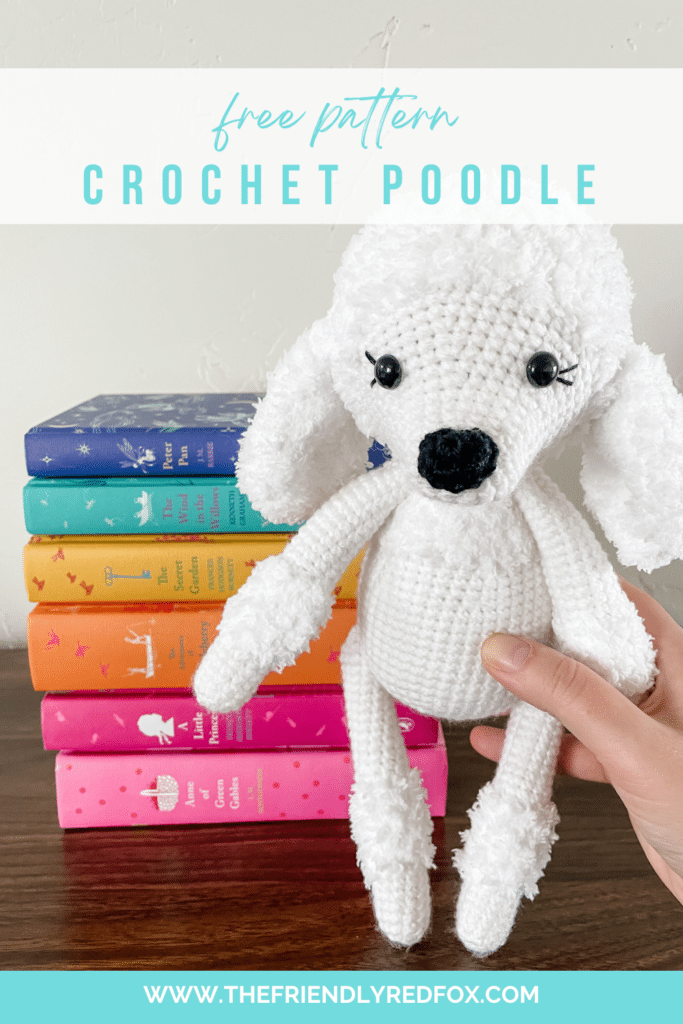
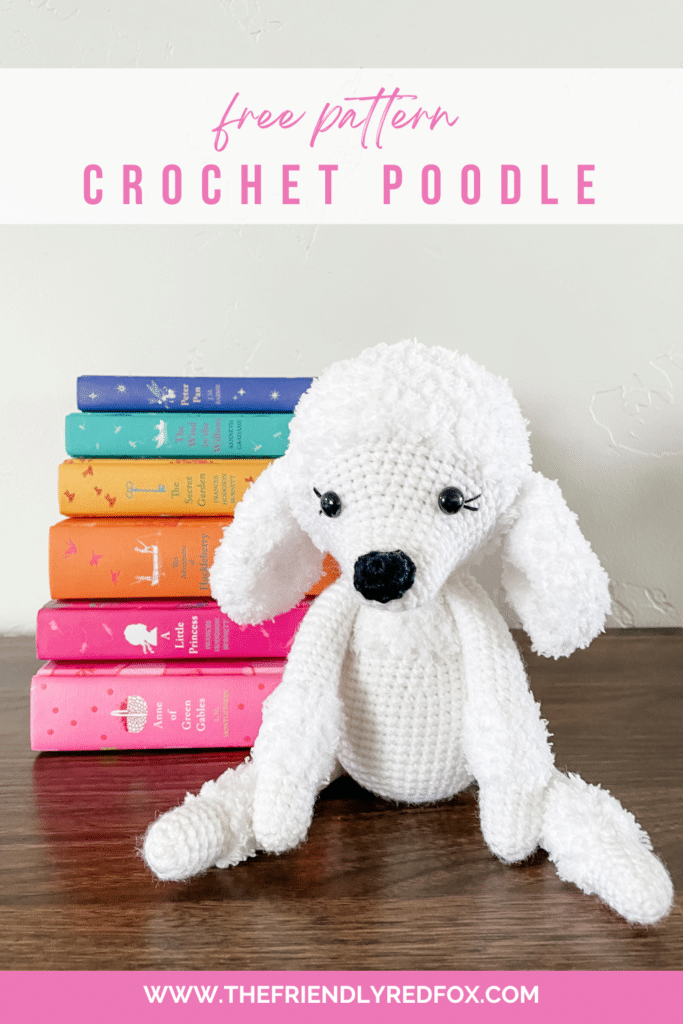
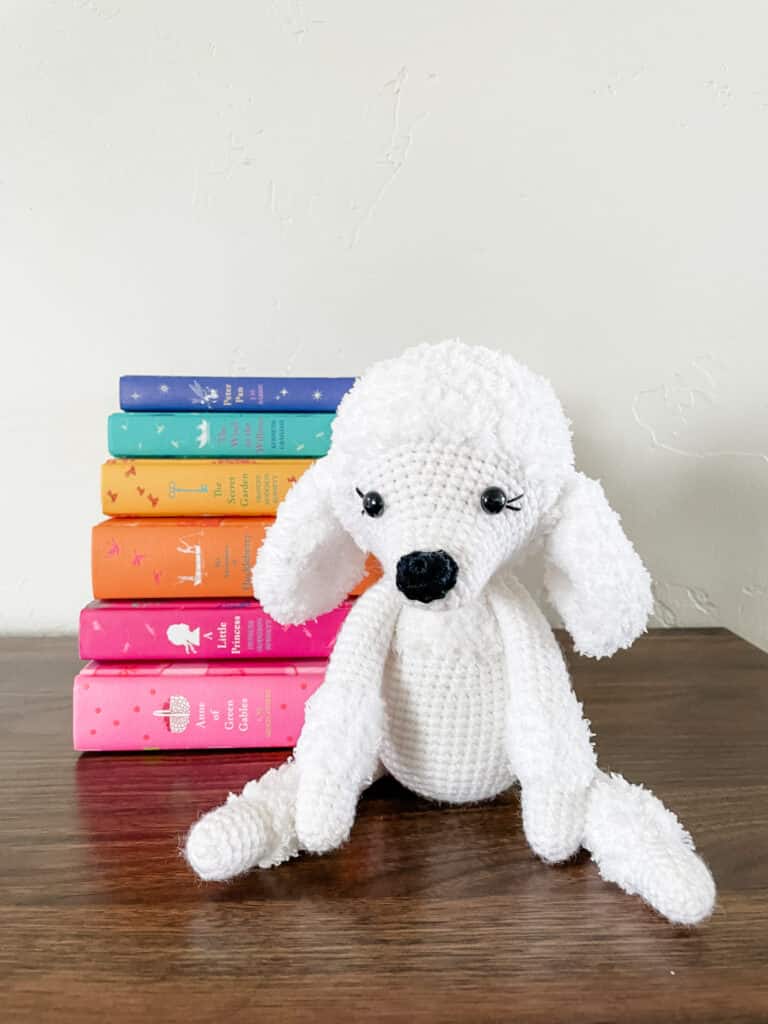
This free crochet poodle pattern is prim, proper, and oh so precious! This pattern uses cotter pin discs to attach the limbs and head, which make them movable!
Learn how to make free crochet poodle pattern
This free poodle amigurumi crochet pattern is perfect for adding a touch of whimsy and lots of cuddles to your life. Made with worsted weight yarn and stuffed to perfection, this adorable poodle features a special cotter pin joint method, making its limbs and head movable for extra fun. Whether you’re looking to expand your amigurumi collection or create a special handmade gift, this pattern is just what you need. Trust me, once you start, you won’t want to stop!
JOIN MY NEWSLETTER TO RECEIVE…
A free email course-Amigurumi 101
This free amigurumi email course gives you what you need to master the basics of amigurumi, along with some extra tips and tricks!
This sweet poodle was previously published under my “Putting It Together” course. If you want the entire course, I’ll link it below!
Putting It Together Course
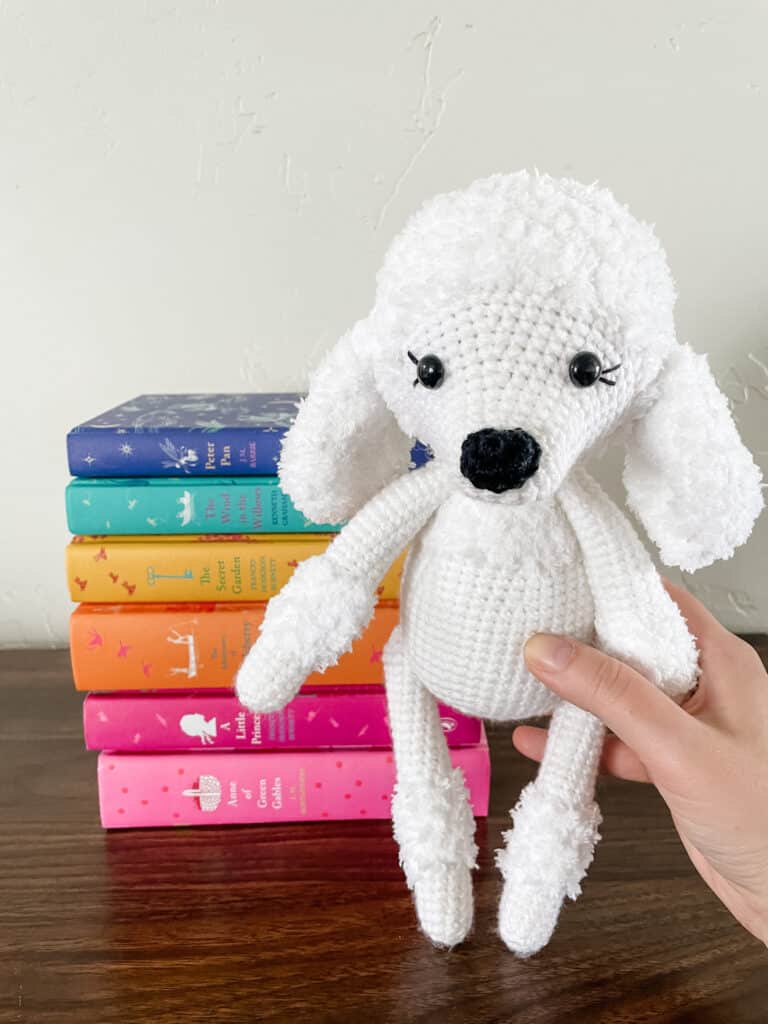
You will start this free crochet poodle pattern by making the limbs first. If you are using the cotter pin joint method, you will attach them as you crochet the body.
Don’t be afraid of the disc joints! There is a learning curve, but I have a separate video tutorial that you can watch here.
Want the Ad-free, Printable PDF?
You can find it in one of my stores!


Notes:
Stuff really, really well. Joints work best with well stuffed pieces, amigurumi holds up better over time, and you will get the shape you are looking for. You will use much more stuffing than you think you will.
When using joints, remember that you need to attach as you go. It can be tempting to get into a groove and keep going. Remember to insert what you need to before closing up, and to attach while you still have room.
I used 15mm cotter pin discs for the arms and legs and a 20mm one for the head. You can go up or down a size if you need to, I haven’t experienced any problem with that!
How to make an Amigurumi Poodle Step by Step
Ready to make this free crochet poodle pattern? This post contains some affiliate links for your convenience! Read my full disclosure policy.
You will need:
- Approx. 100g worsted weight yarn ( I used I Love This Yarn in White)
- Almost an entire skein of Bernat Pipsqueak yarn
- Embroidery thread for eyelashes
- 12mm safety eyes
- Crochet Hook in Size 3.75mm
- Tapestry Needle
- Polyfil
- stitch marker
- OPT: Cotter Pin Disc Joints
Step by Step Crochet Poodle Instructions
Arms & Legs (make 4)
Round 1: 6 SC in a magic ring
Round 2: SC INC in each around. (12)
Rounds 3-8: SC in each around. (12)
Change to fluffy yarn.
Rounds 9-15: SC in each around. (12)
Change back to regular worsted yarn.
16-30: SC in each around (12)
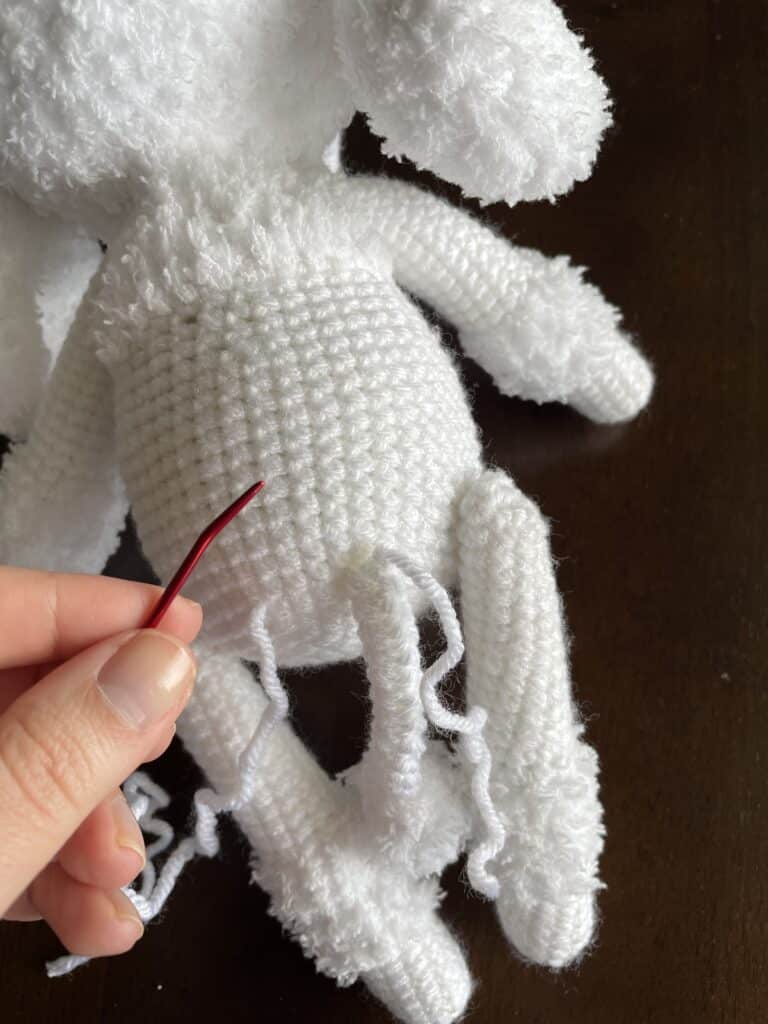
Use the method you choose to attach the limbs and finish off accordingly. I attached the legs around rounds 9 and 10. The arms I attached around rounds 27 and 28.
Body
Round 1: In a magic circle, 6 SC.
Round 2: SC INC in each around. (12)
Round 3: SC in first, SC INC in next. Repeat around. (18)
Round 4: SC in first 2, SC INC in next. Repeat around. (24)
Round 5: SC in first 3, SC INC in next. Repeat around. (30)
Round 6: SC in first 4, SC INC in next. Repeat around. (36)
Round 7: SC in first 5, SC INC in next. Repeat around. (42)
Rounds 8-17: SC in each around. (42)
Attach legs right now between rounds 9-10 if using cotter pin joint method.
Round 18: SC in first 5, INV DEC in the next. Repeat around. (36)
Rounds 19-20: SC in each around. (36)
Round 21: SC in first 4, INV DEC in the next. Repeat around. (30)
Round 22: SC in each around. (30)
Change to fluffy yarn here.
Round 23: SC in each around. (30)
Begin stuffing here. Make sure you do not understuff.
Round 24: SC in first 3, INV DEC in the next. Repeat around. (24)
Rounds 25-26: SC in each around. (24)
Round 27: SC in first 2, INV DEC in the next. Repeat around. (18)
Attach arms right now between rounds 27 and 28.
Rounds 28-29: SC in each around. (18)
If you are sewing the head on in the traditional sewing method, I recommend changing to the regular white yarn and crocheting another round (18 stitches). Then fasten off and use the worsted weight yarn to sew on the head. If you are using a cotter pin or plastic joint, place the end with the post inside and decrease (Round 30: SC in first, INV DEC in the next. Repeat around (12)
Round 31: INV DEC around. (6)) until you close the body off, leaving the post sticking up. Remember that you will need to attach before the head is fully finished.
Nose
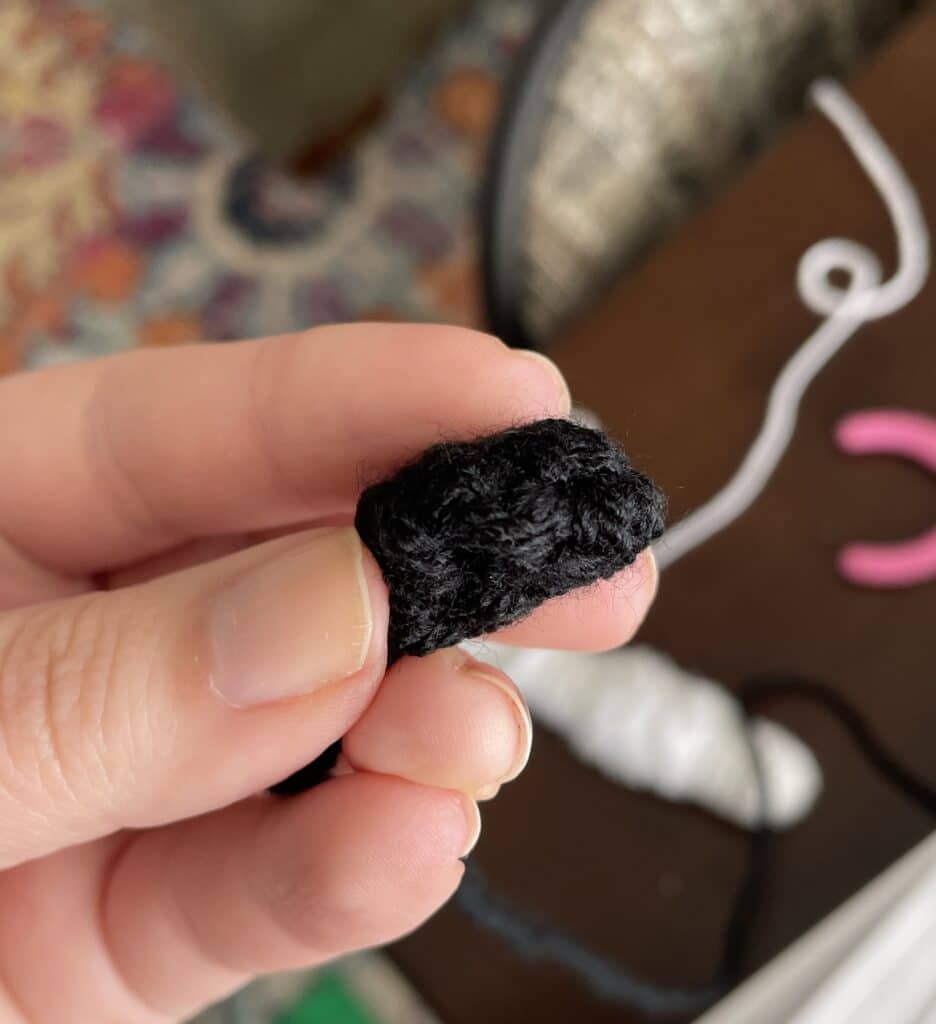
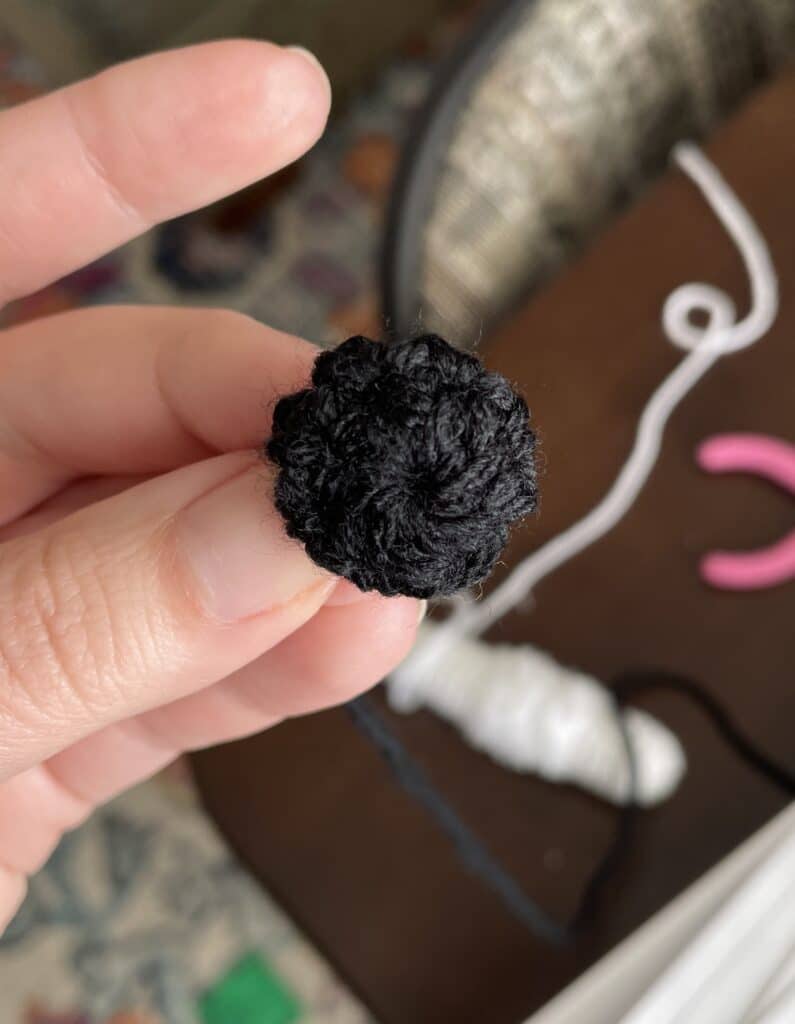
This is a flattened “pancake” nose. You do not need to stuff it.
Round 1: In a magic circle, 8 HDC.
Round 2: HDC INC in each around. (16)
Round 3: HDC in the first, DEC in the next. Repeat around.
Fasten off and leave a long tail to sew on to the top of the nose on the head.
Head
Using the worsted weight yarn:
Round 1: In a magic circle, 6 SC.
Round 2: SC INC in each around. (12)
Rounds 3-4: SC in each around. (12)
Round 5: SC in first, SC INC in next. Repeat around. (18)
Rounds 6: SC in each around (18)
Round 7: SC in first 2, SC INC in next. Repeat around. (24)
Round 8-9: SC in each around. (24)
Round 10: SC in first 3, SC INC in next. Repeat around. (30)
Round 11: SC in each stitch around. (30)
Round 12: SC in first 4, SC INC in next. Repeat around. (36)
Round 13: SC in each around. (36)
Round 14: SC in first 5, SC INC in next. Repeat around. (42)
Round 15: SC in each around. (42)
Round 16: SC in first 6, SC INC in next. Repeat around. (48)
Change to fluffy yarn. Attach the 12mm eyes between rows 12 and 13, about 9 stitches apart, on either side of the nose. Sew on the eyelashes if you want to here.
Round 17-26: SC in each around. (48)
If you are using a cotter pin or plastic joint attach the head here. The head should be slightly facing downward, not straight on. If using the cotter pin, the pin should be between the worsted and fluffy yarn. If using traditional sewing methods, you will sew through both types of yarn.
Round 27: SC in the first 6, INV DEC in the next. Repeat around. (42)
Round 28: SC in the first 5, INV DEC in the next. Repeat around. (36)
Round 29: SC in the first 4, INV DEC in the next. Repeat around. (30)
Round 30: SC in the first 3, INV DEC in the next. Repeat around. (24)
Round 31: SC in the first 2, INV DEC in the next. Repeat around. (18)
Round 32: SC in the first, INV DEC in the next. Repeat around. (12)
Round 33: INV DEC around. (6)
Fasten off and carefully sew the remaining hole closed.
Ears (make 2)
Round 1: 6 SC in a magic ring
Round 2: SC INC in each around. (12)
Round 3: SC in first, SC INC in next. Repeat around. (18)
Round 4: SC in first 2, SC INC in next. Repeat around. (24)
Round 5: SC in first 3, SC INC in next. Repeat around. (30)
Rounds 6-7: SC in each around. (30)
Fasten off and leave a long tail. Flatten the ear. Attach the ear about 3 rows back from where the fluffy yarn begins. They are angled slightly downward and about level with the eyes. Sew it on with the long tail.
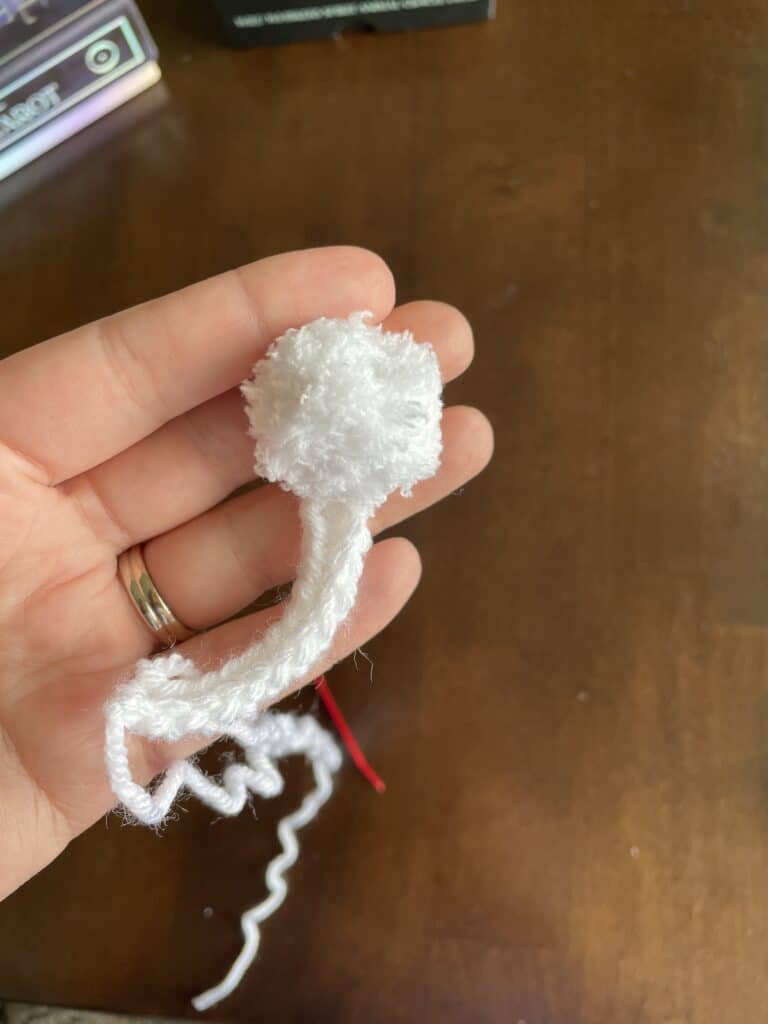
Tail
With worsted weight yarn:
Chain 15. Two chains away from the hook HDC. HDC in each chain across.
With fluffy yarn:
*You do not need to stuff it.*
Round 1: In a magic circle, 8 HDC.
Round 2: HDC INC in each around. (8)
Round 3: HDC in the first, DEC in the next. Repeat around.
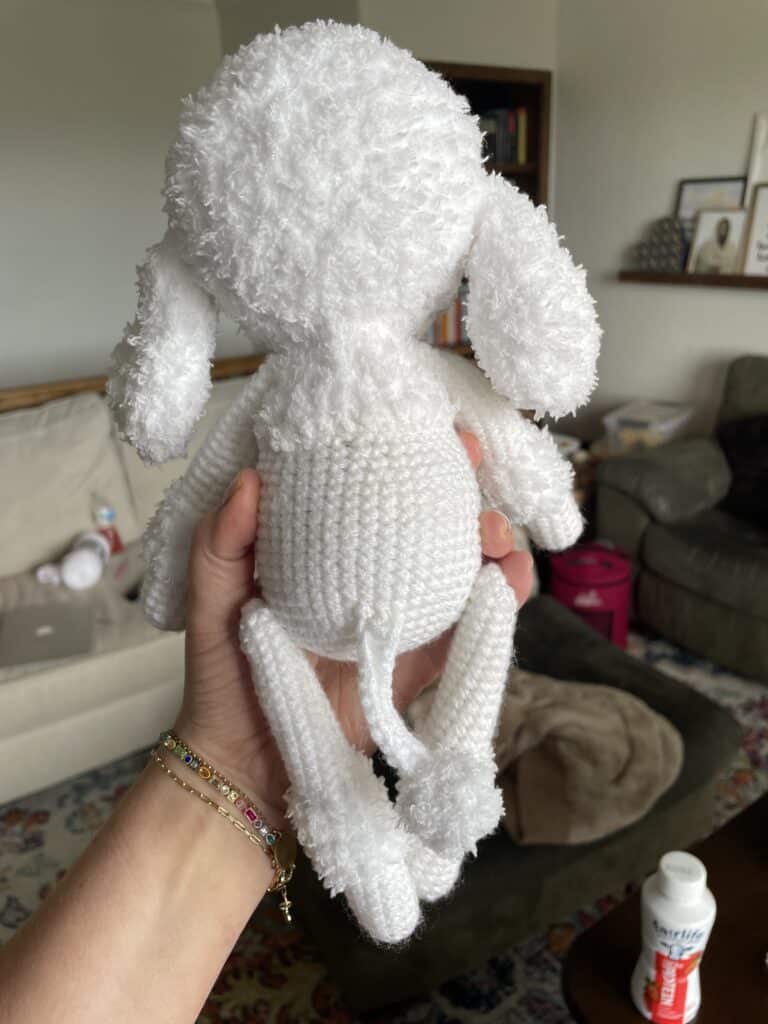
Fasten off and sew to the top of the worsted weight piece. Weave in the fluffy end and trim. Attach to the base of the poodle’s back.
Answers to your questions about making this Free Crochet Poodle Pattern
Q: How much do I stuff the body?
A: Much more than you think is necessary. The joints will stay in place better with more stuffing.
Q: Do I have to use fuzzy yarn?
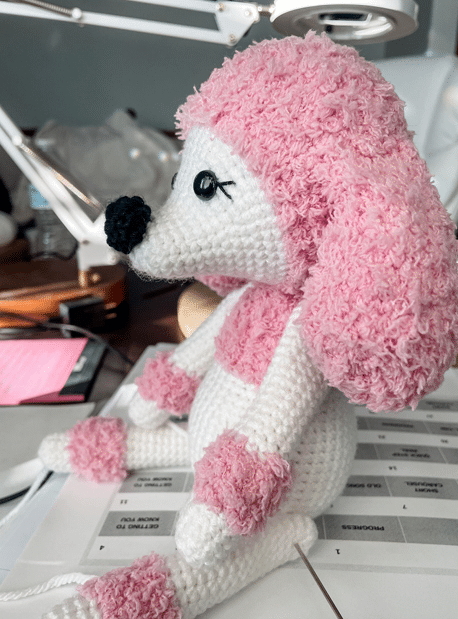
A: No of course not! The Pipsqueak yarn just lends itself to the stereotypical poodle appearance, but it’s definitely optional.
Q: What if I don’t want to use cotter pin discs?
A: You absolutely do not have to use the disc joints if you don’t want to. Just sew the limbs and head on as you would with traditional amigurumi.
If you loved this project, you’ll love these projects too:

Did you make this poodle?
I would love to see what you have created so mention me @thefriendlyredfox when you share a picture!