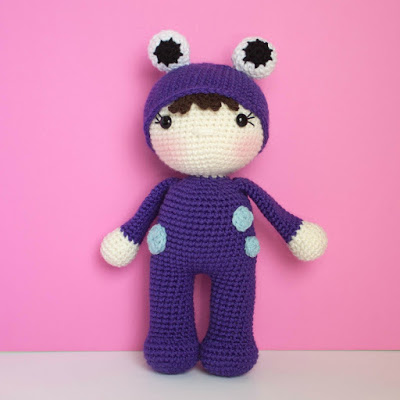
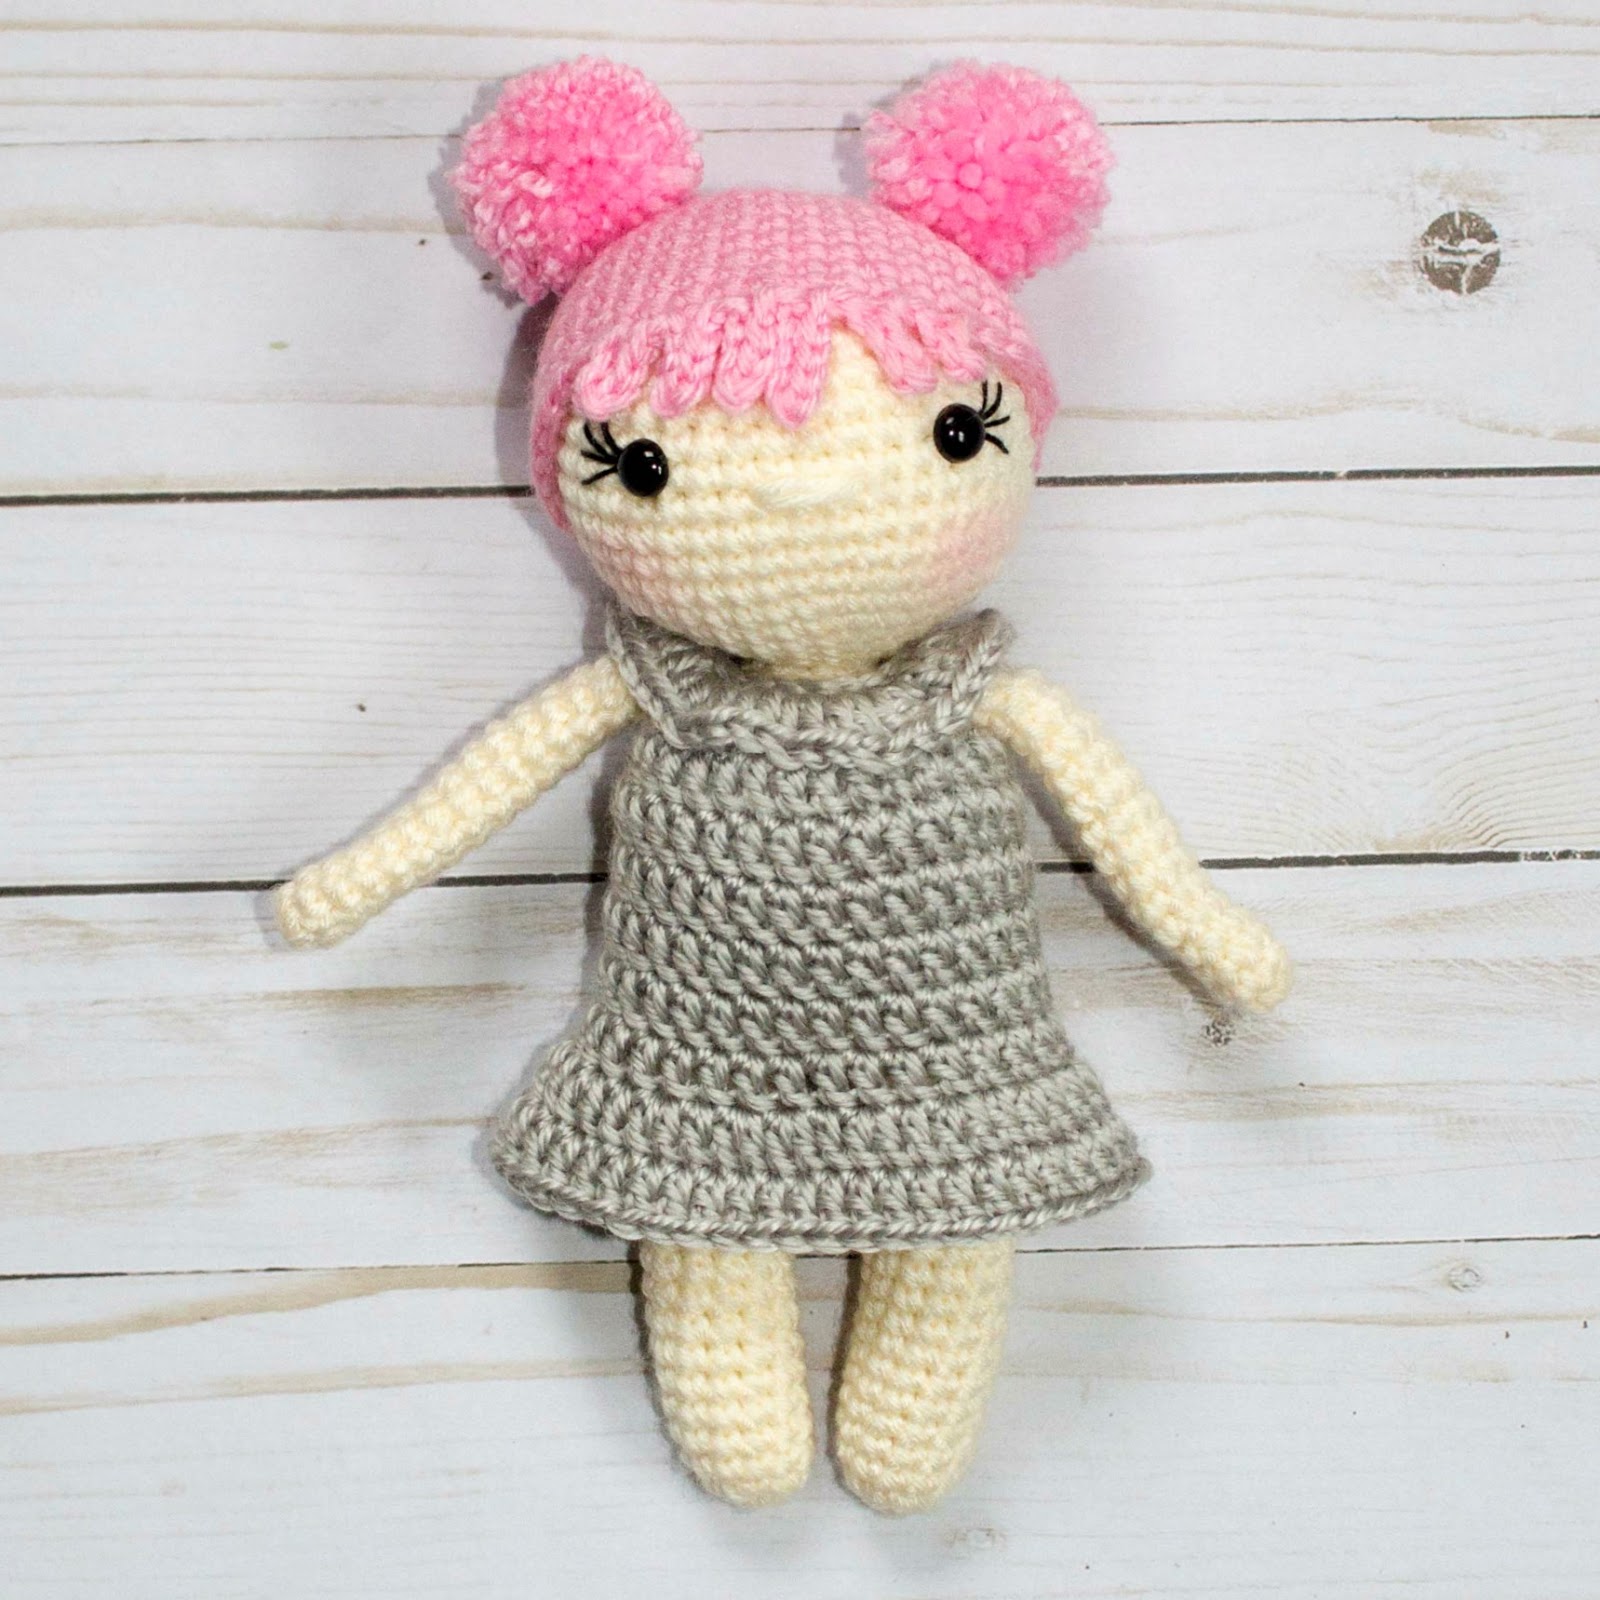
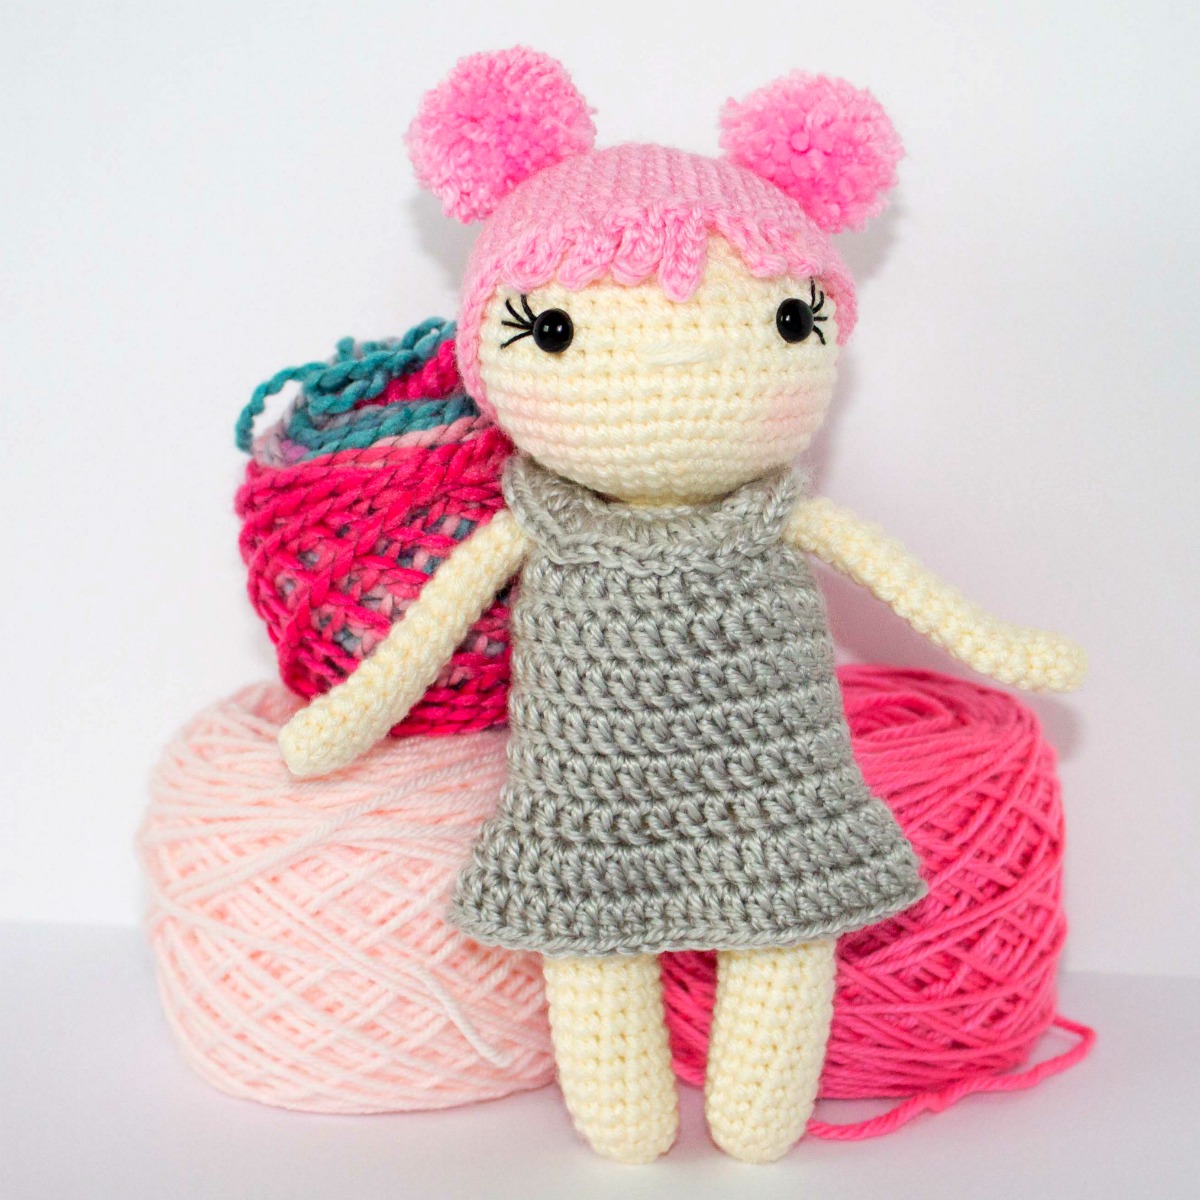
Free Crochet Doll Pattern- The Friendly Zoey
I am really excited to release this free crochet doll pattern! I have been wanting to create a crochet doll pattern that could be made really quickly so I had three things I kept in mind when making Zoey. Simple, speedy, and sweet. I love how quick her hair works up (most crochet doll’s hair is a serious labor of love!) but the bold color makes it so fun. And if you rather not use the pom poms, you can use the pigtail method I used on The Friendly Molly doll! I think it would be just as cute in traditional colors as well- perfect for a little look alike doll! The dress is also fairly simple- a timeless, classic look. And of course the size means you can make one of these in a day! The Friendly Zoey doll is just under 9 inches tall and can easily be held by little hands.

Please note this pattern is only for PERSONAL USE. Please feel free to make as many
items as you wish for yourself, or as gifts. You may sell items made with this pattern but
PLEASE LINK BACK OR GIVE CREDIT TO ME AS DESIGNER. In no way can you
share, reproduce, or sell this pattern. Please respect my rights as designer. This post contains affiliate links. That means I make a small percentage at no cost to you if you purchase from my link! Thank you for supporting The Friendly Red Fox.

Read through the entire pattern and the amigurumi tips and tricks before you begin.
Scroll for the free pattern below, or head to Etsy for the ad-free, printable PDF version! or you can purchase it below!
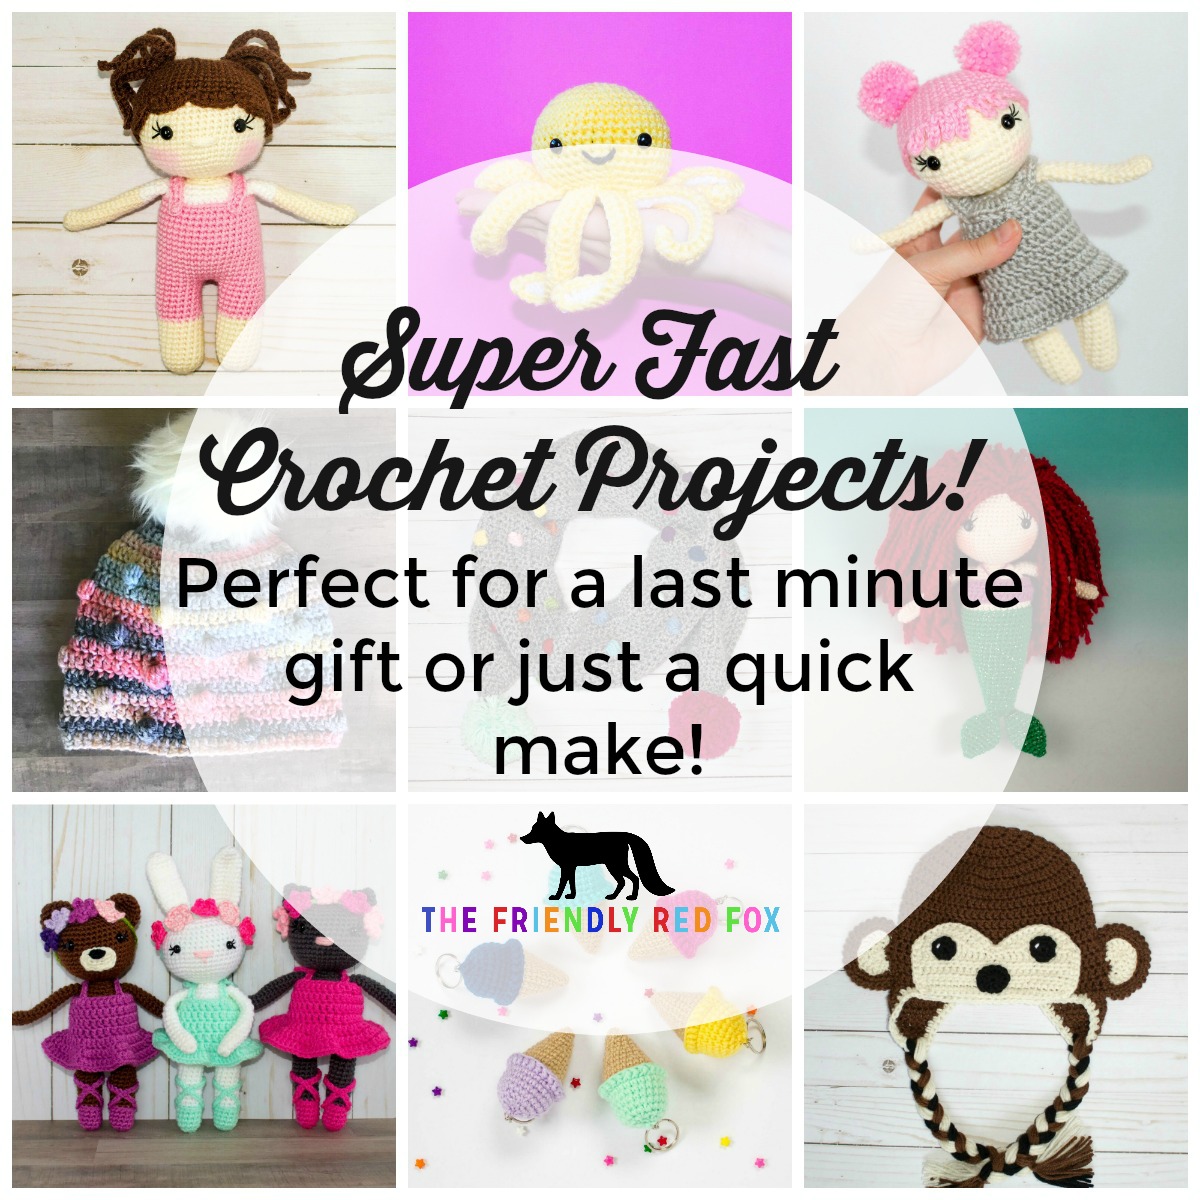
And if you are looking for more super quick gifts these all take less than a day to make!
You will need:
Approx 100 g size 4 yarn (I used I Love this Yarn in Ivory)
Crochet Hook in Size 3.5
Tapestry Needle
Polyfil
9mm safety eyes
stitch marker
Yarn for hair and clothes
Pom pom maker (I used the Clover one inch, or the small pink one)
Check out all my recommendations for tools and materials here.
Abbreviations
SC– single crochet
SC INC– single crochet increase (2 SC in each stitch)
INV DEC– Invisible decrease (put hook through the FRONT LOOP ONLY of two consecutive stitches [two loops on hook] Yarn over pull through both loops. [two loops on hook] Yarn over pull through two loops)
Magic Circle– Make a loop, leaving a long tail to work with. Insert hook in center of loop, yarn over and draw up a loop. Yarn over, pull through to make the first chain (this does not count as a stitch!). Continue to crochet over the loop and tail with the number of stitches called for. (If you need 6 SC, then crochet 6 SC inside the ring.) Pull the tail to close the circle.
Always move your stitch marker to the last stitch in the round. This pattern is worked in continuous rounds.
Legs
*Lightly Stuff as you go!
Using skin color:
Round 1: In a magic circle, SC 6
Round 2: SC INC in each stitch around (12)
Rounds 3-18: SC in each stitch around. (12)
Fasten off.
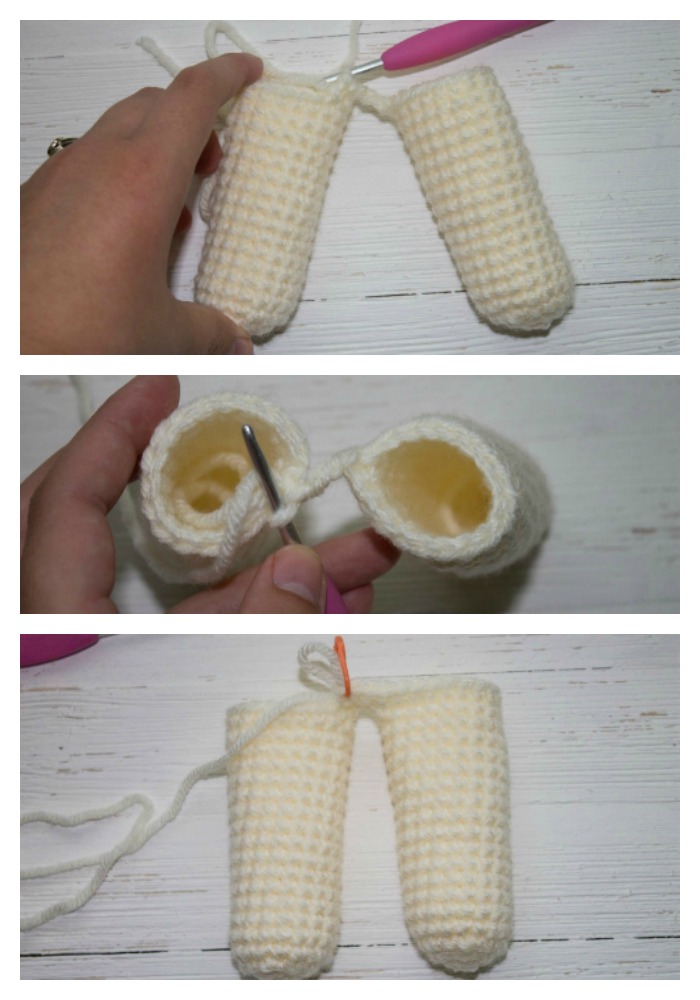
Repeat for the second leg but do not fasten off. Instead, chain 3 and then SC in the next stitch of the other leg. When you come to the chain 3, SC in each chain and then in each stitch around the leg. SC again into each chain across to the other leg. Take care to crochet over the tail left over by fastening off. (This is round 19.)
Round 20: SC around. (30)
Rounds 21-33: SC around (30)
Round 34: 3 SC, INV DEC, repeat around. (24)
Round 35: 2 SC, INV DEC, repeat around.(18)
Round 36: 1 SC, INV DEC, repeat around. (12)
*Be sure to stuff very well at this point!*
Round 37: INV DEC in each around. (6)
Now we will start the increase for the head. I am going to start the round count over to make it a little easier as you place the eyes, nose, etc. You will count from where you increase at the neck. It is very easy to see.
Head
Round 1: SC INC in each around. (12)
Round 2: SC in first, SC INC in next. Repeat around. (18)
Round 3: SC in first 2, SC INC in next. Repeat around. (24)
Round 4: SC in first 3, SC INC in next. Repeat around. (30)
Round 5: SC in first 4, SC INC in next. Repeat around. (36)
Round 6: SC in first 5, SC INC in next. Repeat around. (42)
Rounds 7-15: SC in each stitch around. (42)
Place the eyes between rows 12 and 13, about 9 stitches apart. Sew on eyelashes here. Read my Best Tips and Tricks for Doll Faces here. Make sure the neck is fully stuffed. Begin stuffing the head. Continue to do so as you decrease.
Round 16: SC in the first 5, INV DEC in the next. Repeat around. (36)
Round 17: SC in the first 4, INV DEC in the next. Repeat around. (30)
Round 18: SC in the first 3, INV DEC in the next. Repeat around. (24)
Round 19: SC in the first 2, INV DEC in the next. Repeat around. (18)
Round 20: SC in the first, INV DEC in the next. Repeat around. (12)
Round 21: INV DEC around. (6)
Fasten off leaving a long tail to sew the nose.
Arms (note: I do not stuff the arms.)
Round 1: In a magic circle, SC 8 . (8)
Rounds 2-15: SC in each stitch around (8)
Attach to body. I sew them on between rows 34 and 35.

Hair
Round 1: In a magic circle, 6 SC.
Round 2: SC INC in each around. (12)
Round 3: SC in first, SC INC in next. Repeat around. (18)
Round 4: SC in first 2, SC INC in next. Repeat around. (24)
Round 5: SC in first 3, SC INC in next. Repeat around. (30)
Round 6: SC in first 4, SC INC in next. Repeat around. (36)
Round 7: SC in first 5, SC INC in next. Repeat around. (42)
Rounds 8-14: SC in each around. (42) *NOTE: Due to the difference in yarn, tension, etc., you may want to do more or less rounds to cover the head.*
Slip stitch in the next three stitches and fasten off. Leave a long tail to attach to the head.
For the bangs, attach yarn to the one side of the front. Chain 5. In the second chain from the hook, slip stitch in the next 3 chains. Attach with a slip stitch to the same stitch you chained from. Slip stitch over to the next stitch on the hair hat. Repeat 5 more times. Fasten off and weave in ends.
When you attach the hair, use pins to keep it in place and sew around. You can move the bangs to their permanent place and sew a stitch in each as you go around. If you prefer, use some embroidery floss in the same color to sew down the bangs. I just used the same string I sewed on the hair hat with.
Make two one inch pom poms and attach to the top of the head above the eyes. If you want to make the pom poms very sturdy, use a clover pom pom maker and a thin line of glue between each wrap. I attached them after I sewed on the hair hat. Again, if you do not like the pom poms, use the pigtail method I used for The Friendly Molly doll!
Dress
To make the dress, chain to a length that will just barely reach around the body. Due to the variations of yarn, amount of stuffing, and which hook you use, it is really difficult to give an exact number. (As a starting point, I chained 30 with my 3.5 hook) The amount of stitches will not affect the pattern. Just make sure it will go around the doll. Double check after a few rows that you can pull it up her body. Better to frog now than cry later!
(HINT: You could also do a foundation double crochet here.) DC in the 3rd chain from hook.
Slip stitch together to form a ring. Double check that you did not twist the chain.
At the end of each row you will slip stitch to the first stitch to connect. Chain 2 before you begin each row.
Row 1:DC in each stitch across. Sl st to the first stitch.
Row 2-6: Chain 2. DC in the same stitch. DC in each across..
Row 7: DC INC in the first, DC in the next. Repeat until the end of the row.
Row 8: DC in each stitch across.
Fasten off and weave in ends.
Sleeves/Neck of the dress
Chain 25. DC in the first, DC INC in the next. Repeat across. Fasten off. Place it around her neck, with the ends in the back. Sew the ends together. Attach to the back of the dress. Weave the end forward and attach it to the front. Weave in ends toward the back.