
Silly Chicken Crochet Pattern-Low Sew Amigurumi Pattern
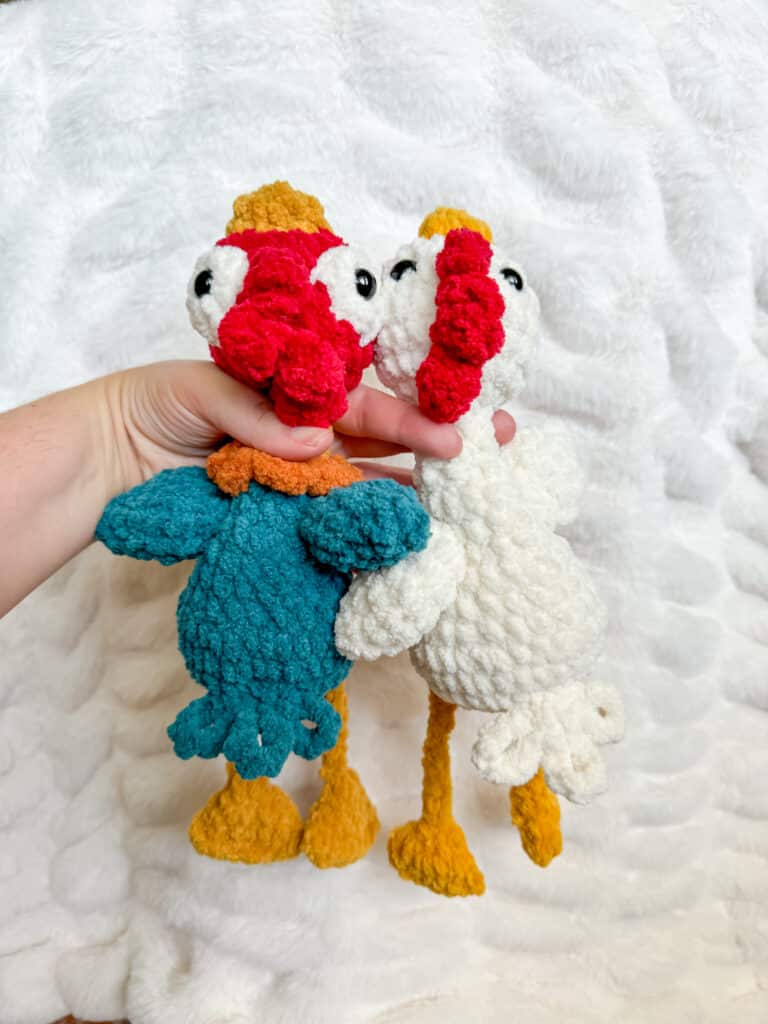
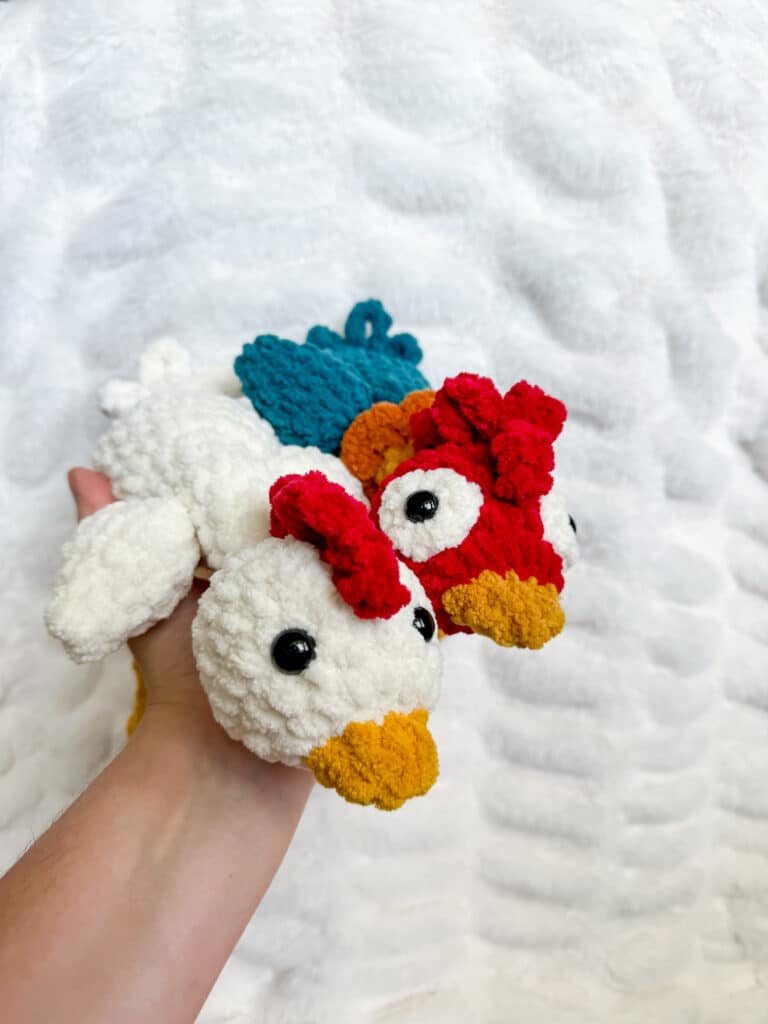
This silly chicken crochet pattern results in a silly hen or rooster! This is a great pattern if you hate sewing- this amigurumi pattern is low sew!
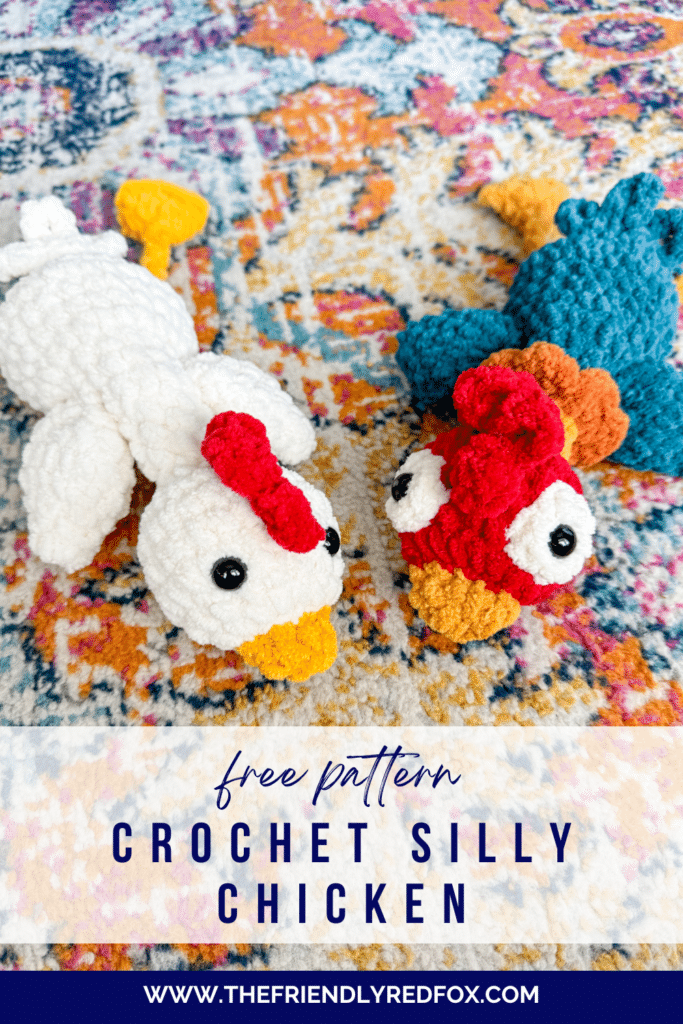
Learn how to make this Silly Chicken Crochet Pattern
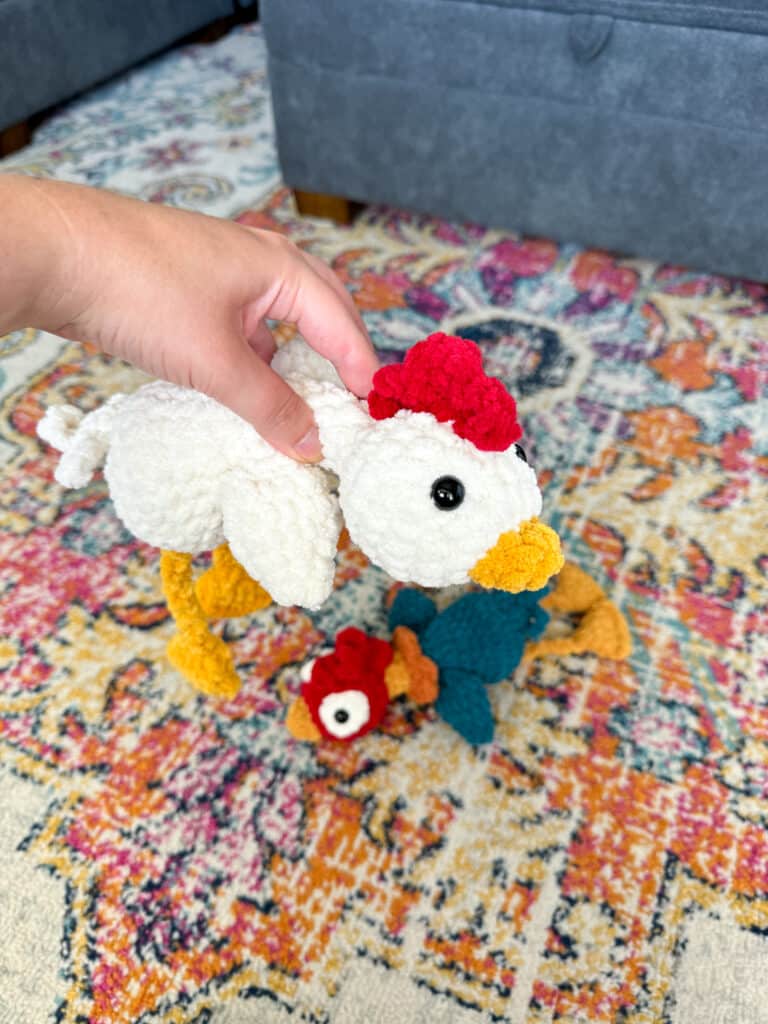
There are some really awesome one hour crochet patterns out there. You may have made my one hour, no sew turtle before and if you have made a silly goose, you get the hype! Just like the silly goose, it can be a little difficult to fully capture the charm of this silly chicken crochet pattern. The floppiness, the dangly legs, and longer neck is so much FUN. Adding the crazy eyes makes it extra appealing to a young crowd!
I started designing this silly chicken crochet pattern I had three objectives. I wanted it to be a low sew pattern. There is zero traditional sewing, but you do use a needle. But if you hate sewing face pieces or limbs on, there is a much different method here. I also wanted this to be a quick pattern. I can make one in just over an hour. Of course, I also wanted to make something that was super cute. There is something really appealing about the dangly legs and simple design.
This chicken is very similar to my silly goose pattern. There are a few changes, including different wings, additions for the comb and tail, and the beak is slightly different. If you are looking for more fun chicken patterns, you need to check out the squishy version!
Would you like to save this project for later? Input your email address below, and I will promptly deliver the pattern link to your inbox.
This silly chicken crochet pattern is perfect if you like to sell what you make. Once you make your first silly chicken, you will want to make a second! The blanket yarn really helps it work up quickly!
While the low sew aspect may be new techniques to a beginner, there are video tutorials for the more tricky spots to help you! You can see those here.
The plush yarn makes this one hour crochet pattern really cozy and squishy! Like I mentioned, kids really love these! Keep some of this blanket yarn on hand and you are set for any surprise birthdays. It also doesn’t take a lot, so it is cost effective, too!
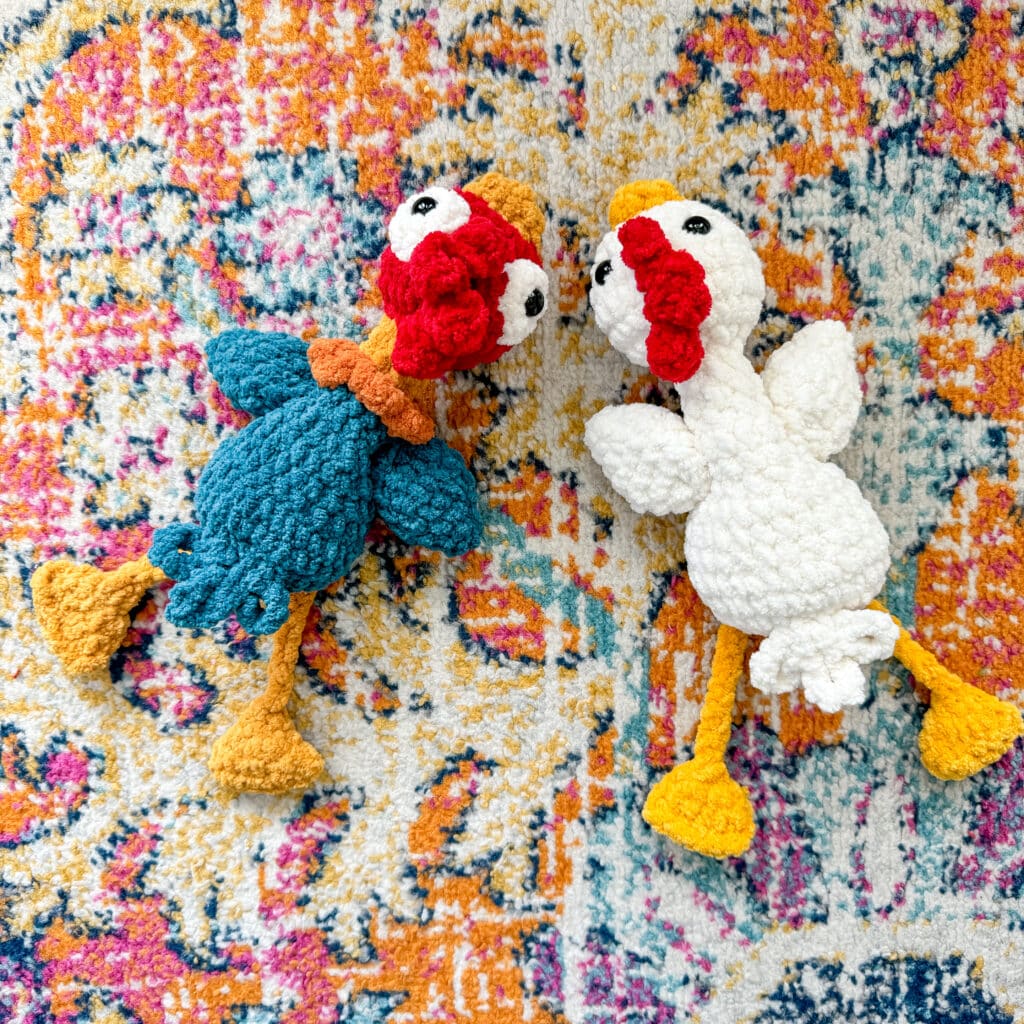
I do want to make a note about the type of yarn you use… If you substitute a more plush version like Premier Parfait Chunky, it will look very different. Even though a lot of plush yarns have the same weight on the package (Super Bulky, 6) they DO NOT WORK UP THE SAME. I am sure a lot of that has to do with the construction, material, etc. In my experience, it is not only the size that is different, but the overall look. That doesn’t mean you should not experiment, I just wanted to make that clear!
You may also notice that the beginning of the silly chicken starts with 8 stitches in a magic circle, instead of the typical amigurumi 6. This helps prevent the circle from forming a cone shape.
You will use about HALF AS MUCH STUFFING as you normally would. This is intentionally a floppy, ragdoll-ish sort of pattern. If you stuff too much, it will look much different!
Want the Ad-free, Printable PDF?
You can find it in one of my stores!
Silly Chicken Crochet Pattern Step by Step
Ready to make this? This post contains some affiliate links for your convenience! Read my full disclosure policy.
Materials you’ll need
Abbreviations
SC- single crochet
SC INC- single crochet increase
HDC- Half Double Crochet
DC- Double Crochet
INV DEC- Invisible decrease
Silly Chicken Crochet Pattern and Yarn Notes
This silly chicken is made from the bottom to the head, and ends at the beak. The feet and wings are attached later, but neither uses traditional sewing methods. This is a quick pattern that takes relatively little yarn. I intentionally under-stuffed for a more floppy, silly look. Over-stuffing will change the look dramatically. Substitute yarns could be Bernat Blanket yarn or Big Twist from Joann’s. You may need to change the hook size if you change the yarn. For the collection of videos you can visit https://www.thefriendlyredfox.com/tag/silly-goose-videos/ and https://www.thefriendlyredfox.com/tag/silly-chicken/.
Yarn Types in the Pictures
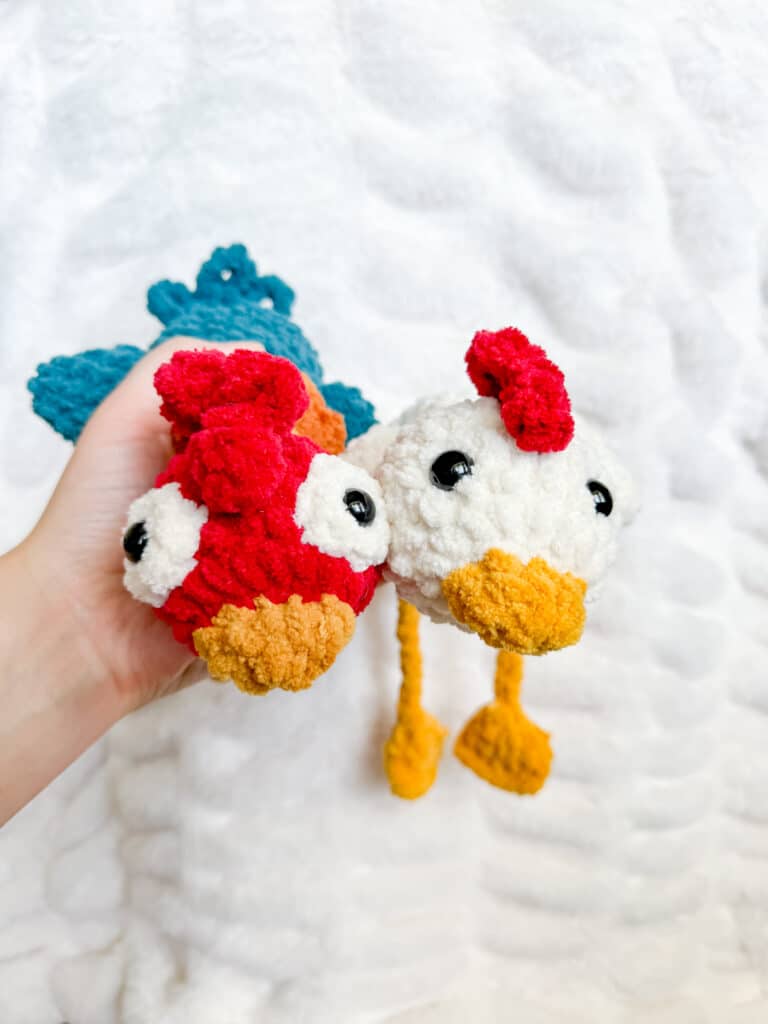
Premier Basix Chenille in White– Chicken Body
Premier Basix Chenille in Mustard– Beak and Feet
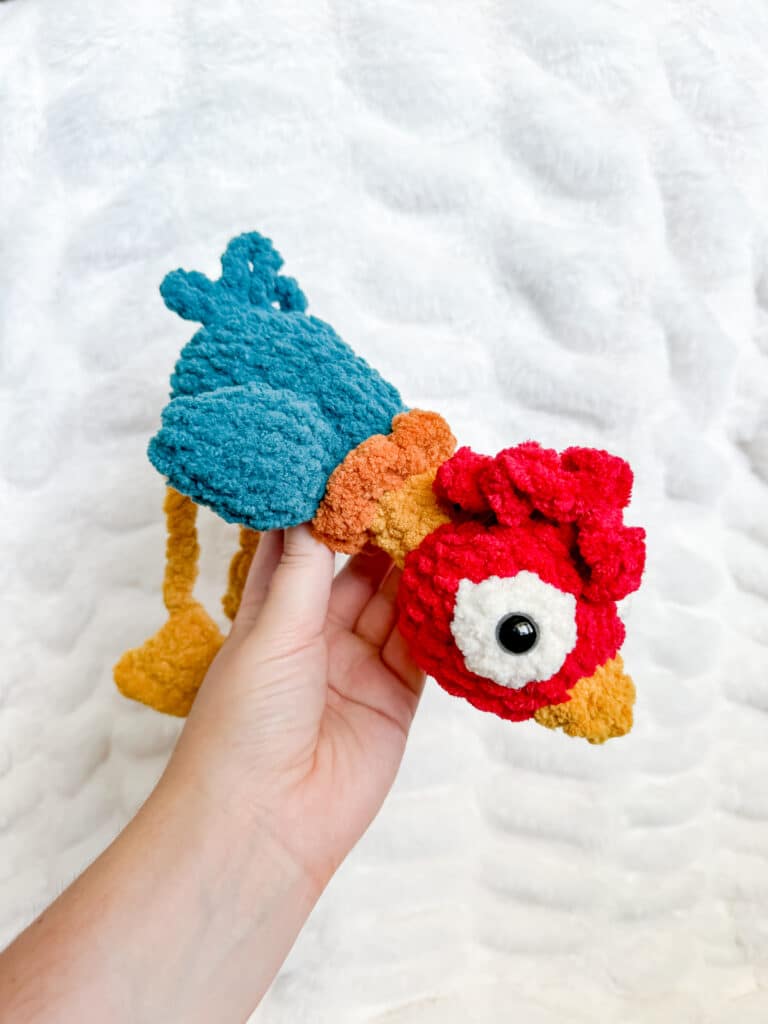
Premier Basix Chenille in Rust-Rooster Neck Ruffles
Premier Basic Chenille in Teal Blue– Rooster Body
Premier Basic Chenille in Poppy– Hen Comb, Rooster Comb, Rooster Head
Silly Chicken Crochet Pattern
Body to Beak
In main body color:
Round 1: In a magic circle, SC 8.
Round 2: SC INC in each around. (16)
Round 3: SC in the first, SC INC in the next. Repeat around. (24)
Round 4: SC in the first 2, SC INC in the next. Repeat around. (32)
Round 5: SC in each around. (32)
Round 6: SC in the first 2, INV DEC in the next. Repeat around. (24)
Round 7-9: SC in each around. (24)
Round 10: SC in the first, INV DEC in the next. Repeat around. (16)
Round 11-12: SC in each around. (16)
Begin to lightly stuff here. Change to mustard if doing rooster.
Round 13: INV DEC in each around. (8)
Rounds 14-16: SC in each around. (8)
Lightly stuff the neck. Change to red if doing rooster.
Round 17: SC INC in each around. (16)
Round 18: SC in the first, SC INC in the next. Repeat around. (24)
Round 19-21: SC in each around. (24)
Round 22: SC in the first, INV DEC in the next. Repeat around. (16)
Round 23: SC in each around.
Attach safety eyes between rows 21 and 22 about 4 stitches apart.
Lightly stuff the head.
Change to beak color.
Round 24: INV DEC in each around. (8)
Rounds 25: SC in each around. (8)
Fasten off. Sew the remaining hole closed. I like to put the needle through the first loop only. Weave to the back of the beak and lightly sew that shut. Weave in the end and cut it off.
Wings (make 2)
In main body color:
Round 1: In a magic circle, SC 6.
Round 2: SC in each around. (6)
Round 3: SC INC in each around. (12)
Round 4: INC in the first. SC in the next 5 stitches. INC in the next. SC in the remaining 5. (14)
Round 5: SC in each around. (14)
Round 6: INV DEC in the first. SC in the next 5. INV DEC. SC in the remaining 5. (12)
Round 7: SC in the first, INV DEC in the next. Repeat around. (8)
Fasten off and leave a long tail to use in sewing onto the body.
Repeat with the second wing and weave the end out through the same hole as the first end. Tie a knot, then weave in the ends, going through the same hole. The knot will go into the body. Cut off the ends
Silly Chicken Legs (make 2)
In mustard color:
Pull out a VERY long tail, about 3 feet. This is used for the leg part.
Round 1: From this point, crochet 6 SC in a magic circle. Make sure that the long tail is on the outside of the circle when you begin the next round. (6)
Round 2: SC INC in each around. (12)
Round 3: SC in each around. (12)
Flatten the piece so that two halves touch. Seal the edge with a SC in each stitch across, with your hook going between the stitches of both sides. SC INC in the last stitch.
Fasten off and weave in that end.
For the legs, go through the top of the foot with your hook to grab and then pull through the tail. Chain 12 times, with the first chain near the foot. Fasten off.
Using the long tail and a needle, attach the chain to the body around round 3 of the body, near the sides. Go through about two stitches a couple of times. Then weave the end through the chains back down to the foot. Sew through the bottom chains into the top of the foot a couple of times. Weave in the end and cut it off.
Repeat for the second foot and leg.
Watch the video below for the full tutorial on this method, or scroll down for more pictures!
Notes on Attaching the Legs
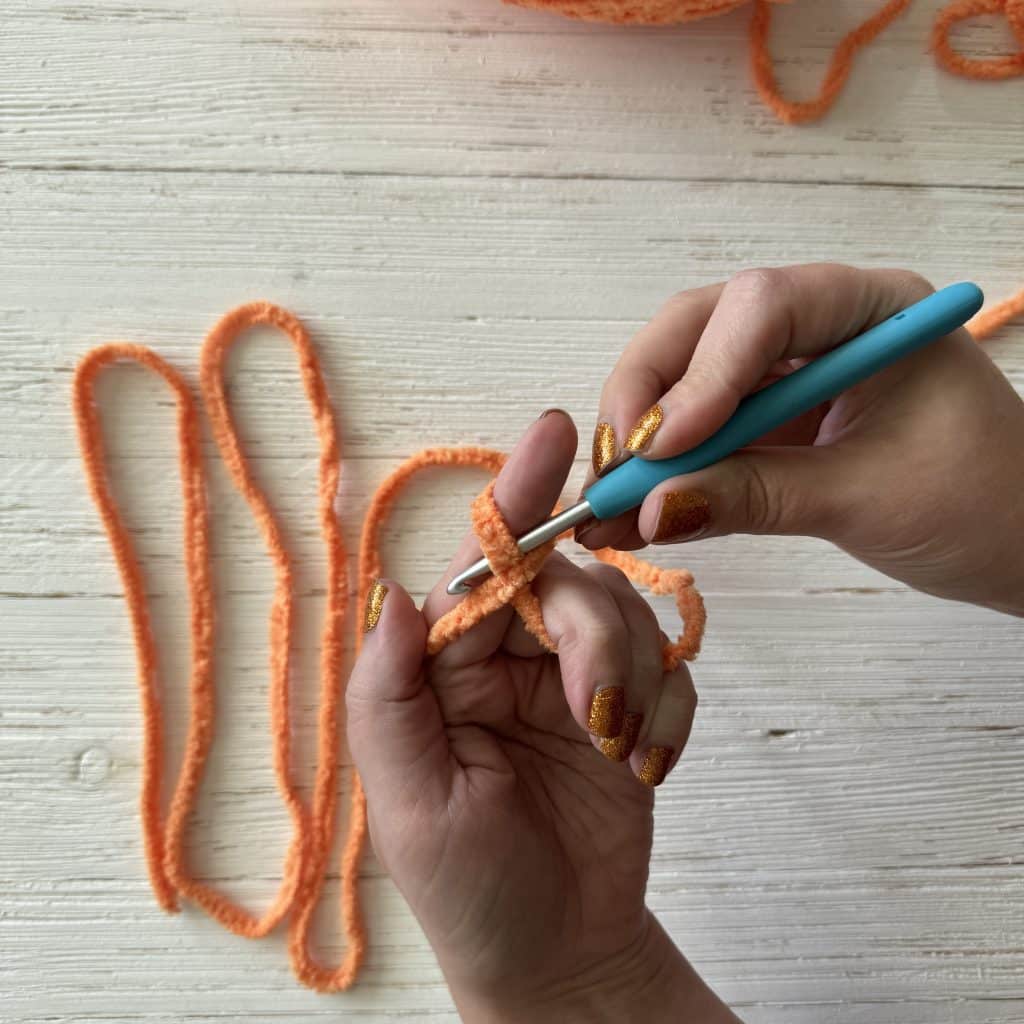
Leave a 3 foot long tail, this is what you will use for the legs. From this point make your magic circle.
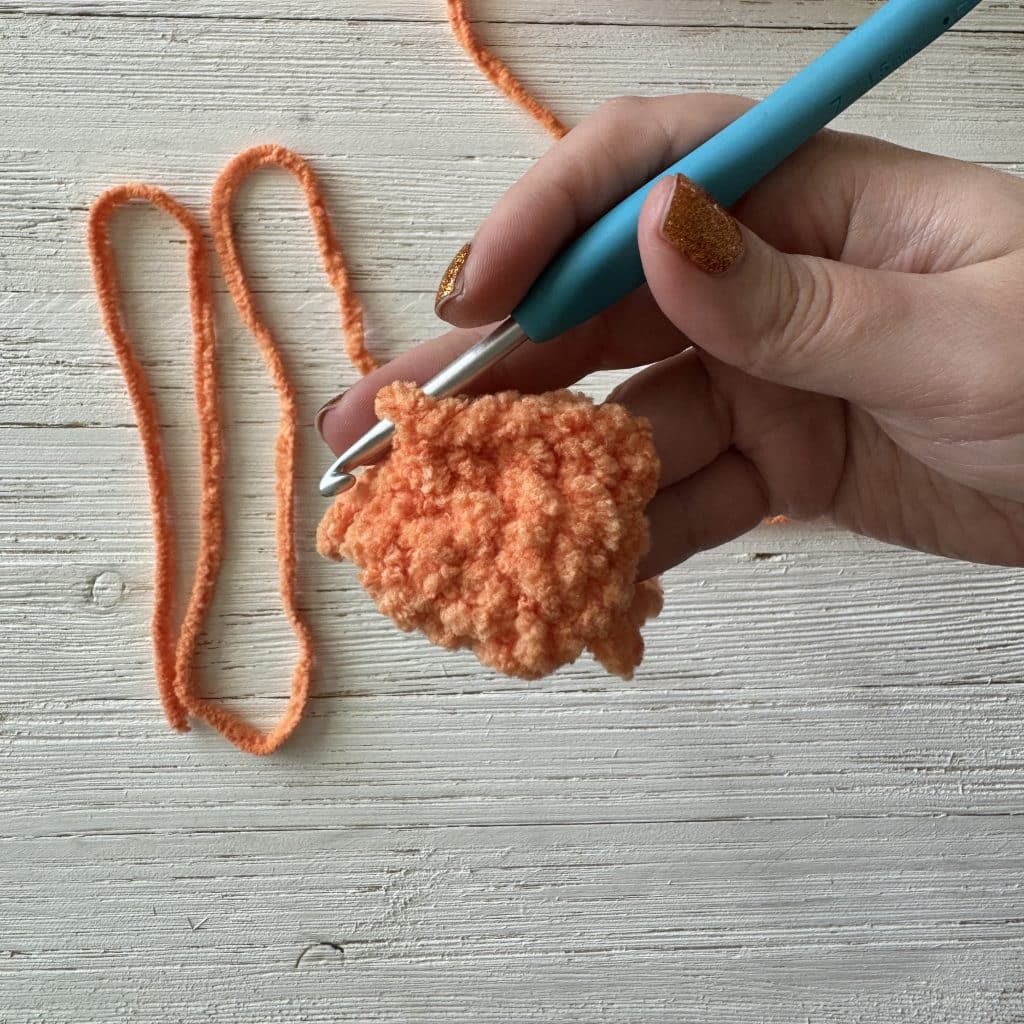
Flatten the foot so that both sides touch. SC through both sides to seal it closed.
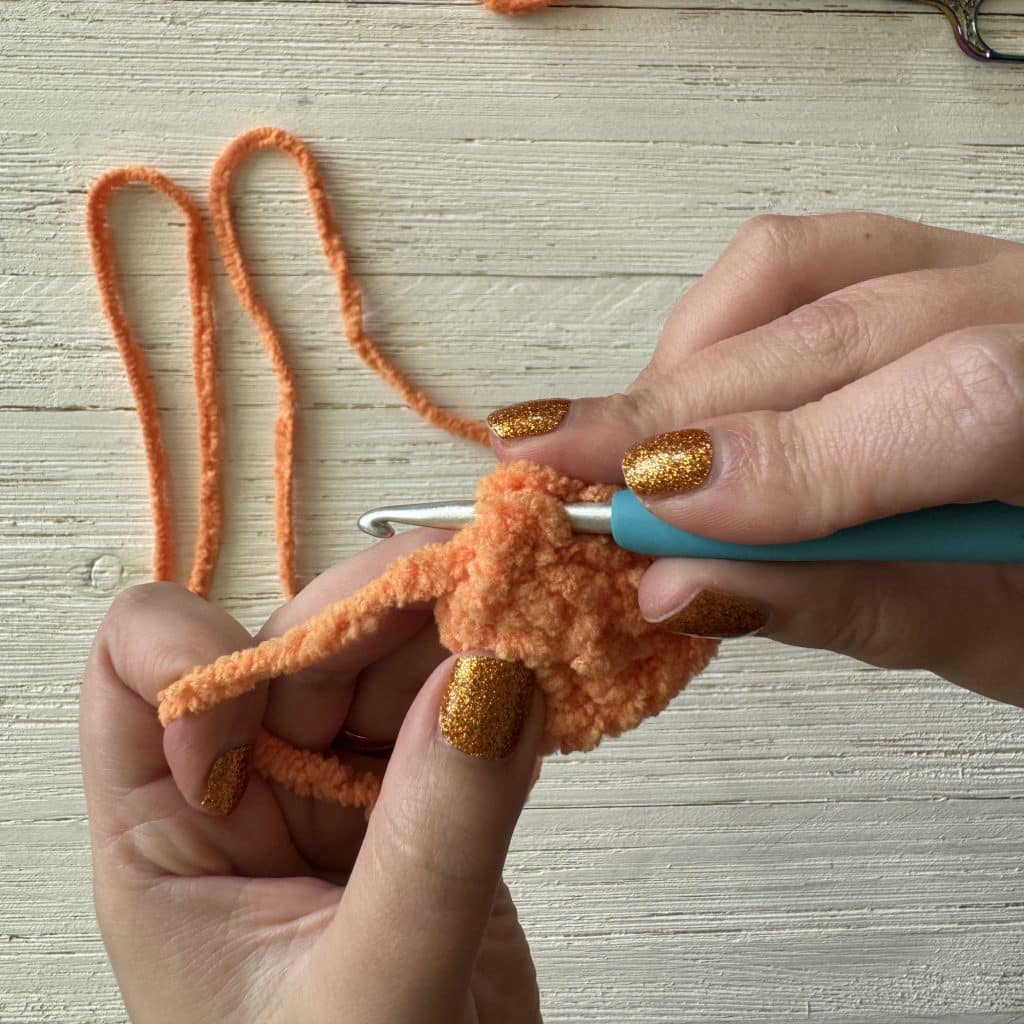
For the legs, go through the top of the foot with your hook to grab and then pull through.
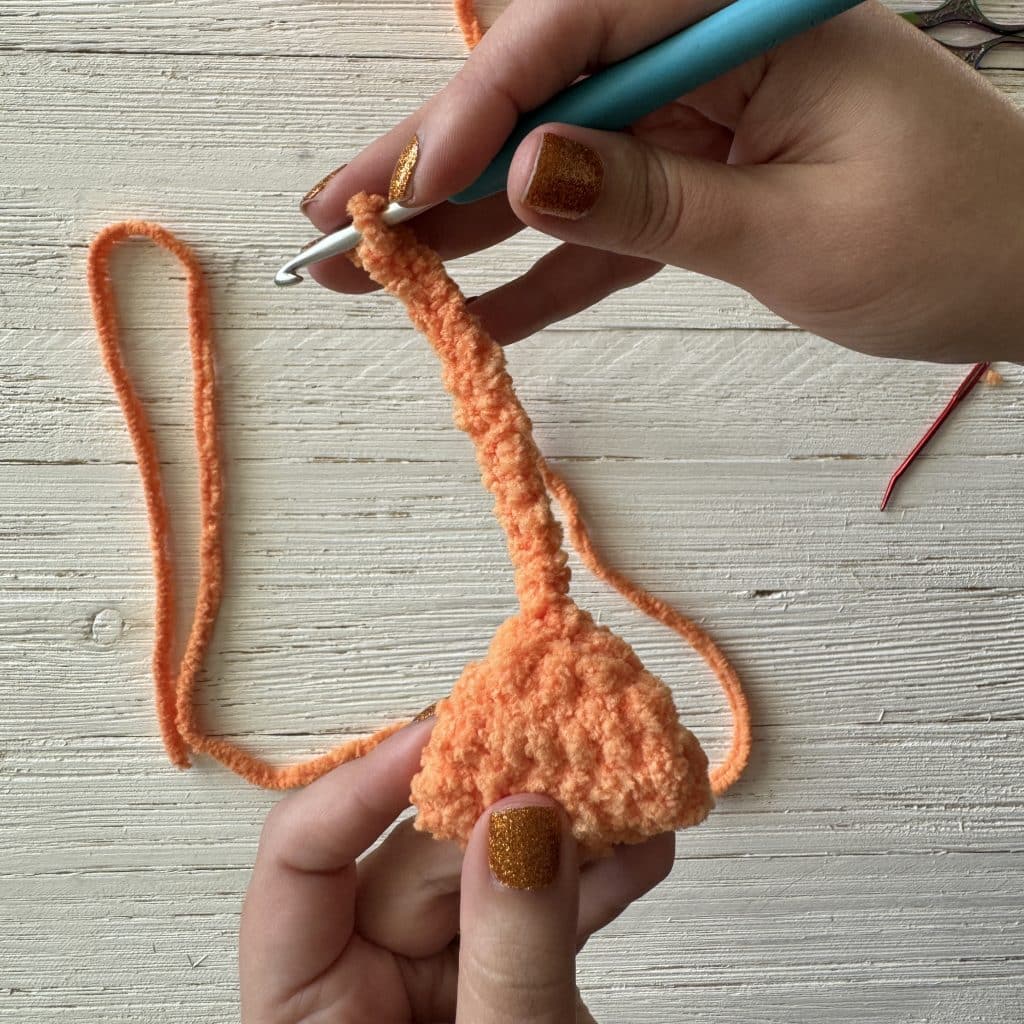
Chain 12 times, with the first chain near the foot. Fasten off.
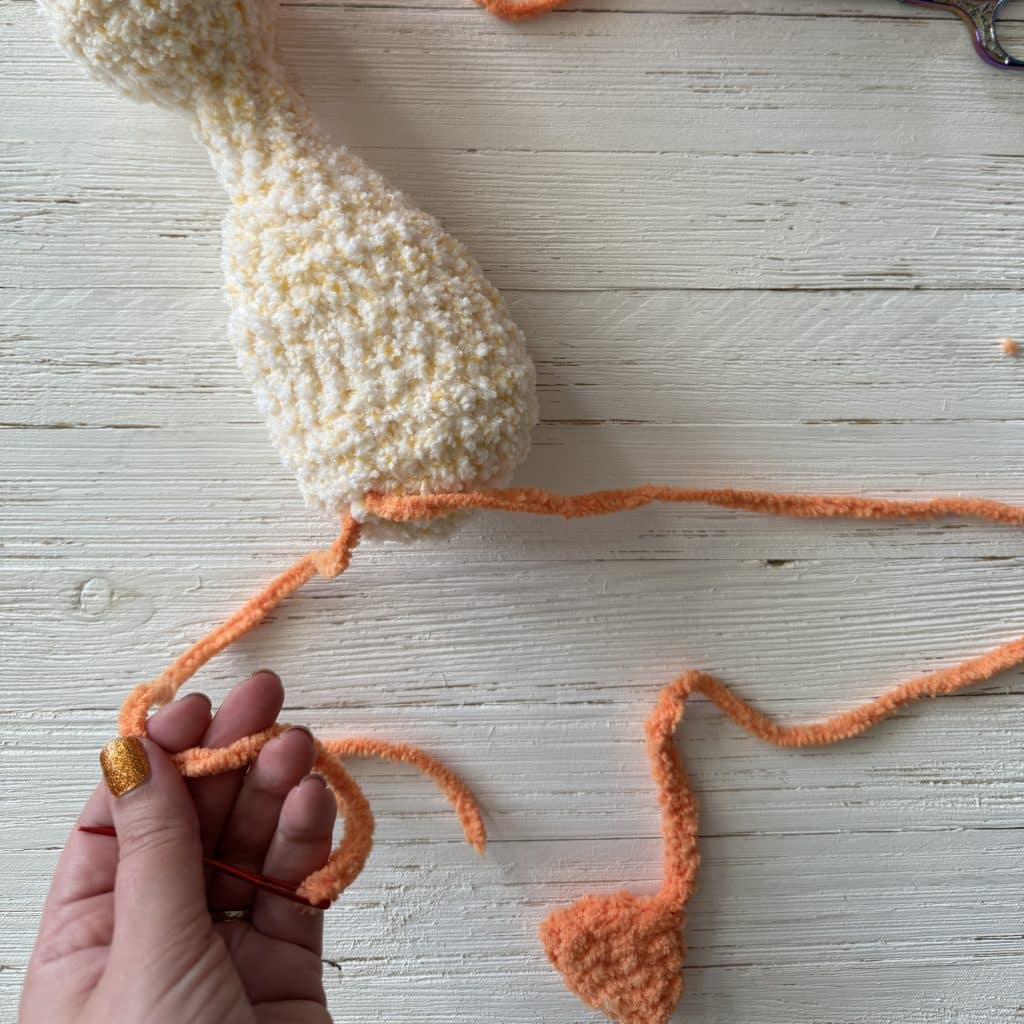
Using the long tail and a needle, attach the chain to the body around round 3 of the body, near the sides. Go through about two stitches a couple of times.
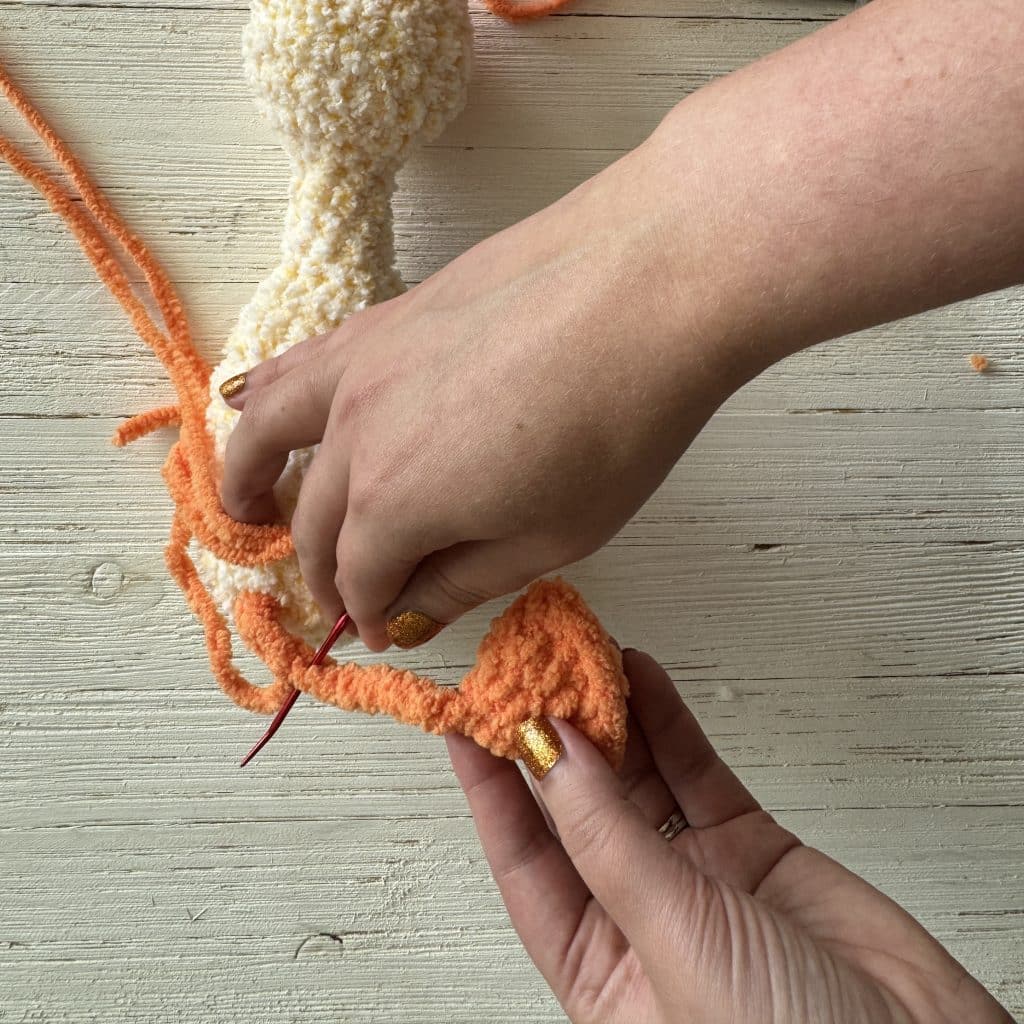
Then weave the end through the chains back down to the foot. Sew through the bottom chains into the top of the foot a couple of times. Weave in the end and cut it off.
Comb
In red:
Chain 8. In the second chain from the hook DC INC.
Chain 2 and slip stitch into the same chain. SC. *Chain 2. In the next stitch DC INC, chain 2 and slip stitch in the same stitch.* Repeat italicized portion till end of chain. Click here to watch the video tutorial for this part.
Tail
In main body color:
Chain 8. Sl St to the first chain. Chain 8 again and sl st to the first chain again. Repeat one more time for three feathers. Fasten off and attach them to round 7 in the back.
Rooster Neck Feathers
In rust color for rooster.
Chain 3. slip stitch to first chain. Repeat 8x
Fasten off and leave a long tail to sew on. Wrap it around the neck and attach with the loops facing out. This is the video to show you the same method but on my squishy chicken pattern.
Crazy Eyes
In white:
8 SC in a magic circle. Fasten off and sew the circle closed. Attach a 12mm safety eye trhough the center, attaching the back. Sew them on approximately the same place you would add the regular safety eyes. I have an instagram reel to show this process, if you want to check that out.
Answers to your questions about making this Silly Chicken Crochet Pattern
Q: Do I have to use plush yarn?
A: No, but your project will be much smaller. This was designed specifically for this type of yarn, and the shape may be slightly off. If you use a different type than the recommended yarn, it may come out different as well!
Q: Can I sell finished items from this pattern?
A: Of course! I hope you sell lots and lots! I just ask that you credit me with the design, especially if selling online.
Did you make this crochet pattern?
I would love to see what you have created so mention @thefriendlyredfox or tag me using #thefriendlycrochetclub so I can see your creations!



I am a newbie at amigurumi. This pattern was the third project I attempted and the pattern was so easy to follow. It came out so cute and my grandchildren love him, of course I had to make two so they would each have their own Hei Hei.
Thank you for all the lovely free patterns. I’m addicted!