Free Crochet Penguin Pattern

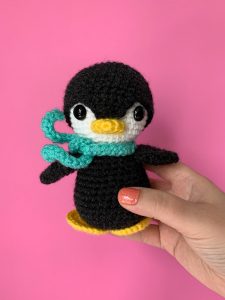
This free crochet penguin pattern is a fun one, a little smaller than the other animals in the Amigurumi A to Z series! I love that he sits so perfectly in your hand. The Friendly Penguin is about 6 inches tall when made with the recommended yarn. Although I made it in the traditional black, I think some fun colorful variations would be awesome, too!
This little crochet penguin’s body and head are one piece, and then the feet, wings, beak and black head piece is attached separately. This pattern uses pretty simple shapes so I would classify it as advanced beginner level. I had so much fun creating this little guy, I hope you do, too! If you make him, share a picture and tag me @thefriendlyredfox and use the hashtag #thefriendlycrochetclub!
Percy is the letter P animal in the Amigurumi A to Z series! You can check out the other letters here!
Scroll down for the free pattern, or you can purchase the ad-free, printable PDF.
Please note this pattern is only for PERSONAL USE. Feel free to make as many
items as you wish for yourself, or as gifts. You may sell items made with this pattern but
PLEASE LINK BACK OR GIVE CREDIT TO ME AS DESIGNER. In no way can you
share, reproduce, or sell this pattern. Please respect my rights as a designer, this pattern belongs to The Friendly Red Fox.

You will need:
Approx 100 g size 4 yarn in main color (I used I Love this Yarn in Black)
Small amount white worsted weight
Small amount of yellow worsted weight
Crochet Hook in Size 3.75
Tapestry Needle
Polyfil
12mm safety eyes
stitch marker
Abbreviations
SC- single crochet
SC INC- single crochet increase (2 SC in each stitch)
INV DEC- Invisible decrease (put hook through the FRONT LOOP ONLY of two consecutive stitches [two loops on hook] Yarn over pull through both loops. [two loops on hook] Yarn over pull through two loops)
Magic Circle- Make a loop, leaving a long tail to work with. Insert hook in center of loop, yarn over and draw up a loop. Yarn over, pull through to make the first chain (this does not count as a stitch!). Continue to crochet over the loop and tail with the number of stitches called for. (If you need 6 SC, then crochet 6 SC inside the ring.) Pull the tail to close the circle.
Click here for a video on how to make a magic circle!
Always move your stitch marker to the last stitch in the round. This pattern is worked in continuous rounds.
Body and Head
Using the black
Round 1: In a magic circle, 6 SC.
Round 2: SC INC in each around. (12)
Round 3: SC in first, SC INC in next. Repeat around. (18)
Round 4: SC in first 2, SC INC in next. Repeat around. (24)
Round 5: SC in first 3, SC INC in next. Repeat around. (30)
Round 6: SC in first 4, SC INC in next. Repeat around. (36)
Rounds 7-11: SC in each around. (36)
Round 12: SC in first 4, INV DEC in the next. Repeat around. (30)
Rounds 13-14: SC in each around. (30)
Begin stuffing here.
Round 15: SC in first 3, INV DEC in the next. Repeat around. (24)
Rounds 16-17: SC in each around. (24)
Round 18: SC in first 2, INV DEC in the next. Repeat around. (18)
Round 19: SC in the first, INV DEC in the next. Repeat around. (12)
From here we are increasing the head. Change to white color. Watch this video for my best advice on how to change color in amigurumi!
Round 20: SC in first, SC INC in next. Repeat around. (18)
Round 21: SC in first 2, SC INC in next. Repeat around. (24)
Round 22: SC in first 3, SC INC in next. Repeat around. (30)
Round 23: SC in first 4, SC INC in next. Repeat around. (36)
Rounds 24-33: SC in each around. (36)
Attach eyes between rows 27 and 28, 8 stitches apart.
Round 34: SC in the first 4, INV DEC in the next. Repeat around. (30)
Round 35: SC in the first 3, INV DEC in the next. Repeat around. (24)
Round 36: SC in the first 2, INV DEC in the next. Repeat around. (18)
Round 37: SC in the first, INV DEC in the next. Repeat around. (12)
Round 38: INV DEC around. (6)
Fasten off and carefully sew the remaining hole closed.

Black Head Piece
Note: It may be helpful to go up one size hook (or even a half size) for this piece. It will sit on the head and it is a very tight fit. I did not, but I did stretch it out before attaching, and I pulled it down to where I wanted it and used pins to keep it in place while I sewed it on. Don’t be intimidated, this is all much easier than it sounds!
Using the black
Round 1: In a magic circle, 6 SC.
Round 2: SC INC in each around. (12)
Round 3: SC in first, SC INC in next. Repeat around. (18)
Round 4: SC in first 2, SC INC in next. Repeat around. (24)
Round 5: SC in first 3, SC INC in next. Repeat around. (30)
Round 6: SC in first 4, SC INC in next. Repeat around. (36)
Rounds 7-13: SC in each around. (36)
Chain 1 and turn.
SC 7 across. Chain 1 and turn. (7)
INV DEC. SC in the next 3. INV DEC. Chain 1 and turn. (5)
INV DEC. SC in the next. INV DEC. (3)
Slip stitch across the new rows and around the entire head piece until you come back to where you started. Fasten off and leave a long tail to sew the black piece onto the white head. Center the dip between the eyes. You may have to stretch it a bit to go over the head, but you want it reasonably tight. Pin it in place and sew it on.
Beak
Using the yellow
Round 1: 6 SC in a magic circle.
Round 2: SC INC in each around. (12)
Round 3: SC in each around. (12)
Fasten off and leave a long tail to sew it on. Flatten the beak and pin it to the face, centered between the eyes, and right beneath the black dip.
Wings (make 2)
Using the black
Round 1: 6 SC in a magic circle
Round 2: SC in each around. (6)
Round 3: INC in each around. (12)
Round 4: SC in each around (12)
Round 5: SC in the first, INC in the next. (18)
Rounds 6-7: SC in each around. (18)
Round 8: SC in the first, INV DEC in the next. Repeat around. (12)
Fasten off and leave a long tail to sew it on. Attach it between rows 17 and 18 on either side.
Feet (make 2)
Using the yellow
Round 1: In a magic circle, 6 SC.
Round 2: SC INC in each around. (12)
Round 3: SC in first, SC INC in next. Repeat around. (18)
Round 4: SC in first 2, SC INC in next. Repeat around. (24)
Slip stitch in the next 3 stitches and fasten off, leaving a long tail to sew it on. Sew the back half of the circle onto the bottom of the penguin. The backs should cover most of the bottom, but the front half should peek out like little feet.

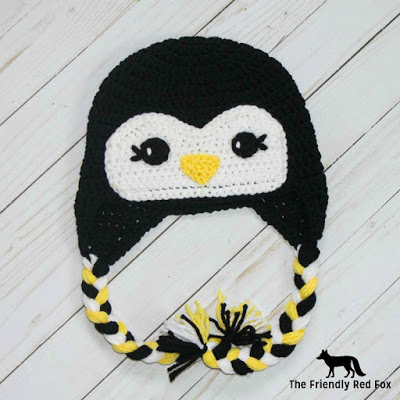
Scarf
Chain 50. In the second chain from hook, HDC. HDC in each chain across. Fasten off and weave in ends.
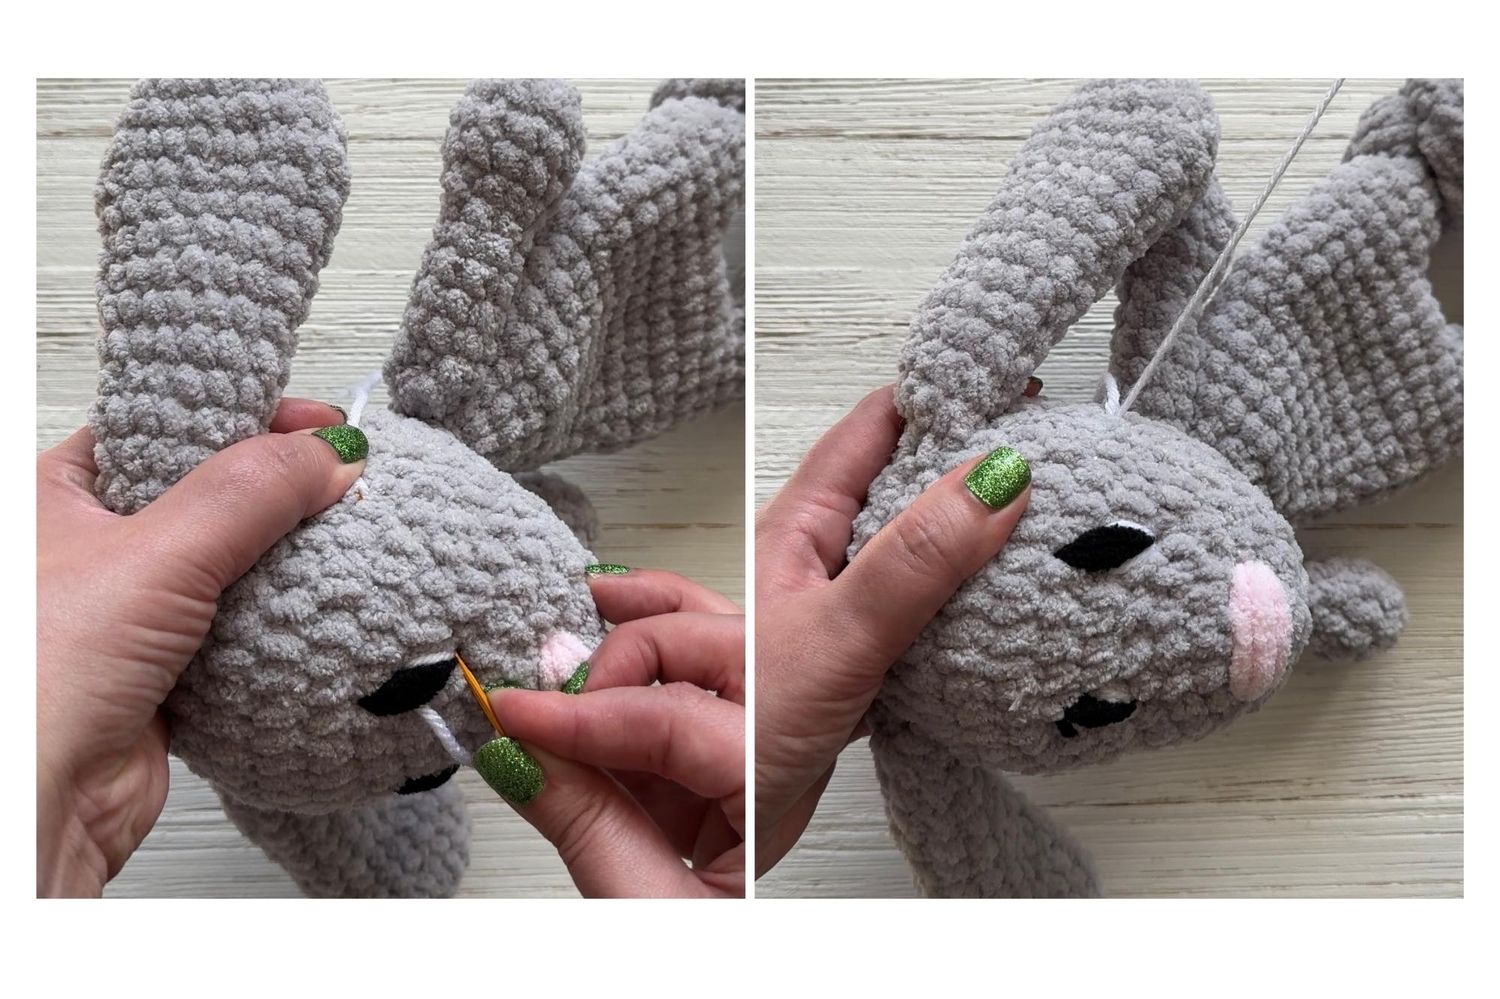
Is there a way that I can make the penguin bigger.
You can use plush yarn!!