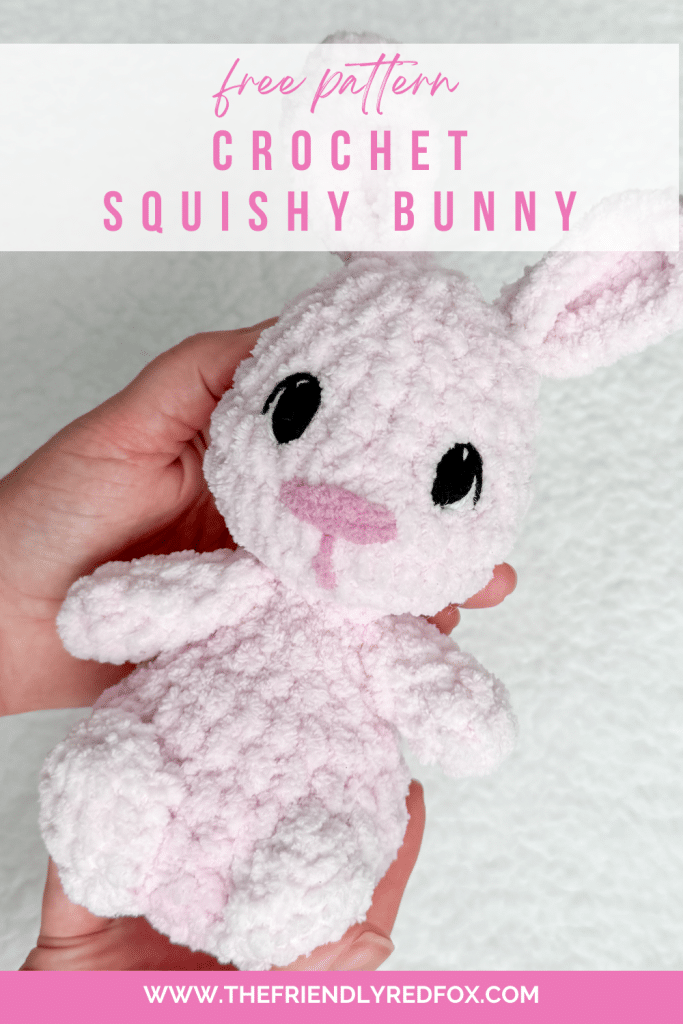
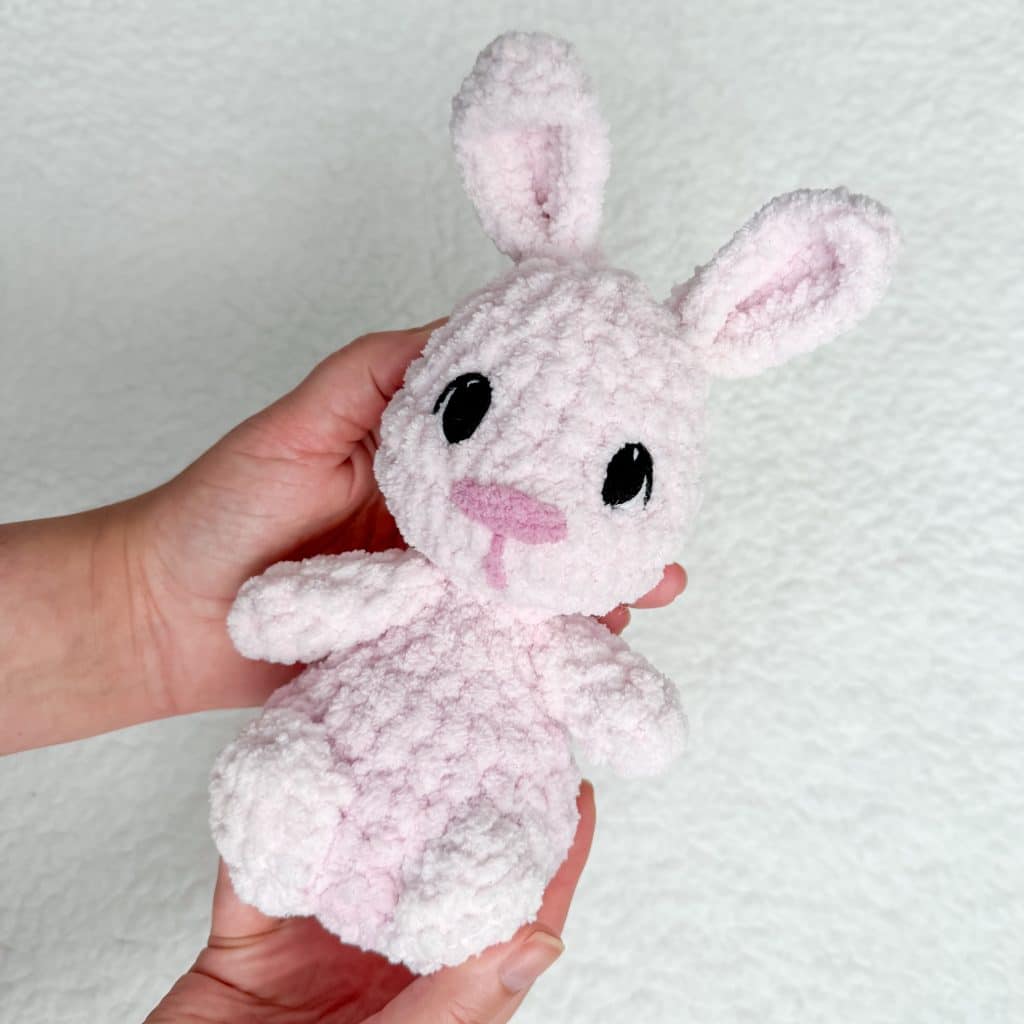
Squishy Free Plush Bunny Crochet Pattern
This free plush bunny crochet pattern creates a squishable friend. This works up quickly with blanket yarn, so you can make many for markets or for gifts!
Crochet Squishy Bunny Pattern Notes
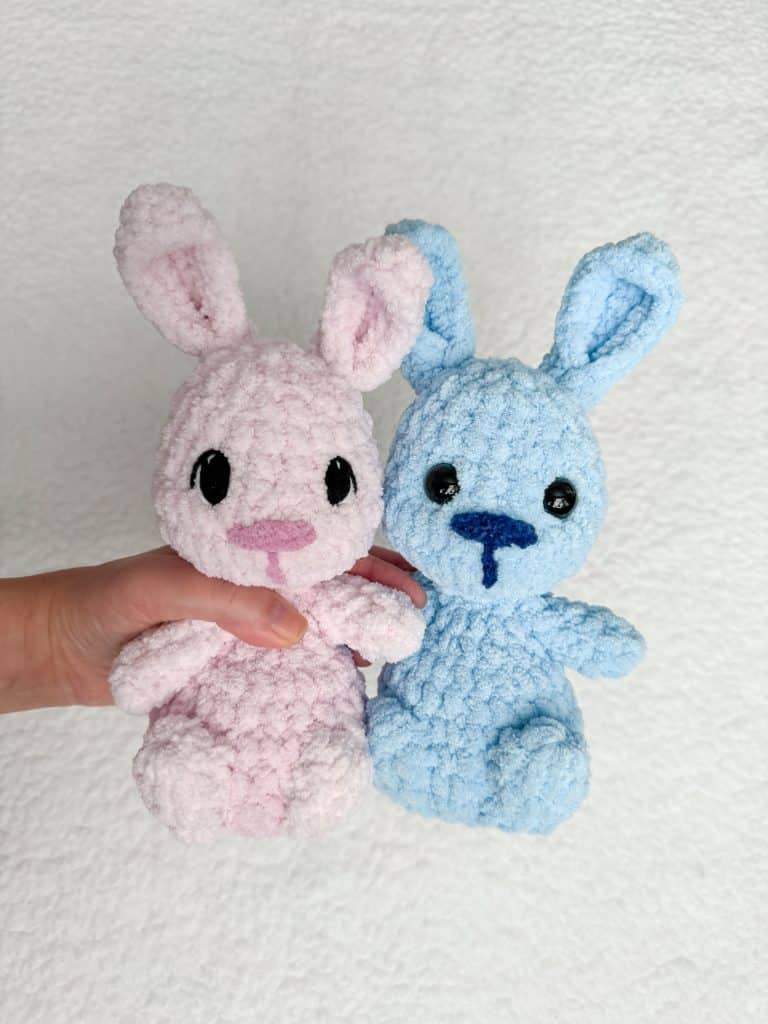
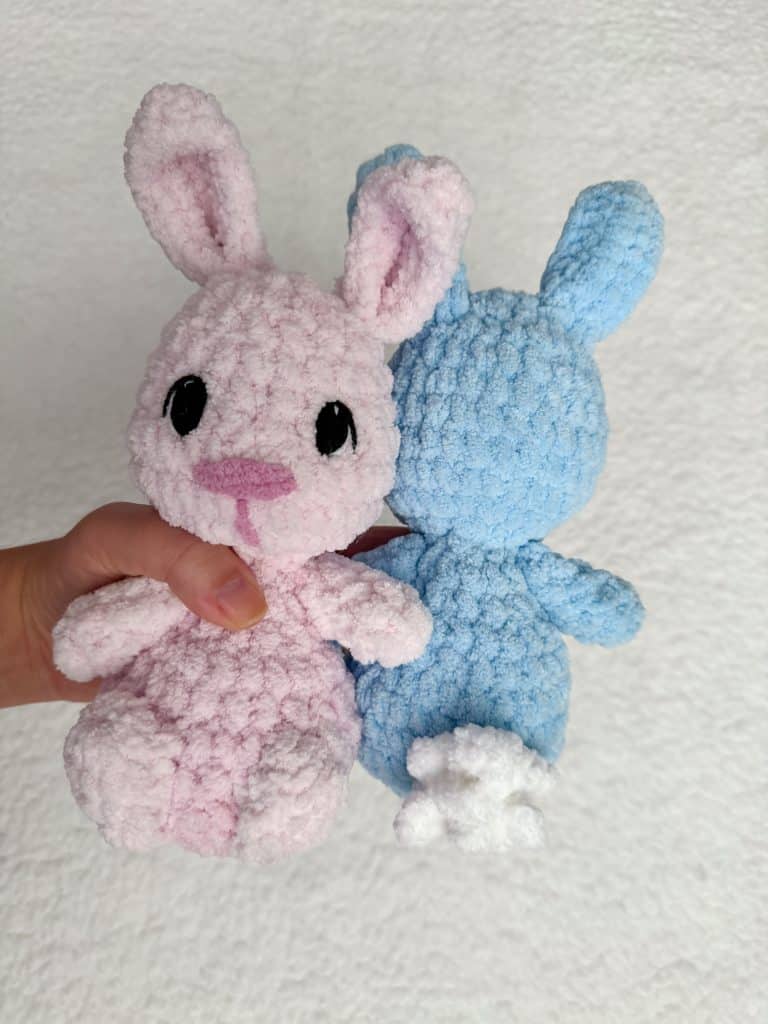
This free plush bunny crochet pattern works up quickly with blanket yarn to about 8 inches tall. With Easter coming up, I can see a whole pastel rainbow of these lined up in little baskets! However, if you like the more traditional bunny colors, you still can’t miss with this sweet squishie!
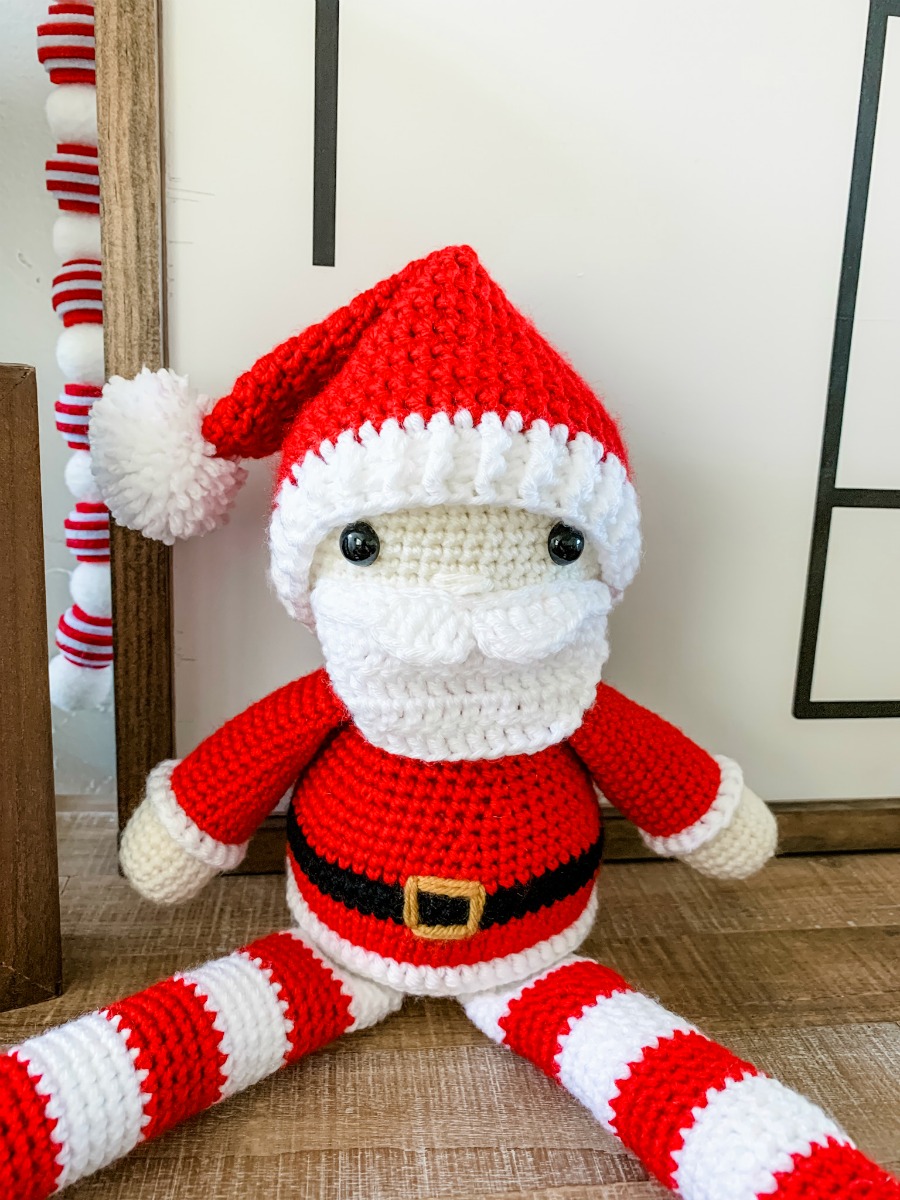
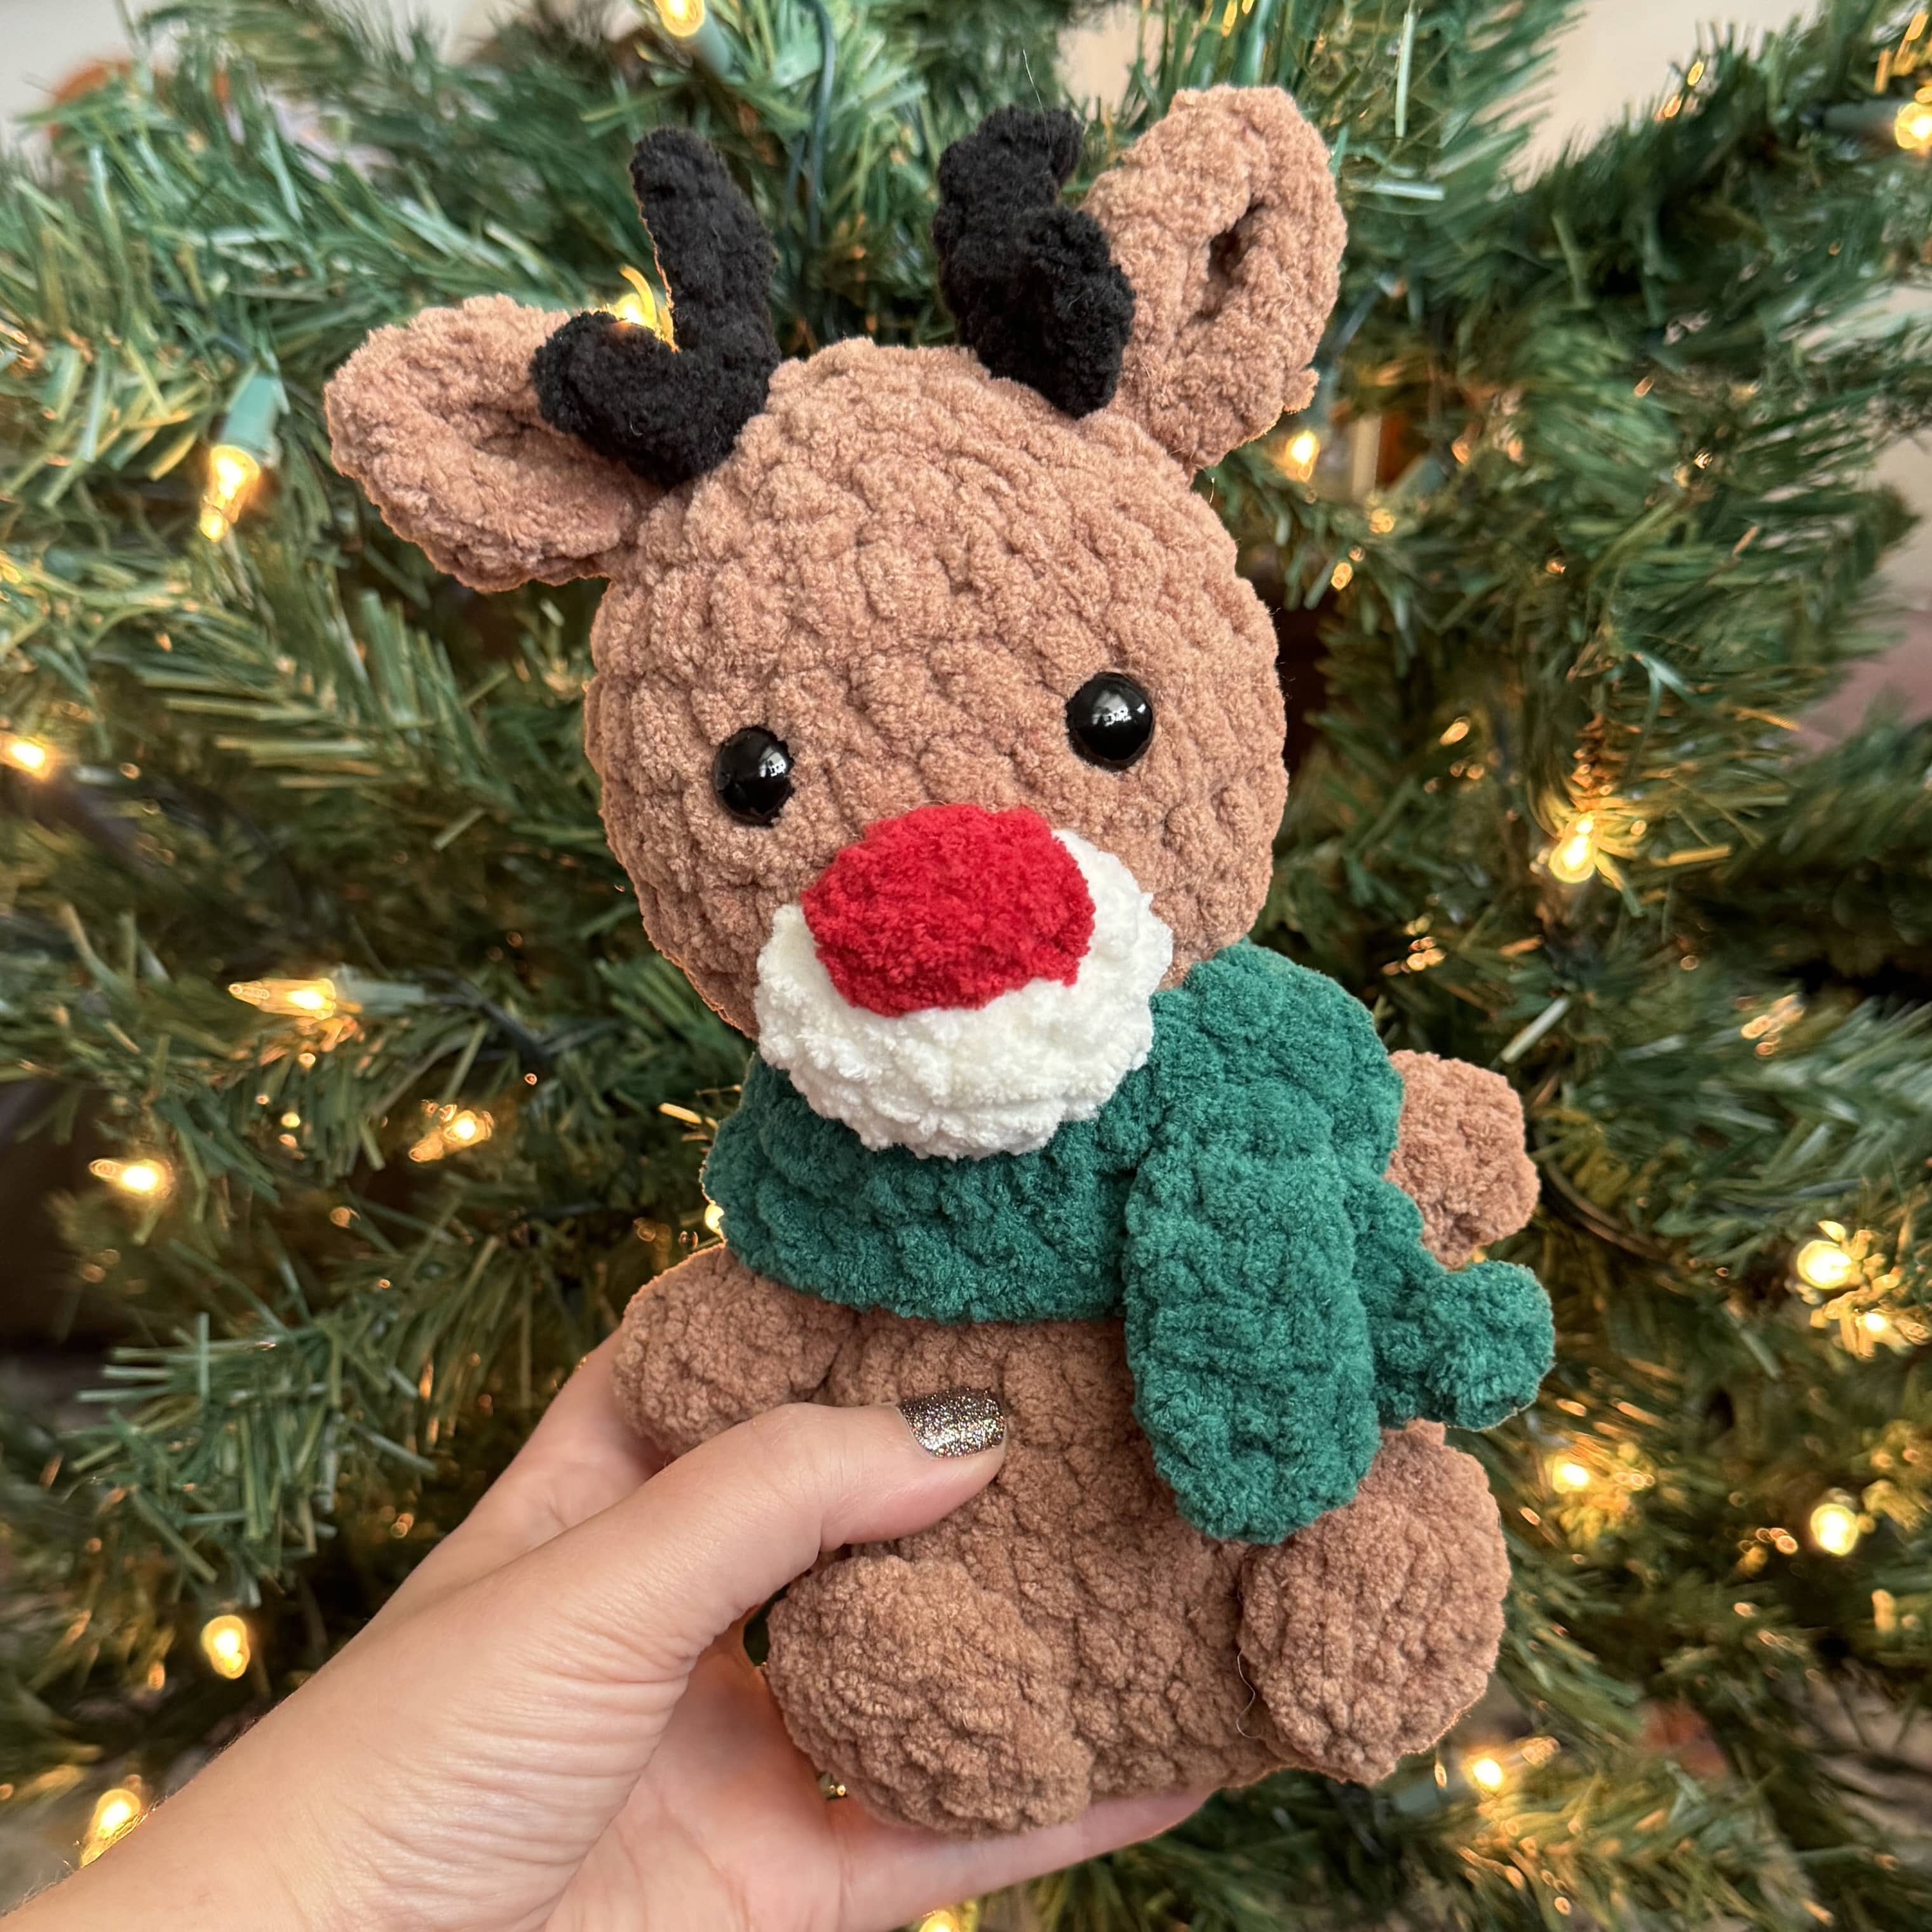
This is another pattern in my “squishie” series! I called them that as an ironic nickname, and then it slowly became the official term. They are made with blanket yarn and the body is intentionally understuffed. This makes them adorably squishy! You can see the bear and reindeer squish animals here.
While this free plush bunny crochet pattern is made to have a squishy body, the head is fully stuffed. The arms and feet are not, however. I found this was the best way to get the cuddly body while keeping the shape that I want.
JOIN MY NEWSLETTER TO RECEIVE…
A free email course-Amigurumi 101
This free amigurumi email course gives you what you need to master the basics of amigurumi, along with some extra tips and tricks!
Want the Ad-free, Printable PDF?
You can find it in one of my stores!
Materials you’ll need
To get started making this free squishy bunny crochet pattern, you’ll want to gather all your materials first.
You will need:
- 60g Blanket Yarn
- a small amount of Blanket Yarn in White
- 12mm safety eyes
- Crochet Hook in Size 4.5mm
- Tapestry Needle
- Polyfil
- stitch marker
Notes:
This bunny is made from the bottom to the head, all in one piece. You will intentionally understuff the body for a more floppy, silly look. Over-stuffing will change the look dramatically. You will insert a neck strengthener which will help with the shape and stability of the head, while allowing you to understuff the bottom and stuff the head a little more.
The ears, feet and arms are attached at the end. The feet are attached flat against the body.
The arms are attached with a long needle. You can find the video for that here.
You can use safety eyes or try out embroidered eyes so it would be safe for a baby/toddler. You can find my collection of embroidery videos here.
Substitute yarns could be Bernat Blanket yarn, Premier Basix Chenille, or Big Twist from Joann’s. You may need to change the hook size if you change the yarn.
Free Plush Bunny Crochet Pattern
Neck strengthener
*Click here for a video and picture tutorial on how this works*
In a magic circle, SC 7. SC in each around for a total of 7 rows. Fasten off and leave a long tail to sew the hole closed and sew through the neck.
Body/Head
Round 1: In a magic circle, SC 8.
Round 2: SC INC in each around. (16)
Round 3: SC in the first, SC INC in the next. Repeat around. (24)
Round 4: SC in the first 2, SC INC in the next. Repeat around. (32)
Round 5: SC in the first 3, SC INC in the next. Repeat around. (40)
Round 6: SC in the first 3, INV DEC in the next. Repeat around. (32)
Round 7: SC in each around. (32)
Round 8: SC in the first 2, INV DEC in the next. Repeat around. (24)
Round 9: SC in each around. (24)
Begin to stuff here. Remember to stuff lightly.
Round 10: SC in the first, INV DEC in the next. Repeat around. (16)
Round 11: SC in each around. (16)
Round 12: INV DEC in each around. (8)
From here we are increasing the head. Have your neck strengthener ready to insert. Here is the video tutorial if you haven’t watched it already!
Round 13: In the front loop only, SC INC in each around. (16)
Round 14: SC in the first, SC INC in the next. Repeat around. (24)
Round 15: SC INC in the first 8. SC in the remaining 16 stitches. (32)
Rounds 16-17: SC in each around. (32)
Round 18: INV DEC 8x. SC in each around. (24)
Rounds 19-20: SC in each around. (24)
Insert safety eyes between rounds 19 and 20, about 4 stitches apart, or embroider eyes using these tutorials. Insert neck strengthener.
Round 21: SC in the first, INV DEC in the next. Repeat around. (16)
Stuff the head.
Round 22: SC in each around. (16)
Round 23: INV DEC in each around. (8)
Fasten off and sew the remaining hole closed. For the nose: Using contrasting blanket yarn, make 2 passes on row 17 about 3 stitches across, then make a line the goes from the center about two rows down.

Crochet Squishy Bunny Amigurumi Parts
Arms
NOTE: I highly suggest you visit this post before attaching the arms and the legs. This is my favorite method by far to attach limbs, and is worth watching the video and seeing the tutorial pictures! The Squishy Bunny crochet pattern really benefits from this method of attaching the arms!
Round 1: SC 7 in a magic circle
Rounds 2-5: SC in each around.
Fasten off and leave a long tail to sew on. Sew on between rounds 10 and 11.
Feet
Round 1: 10 SC in a magic circle (10)
Rounds 2-3: SC in each around.(10)
Round 4: INV DEC in each around. (5)
Fasten off and leave a long tail to attach.
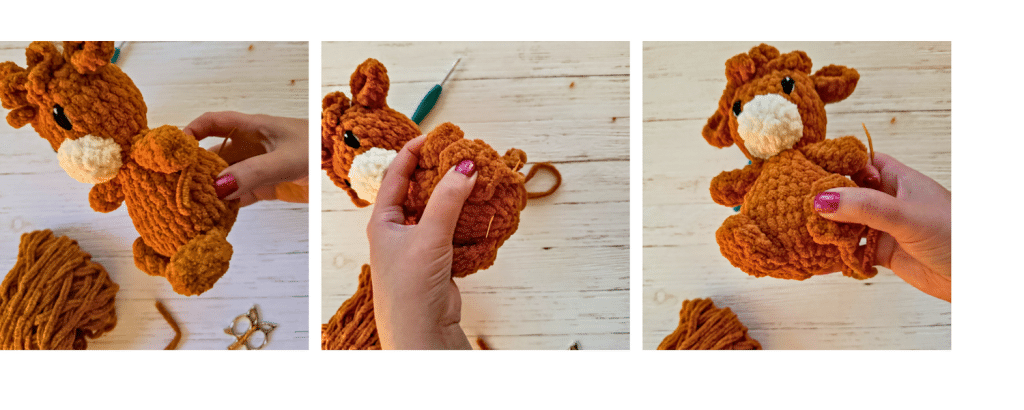
Sew the feet on flat to to the body, with the bottom of the foot touching Round 4. (I know these pictures are from the highland cow, but the method is the exact same!)
Ears
These ears are worked in a chain.
R1: Chain 9. Turn and SC in the second chain from the hook. SC in the remaining 7. Chain 1 and turn. SC 8 times. SC 3x in the top chain. SC 8 times down the other side.
R2: Chain 1 and turn. SC in all 19. Fasten off and leave a long tail to sew it on. Attach between rounds 21 and 22 above the eyes.

Tail
Here is a video tutorial for this step. The number of chains may be different, but the method is the same.
With white yarn:
Make a magic circle. Chain 4. Slip stitch back into the magic circle ring. Chain 4 more and slip stich back into the circle. Lightly pull the ring almost closed, but leave enough room for your hook. Repeat the chain 4 and slip stitch until you have a fluffy bunny tail, about 10 loops. You can adjust the number of loops to the size of tail you want.
Fasten off and leave a long enough tail to attach to the bunny bottom. Sew the center of the tail to the back of the bunny, around round 5.
Did you make this pattern?
Mention me @thefriendlyredfox so I can see your Squishy Bunny Crochet Pattern creations! You can also leave a comment below!

Hi Kali! I just wanted to send you a message and just let you know that I love all your patterns but especially the “Squishy” patterns. I have made quite a few them and I love them all and my customers love them too. Thank you for sharing all your patterns. I love them!
Kelly Yessman- Instagram @hookedbyyessman