Crochet Gnome Ornament
Decorate your tree with this crochet gnome ornament pattern. Quick to make,
this amigurumi ornament is beginner friendly.
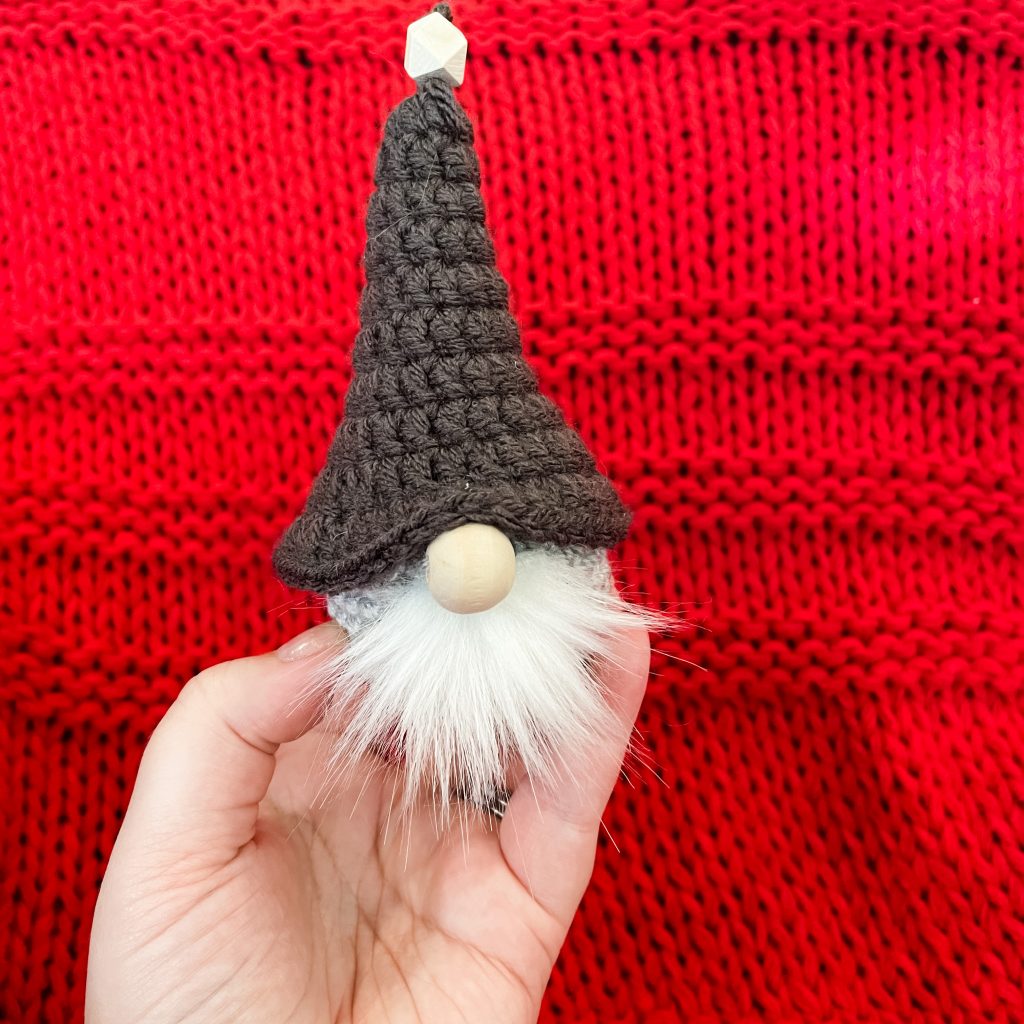
This crochet gnome ornament would be a perfect gift, gift topper, or addition to your Christmas tree! Whatever you decide to do with him, this is a very quick project. I love the simplicity of this amigurumi gnome, and with all the trappings, you will want to make one after another!
The crochet gnome is about 6 inches tall, but most of that is the hat! This crochet gnome pattern is made with very simple shapes, so even a beginner can do it!f A wooden bead and some fur trim make the perfect nose and beard!
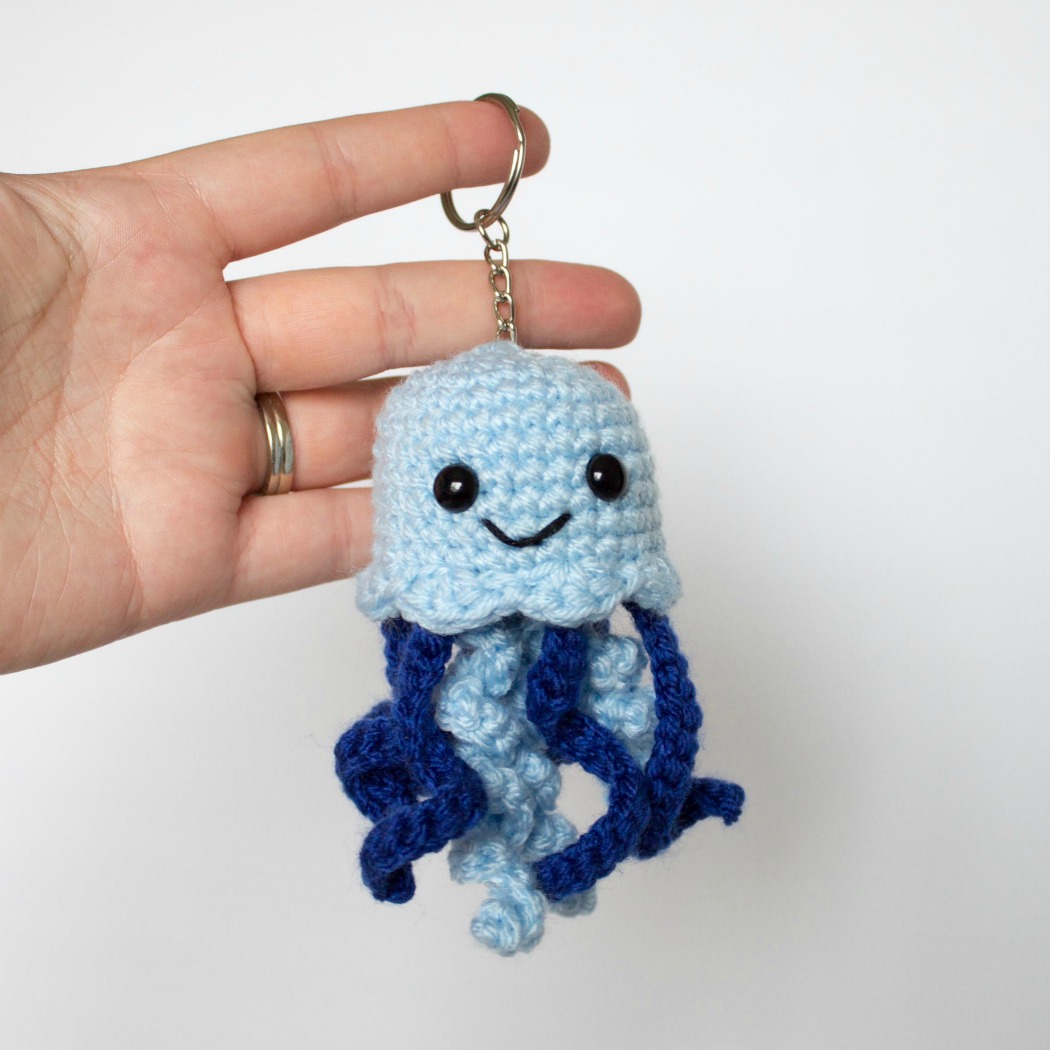
If you like larger size ornaments, I think the Gingerbread Man and Squish Reindeer would be great as ornaments! Or if you are looking for something to go on your shelf, I love the Sitting Santa pattern!
Please note this pattern is only for PERSONAL USE. Please feel free to make as many items as you wish for yourself, or as gifts. You may sell items made with this pattern but PLEASE LINK BACK OR GIVE CREDIT TO ME AS DESIGNER. In no way can you share, reproduce, or sell this pattern. Please respect my rights as designer, this pattern belongs to The Friendly Red Fox. This post contains affiliate links, if you purchase something from the link I get a small commision.
If you would like the PDF, ad-free, printable version then you can find it here on Etsy!

Gnome Materials and Abbreviations
You will need:
Small amount of worsted weight yarn in two colors
Crochet Hook in Size 3.75
Tapestry Needle
Polyfil
stitch marker
12 mm wooden bead
Faux fur fabric or trim (I bought my trim at JoAnns)
Glue gun
Abbreviations
SC- single crochet
SC INC- single crochet increase (2 SC in each stitch)
DC- double crochet
DC INC- double crochet increase (2 SC in each stitch)
INV DEC- Invisible decrease (put hook through the FRONT LOOP ONLY of two consecutive stitches [two loops on hook] Yarn over pull through both loops. [two loops on hook] Yarn over pull through two loops)
Magic Circle- Make a loop, leaving a long tail to work with. Insert hook in center of loop, yarn over and draw up a loop. Yarn over, pull through to make the first chain (this does not count as a stitch!). Continue to crochet over the loop and tail with the number of stitches called for. (If you need 6 SC, then crochet 6 SC inside the ring.) Pull the tail to close the circle.
Crochet Gnome Ornament Pattern
Body
Round 1: In a magic circle, 6 SC.
Round 2: SC INC in each around. (12)
Round 3: SC in first, SC INC in next. Repeat around. (18)
Round 4: SC in first 2, SC INC in next. Repeat around. (24)
Round 5: SC in first 3, SC INC in next. Repeat around. (30)
Round 6-14: SC in each around. (30)
Round 15: SC in first 3, INV DEC in the next. Repeat around. (24)
Round 16: SC in first 2, INV DEC in the next. Repeat around. (18)
Begin stuffing here. Continue to stuff as you go.
Round 17: SC in the first, INV DEC in the next. Repeat around. (12)
Round 18: INV DEC all around. Fasten off and sew closed. Leave a long tail. This is what you will use to sew on the wooden bead nose.
Hat
You will slip stitch to the beginning stitch at the end of each round and then chain two. The chain 2 does not count as a stitch.
Round 1: 8 DC in a magic circle. Chain 2.
Round 2: DC in each around (8)
Round 3: DC in the first, DC INC in the next. Repeat around. (12)
Round 4: DC in each around. (12)
Round 5: DC in the first, DC INC in the next. Repeat around. (18)
Round 6: DC in each around. (18)
Round 7: DC in the first, DC INC in the next. Repeat around. (27)
Round 8: DC in the first 2, DC INC in the next. Repeat around. You will end with only one DC instead of two on the last repeat. (36)
Round 9: DC in the first, DC INC in the next. Repeat around. (54)
Fasten off, leaving a long tail. This is what you will use to attach the hat to the head.
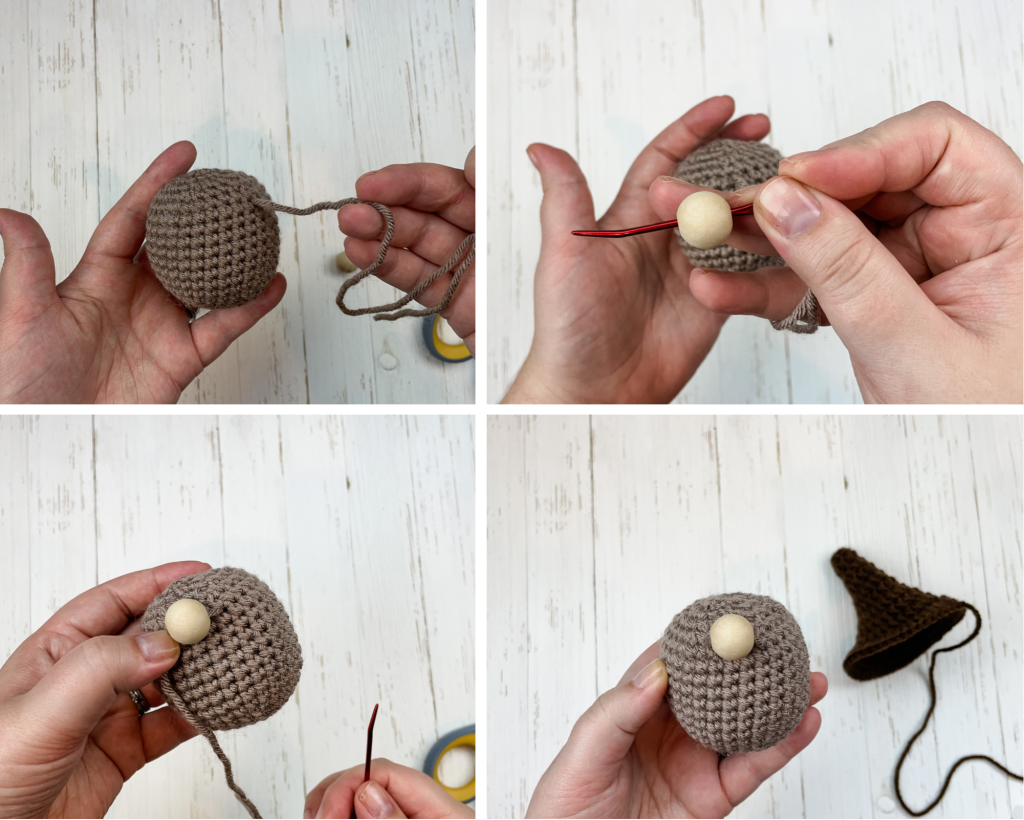
This is what you will have by now. Time to assemble the little guy!

Weave the tail down to where you want the nose, right around rows 14-15. Put the yarn through the wooden bead and place it against the head. Insert the needle as close as you can to the wooden bead and go through the head. I like to do two passes. Then fasten off and trim the end.
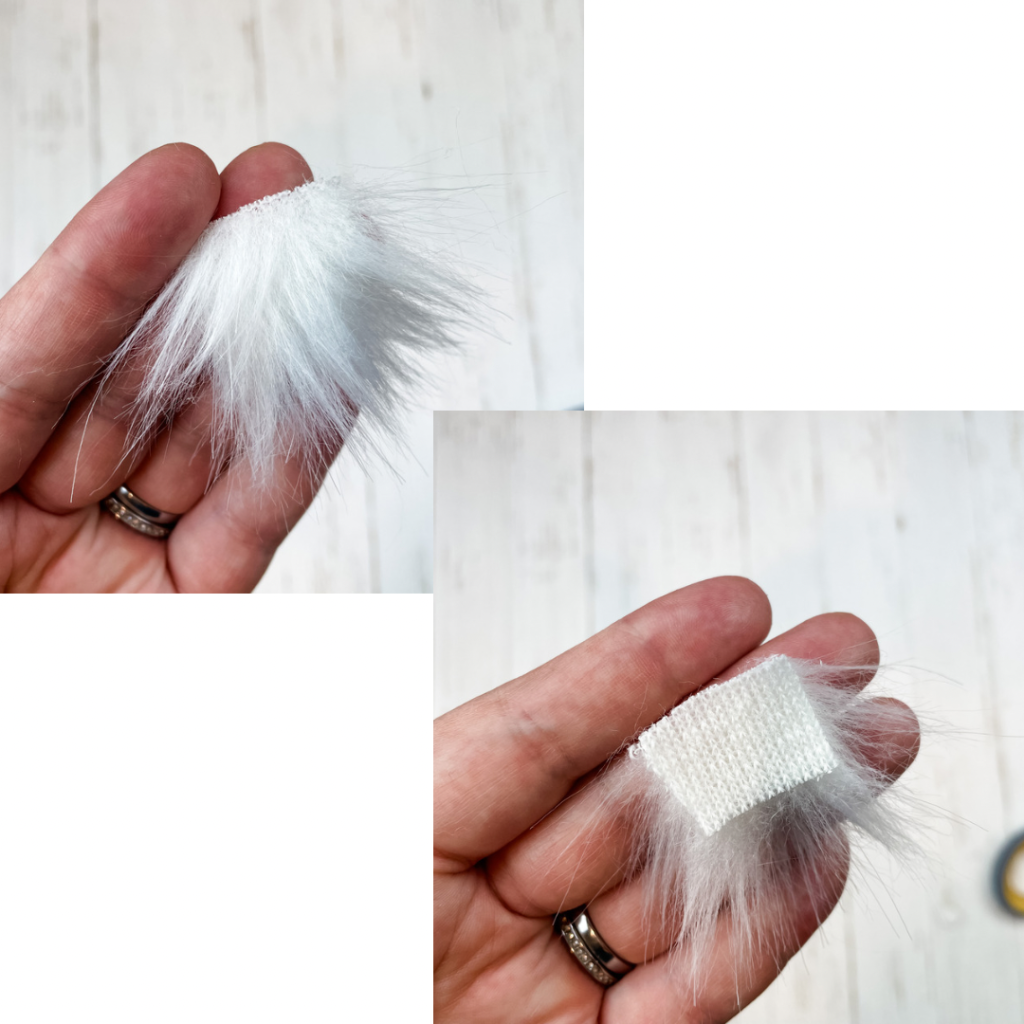
Cut a one inch piece of the fur trim out. Lift the “hairs” up until you see mostly the fabric backing underneath. Try to cut only that backing. The best way I have found is to use hot glue. This keeps it on really well (but like most things, you probably should not pull on it!) Glue it directly beneath the nose.
Then it is time to attach the hat. I set the angle of the hat slightly back on the head, like the picture shows below. Make sure the brim is right above the nose and overhangs slightly. Carefully sew the hat on by going in and out of the second to last row, leaving the bottom row loose and brimlike.
Once you have finished, weave the end up through and out from the top. If you want a bead on top of your crochet gnome ornament, go through it and then back down. Make sure you have the size of loop you want to hang the ornament, then weave through the top of the hat and tie it, if you want.
If you don’t want to make it a hanging ornament, try adding these poly beads to the bottom. This will make it sturdy enough to stand on its own! It would be a very cute table or shelf decoration! I hope you love using this crochet gnome ornament pattern!


ty for sharing….this is adorable and i think i will make them for my grandkids….wish me luck!
Thank you so much for the pattern keeps me busy…..
Can’t wait to make these for my Christmas tree. Thank you for the great pattern!
Adorable! I will make these for a Christmas market!
Thank you so much! This will make the best mother’s day present for my mom who is obsessed with nomes!