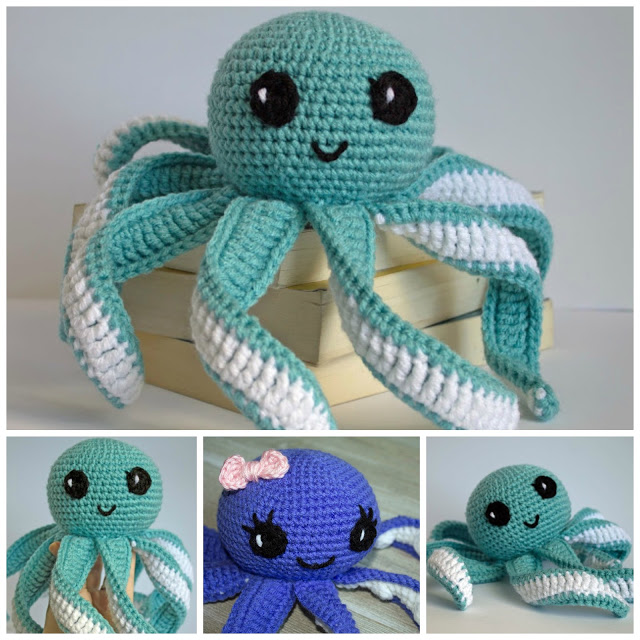
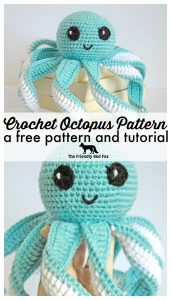
Amigurumi Octopus Baby Toy Free Pattern

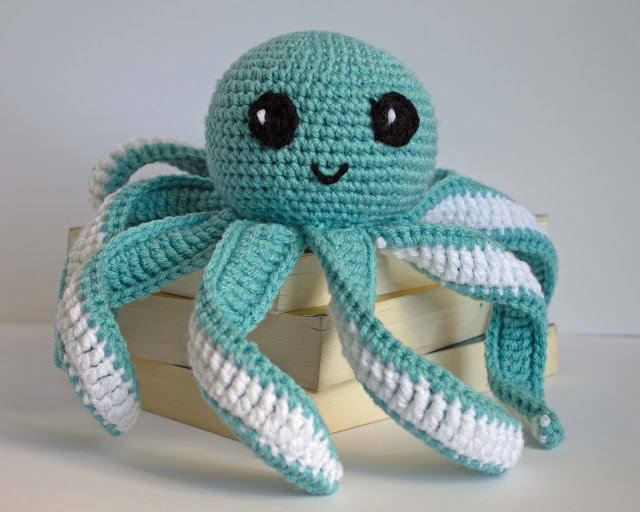
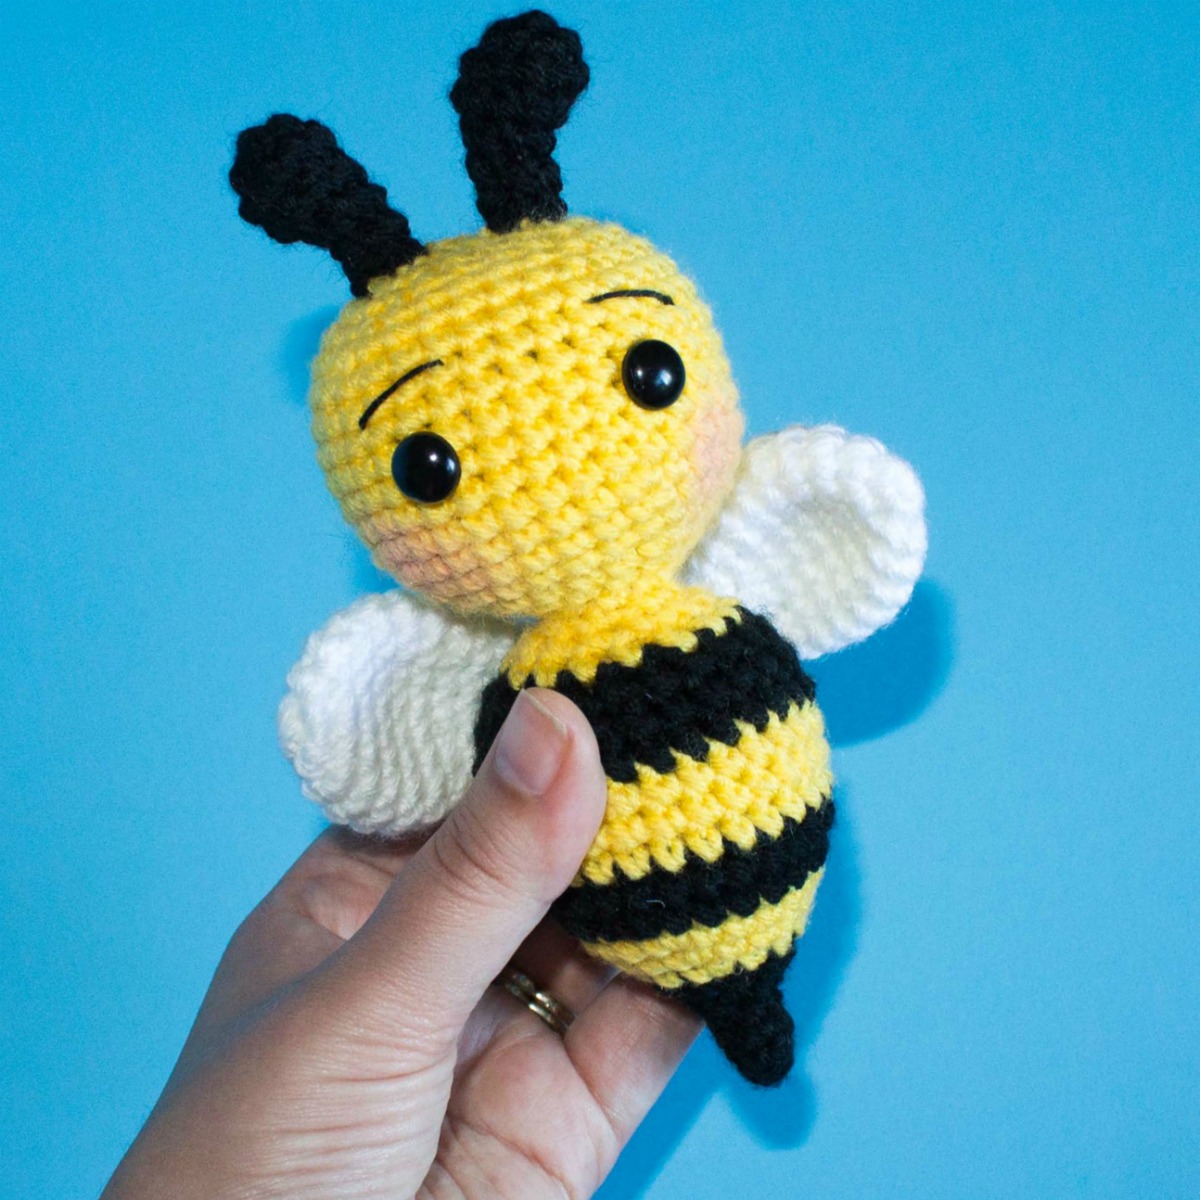
This amigurumi octopus was inspired by my son because I thought he needed a baby toy. My baby boy is growing so fast and grabbing onto EVERYTHING! Like pulling the top of my shirt down more than I would prefer (soooo awkward). So I was thinking it was about time to introduce him to some toys. That is when I came up with the idea for an amigurumi octopus! All those tentacles would be fun for little fingers. Then I added a rattle to make it fun to wave around. And with the eyes and smile, I think it is adorable so that is fun for me! My three year old actually has played with it more than my 3 month old… he seems to think it is a type of throwing star.
and tutorials? Sign up for The Friendly Newsletter

Of course you don’t need to add the rattle. It can be a fun softy for any age! I just like that added noise for my baby boy!
*this post contains affiliate links. this means that any purchase you make from the links contained in this post will go towards supporting me and my family. I only link what I have personally used and loved!*
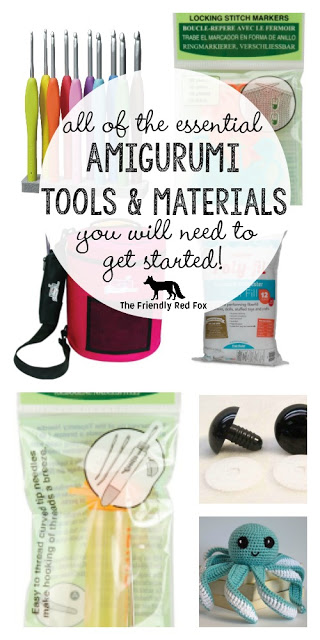
You will need:
- Main Color size 4 worsted weight yarn (I used Red Heart with Love)
- Alternate Color size 4 worsted weight yarn
- size 4 (G) hook (I LOVE my Clover Amour Crochet Hook Set

) - Yarn Needle
- Polyfil
- Rattle Noise Maker
SC: single crochet
HDC: half double crochet
DC: double crochet
TRC: triple crochet
INC: two single crochet in one stitch
DEC:
Invisible decrease (Put hook through the FRONT LOOP ONLY of the two
stitches you are bringing together. Pull yarn through. You will have two
loops on hook. Pull yarn through both loops)
I created a video that goes through each part of the pattern! If you just want the written pattern, scroll down!
Eyes:
6 DC in a magic circle. With white scrap yarn, sew on cute eye reflections. Make 2.
Have scrap black yarn for the smile ready to go.
For the head:
Round
1: In a magic circle, SC 6. Pull tight and add stitch marker. (For the
rest of the pattern keep moving the stitch marker up to the last stitch)
Round 2: INC in each stitch around. (12)
Round 3: *SC in first stitch, INC in next* Repeat * * around. (18)
Round 4: *SC in first 2 stitches, INC in next* Repeat * * around. (24)
Round 5: *SC in first 3 stitches, INC in next.* Repeat * * around. (30)
Round 6: *SC in first 4 stitches, INC in next.* Repeat * * around. (36)
Round 7: *SC in first 5 stitches, INC in next.* Repeat * * around. (42)
Round 8: *SC in first 6 stitches, INC in next.* Repeat * * around. (48)
Round 9: *SC in first 7 stitches, INC in next.* Repeat * * around. (54)
Round 10: *SC in first 8 stitches, INC in next.* Repeat * * around. (60)
Round 11-18: SC in each stitch around. (60)
(Sew on the eyes and mouth here)
Round 19: *SC in first 8 stitches, DEC in next.* Repeat * * around. (54)
Round 20: *SC in first 7 stitches, DEC in next.* Repeat * * around. (48)
Round 21: *SC in first 6 stitches, DEC in next.* Repeat * * around. (42)
Round 22: *SC in first 5 stitches, DEC in next.* Repeat * * around. (36)
(Start to stuff and add the rattle)
Round 23: *SC in first 4 stitches, DEC in next.* Repeat * * around. (30)
Round 24: *SC in first 3 stitches, DEC in next.* Repeat * * around. (24)
Round 25: *SC in first 2 stitches, DEC in next.* Repeat * * around. (18)
(Finish stuffing)
Round 26: *SC in first stitch, DEC in next.* Repeat * * around. (12)
Round 27: DEC in each stitch around. Cut the yarn, leaving a long tail. Using the needle, sew the remaining gap closed. (6)
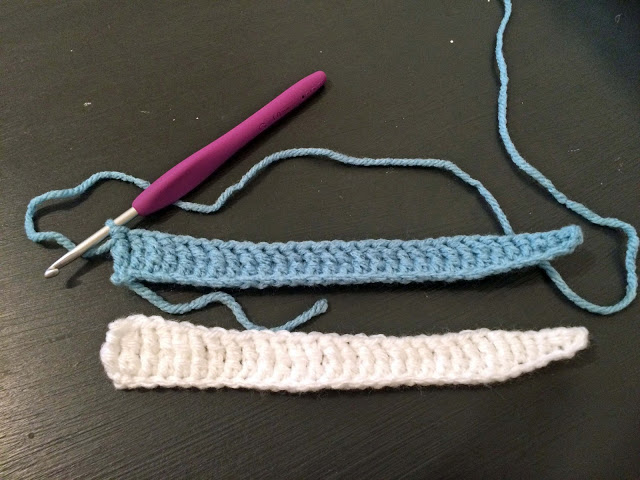
Tentacles:
With
the accent color chain 30 and turn. SC in second chain from hook. HDC,
HDC, DC, DC. TRC in the remaining chains. Cut yarn and sew in ends.
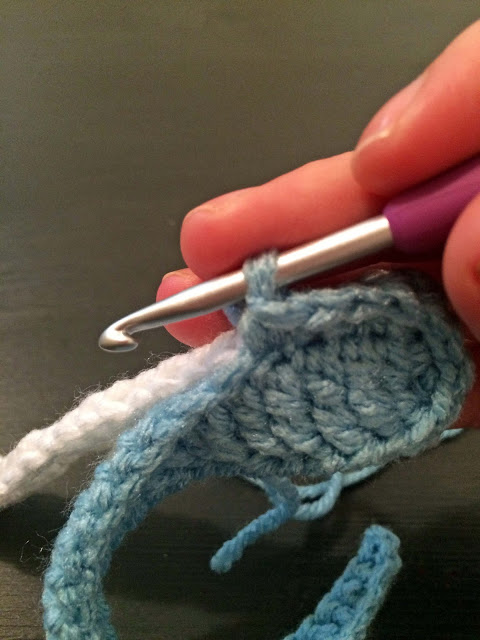
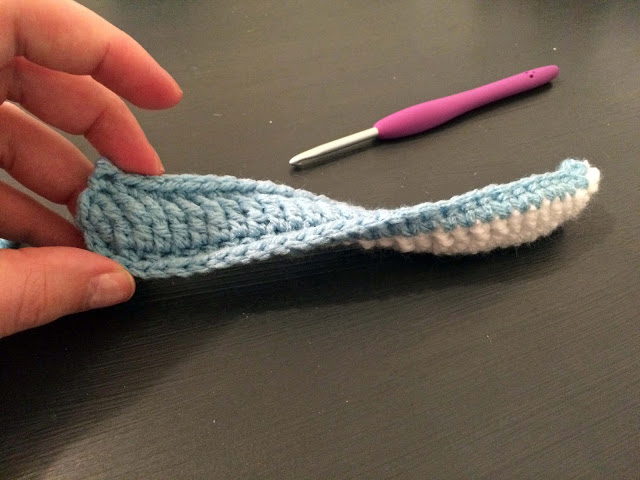
Repeat
with the main color, but DO NOT CUT YARN! Line up the two pieces. SC
around the entire piece, with 2 SC where ever you need to turn. Leave a
long tail to sew on to the head.
Repeat 8 times.
Sew onto the head.

Want more crochet goodness? Check out these FREE PATTERNS!
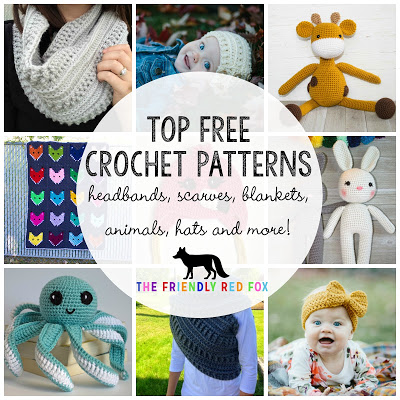

Like this pattern? Be sure to check out some of my other patterns!
Ballerina Bunny
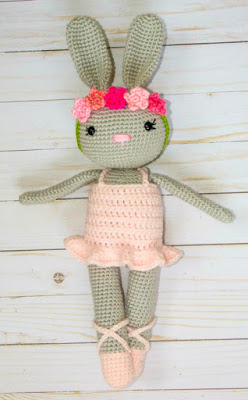

It's really been a pleasure to watch our baby's growth. Medically it was provided that enough sleeping proper diet and proper physical acts like playing will helpful for proper growth our baby. Therefore we used to choose best baby toys for our baby and here in this article we can get a complete description about baby toy (amigurumi octopus) a handmade unique baby toy especially design through knitting. I really appreciate the method of preparation.
Baby Daily Deals
Absolutely adorable !!! ?
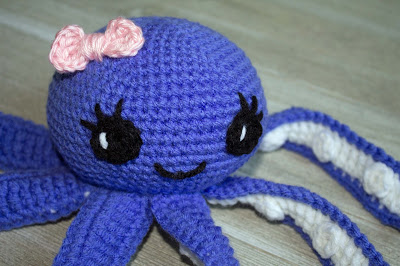
Thank you for this. The squeals that came out of my granddaughters mouth when she saw him were amazing, I think the whole neighborhood heard that. I made him blue because that is the color I had, but gonna make more.
Hello Kali, thank you for the wonderfull pattern. I am having some difficulties with the placement of the eyes, could you give me an indication between which row they should be placed?
Round 11-18: SC in each stitch around.
(Sew on the eyes and mouth here)
You might have just skipped over the part in brackets. 🙂
I am halfway done with the head…..is it supposed to look like a brain? I'm getting a little nervous…..hopefully it turns out good �� this is my first crochet project so we will see how it goes
Mine did too, I had to start all over.. should be written as 1 SC in the first stitch, INC in second, 1 SC in 3rd , INC in 4th, repeat.. amd same with the rest!!I hope that helps because I made a brain at first as well
Thnx for the pattern!!
Thanks know you so much for this. I had the same idea when I saw the pic. My baby has just started holding and playing with things so he will love this once it's done. Thank you 🙂
Thanks you for the pattern. It's amazing!
Be sure to take a walk around the track or better yet, have a race. Should there be a lake or pond at the park, bring some stale bread and feed the ducks or even the birds. There are plenty of cheap and fun things for parents and children to do at the park.
check this site out
Thank you for the pattern. It's so cute.
For Round 11-18: SC in each stitch around, how many stitches should there be in each row? I made a mistake and lost my stitch marker at this point 🙁
By my count (working on them now!) it should be 60.
This is so cute. Love this. And your son is so adorable.
I might be an idiot for asking this, but what is a magic circle?
Try this. https://www.youtube.com/watch?v=sLUaywX0-WE
Hi, Could you give me an idea of which row to sew the tentacles onto? Thank you. 🙂
Do you slip stitch to join each round on the head? Or, do you work in a continuous circle like a snail?
I just finished row 6 of the body and mine too looks like a brain! When I come to the end of a row I mark my last stitch, then as I go around I use that marked stitch as my ending of that row. I wonder if maybe I am supposed to not go into the marked stitch and count it as my last, but rather count it as a first for my next row? Or is the brainy look normal? It's just really wavy and hard to flatten out at this point.
It shouldn't look like a brain… Just a bigger circle and then it goes down into a sphere. When I use a stitch marker the marker is the last stitch of the round. So to go to the end of the next round you will need to take out the marker and then do your stitch then place it back in the last stitch you did. Hope this helps!
I don't see how it could go from looking like a brain to the end product pictured here. Was there supposed to be a slip stitch in to a new row? I'm going to pause with it before I get any further and ruin it ?
The head on mine looks way more angular from the increase stitches almost giving it corners. It looks very bumpy and not as smooth and round as the pic above, is there a way to make it so the increase stitches aren't above each other every time, not sure if this would help but even stuffing it hasn't smoothed out the bumps X
The best way to deal with this is to stagger the "even" increase rounds. For example: say you've just finished round 5, which is sc in the next 3, inc in the next (odd rounds like that one are worked normally). To do round 6, start with a sc in the first 2 stitches, inc in the next, SC in the next 4. Repeat around, SC in the last 2 stitches.
I absolutely loved your pattern. My little octopus turned out just great. And I shared your link with my group Repeater Crafter Me,, I hope that was ok. Thank you so much for the free pattern. 😀
I know it's a silly request, but could you please indicate how many total stitches in each row of the head? My brain sucks at math. ?
6
12
18
24
30
36
42
48
54
60
first 10 rows