Squishy Monkey Crochet Pattern – Around the World
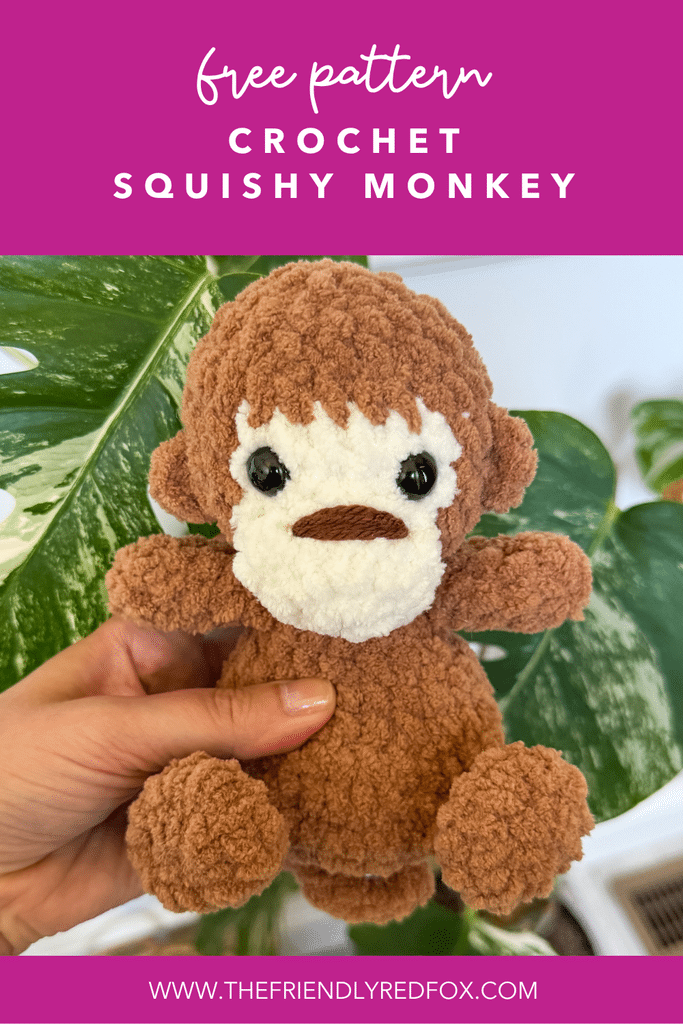
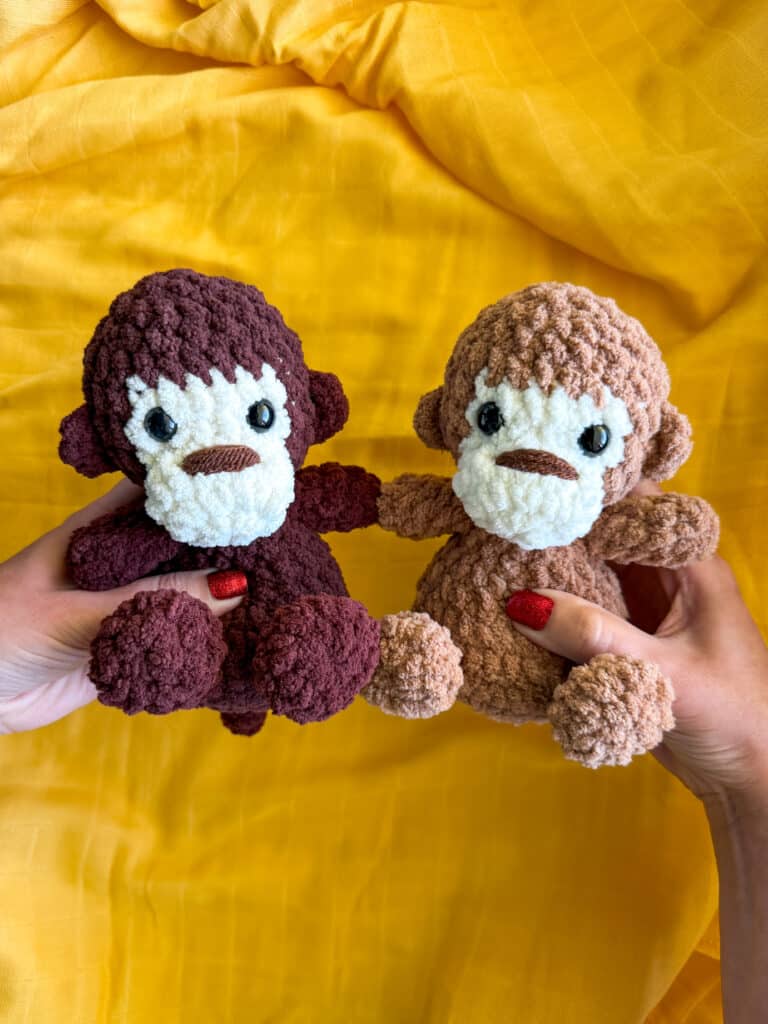
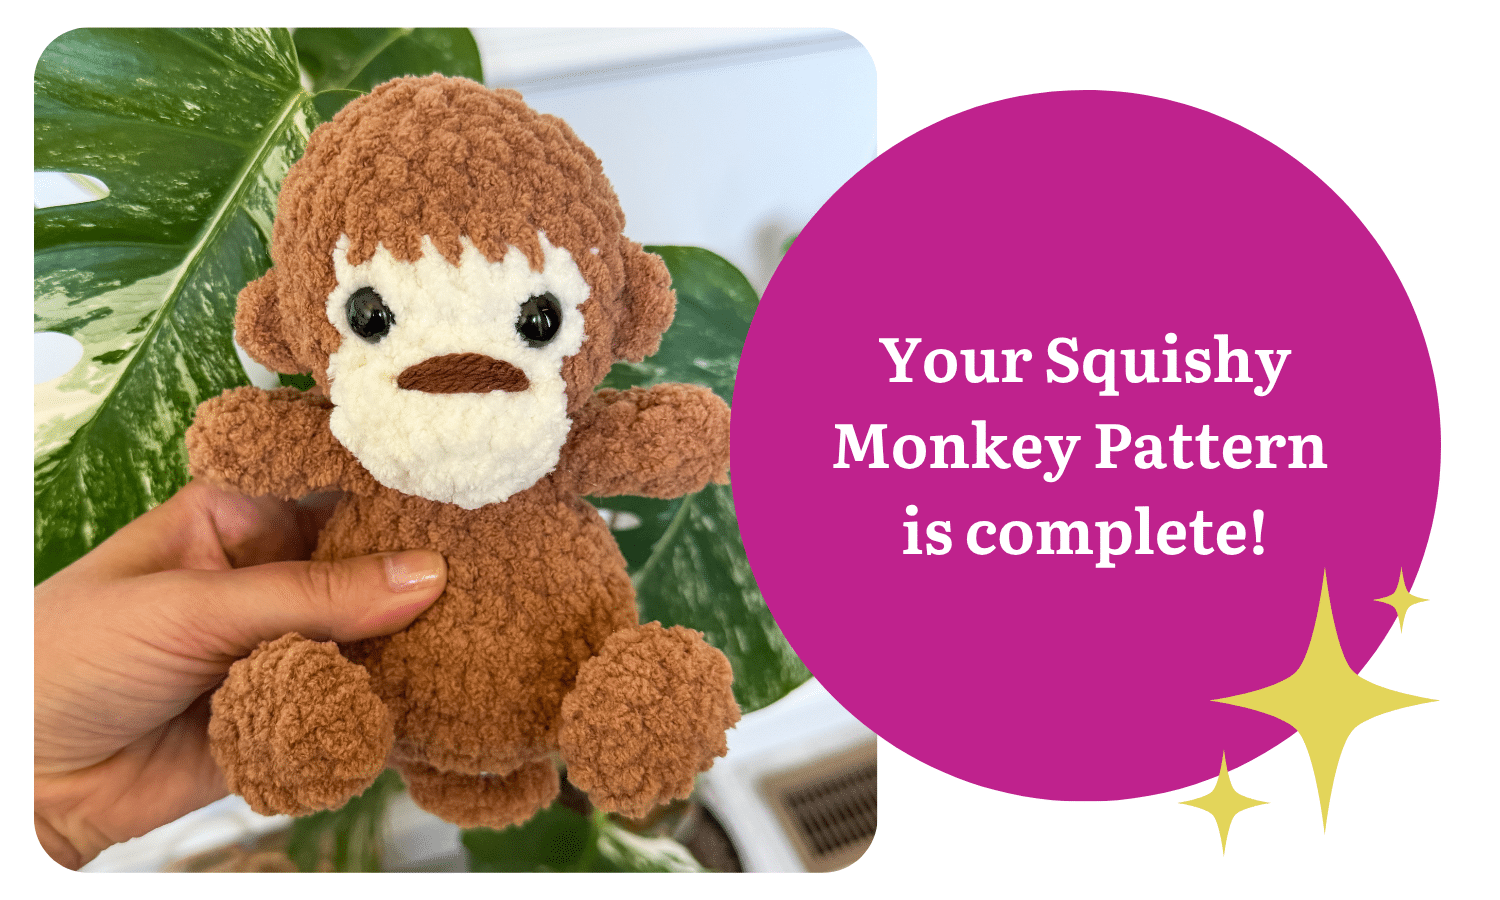
This squishy monkey crochet pattern is part of my Around the World adventure! The yarn makes it a super quick and snuggly plush amigurumi project.
Squishy Monkey Crochet Amigurumi Pattern Notes
This squishy monkey crochet pattern is extra cuddly but works up so quickly compared to “traditional” yarn. It sits about 10 inches tall with a cuddly, chubby body!
This is one of the patterns from our journey Around the World in South America- our second stop! This is a trip we are taking together- all without leaving our homes. I do love traveling, but real life gets in the way. Each continent we go to will have 3-4 (but maybe more!) patterns. Once they’re all released, we’ll head to a new stop.
I used Premier Basix Chenille for this pattern- one of my favorites! But you can sub a different yarn if you would like. Just keep in mind that different types of yarn, even if they say they are the same size, work up differently.
The full pattern is available for free below, just keep scrolling! But, I’m also offering special sale access to the PDF versions of these patterns through the whole journey around the world! You can see all the details here.
JOIN MY NEWSLETTER TO RECEIVE…
A free email course-Amigurumi 101
This free amigurumi email course gives you what you need to master the basics of amigurumi, along with some extra tips and tricks!
Ad-free, Printable PDF Full Pattern
My patterns are free on my website, but if your prefer a printable copy, you can find them in my shop!
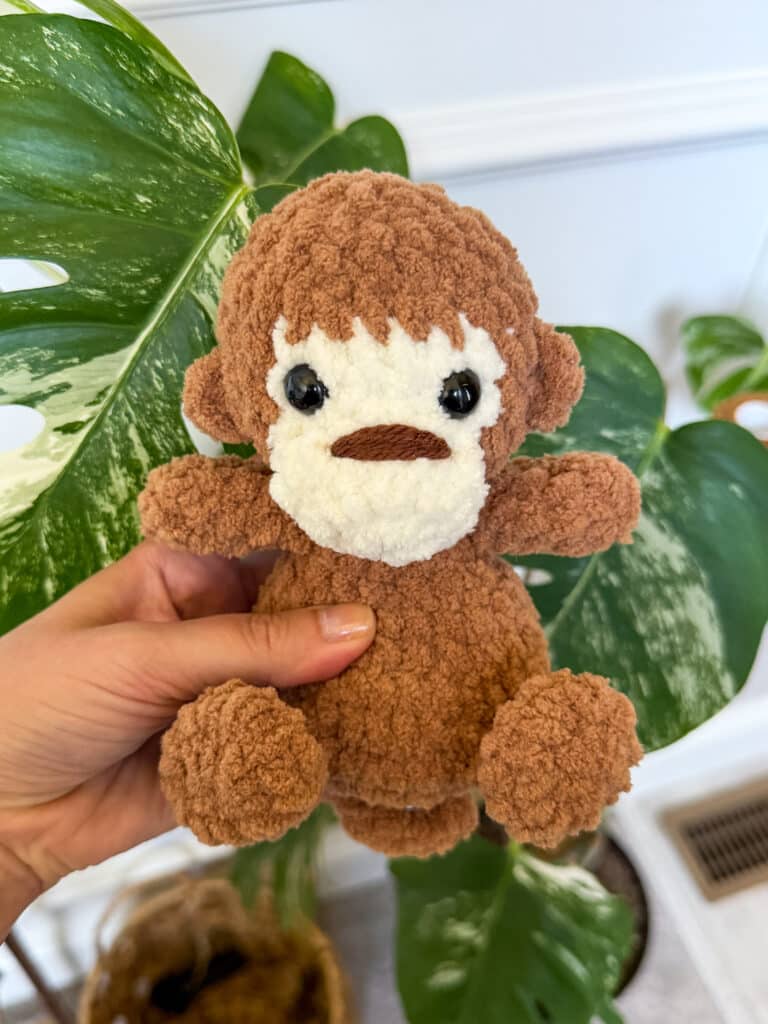
Squishy Monkey Stuffy Pattern
$6
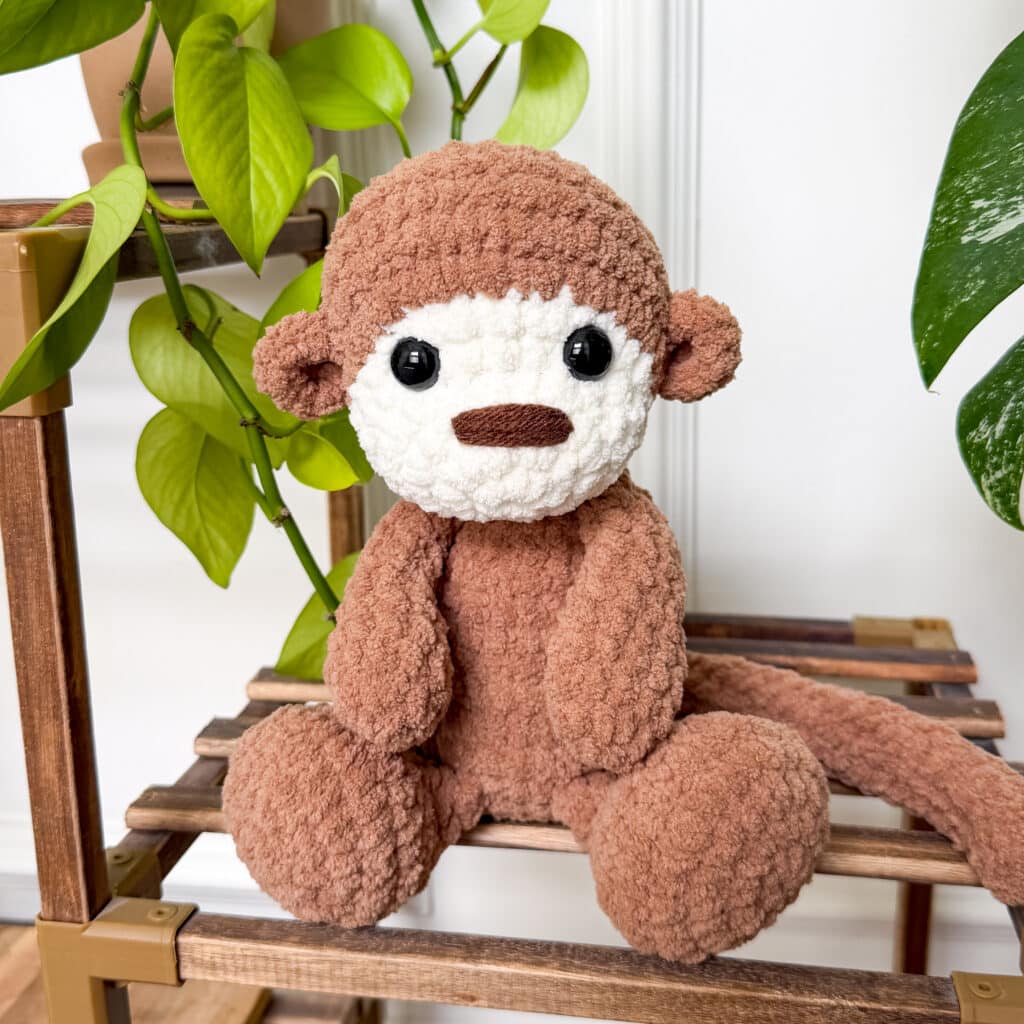
Monkey Stuffy Pattern
$6
Tropical Bird Stuffy Pattern
$6
Sloth Stuffy Pattern
$6
Free Crochet Squishy Monkey Stuffy Pattern Materials
To get started making this free squishy monkey crochet pattern, you’ll want to gather all your materials first.
You will need:
- You will need:
- 20g Premier Basix Chenille in Winter White Color
- 80g Premier Basix Chenille in Caramel or Body Color
- small amount of worsted weight in brown
- Stuffing
- 15mm safety eyes
- 4.5mm crochet hook (or hook size that keeps stitches tight and feels comfortable)
- Needle
- Stitch marker
video tutorials
These methods are used in this pattern!


Notes:
This monkey is made from the bottom to the head, all in one piece. You will intentionally understuff the body for a more floppy, silly look. Over-stuffing will change the look dramatically. You will insert a neck strengthener which will help with the shape and stability of the head, while allowing you to understuff the bottom and stuff the head a little more.
The ears, mouth, feet and arms are attached at the end. The feet are attached flat against the body.
You can use safety eyes or try out embroidered eyes so it would be safe for a baby/toddler.
I have a collection of embroidery videos here.
YARN NOTES
I used blanket yarn for this pattern, a size 6 weight. I typically use Premier Basix Chenille, Bernat Blanket and Bernat Baby Blanket. I think these are interchangeable size wise. I use a 4.5mm hook for the Premier Basix Chenille and a 5mm for Bernat, which is much smaller than the recommended size on the label, but I want nice, tight stitches for this type of pattern. If this is too tight for you, size up a hook size until you can crochet comfortably but still have tight stitches.
Please be aware that even though the label may say it is size 6, some materials and brands work up much differently. Keep that in mind as you are choosing your yarn.
Suitable yarns could be regular Bernat Blanket, Premier Basix Chenille yarn or Cozy Cub from Michaels (formerly Big Twist from Joann’s).
Squishy Monkey Stuffy Crochet Pattern
Neck Strengthener
In a magic circle, SC 7. SC in each around for a total of 7 rows. Fasten off and leave a long tail. You will need this before you stuff the head.
Body/Head
Start using caramel:
Round 1: In a magic circle, SC 8.
Round 2: SC INC in each around. (16)
Round 3: SC in the first, SC INC in the next. Repeat around. (24)
Round 4: SC in the first 2, SC INC in the next. Repeat around. (32)
Round 5: SC in the first 3, SC INC in the next. Repeat around. (40)
Round 6: SC in the first 3, INV DEC in the next. Repeat around. (32)
Round 7: SC in each around. (32)
Round 8: SC in the first 2, INV DEC in the next. Repeat around. (24)
Round 9: SC in each around. (24)
Begin to stuff here. Remember to stuff lightly.
Round 10: SC in the first, INV DEC in the next. Repeat around. (16)
Round 11: SC in each around. (16)
Round 12: INV DEC in each around. (8)
Round 13: In the front loop only, SC INC in each around. (16)
Round 14: SC in the first, SC INC in the next. Repeat around. (24)
Rounds 15: SC in each around. (24)
Rounds 16-18: SC in the first 6. Change to winter white. SC in the next 6. Change back to brown and SC in the remaining 12 stitches. (24)
Round 19: SC in each around. (24)
Insert safety eyes between rounds 17 and 18, about 4 stitches apart. Insert neck strengthener. See this video on how to make your head round!
Round 20: SC in the first, INV DEC in the next. Repeat around. (16)
Stuff the head. Keep stuffing as you close.
Round 21: SC in each around. (16)
Round 22: INV DEC in each around. (8)
Fasten off and sew the remaining hole closed.
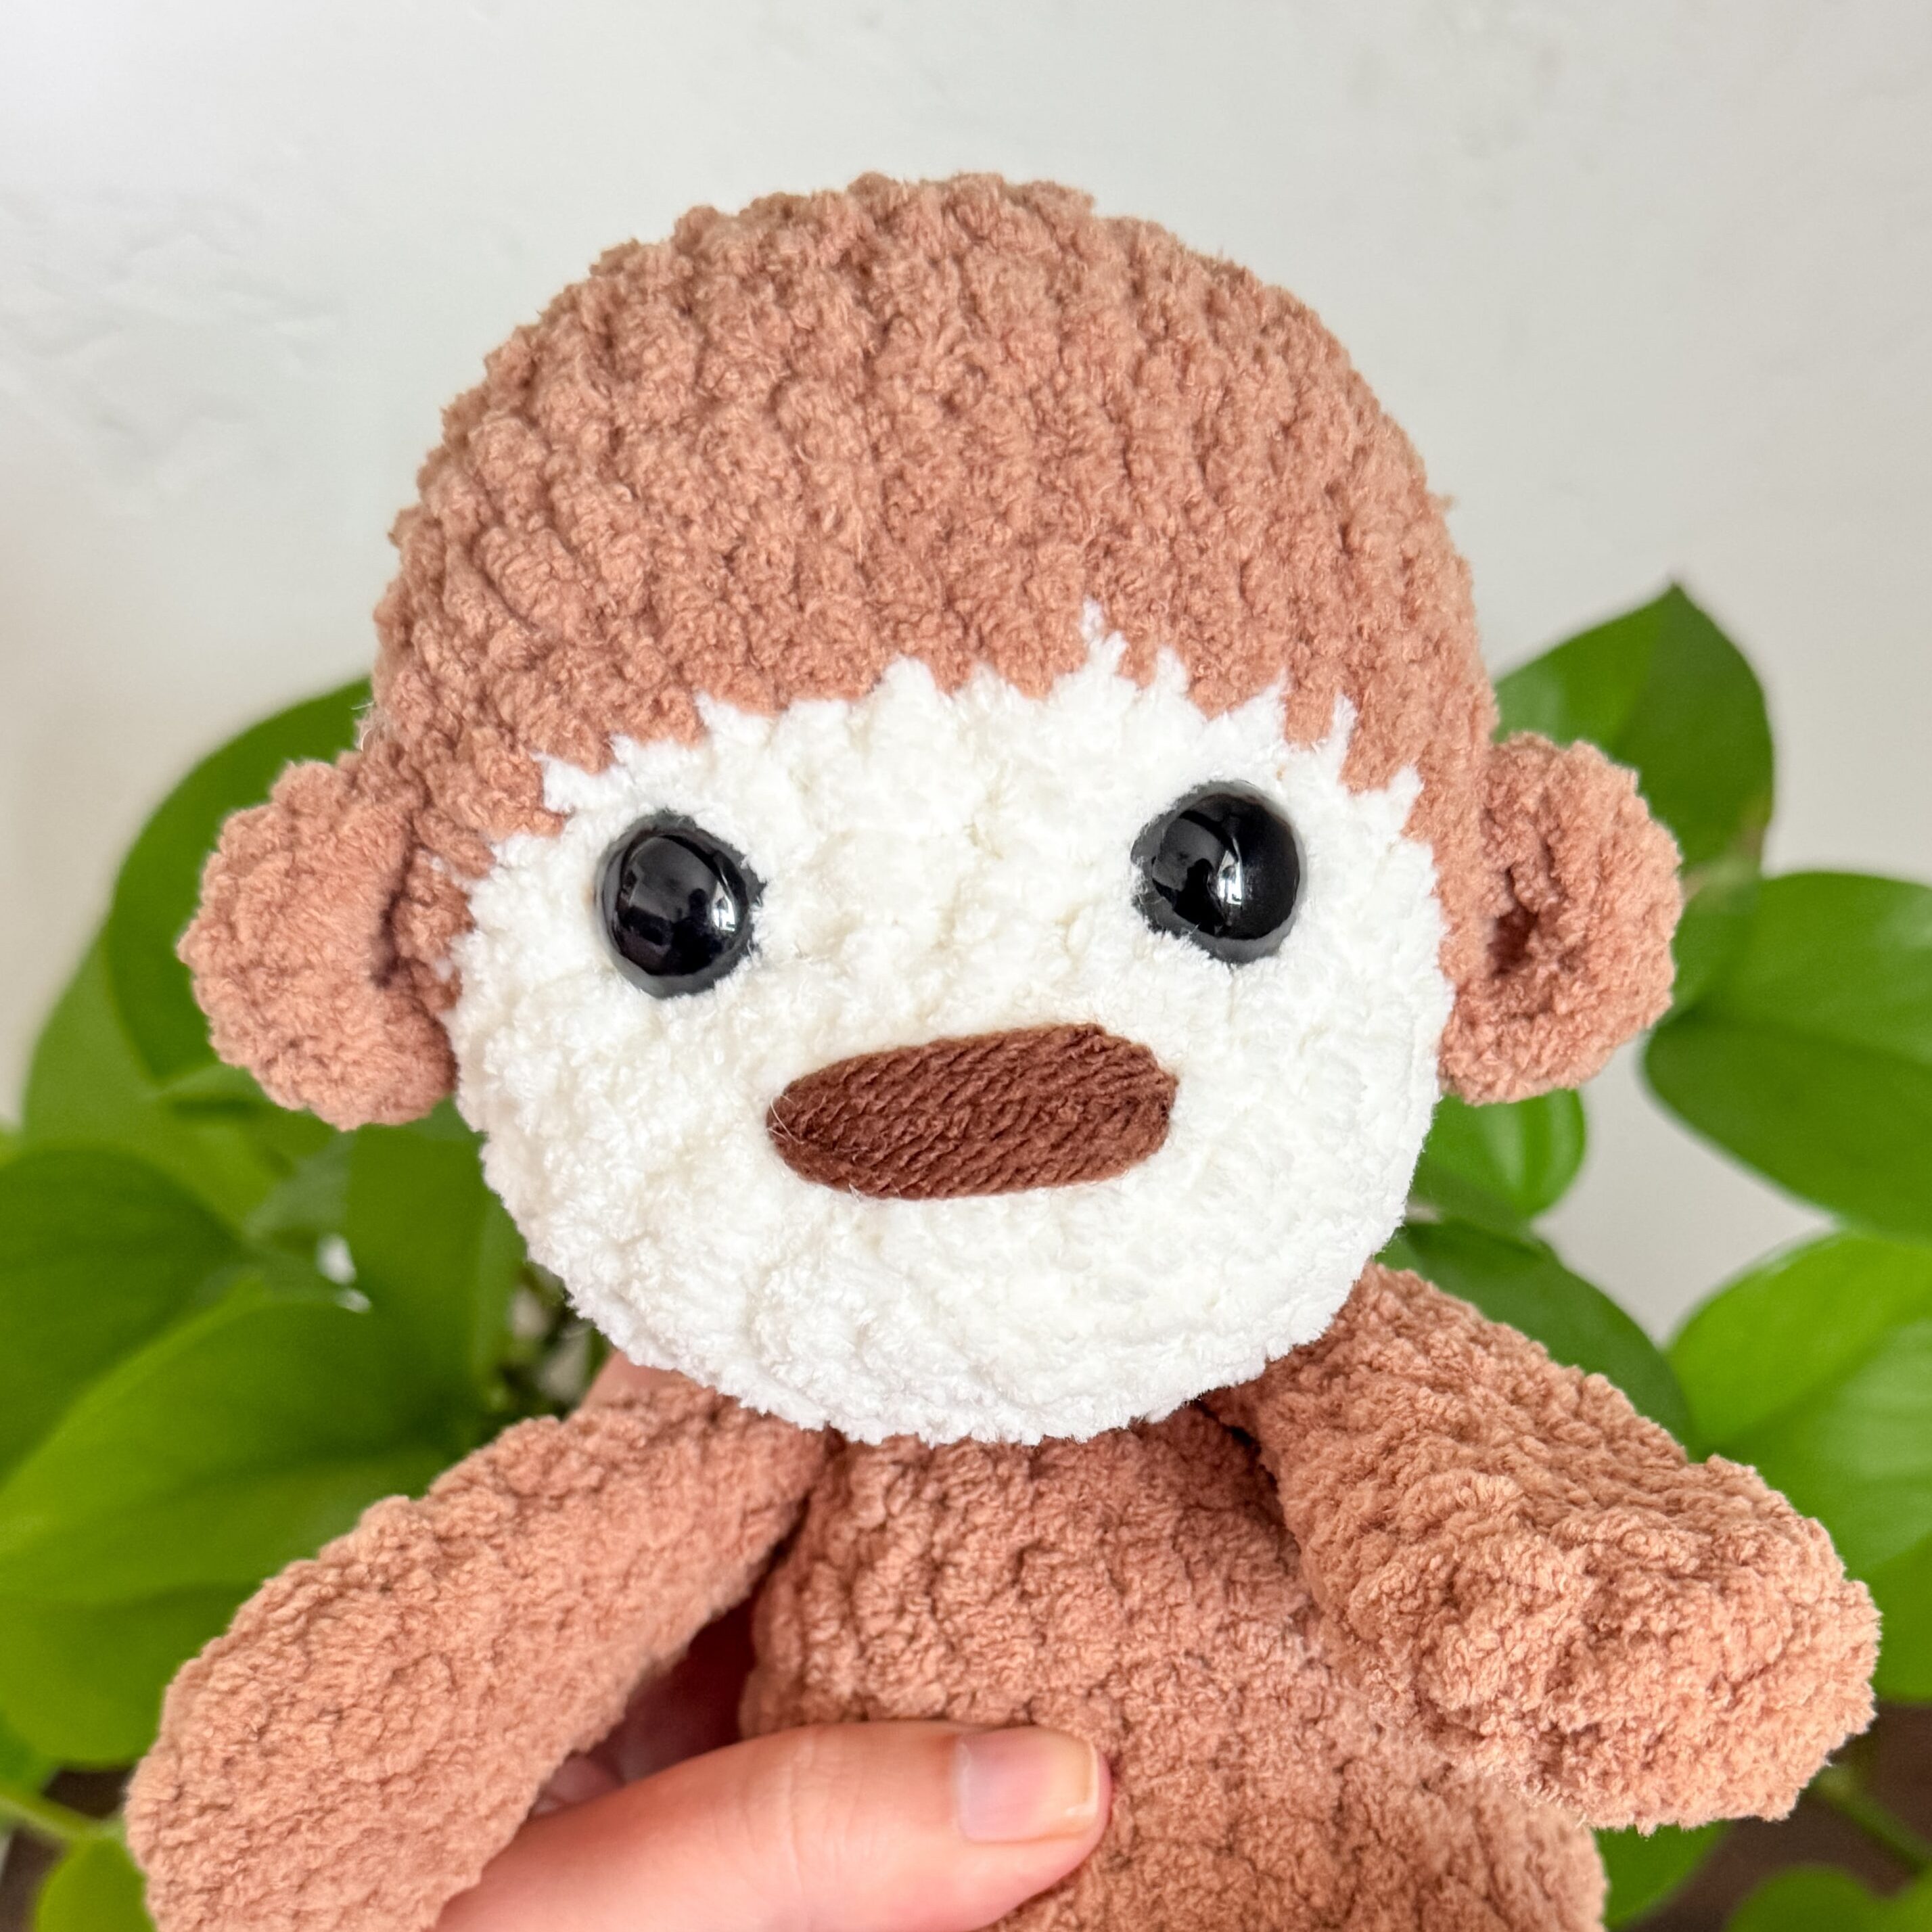
Ears (make 2)
Using caramel:
SC 4 in a magic circle. Pull it tight. Fasten off and leave a tail to sew on.
Attach them at eye level, just about 2 stitches from the winter white color change.
Arms (make 2)
Using caramel:
Round 1: SC 7 in a magic circle
Rounds 2-5: SC in each around.
Leave unstuffed. Fasten off and leave a long tail to sew on.
Sew on between rounds 10 and 11. See here for my favorite method!
Snout
With Winter White color:
Round 1: 8 SC in a magic circle. (8)
Round 2: SC INC in each around. (16)
Round 3: SC in each around. (16)
Fasten off and leave a long tail to sew on.
Embroider the nose on the very top, between rows 2 and 3. This video shows my method for this step!
Tail
Chain 13. Turn and in the second chain from the hook, SC. SC INC in the next. * SC, SC INC * twice more. SC in the remaining stitches. Fasten off and attach the tail to the center of the back, around round 4.
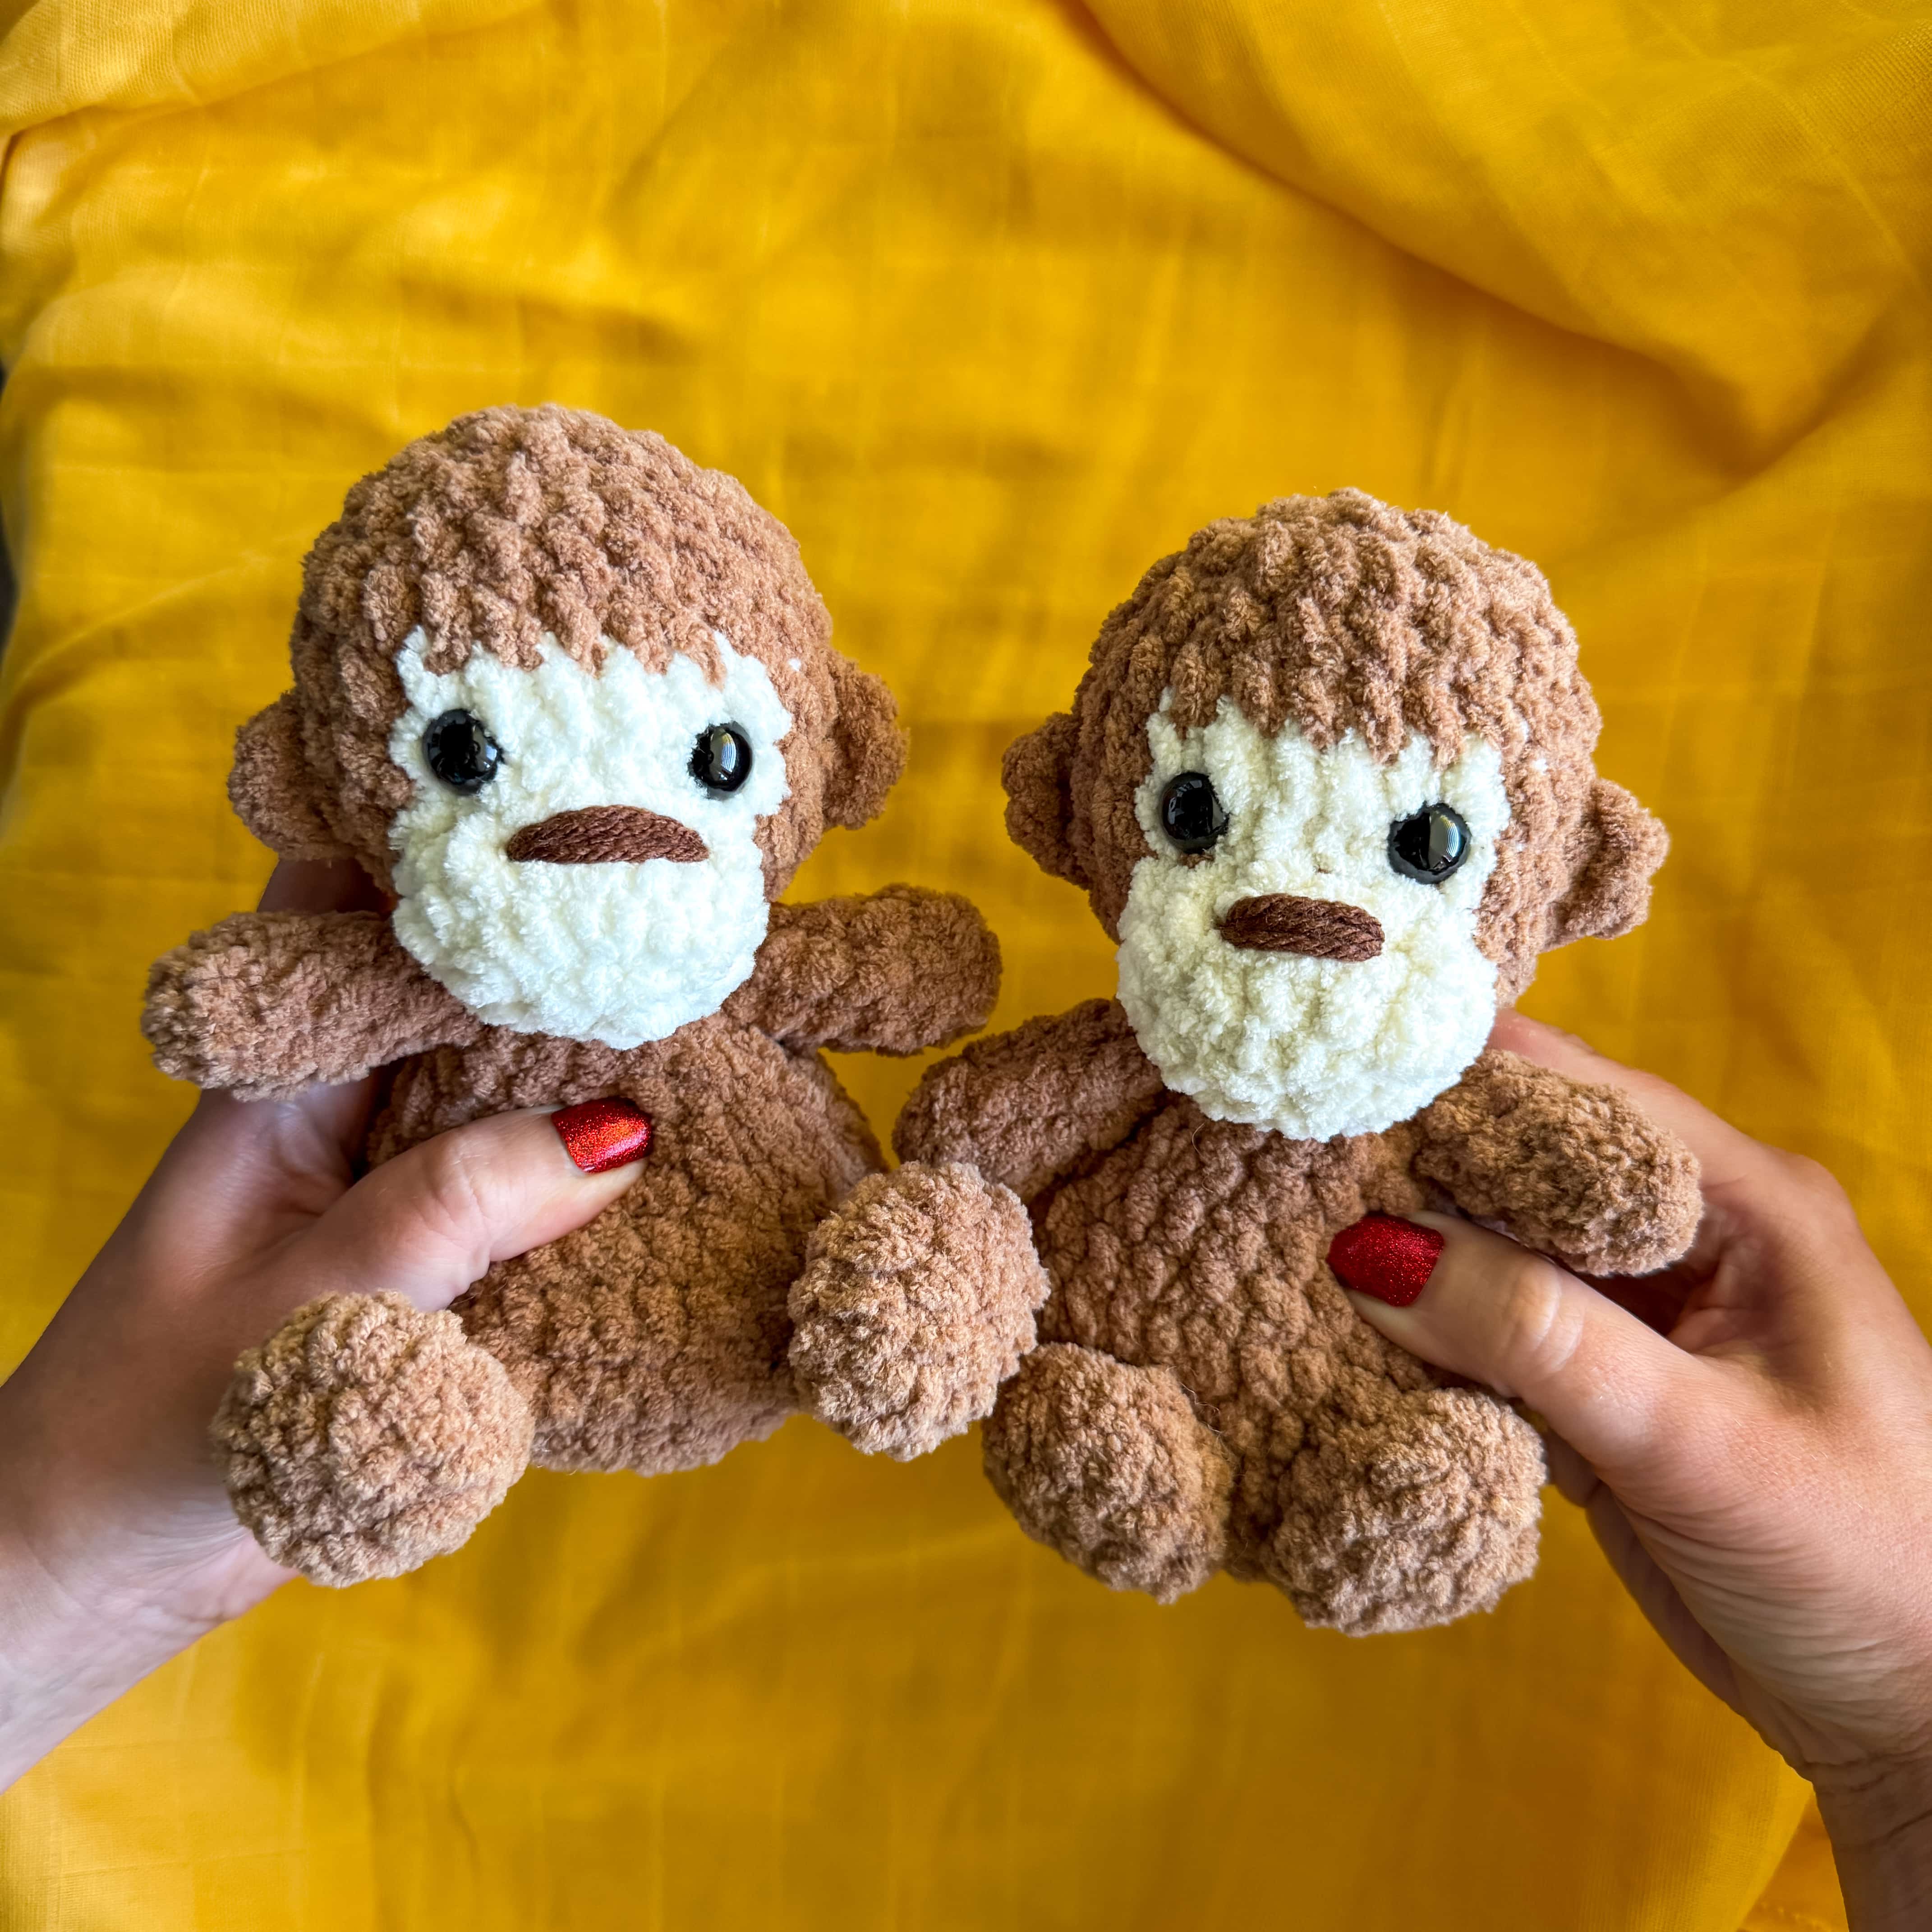
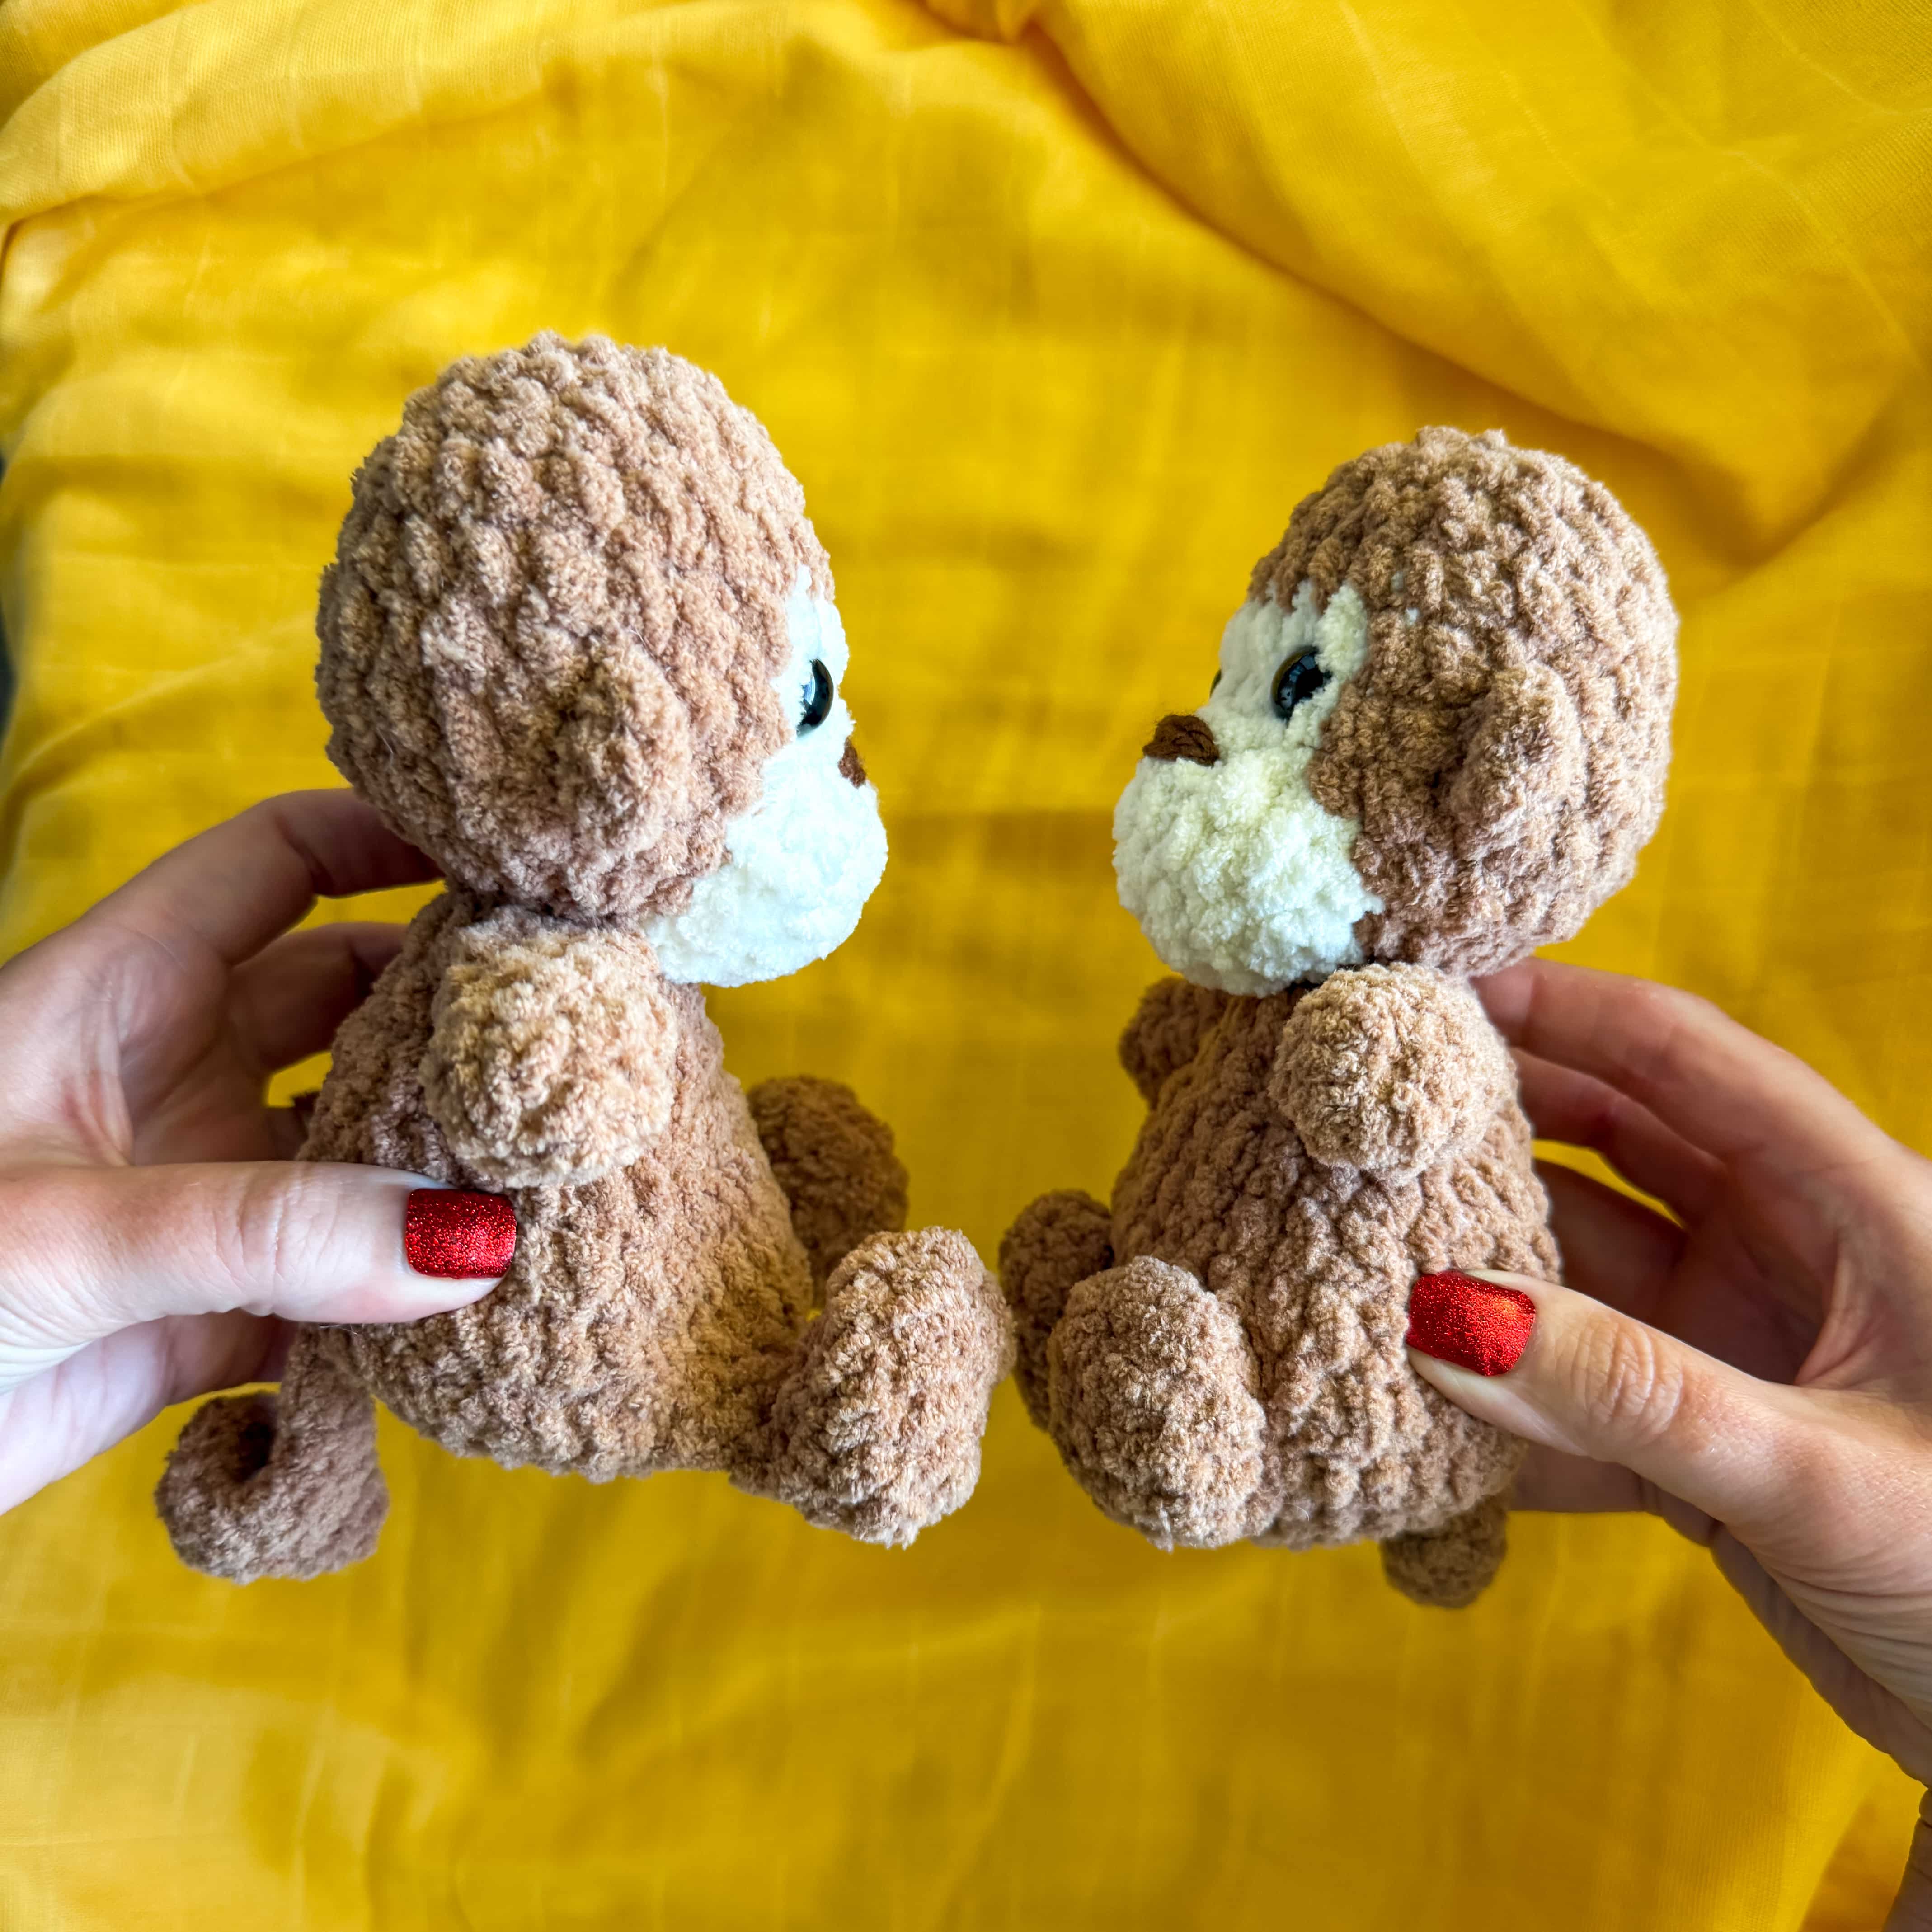
There are 2 options for your feet here – my signature flat foot squishy foot or one that sticks out a little bit more like a traditional stuffy foot (like the Milo the Monkey!)
Option 1: Squishy Feet (make 2)
Round 1: 10 SC in a magic circle (10)
Rounds 2-3: SC in each around.(10)
Round 4: INV DEC in each around. (5)
Leave unstuffed. Fasten off and leave a long tail to attach.
Sew the feet on flat to the body, with the bottom of the foot touching Round 4.
Option 2: Traditional Stuffy Feet
Round 1: In a magic circle, SC 7.
Round 2: SC INC in each around. (14)
Round 3: SC in each around. (14)
Round 4: INV DEC 6 times. SC in the remaining 2. (8)
Round 5: INV DEC 3 times. SC in the remaining 2. (5)
Round 6: SC in each around. (5)
Fasten off and leave a long tail to attach. Flatten the top and sew between rounds 4 and 5, with about 2 stitches in between each foot.
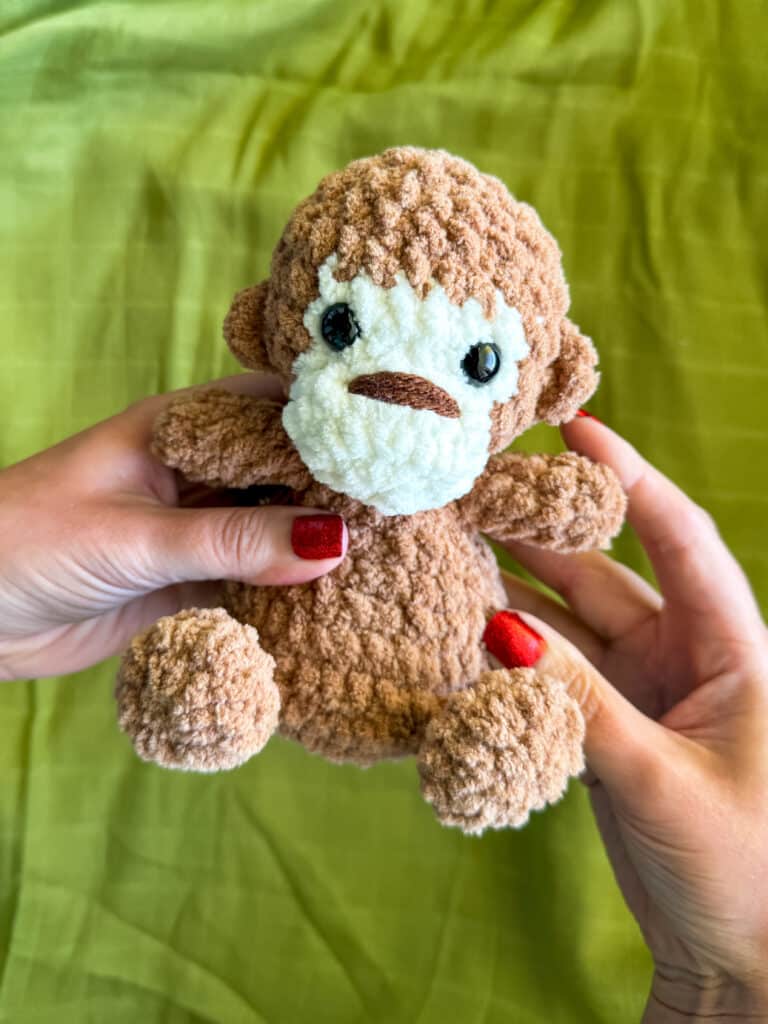
In the photos below, the monkey on the left has the Traditional Stuffy Feet; the monkey on the right has the signature Squishy feet.
Want the Ad-free, Printable PDF?
You can find it in one of my stores!
Did you make this pattern?
Mention me @thefriendlyredfox so I can see your Squishy Monkey Crochet Pattern creations! You can also leave a comment below!