Free Crochet Mushroom Pattern
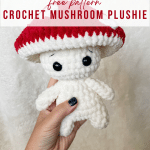
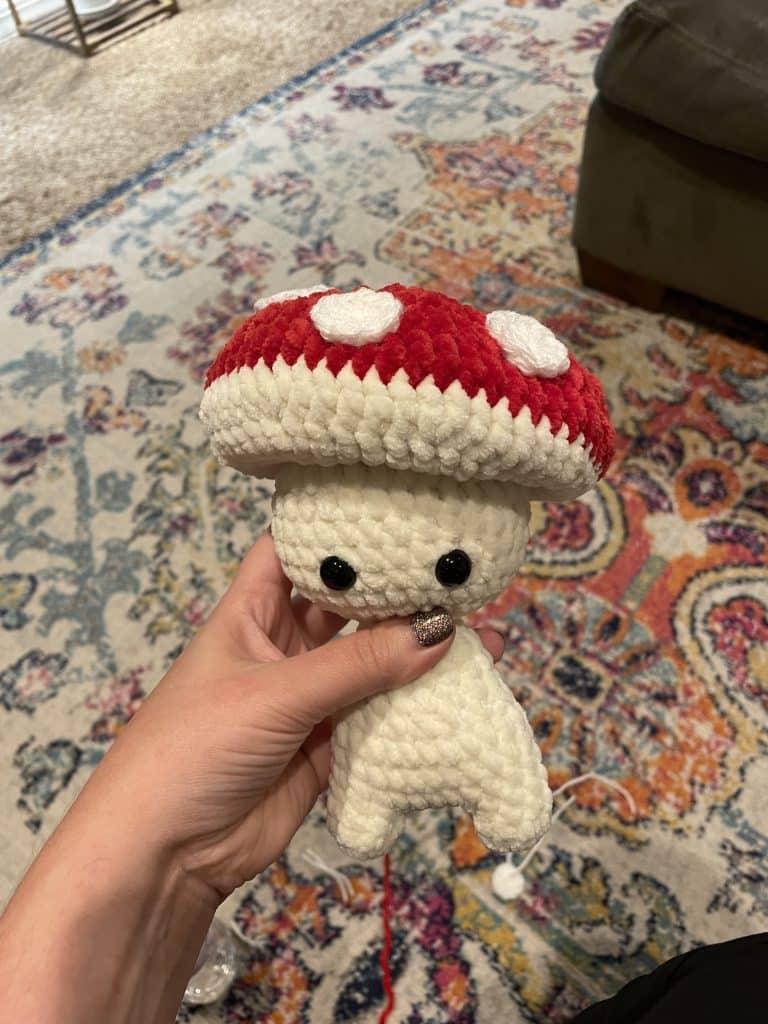
This free Crochet Mushroom Pattern will create a whimsical little friend. There is
something irresistable about this amigurumi mushroom!
Free Crochet Mushroom Pattern
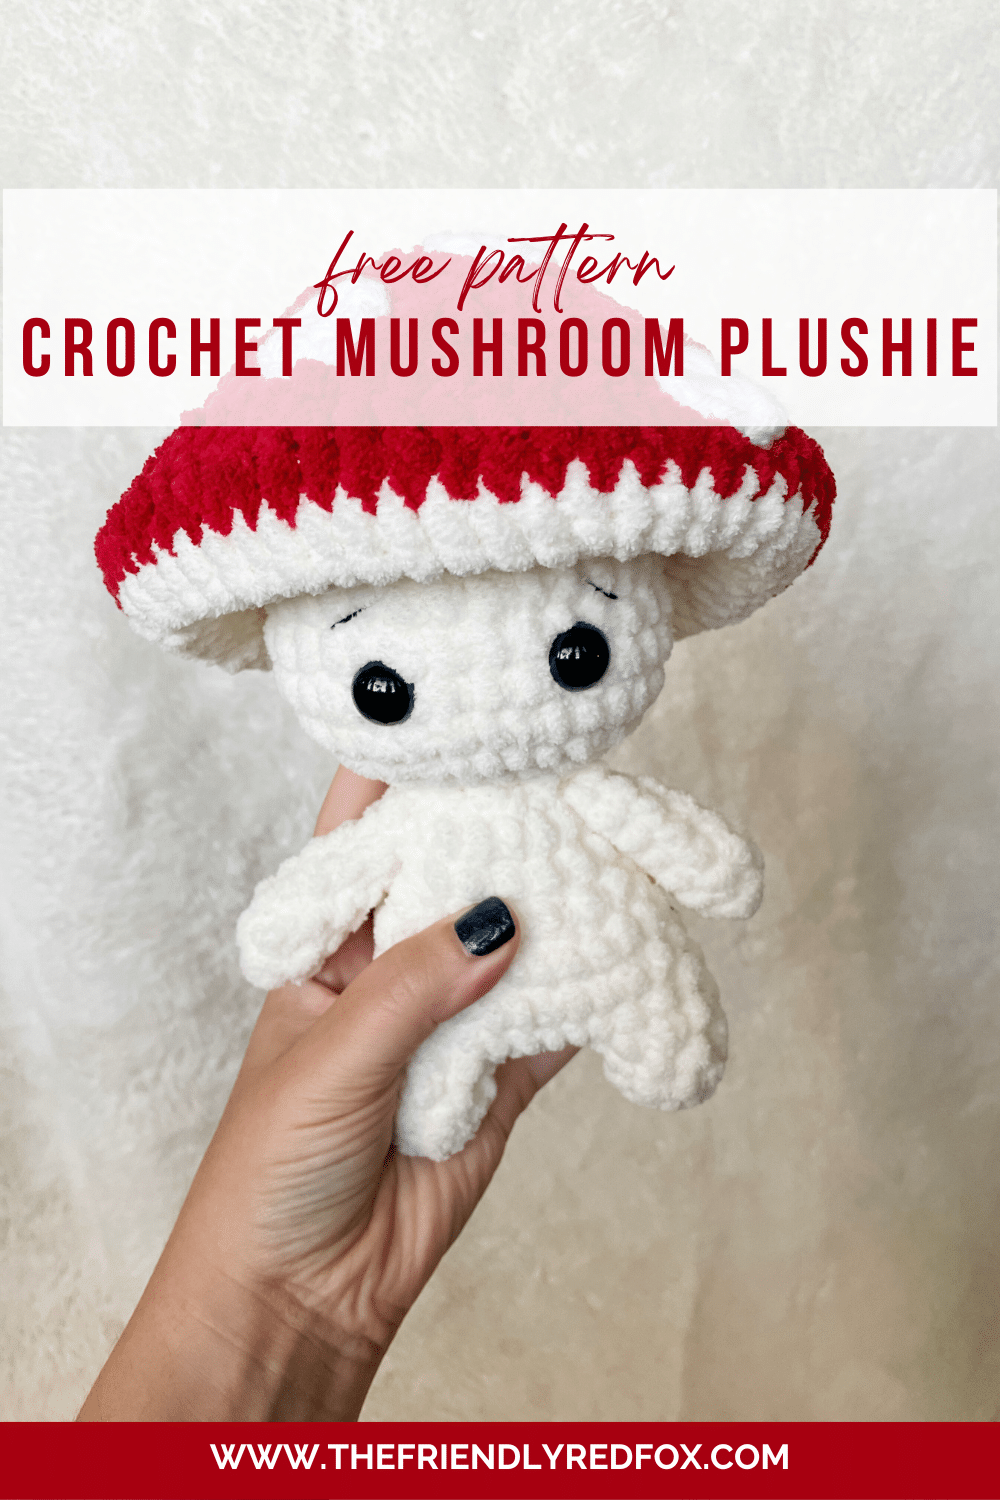
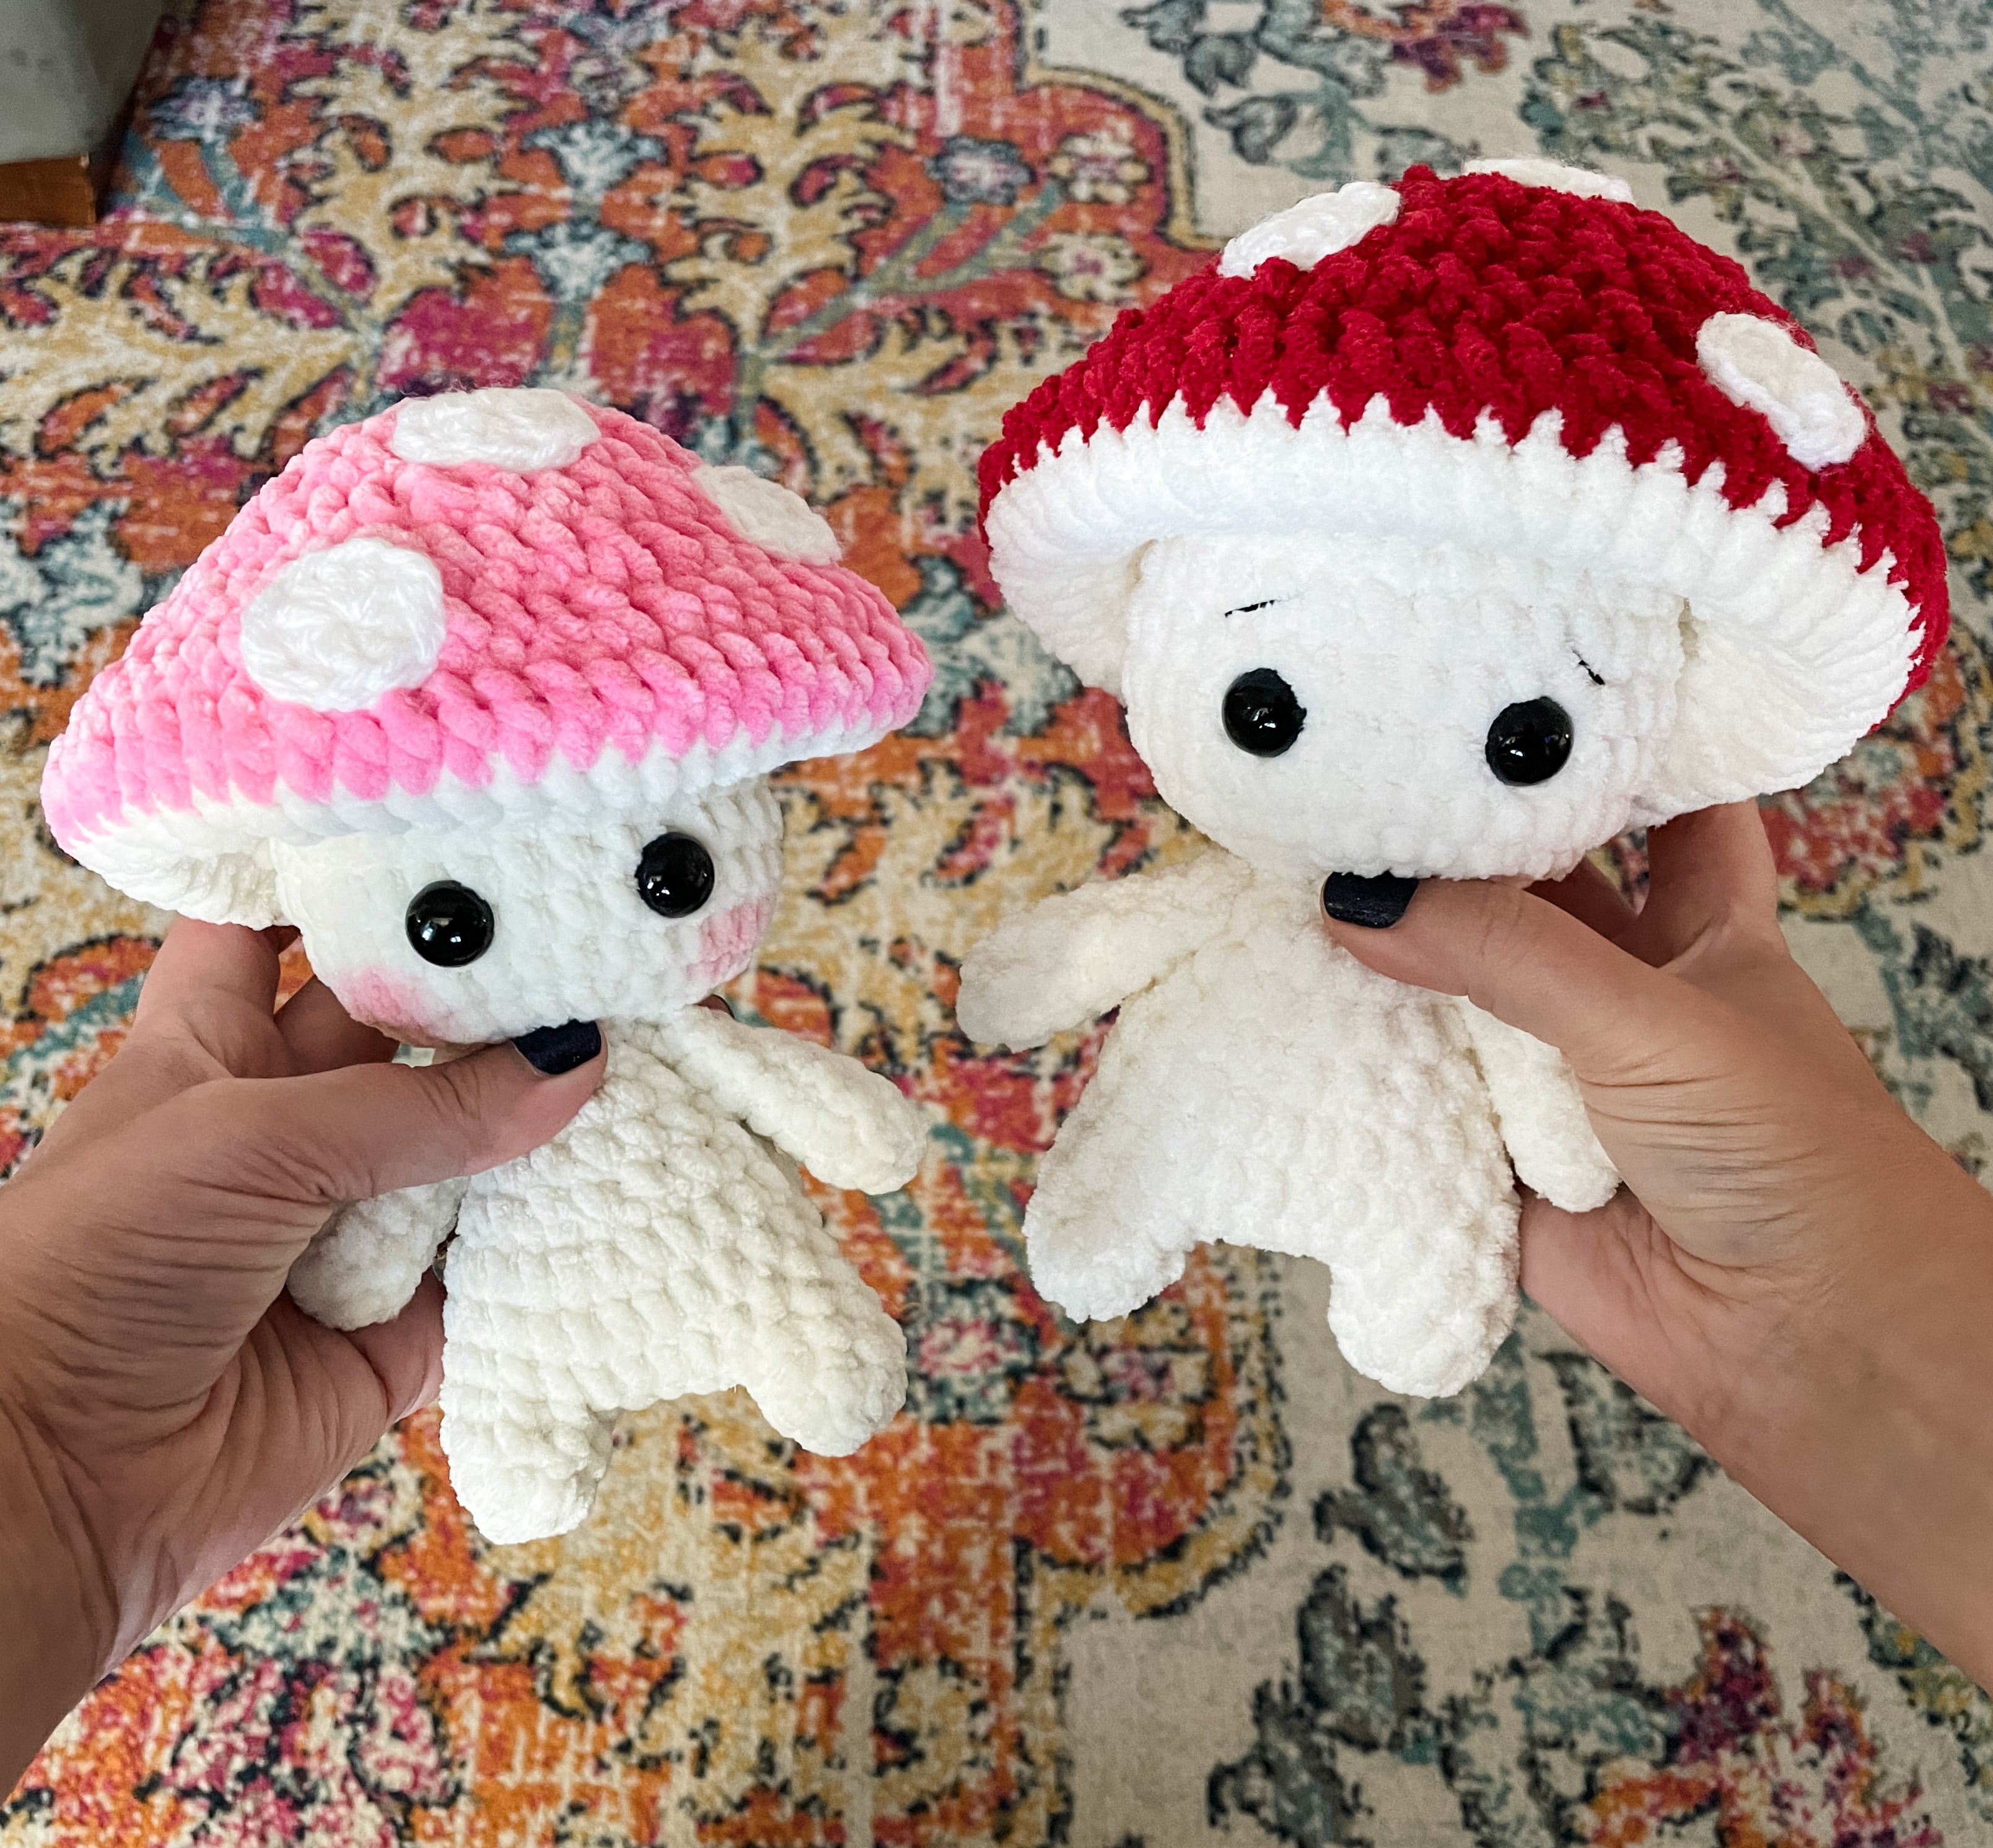
I bet you didn’t know that you needed a free crochet mushroom pattern in your life- but now that you do, I bet you need a whole bunch! There is something incredibly whimsical about these little guys. Plus, with the different combinations of types of yarn and colors, each one you make is so unique!
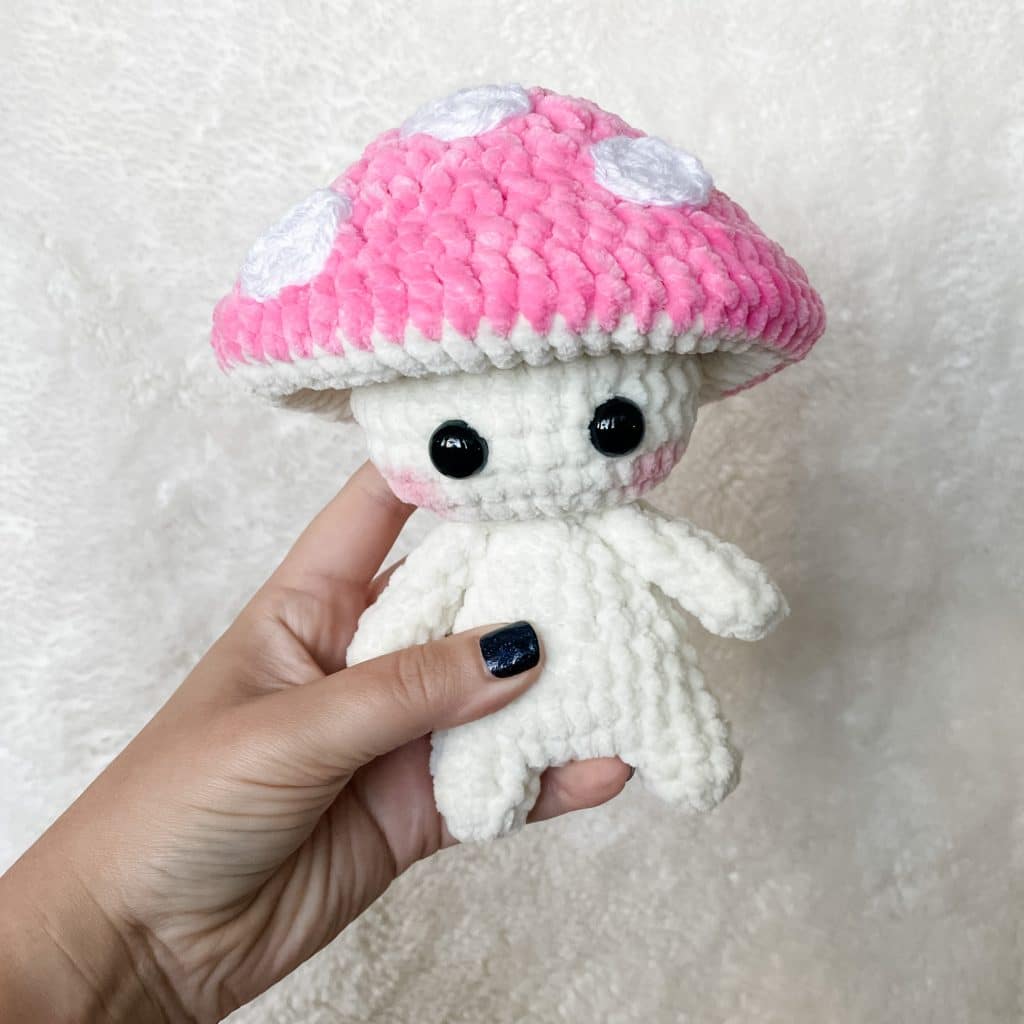
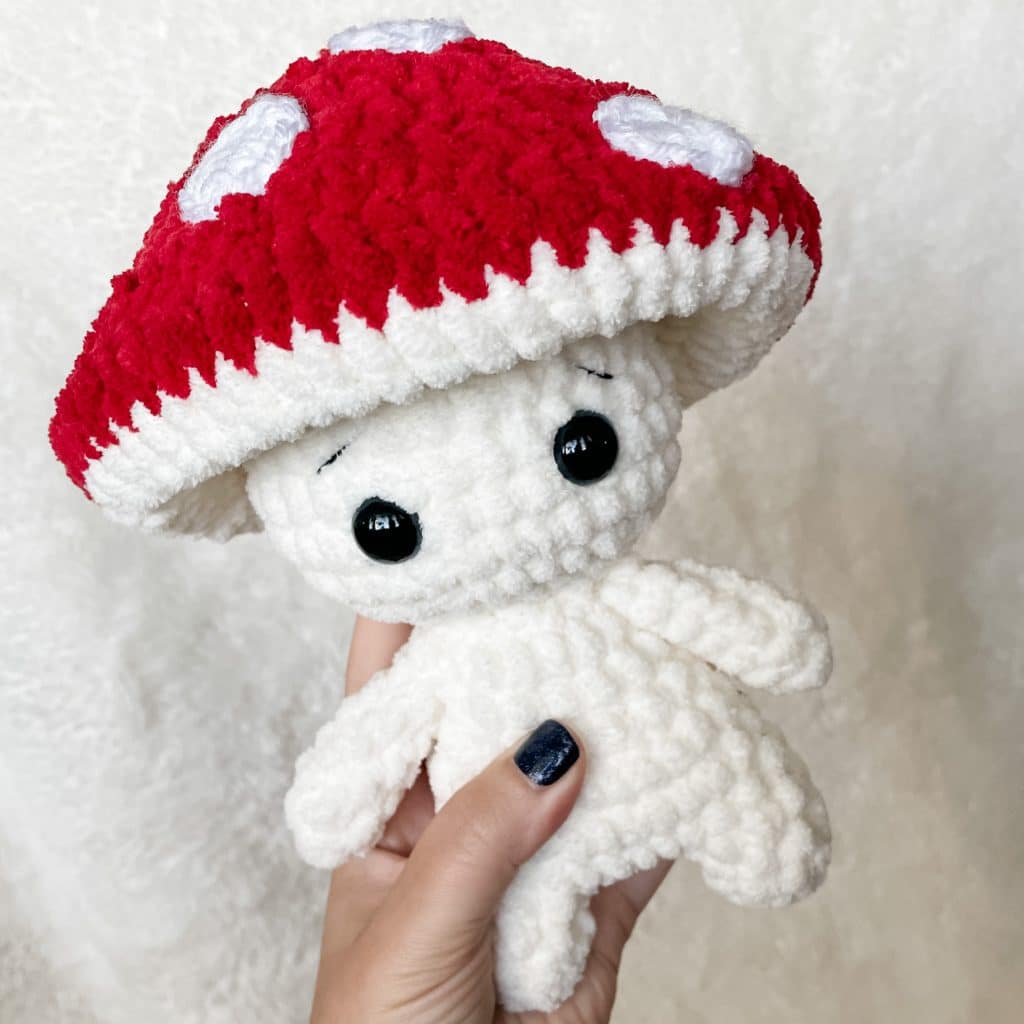
I have made this Mushroom Friend with with Premier Parfait Chunky, Bernat Blanket Yarn, and Sweet Snuggles Lite from Michaels. The yarn you choose will greatly impact the size and look. For reference the Parfait Mushroom is 8 inches tall, the Blanket yarn is 10 inches, and the Snuggles Lite is 9 inches tall. The red one in the photos is made with blanket yarn. The pink one is made with Premier Parfait Chunky. They all have their benefits, so you may want to make this free crochet mushroom pattern in a variety of types!
These crochet mushroom guys are especially fun to make if you are needing something reasonably quick. These take just under two hours for me. The longest part is probably sewing on the spots. I have heard that hot glue works well for attaching things like that, so if you are brave enough to try it, let me know!
Would you like to save this project for later? Input your email address below, and we will promptly deliver the project to your inbox.
Want the Ad-free, Printable PDF?
You can find it in one of my stores!
Materials you’ll need
To get started making this free crochet mushroom pattern, you’ll want to gather all your materials first.
There is a whole section where you can find tutorial videos for different parts of this pattern. Most are linked in the section they are specific to, but if you want to view them before you begin you can see the collection here.
Mushroom Crochet Pattern
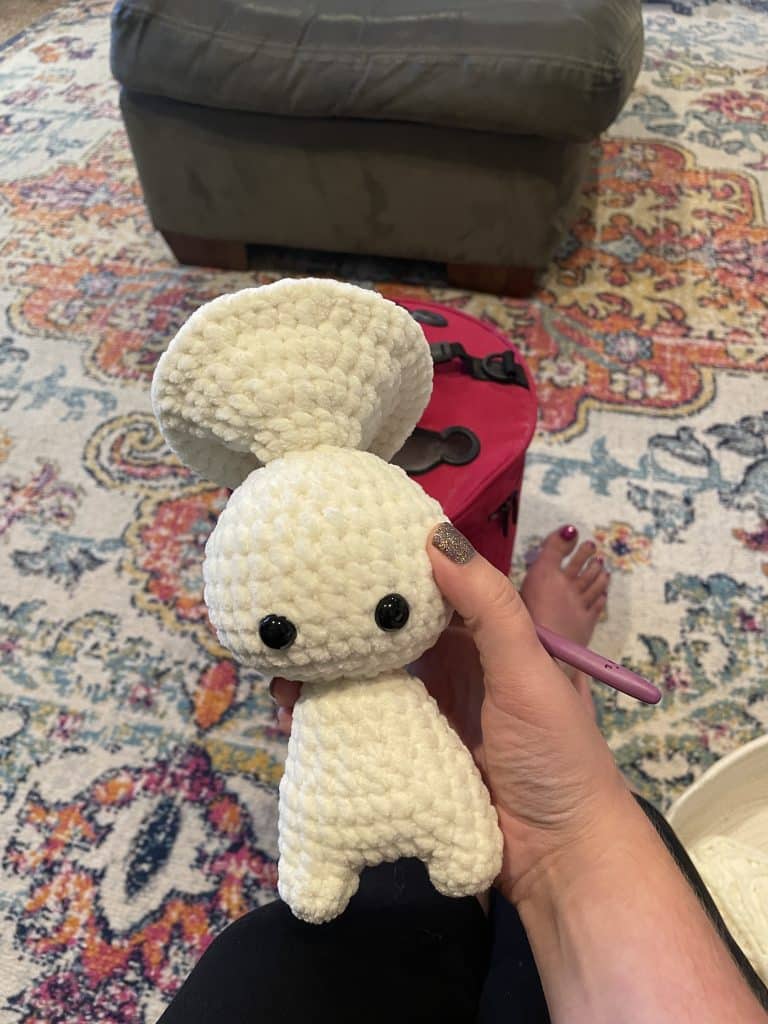
Neck Strengthener
*Click here for a video and picture tutorial on how this works*
In a magic circle, SC 7. SC in each around for a total of 7 rows. Fasten off and leave a long tail to sew the hole closed and sew through the neck.
Mushroom Spots
Using acrylic worsted weight white yarn, DC 10 in a magic circle and pull closed. Slip stitch to the first stitch to close. Fasten off with a long tail to sew on.
Attach these to the mushroom cap as you are decreasing to the top. You can attach them afterwards, but it may be harder to do.
I usually make 7-8 but as they are attached randomly, that can be determined by your own spot preference.
Legs/Body/Head
Starting with the legs:
Round 1: In a magic circle, SC 8.
Rounds 2-3: SC in each around. (8)
Fasten off the first foot. On the second foot, chain 4 and slip stitch to the first leg where you fastened off.
Round 4: SC in each stitch around the first leg (8). SC in each chain across. (4) SC in each stitch around the second leg. (8) SC on the other side of the chain. (4) Attach to the first SC with a slip stitch. (a total of 24) You can find a video on attaching the legs here.
Continue on to the body:
Rounds 5-7: SC in each around. (24)
Round 8: SC in the first, INV DEC in the next. Repeat around. (16)
Rounds 9-11: SC in each around. (16)
Begin to stuff here. Make sure you get the little feet well. Continue to stuff as you close.
Round 12: INV DEC 8 times. (8)
Head starts here
Round 13: SC in each around. (8)
Round 14: In the front loop only, SC INC. (16)
Round 15: SC in the first, SC INC in the next. Repeat around. (24)
Round 16: SC in the first two stitches, SC INC in the next. Repeat around. (32)
Rounds 17-21: SC in each around. (32)
Insert the neck strengthener here. Attach the eyes between rounds 18 and 19, about 4 stitches apart. Stuff as you close.
Round 22: SC in the first 2, INV DEC in the next. Repeat around. (24)
Round 23: SC in each around. (24)
Round 24: SC in the first. INV DEC in the next.. Repeat around. (16)
Round 25: INV DEC 8 times. (8)
Fasten off and close the remaining hole. Weave in the end.
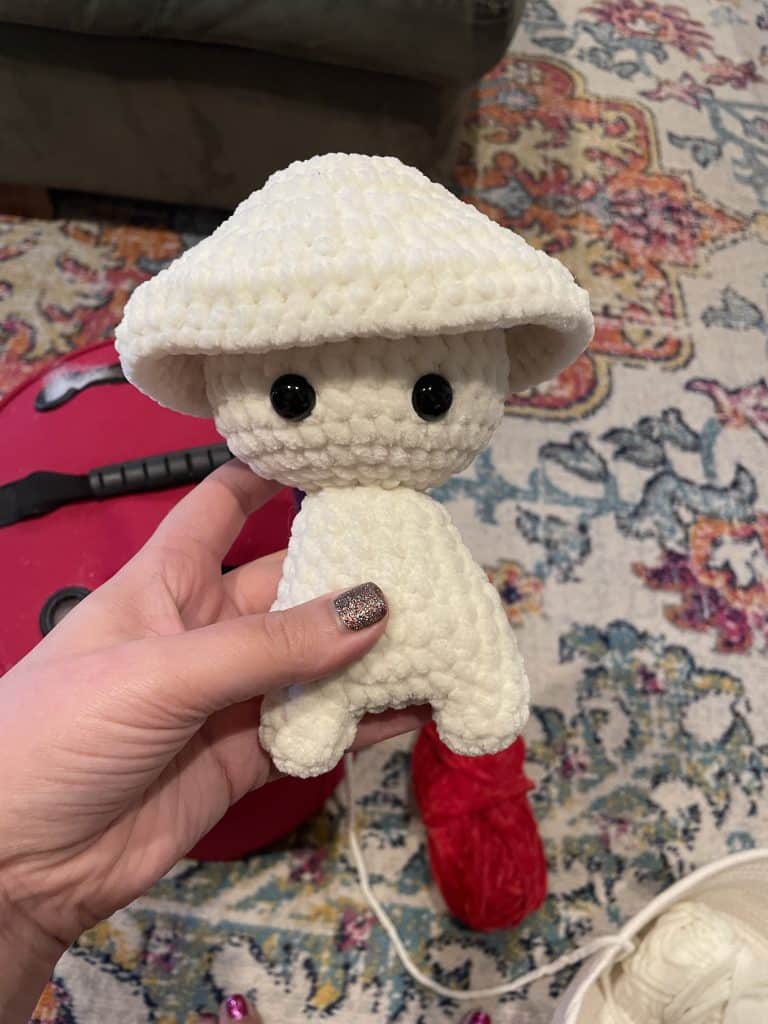
Crochet Mushroom Cap Pattern
Tension Notes
My tension is very tight, which is a great thing with SC but it makes a bigger difference for YOU with double crochets. If you already know your tension is naturally more loose, I suggest going down a hook size, or two!
If the cap is already to the eyes by round 6, skip to round 10. This takes out one increase. This is the space where you would change to the cap color. Everything else is the same!
Mushroom Cap Notes:
For the next part, you will be using the last round as a guide. We are attaching the first row of the cap to the top of the head. You will attach the yarn by putting your hook under the stitch and pulling through the yarn, chaining 2, and then double crocheting in each of the 8 stitches of Round 25. Attach your yarn at the back of the head so that the seam of slip stitches will be in the back. Make sure you have your mushroom spots ready, because you attach these as you close up the cap. This part is written in “rows” because you are attaching the end of each row to the first stitch with a slip stitch. This is different from the rounds of the mushroom body where it was made in a continual spiral, using a stitch marker.
You can watch the process in the video below!
Note: The mushroom in the video was a prototype, before I decided to add an extra increase. The method for attaching the spots is the same, but the number of rows is not!
Mushroom Cap
Using the same color as the body:
Row1: Attach your yarn at the back of head (see notes above). Chain 2. DC in the same stitch. DC in the remaining 7 stitches for a total of 8. Slip stitch to the first stitch.
From here on out, at the end of each row you will slip stitch to the first to finish the row. Then chain 2. These chains do not count as a stitch.
Row 2: DC INC in each around. (16)
Row 3: DC in the first, DC INC in the next. Repeat around. (24)
Row 4: DC in the first 2, DC INC in the next. Repeat around. (32)
Row 5: DC in the first 3, DC INC in the next. Repeat around. (40)
Row 6: DC in the first 4, DC INC in the next. Repeat around. (48) *check here if you are happy with the length – if you are, skip to round 10 and change to mushroom cap color!*
Row 7: DC in the first 5, DC INC in the next. Repeat around. Change to the mushroom cap color. (56)
Row 8: DC in each around. (56)
From here on, sew on the spots as you go. I made a video showing the way I prefer to do it, you can watch that here. This will be easier to do before you close, but you can do it that way if you choose. If you would like to watch how I double crochet decrease, you can watch a video tutorial here.
Row 9: DC in the first 5, DC DEC in the next. Repeat around. (48)
Row 10: DC in the first 4, DC DEC in the next. Repeat around. (40)
Row 11: DC in the first 3, DC DEC in the next. Repeat around. (32)
Row 12: DC in the first 2, DC DEC in the next. Repeat around. (24)
Row 13: DC in the first, DC DEC in the next. Repeat around. (16)
Row 14: DC DEC 8 times. (8)
Fasten off and close the remaining hole. Weave in the end.

Arms
SC 7 in a magic circle
Rounds 2-7: SC in each around. (7)
Fasten off and weave in the end. Attach using the method outlined in the notes. This body is small enough you can use a normal tapestry needle.
JOIN MY NEWSLETTER TO RECEIVE…
A free email course-Amigurumi 101
This free amigurumi email course gives you what you need to master the basics of amigurumi, along with some extra tips and tricks!
Did you make this pattern?
Mention me @thefriendlyredfox so we can see your creations! You can also leave a comment below!

TYSM for sharing this adorable guy!!! 💗💗💗
This just might be the cutest little thing I have ever made!! Thank you!
This is a wonderful pattern and oh so cute. My son asked me to make this for his newborn daughter and it turned out awesome!
I love this pattern! The instructions were easy to follow. I enjoyed making it. I would love to make another one. It worked up faster than I usually take. I recommend it.
Last year, I taught my girls how to sew amigurumi pets, using your patterns. They absolutely love them and are trying to make each one! Thank you so much for your clear and concise directions and videos! We just signed up for your email amigurumi course. 🤗
Thank you for your kind words! I’m so happy you and your girls are enjoying the patterns!
I’m making this right now for a friend, and it is so cute! I do have one question: does the mushroom cap not get stuffed?
It does not! 🙂
I love this, currently making one for a girl I babysit. My only question is, how do we make sure the little mushroom cap stays down instead of lifting off the head?
You could tack it down through a few layers! Through the cap, lining and head? Use the mushroom cap color so it blends in and don’t pull too tight so it doesn’t pucker.
The pattern was easy to follow and the product turned out super cute!
OMG absolutely adorable.
I love him.
He has been out on my to do pile.
Perfect birthday gift for my son’s girlfriend.
I also love you neck support video. What a great idea.
Will be following you!
Thank you ❤️
Petricia
This is adorable!! Is there an option to make a bigger version though?
This is the only version I have right now! You can always use a bigger hook and yarn, though.
You have a very neat stitch. Absolutely perfect finished piece. I would love to follow you. Thanks for the pattern. 🍄
It is sooooo cute!!!! I am doing this one for my stepdaughter. I think she’s going to love him 🥰🥰🥰 thank you for sharing 👍❤️
Hi! Just wondering if there are instructions for “finishing” the gus:
do you tack down the cap?
what about facial features?
things like that.
Thanks in advance!
🌿 M <.
I didn’t tack down the cap, but you can if you want it to be more secure. And the only facial features I did were safety eyes and blush! (Which I use real blush and a clean eyeshadow brush for.)
Where are the instructions for the arms?
Right underneath the photos of the body!
Hi. I’m making this now because my daughter fell in love with this lil guy. I either clicked the wrong item but the pattern is not in order… where do I start? I don’t see pattern for the head or body only legs and cap and links to videos on attaching. 😔 I’m so lost. He’s the cutest.
It’s all in one piece! I added some labels to help make the body parts a little clearer.
Apparently I was too tired and missed it hahaha! I found it! This is so cute! Thank you for sharing this!
Thank you! It’s so kind of you, I appreciate your response 🍄I’ll start this tomorrow Wish me luck 😆
When do I put the neck strengthener on before or after I make the head
I make the neck strengthener at the very beginning of the pattern and then insert when I’m about halfway through the head
OMG, what a cute lil’ guy. TY TY TY for all your efforts in making this pattern and then giving it to the rest of us to try. Can’t wait to make this pattern. TY again!