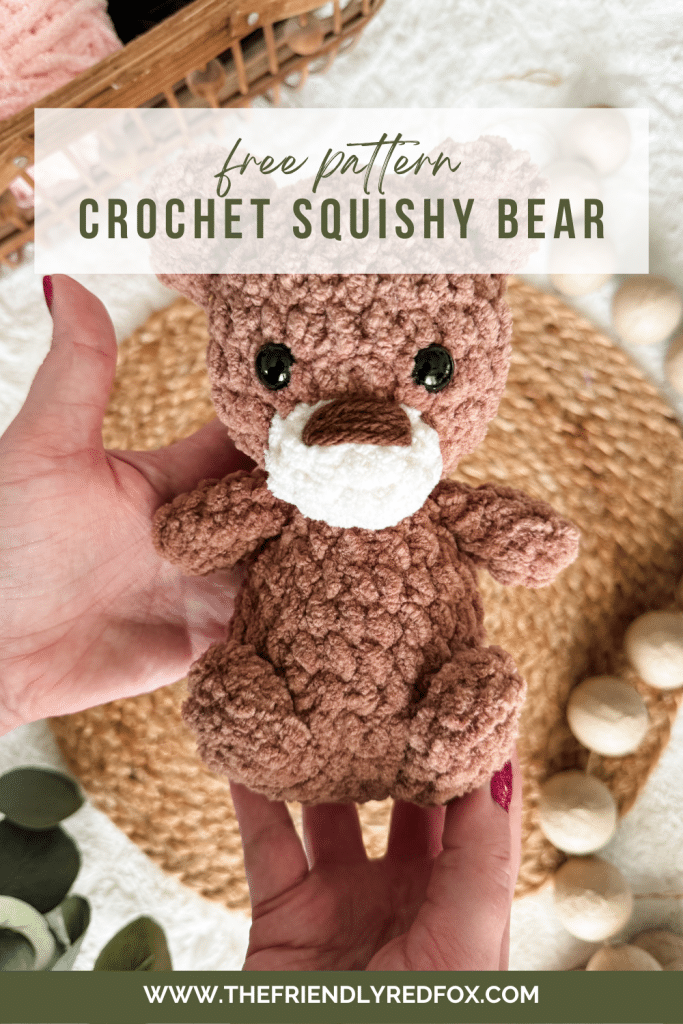
Squishy Crochet Bear Amigurumi Pattern
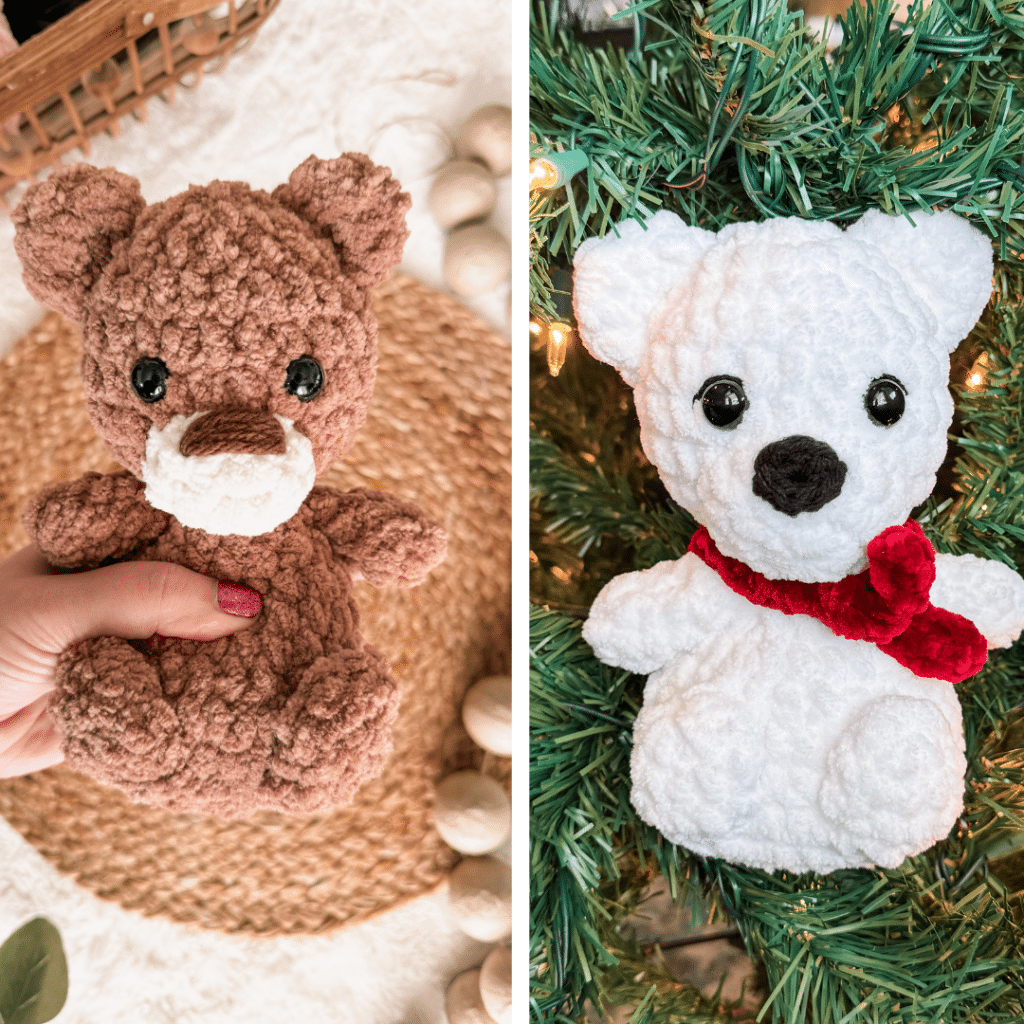
This free crochet bear amigurumi pattern makes a squishy plush pal! This works up quickly with blanket yarn, perfect for gifts and markets.
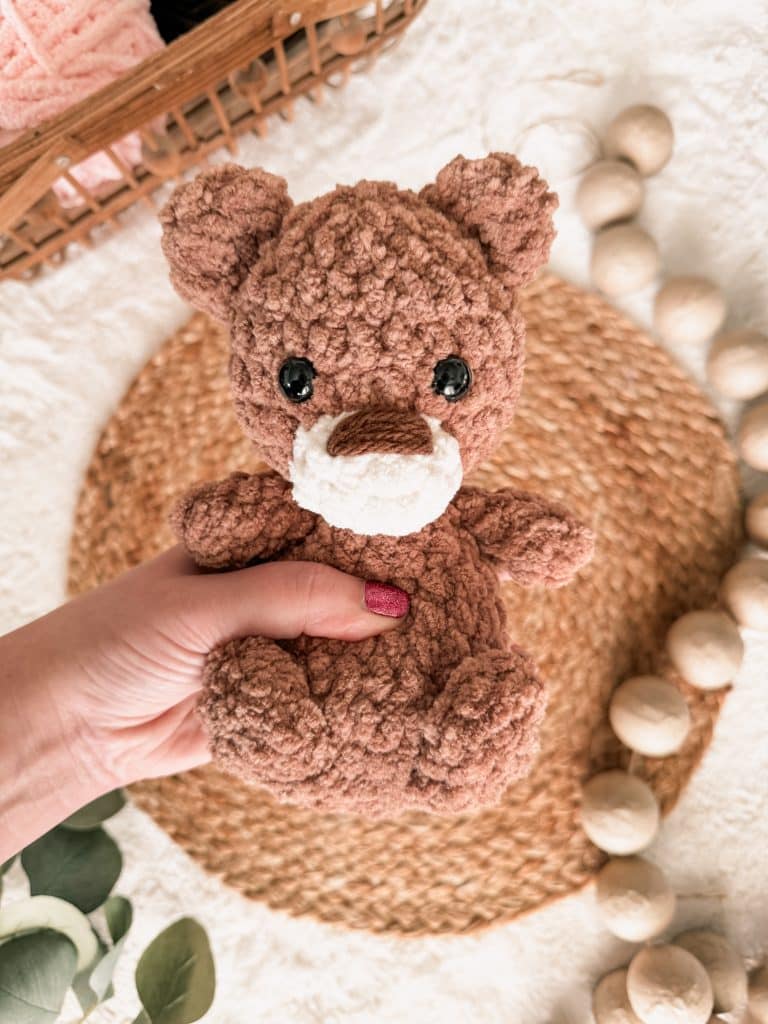
Plush Yarn Crochet Bear
I have fallen in love with plush yarn and the effect it has when using it for amigurumi! I can’t resist making free crochet plushie patterns, as you can see here! The bulkier yarn allows for a good sized project with less stitches, so I feel like I am flying through the creating process. Once you are familiar with this type of yarn, I think that this is a very beginner friendly project.
JOIN MY NEWSLETTER TO RECEIVE…
A free email course-Amigurumi 101
This free amigurumi email course gives you what you need to master the basics of amigurumi, along with some extra tips and tricks!
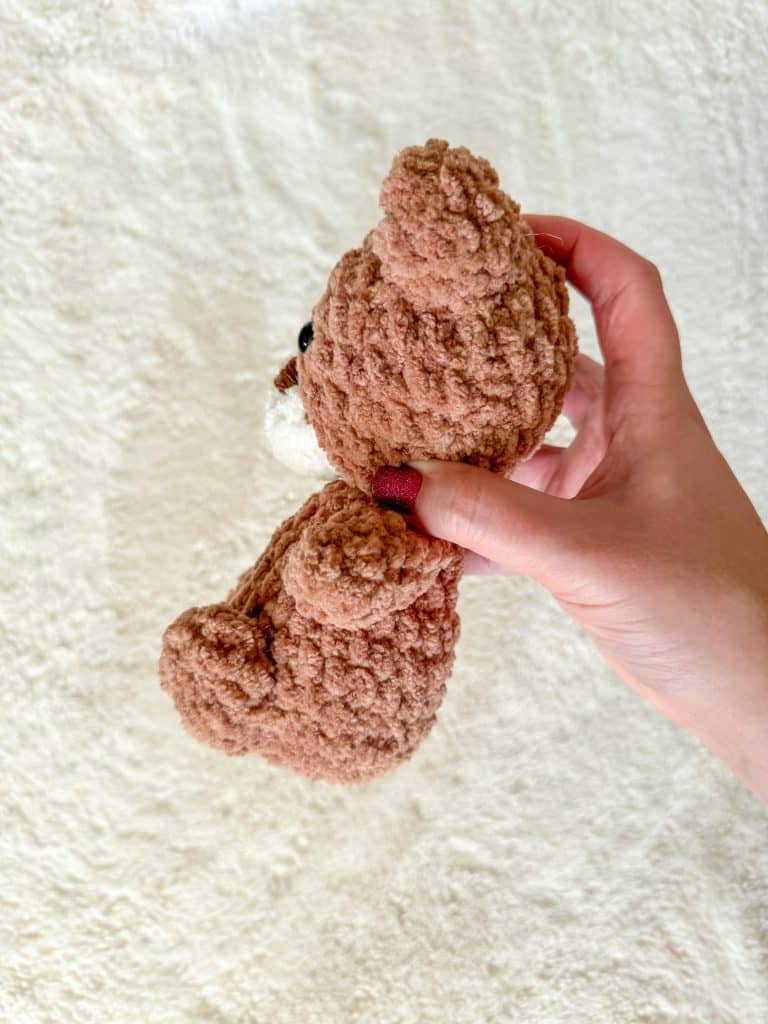
This squishy crochet bear amigurumi pattern is made from the bottom to the head, all in one piece. You will intentionally understuff the body for a more floppy, silly look. Over-stuffing will change the look dramatically. You will insert a neck strengthener which will help with the shape and stability of the head, while allowing you to understuff the bottom and stuff the head a little more.
The ears, snout, feet and arms are attached at the end. The feet are attached flat against the body.
Substitute yarns could be Bernat Blanket yarn or Big Twist from Joann’s. You may need to change the hook size if you change the yarn.
Want the Ad-free, Printable PDF?
You can find it in one of my stores!
Materials you’ll need
To get started making this free crochet plush bear pattern, you’ll want to gather all your materials first.
You will need:
- 60g Premier Basix Chenille in Caramel
- a small amount of Premier Basix Chenille in Winter White
- Small amount of brown worsted weight yarn for the nose
- 15mm safety eyes
- Crochet Hook in Size 4.5mm
- Tapestry Needle
- Polyfil
- stitch marker
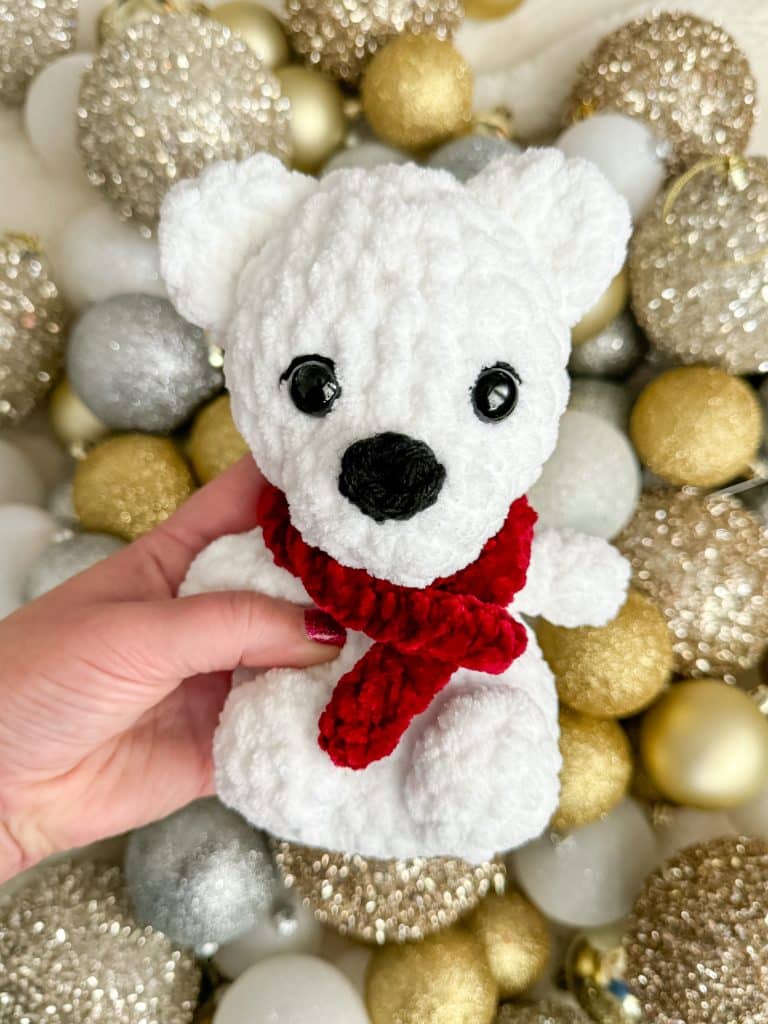
For the polar bear option you will need:
- 60g blanket yarn in white, black instead of brown for the nose and a small amount of yarn in the color of your choice for the scarf
Crochet Bear Amigurumi Pattern
Neck strengthener
*Click here for a video and picture tutorial on how this works*
In a magic circle, SC 7. SC in each around for a total of 7 rows. Fasten off and leave a long tail to sew the hole closed and sew through the neck.
Body/Head
Round 1: In a magic circle, SC 8.
Round 2: SC INC in each around. (16)
Round 3: SC in the first, SC INC in the next. Repeat around. (24)
Round 4: SC in the first 2, SC INC in the next. Repeat around. (32)
Round 5: SC in the first 3, SC INC in the next. Repeat around. (40)
Round 6: SC in the first 3, INV DEC in the next. Repeat around. (32)
Round 7: SC in each around. (32)
Round 8: SC in the first 2, INV DEC in the next. Repeat around. (24)
Round 9: SC in each around. (24)
Begin to stuff here. Remember to stuff lightly.
Round 10: SC in the first, INV DEC in the next. Repeat around. (16)
Round 11: SC in each around. (16)
Round 12: INV DEC in each around. (8)
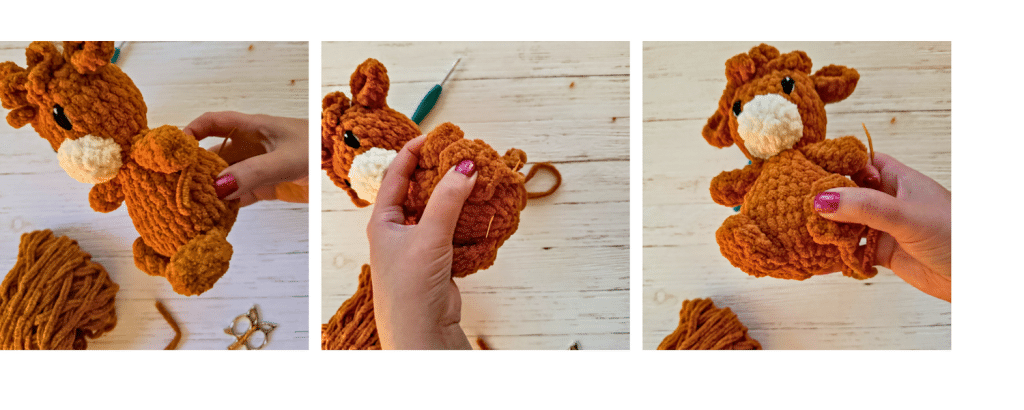
From here we are increasing the head. Have your neck strengthener ready to insert. Here is the video tutorial if you haven’t watched it already!
Round 13: In the front loop only, SC INC in each around. (16)
Round 14: SC in the first, SC INC in the next. Repeat around. (24)
Rounds 15-19: SC in each around. (24)
Insert safety eyes between rounds 17 and 18, about 4 stitches apart. Insert neck strengthener.
Round 20: SC in the first, INV DEC in the next. Repeat around. (16)
Stuff the head.
Round 21: SC in each around. (16)
Round 22: INV DEC in each around. (8)
Fasten off and sew the remaining hole closed.
Crochet Bear Amigurumi Parts
Arms (make 2)
NOTE: I highly suggest you visit this post before attaching the arms and the legs. This is my favorite method by far to attach limbs, and is worth watching the video and seeing the tutorial pictures!
Round 1: SC 7 in a magic circle
Rounds 2-5: SC in each around.
Fasten off and leave a long tail to sew on. Sew on between rounds 10 and 11.
Feet (make 2)
Round 1: 10 SC in a magic circle. (10)
Rounds 2-3: SC in each around. (10)
Round 4: INV DEC in each around. (5)
Fasten off and leave a long tail to attach.
Sew the feet on flat to to the body, with the bottom of the foot touching Round 4.
Snout
With Winter White color:
Round 1: 6 SC in a magic circle. (6)
Round 2: SC INC in each around. (12)
Round 3: SC in each around. (12)
Fasten off and leave a long tail to sew on. Sew it on with the bottom of the snout on round 13 and the top on round 15. You can see a video on how I attach open pieces to finished parts here.
Embroider the nose on the very top, between rows 2 and 3. This video shows my method for this step!
Ears (make 2)
Round 1: In a magic circle, SC 6.
Round 2: SC INC in each around. (12)
Round 3: SC in each around. (12)
Fasten off and leave a long tail to attach to the head.
Sew them on around the third round from the center of the head. Watch the video below to see how I attach the ears. This is a worsted weight version, but the method is the same!
Scarf
I used Premier Parfait Chunky yarn in Ruby for this scarf.
Chain 55.
DC in each stitch back to the beginning. Weave in the ends.
Did you make this pattern?
Mention me @thefriendlyredfox so we can see your creations! You can also leave a comment below!


Could you please tell me where to get the chenille yarn used in these projects?
I have to order the yarn from Premier, but often JoAnns or Michaels will have the bernat blanket yarn!