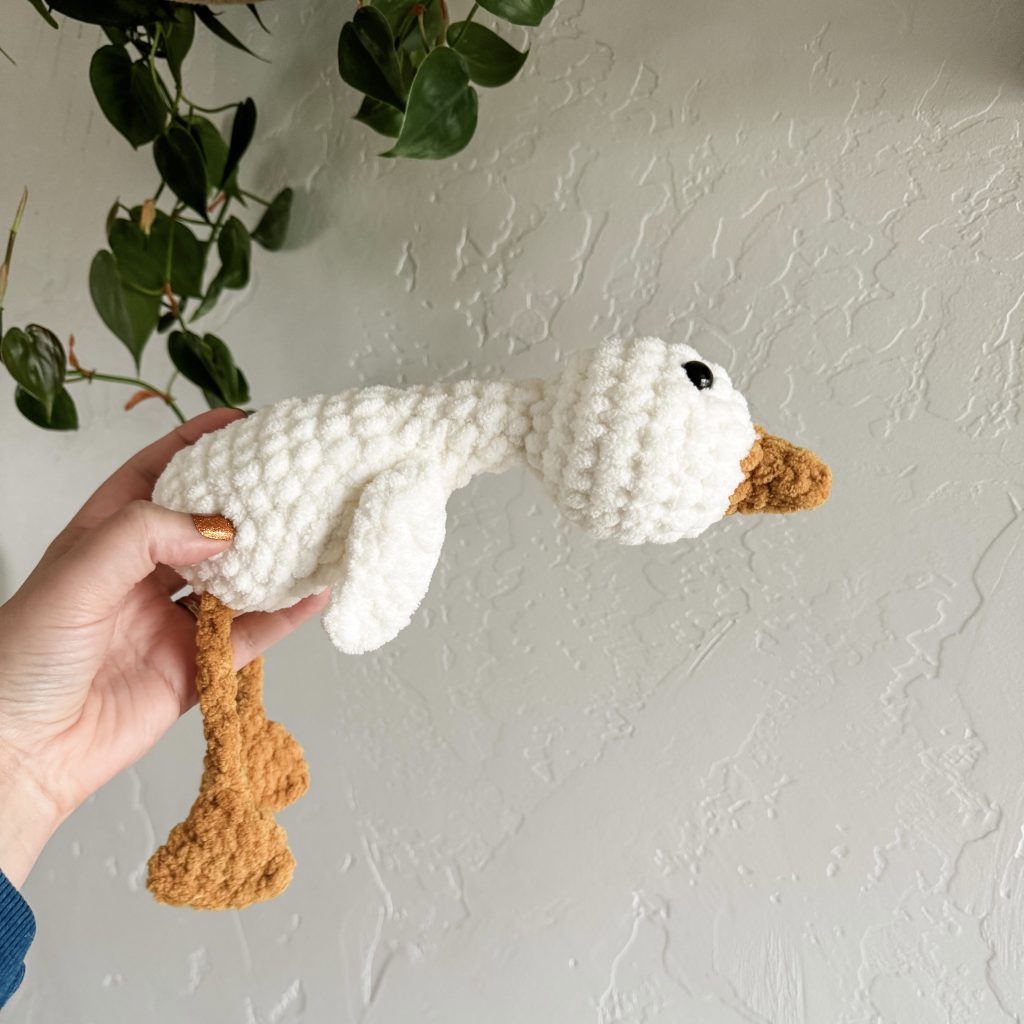
One Hour Crochet Pattern-Low Sew Silly Goose

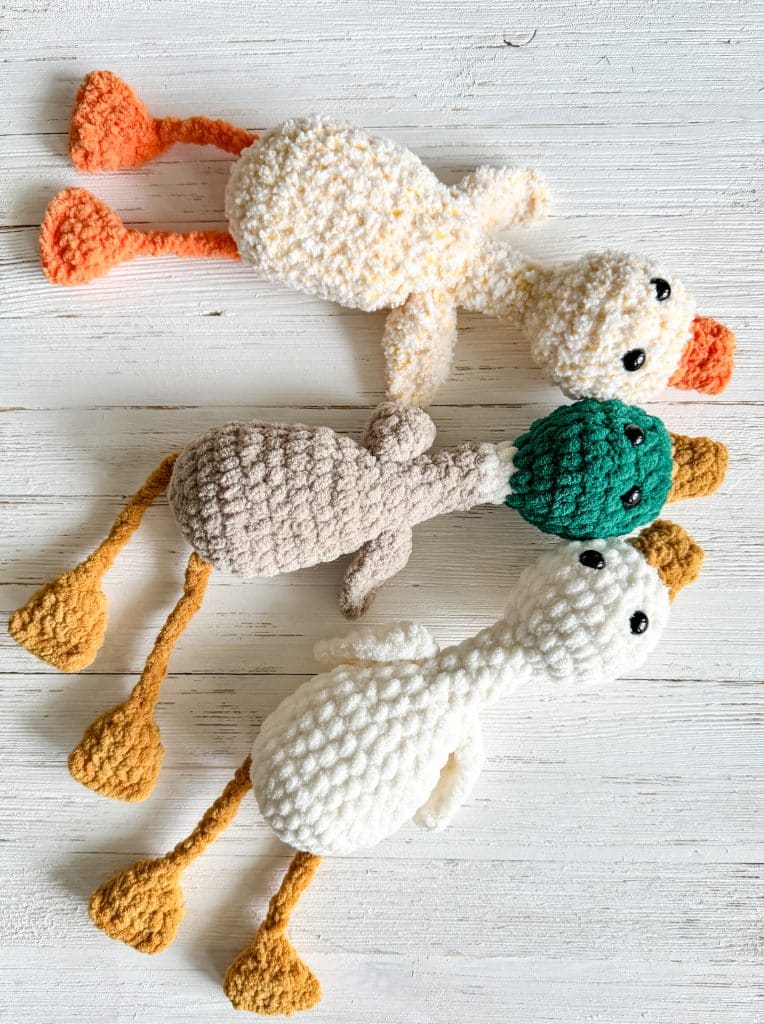
This one hour crochet pattern results in a silly goose- or duck or flamingo! This is a great pattern if you hate sewing- this amigurumi pattern is low sew!

Learn how to make One Hour Crochet Pattern for Silly Goose
There are some really awesome one hour crochet patterns out there. You may have made my one hour, no sew turtle before, so you know how great it is to have a pattern like this in the queue. This little goose is hard to photograph, but I am not kidding when I tell you kids think it is amazing. My boys (10, 8, 4) all went nuts over it, which is a pretty big thing. None of them really loved stuffed animals (much to my utter dismay) but this was a big hit.
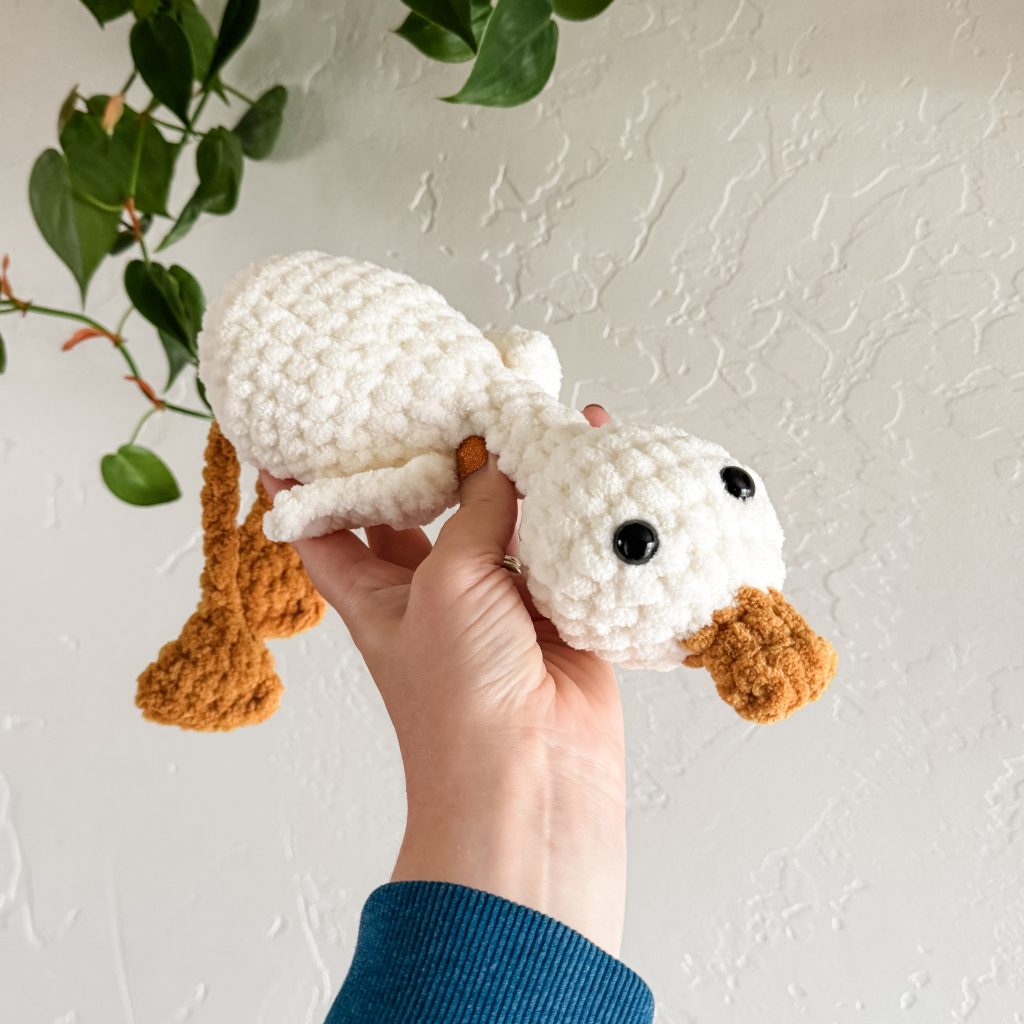
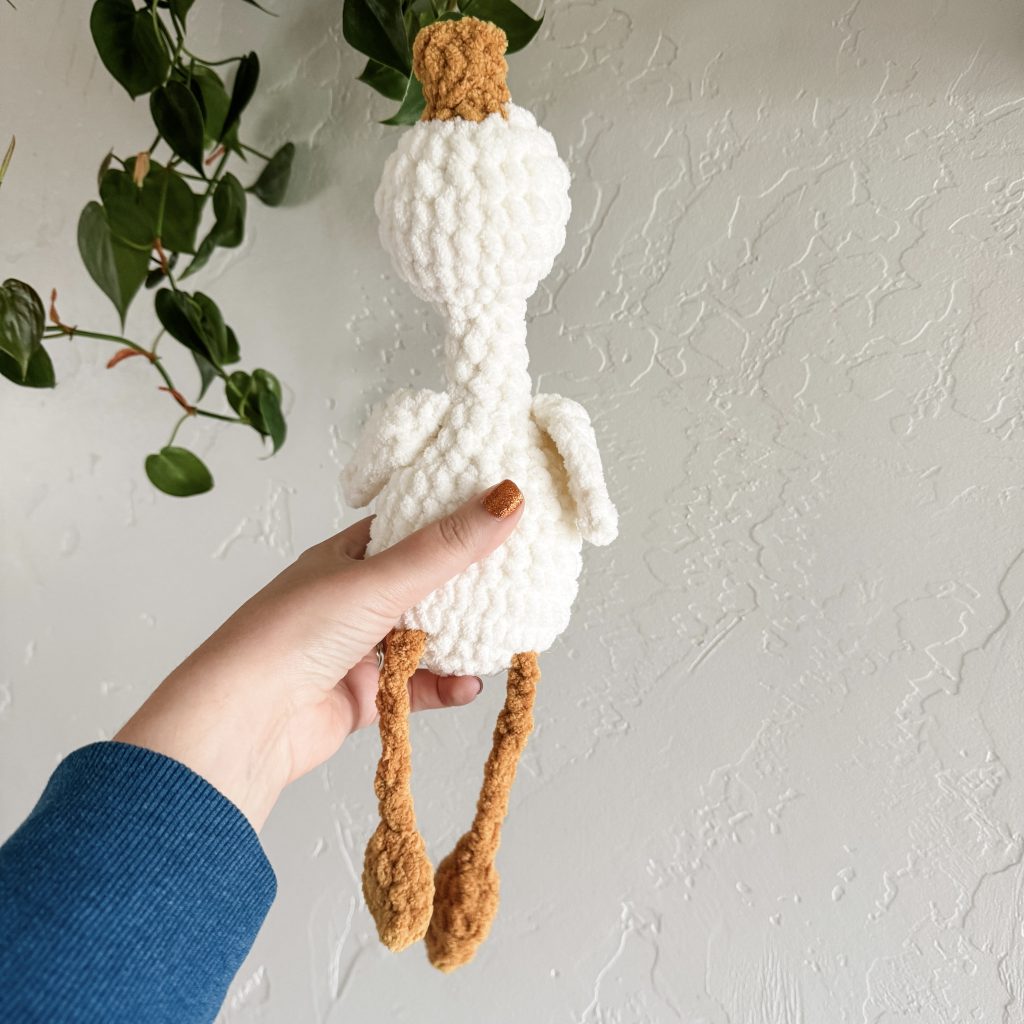
So when I started designing this silly goose I had three objectives. I wanted it to be a low sew pattern. There is zero traditional sewing, but you do use a needle. But If you hate sewing face pieces or limbs on, there is a much different method here. I also wanted this to be a super quick project… My goal was under an hour! I was able to make one in 58 minutes and 43 seconds. (This was my fourth one, so I did have the pattern memorized by then.) Of course, I also wanted to make something that was super cute. There is something really appealing about the dangly legs and simple design.
Would you like to save this project for later? Input your email address below, and I will promptly deliver the pattern link to your inbox.
This one hour crochet pattern is perfect if you like to sell what you make. Once you make your first silly goose, you will want to make a second! The blanket yarn really helps it work up quickly, and you will be under an hour a goose (or duck or flamingo!) in no time.
While the low sew aspect makes it slightly more complicated, it is the fastest, most efficient way I could imagine, without compromising design. There are video tutorials for the more tricky spots to help you!
The plush yarn makes this one hour crochet pattern really cozy and squishy! Like I mentioned, kids really love these! Keep some of this blanket yarn on hand and you are set for any surprise birthdays. It also doesn’t take a lot, so it is cost effective, too!
I do want to make a note about the type of yarn you use… If you substitute a more plush version like Premier Parfait Chunky, it will look very different. Even though a lot of plush yarns have the same weight on the package (Super Bulky, 6) they DO NOT WORK UP THE SAME. I am sure a lot of that has to do with the construction, material, etc. In my experience, it is not only the size that is different, but the overall look. That doesn’t mean you should not experiment, I just wanted to make that clear!
You may also notice that the beginning of the silly goose starts with 8 stitches in a magic circle, instead of the typical amigurumi 6. This helps prevent the circle from forming a cone shape.
You will use about HALF AS MUCH STUFFING as you normally would. This is intentionally a floppy, ragdoll-ish sort of pattern. If you stuff too much, it will look much different!
Variations for the mallard duck and the flamingo are at the bottom of the pattern. Almost everything is the same, but it points out where to make color changes, etc.!
Want the Ad-free, Printable PDF?
You can find it in one of my stores!

One Hour Crochet Pattern Step by Step
Ready to make this amigurumi goose? This post contains some affiliate links for your convenience! Read my full disclosure policy.
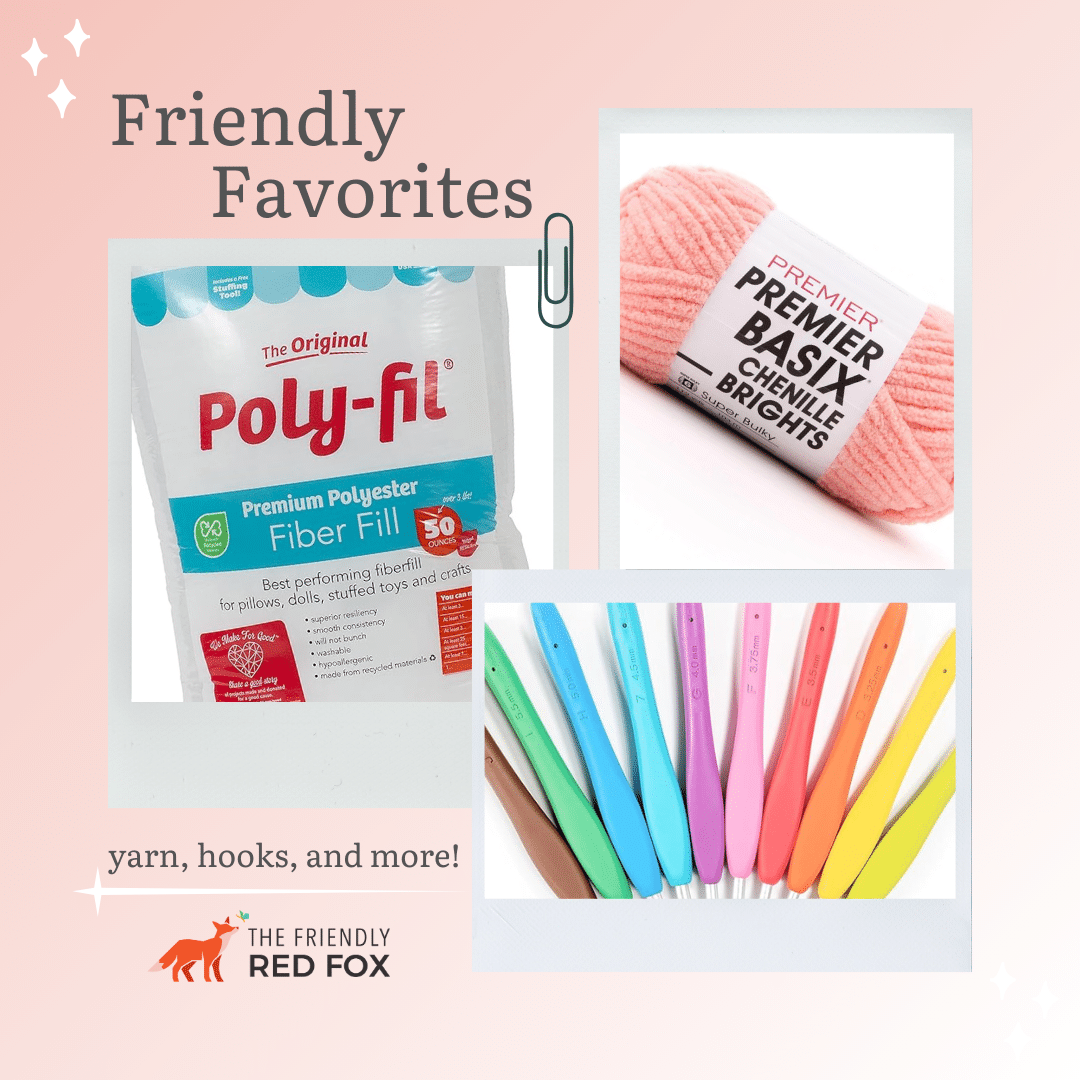
Materials you’ll need
Abbreviations
SC- single crochet
SC INC- single crochet increase
HDC- Half Double Crochet
DC- Double Crochet
TRC- Triple Crochet
INV DEC- Invisible decrease
Silly Goose Pattern and Yarn Notes
This silly goose is made from the bottom to the head, and ends at the beak. The feet and wings are attached later, but neither uses traditional sewing methods. This is a quick pattern that takes relatively little yarn. I intentionally under-stuffed for a more floppy, silly look. Over-stuffing will change the look dramatically. Suitable yarns could be Bernat Blanket yarn or Big Twist from Joann’s. You may need to change the hook size if you change the yarn. For the collection of videos you can visit https://www.thefriendlyredfox.com/tag/silly-goose-videos/.
Yarn Types in the Pictures
Premier Basix Chenille in Winter White– Goose Body
Premier Basix Chenille in Mustard– beak and feet
Premier Basix Chenille in Rust-beak and feet
Premier Basix Chenille in Emerald-duck head
Premier Basix Chenille in Sand-duck body
Premier Basix Chenille in Hibiscus-flamingo
Bernat Blanket Yarn in Vintage White-goose body
Premier Snow Cone Light in Lemon-duckling yellow body
One Hour Crochet Pattern Silly Goose
Body to Beak
Using cream color:
Round 1: In a magic circle, SC 8.
Round 2: SC INC in each around. (16)
Round 3: SC in the first, SC INC in the next. Repeat around. (24)
Round 4: SC in the first 2, SC INC in the next. Repeat around. (32)
Round 5: SC in each around. (32)
Round 6: SC in the first 2, INV DEC in the next. Repeat around. (24)
Round 7-9: SC in each around. (24)
Round 10: SC in the first, INV DEC in the next. Repeat around. (16)
Round 11-12: SC in each around. (16)
Begin to lightly stuff here.
Round 13: INV DEC in each around. (8)
Rounds 14-17: SC in each around. (8)
Lightly stuff the neck.
Round 18: SC INC in each around. (16)
Round 19: SC in the first, SC INC in the next. Repeat around. (24)
Round 20-22: SC in each around. (24)
Round 23: SC in the first, INV DEC in the next. Repeat around. (16)
Round 24: SC in each around.
Attach safety eyes between rows 22 and 23 about 4 stitches apart.
Lightly stuff the head.
Change to beak color.
Round 25: INV DEC in each around. (8)
Rounds 26-27: SC in each around. (8)
Fasten off. Flatten the beak and sew the front shut. I like to put the needle through the first loop only. Weave to the back of the beak and lightly sew that shut. Weave in the end and cut it off.
You can find the video tutorial for the beak here.
Wings
If you would like to watch the video tutorial for making and attaching the wings you can find that here.
Using body color:
Pull out about 18 inches of yarn, this is used later to attach the wings. From that point chain 7. SC in 2nd chain from hook, SC in next, HDC in next two, DC in next, make 6 DC in last chain. Working on the other side of the chain, DC in next, HDC in next two, SC in last. Join to first SC.
Fasten off and leave about a 6 inch long tail. Weave the end up towards the rounded part of the wing. Pinch the top shut and use a few stitches to keep it closed. Weave in that end and cut it off.
Using the long tail, go straight through the body between rows 12 and 13. Come back through the body and the wing. Repeat one more time and then bring the yarn out on the belly side.
Repeat with the second wing and weave the end out through the same hole as the first end. Tie a knot, then weave in the ends, going through the same hole. The knot will go into the body. Cut off the ends.
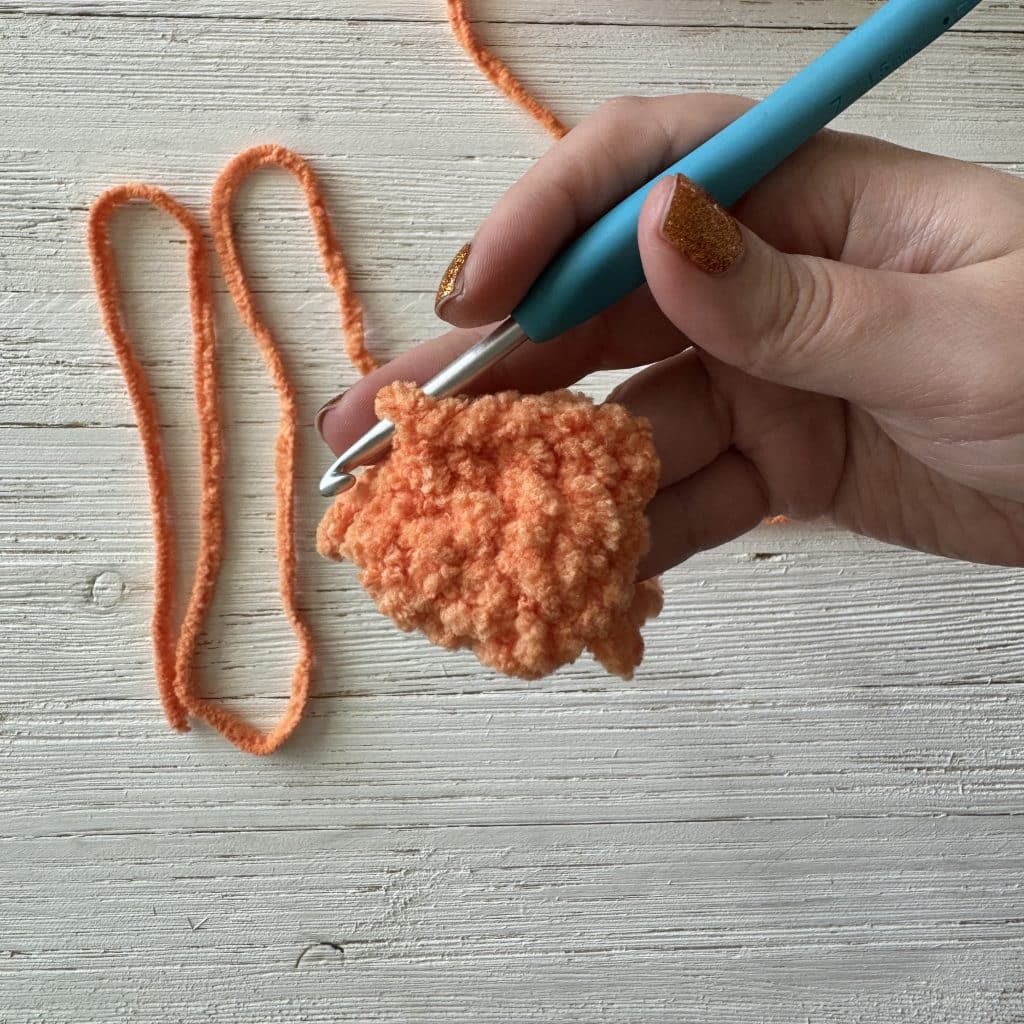
Silly Goose Legs
With the contrasting color:
Pull out a VERY long tail, about 3 feet. This is used for the leg part.
Round 1: From this point, crochet 6 SC in a magic circle. Make sure that the long tail is on the outside of the circle when you begin the next round. (6)
Round 2: SC INC in each around. (12)
Round 3: SC in each around. (12)
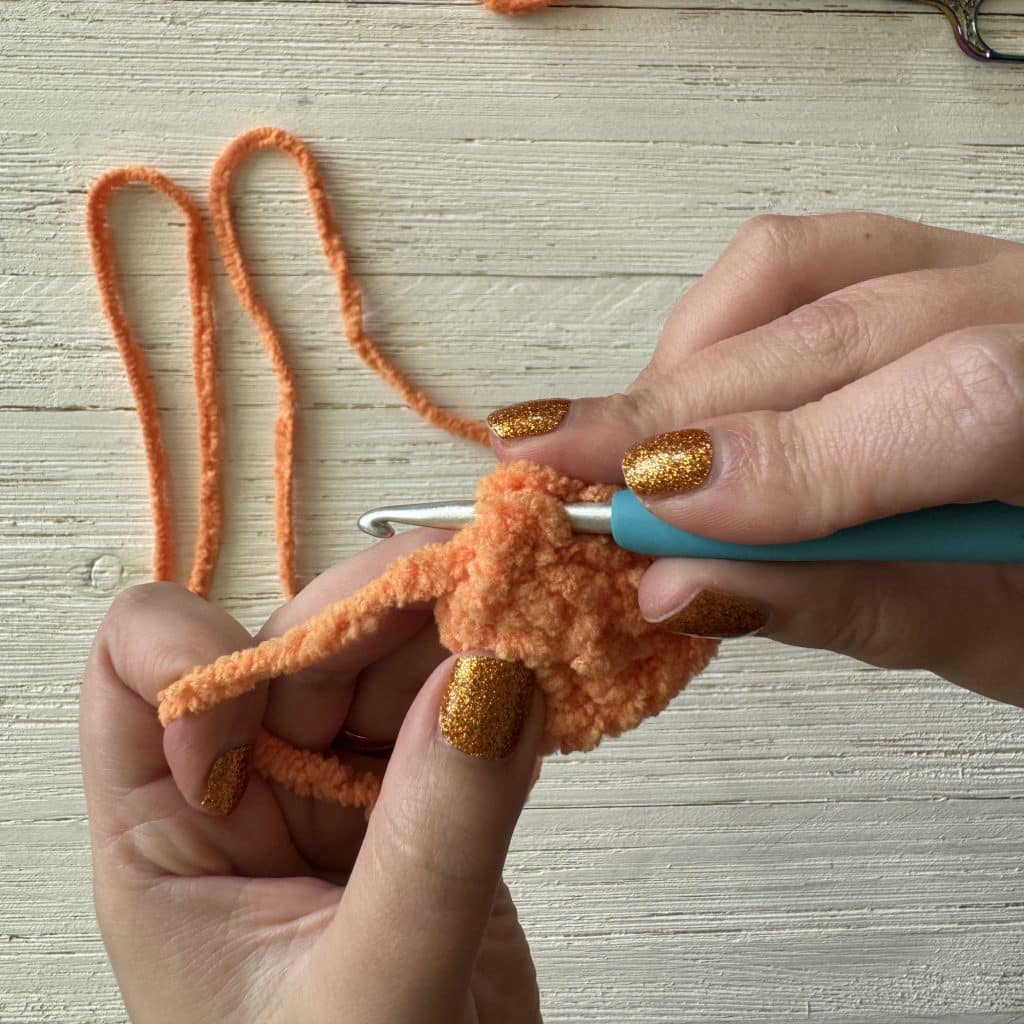
Flatten the piece so that two halves touch. Seal the edge with a SC in each stitch across, with your hook going between the stitches of both sides. SC INC in the last stitch.
Fasten off and weave in that end.
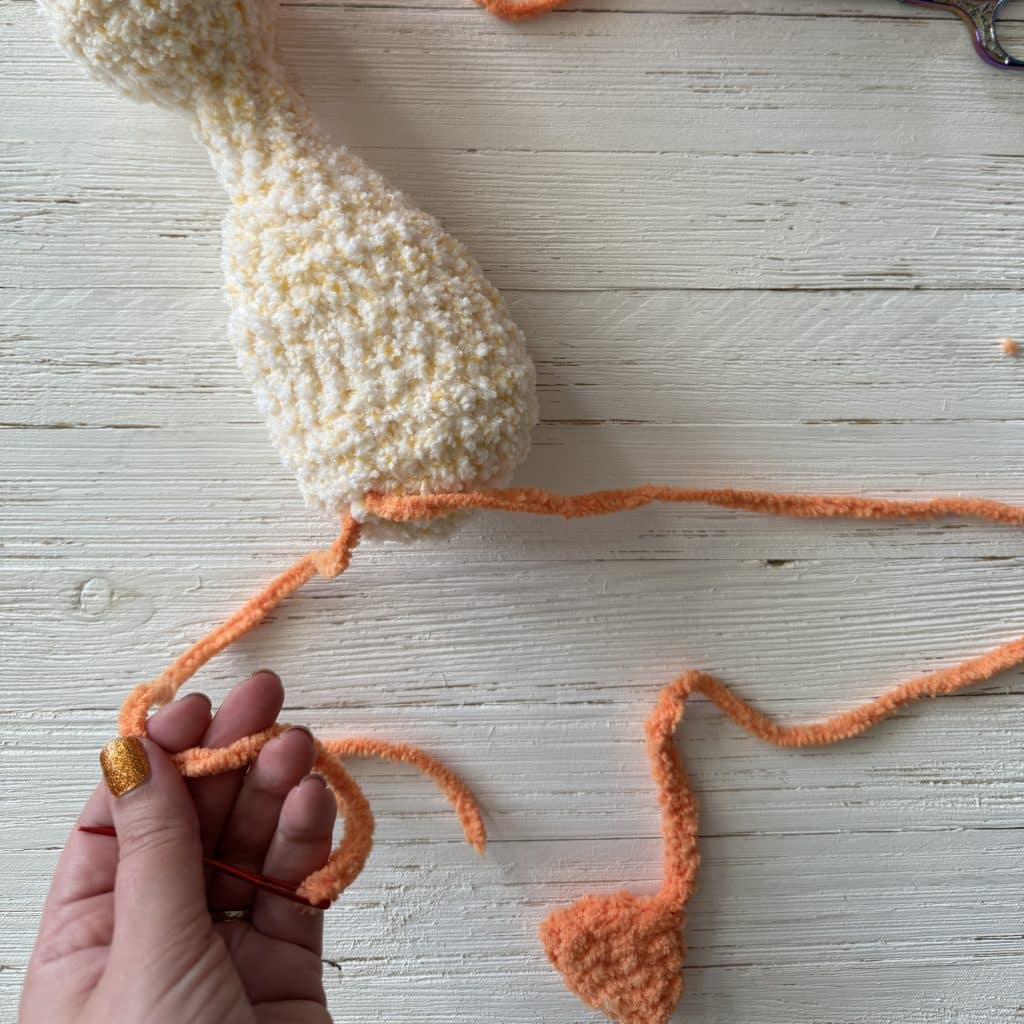
For the legs, go through the top of the foot with your hook to grab and then pull through the tail. Chain 12 times, with the first chain near the foot. Fasten off.
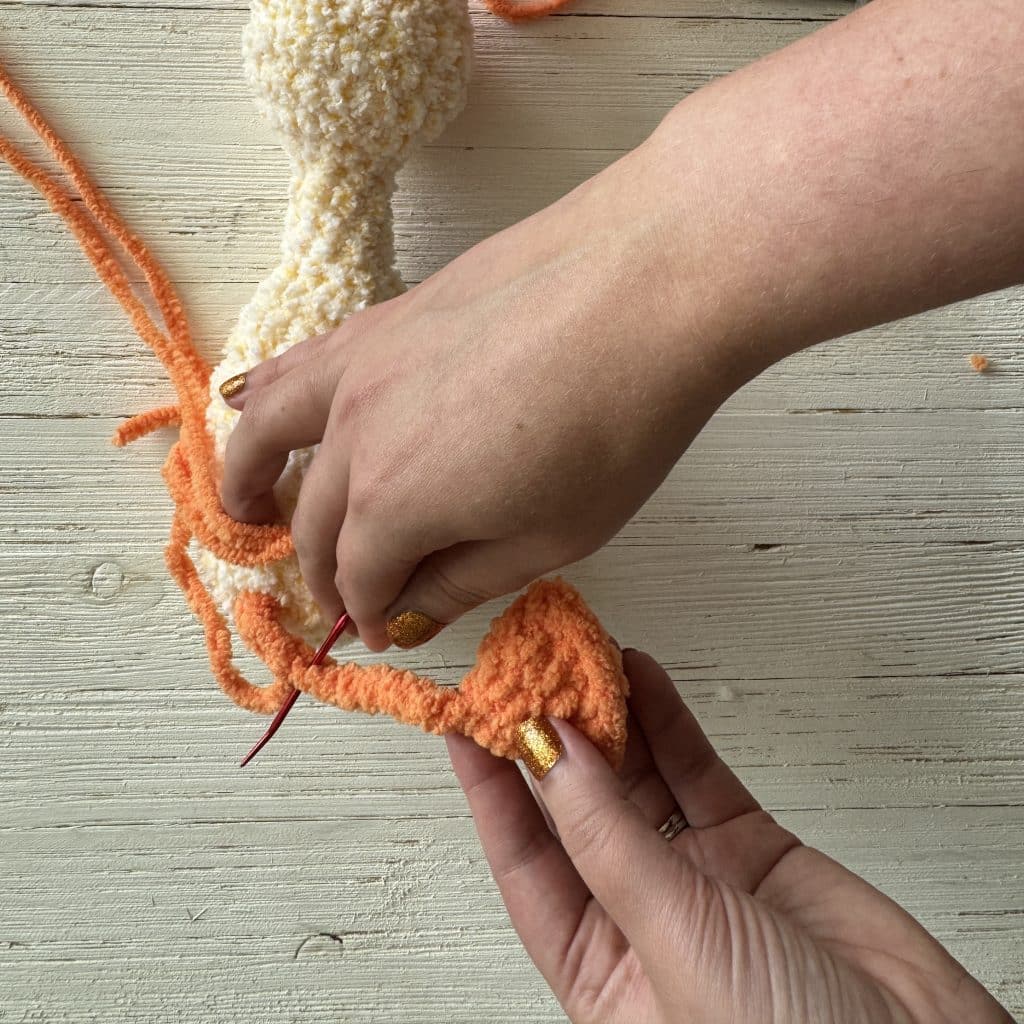
Using the long tail and a needle, attach the chain to the body around round 3 of the body, near the sides. Go through about two stitches a couple of times. Then weave the end through the chains back down to the foot. Sew through the bottom chains into the top of the foot a couple of times. Weave in the end and cut it off.
Repeat for the second foot and leg.
Watch the video below for the full tutorial on this method (or see here), or scroll down for more pictures!
Notes on Attaching the Legs

Leave a 3 foot long tail, this is what you will use for the legs. From this point make your magic circle.
Flatten the foot so that both sides touch. SC through both sides to seal it closed.
For the legs, go through the top of the foot with your hook to grab and then pull through.
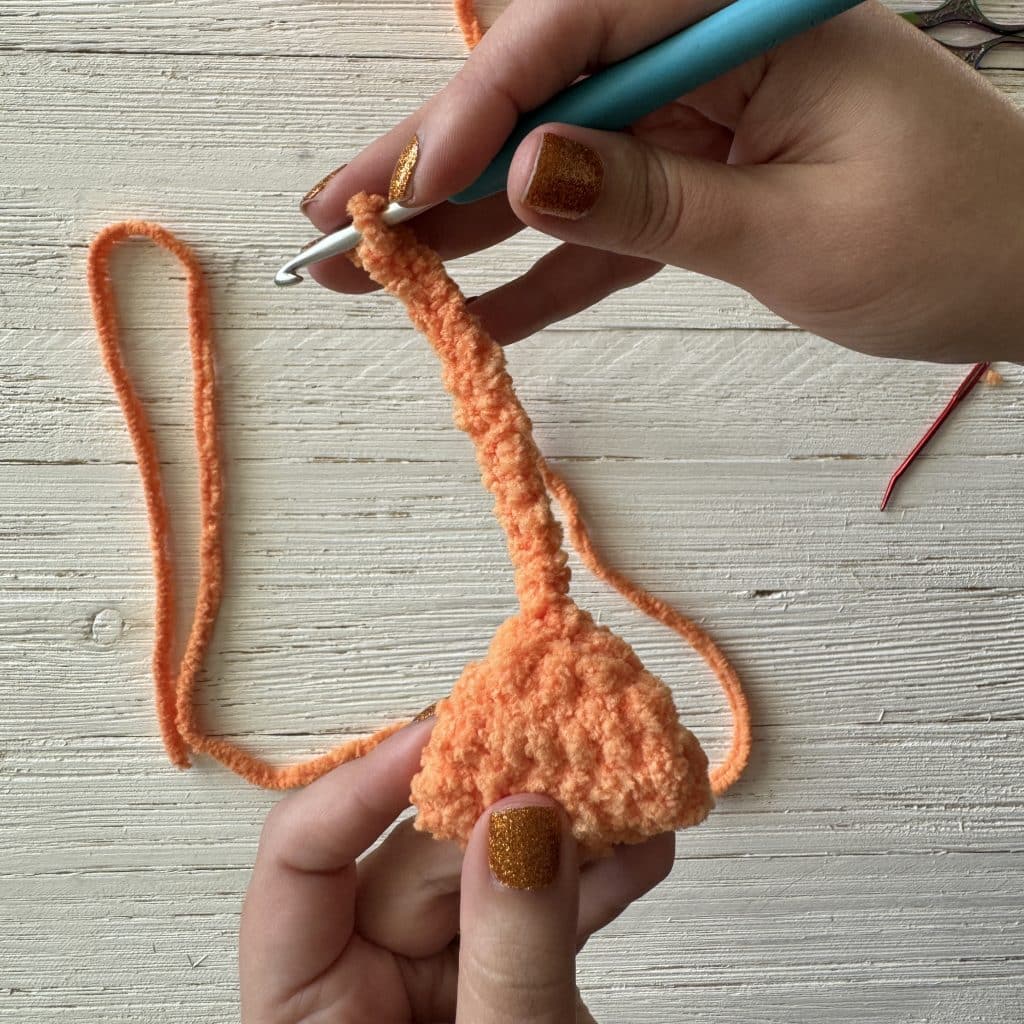
Chain 12 times, with the first chain near the foot. Fasten off.
Using the long tail and a needle, attach the chain to the body around round 3 of the body, near the sides. Go through about two stitches a couple of times.
Then weave the end through the chains back down to the foot. Sew through the bottom chains into the top of the foot a couple of times. Weave in the end and cut it off.
I can’t wait to see your finished one hour crochet pattern!
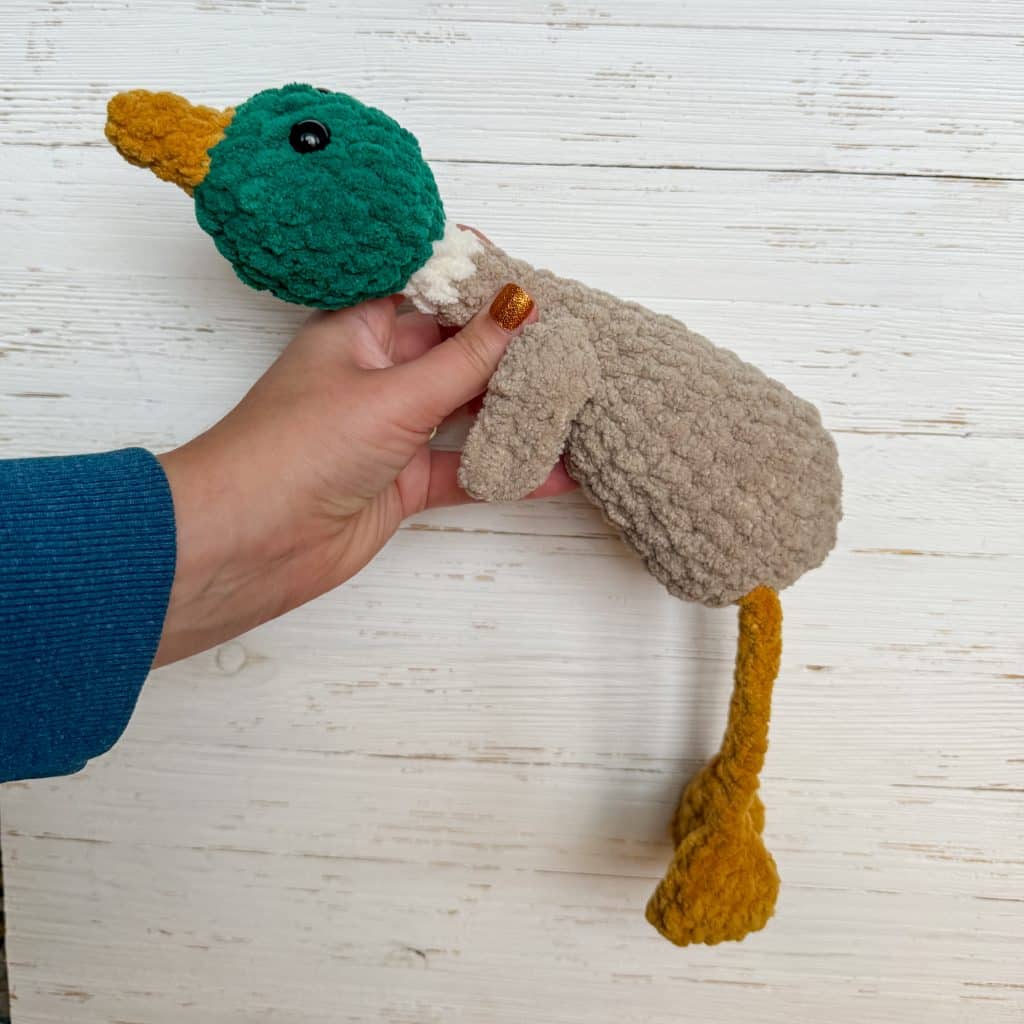
Duck Variation
Start using brown/tan color.
Change to white before round 16.
Change to green before round 18.
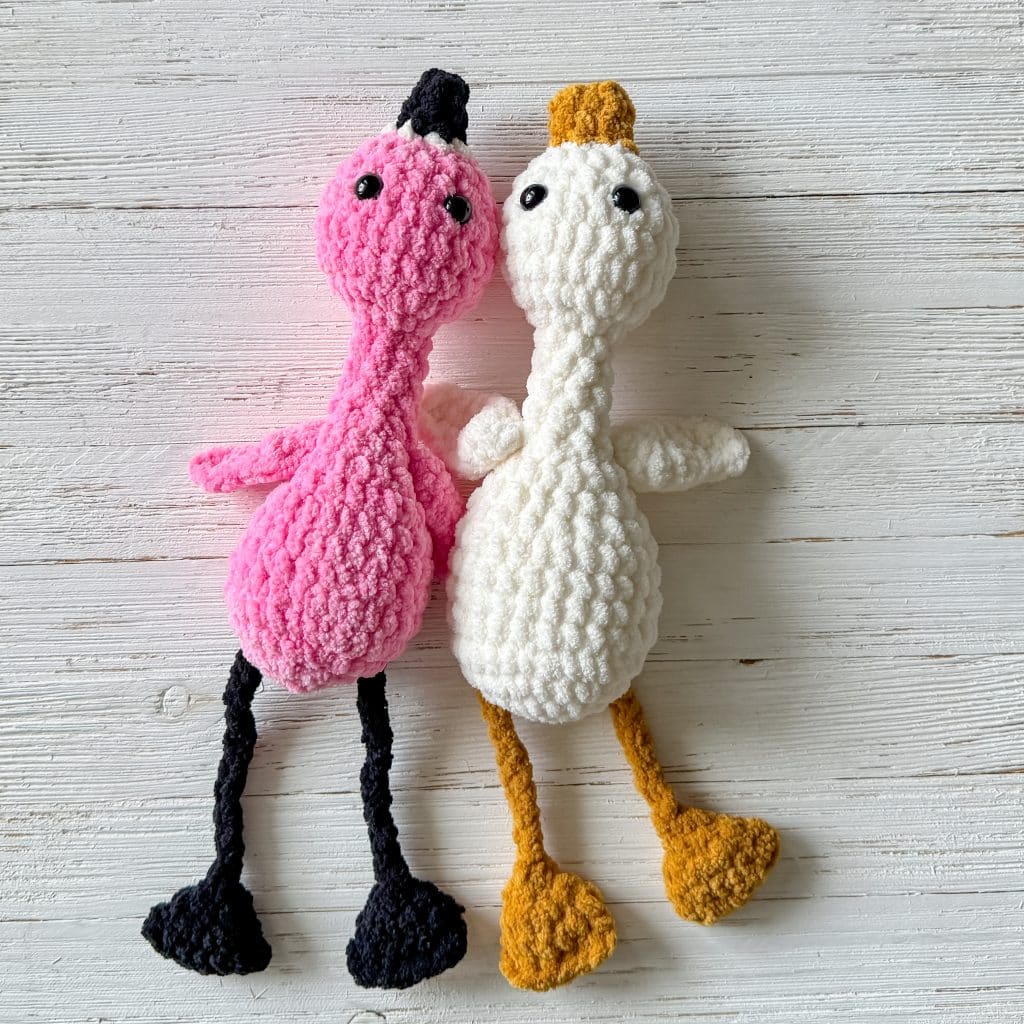
Flamingo Variation
Use pink for the body.
Change to white before the beak decrease, round 25.
Change to black for round 26.
Instead of flattening the beak, you will close the hole in the traditional amigurumi way. This creates a more pointed beak.
Answers to your questions about making the One Hour Crochet Silly Goose
Q: Do I have to use plush yarn?
A: No, but your project will be much smaller. This was designed specifically for this type of yarn, and the shape may be slightly off. If you use a different type than the recommended yarn, it may come out different as well!
Q: Can I sell finished items from this pattern?
A: Of course! I hope you sell lots and lots! I just ask that you credit me with the design, especially if selling online.
Did you make this crochet pattern?
I would love to see what you have created so mention @thefriendlyredfox or tag me using #thefriendlycrochetclub so I can see your creations!


Hi Kali! I was crocheting the silly goose in the duck version and wanted to watch some of the videos, but when I click on the link an go to that page–I don’t see any videos anywhere. Can you look into it and see if you need to do something to upload the videos?
Hey Vicki! They are all there. If you have an ad blocker sometimes the video player doesn’t show up! You could try a different browser!
Favorite pattern ever. I have made it with different yarns they all turn out so cute.
Hi Kali, I don’t see the video for the legs, all the others are there and very helpful they are too, thanks. I see someone else has had a similar problem.
Hope you can advise
Thank you
I am not sure what heppened, but I think i fixed it! Let me know if you have any more problems!
Cute duck!! Works up quickly. I think I messed up the wings though because they were both facing the same way. I just flipped it and stitched it down.
Best easy cute pattern. I made 4 😂 I want one, they are so awesome
Kali, you were right, Thank you for the tipp. The ad blocker has blocked this one video. The others I could see. That’s very mystery. 🤔
Now I’ve seen it and I’m happy that I’ve made it all right.
This pattern was awesome and literally took me the hour! I changed the feet a little so it was one continuous process w/o the 3 ft tail and pulling it thru the leg. And I added a little ducky tail! Now, on to a gaggle of geese! Thank you so much for the use of the pattern. You’ve made my day.
You’re welcome! I’m so glad you enjoyed it!!
Wonderful pattern as usual!! Thank you so much Kali for sharing your patterns for free, you are very talented and so generous. Bless <3!
The pattern I so cute! The video for the wings is currently not working for me .
If you are using an ad-blocker, you’ll need to turn it off before you watch the video.
I love this pattern! It was so easy and fun to make. I used a bit thicker yarn so it was BIG!! I can’t say how much I loved making the goose! Definitely one of my favourite patterns! Thanks.
🪿 🪿 ❤️ 🧶
I am a beginner but I did make a silly goose. He definitely is not perfect. I used bernat blanket so even the stitches look different. He is such a silly goose.
Love the floppy ragdoll look and how quick it is to make – such a great design! I’ve featured your crochet pattern on Crafts on Display, I hope you enjoy it! https://craftsondisplay.com/crochet/silly-goose-180310/
I did this pattern for a last minute birthday present, it was hit and so easy and fast to crochet!! I added a little sweater as well because I ran out of time to create the wings. Thank you so much for this pattern I will be using it again!!