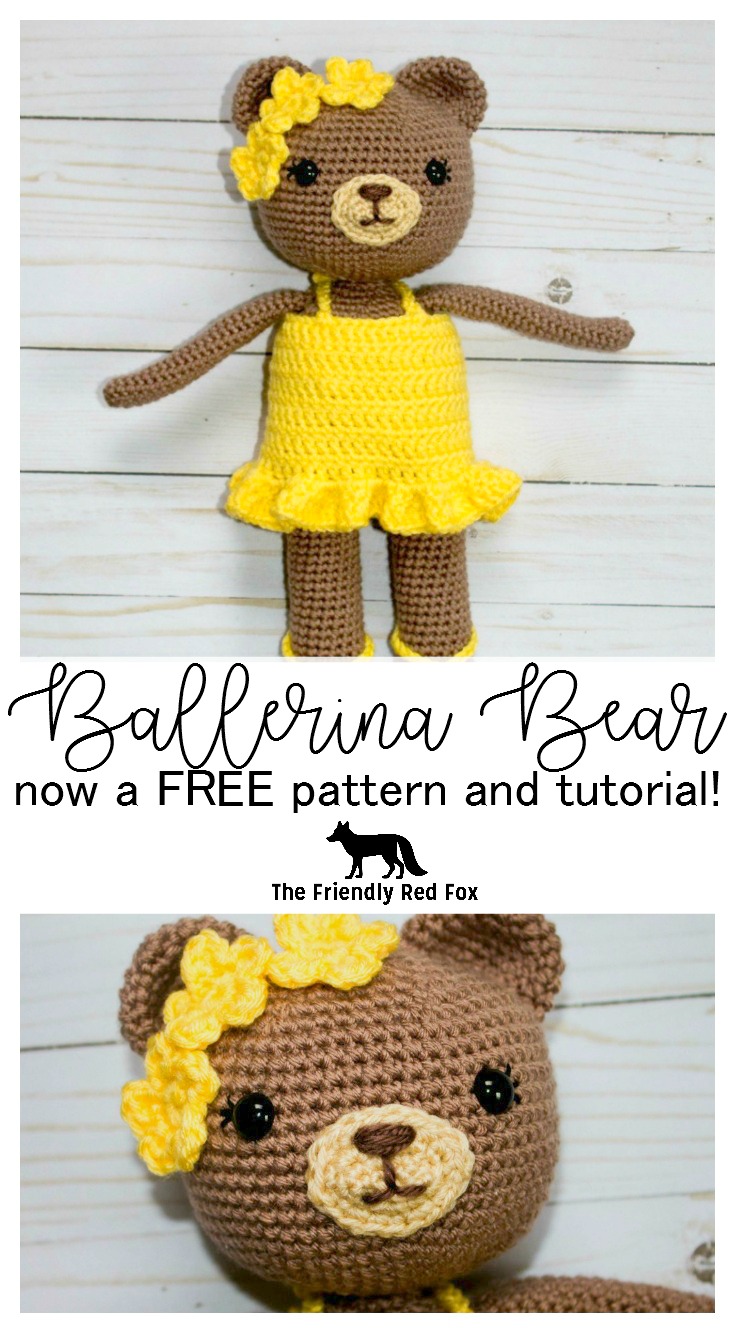
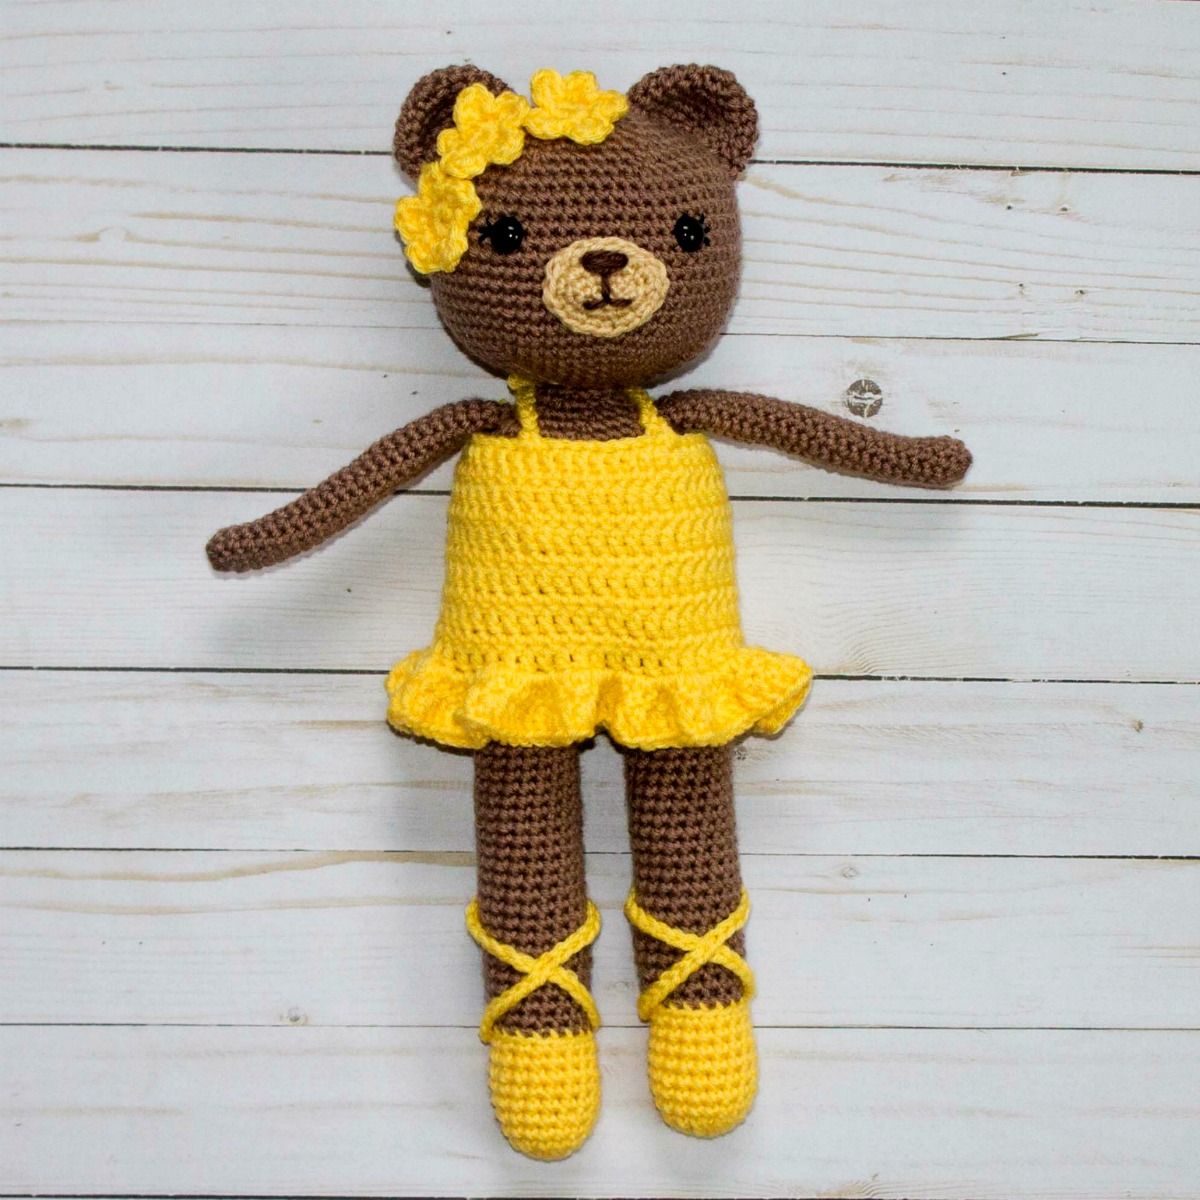
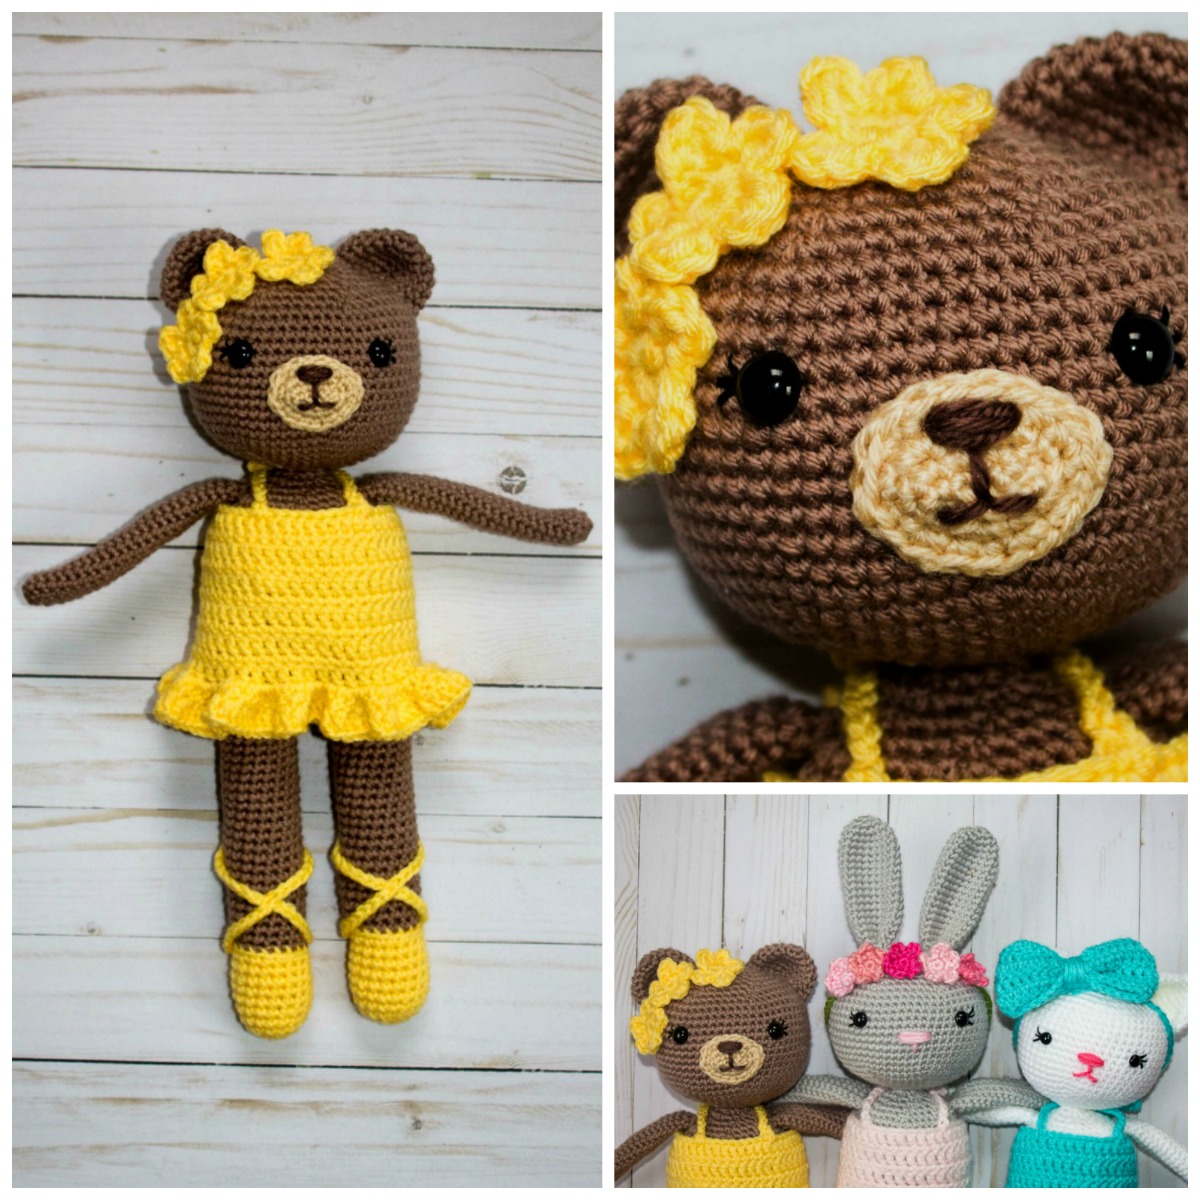
Free Crochet Bear Ballerina Pattern
Read through the entire pattern and the amigurumi tips and tricks before you begin!! You will want to know all the information before you get too far!
You will need:
Approx 150 g size 4 worsted weight yarn
Crochet Hook in Size 3.5mm or 3.75mm (I always recommend these for amigurumi!)
Tapestry Needle
Polyfil
10.5mm safety eyes
stitch marker
Yarn for flowers and clothes
Abbreviations
SC– single crochet
SC INC– single crochet increase (2 SC in each stitch)
INV DEC- Invisible decrease (put hook through the FRONT LOOP ONLY of two
consecutive stitches [two loops on hook] Yarn over pull through both
loops. [two loops on hook] Yarn over pull through two loops)
Magic Circle- Make a loop, leaving a long tail to work with. Insert hook in
center of loop, yarn over and draw up a loop. Yarn over, pull through to
make the first chain (this does not count as a stitch!). Continue to
crochet over the loop and tail with the number of stitches called for.
(If you need 6 SC, then crochet 6 SC inside the ring.) Pull the tail to
close the circle.
Always move your stitch marker to the last stitch in the round. This pattern is worked in continuous rounds.
*Lightly Stuff as you go!
Legs (Using Ballet Slipper Color)
Round 1: In a magic circle, SC 6
Round 2: SC INC in each stitch around (12)
Round 3: SC in first, SC INC in next. Repeat around. (18)
Round 4-10: SC in each stitch around. (18)
Change to skin color.
Rounds 11-35: SC in each stitch around. (18)
Fasten off.
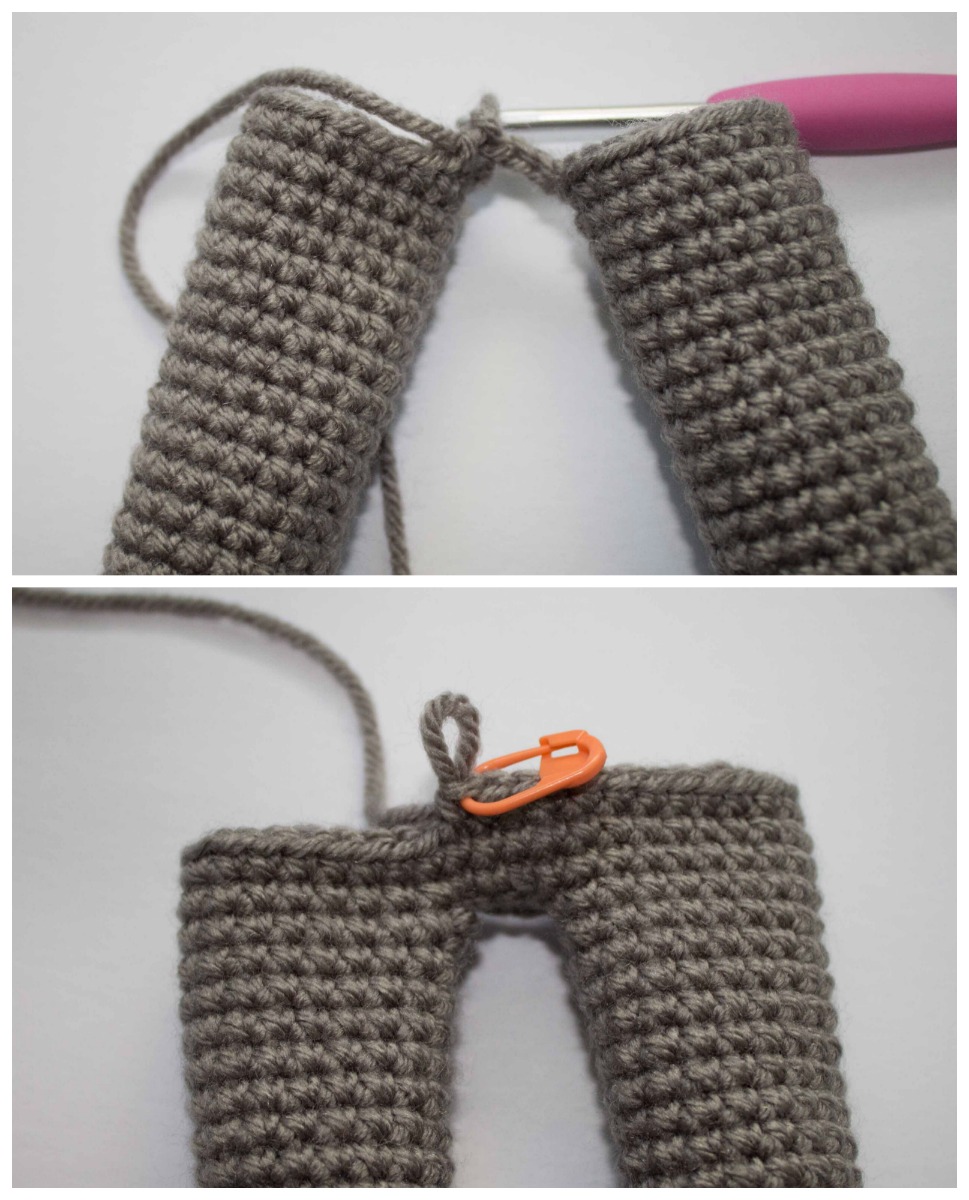
Repeat for the second leg but do not fasten off. Instead, chain 3 and then SC in the next stitch of the other leg. Take care to crochet over the tail left over by fastening off. SC around the entire leg. When you come to the three chains, SC in each chain around the next leg. SC over the chain back to the other leg. In the last SC on the last chain place your stitch marker. (This is round 36.)
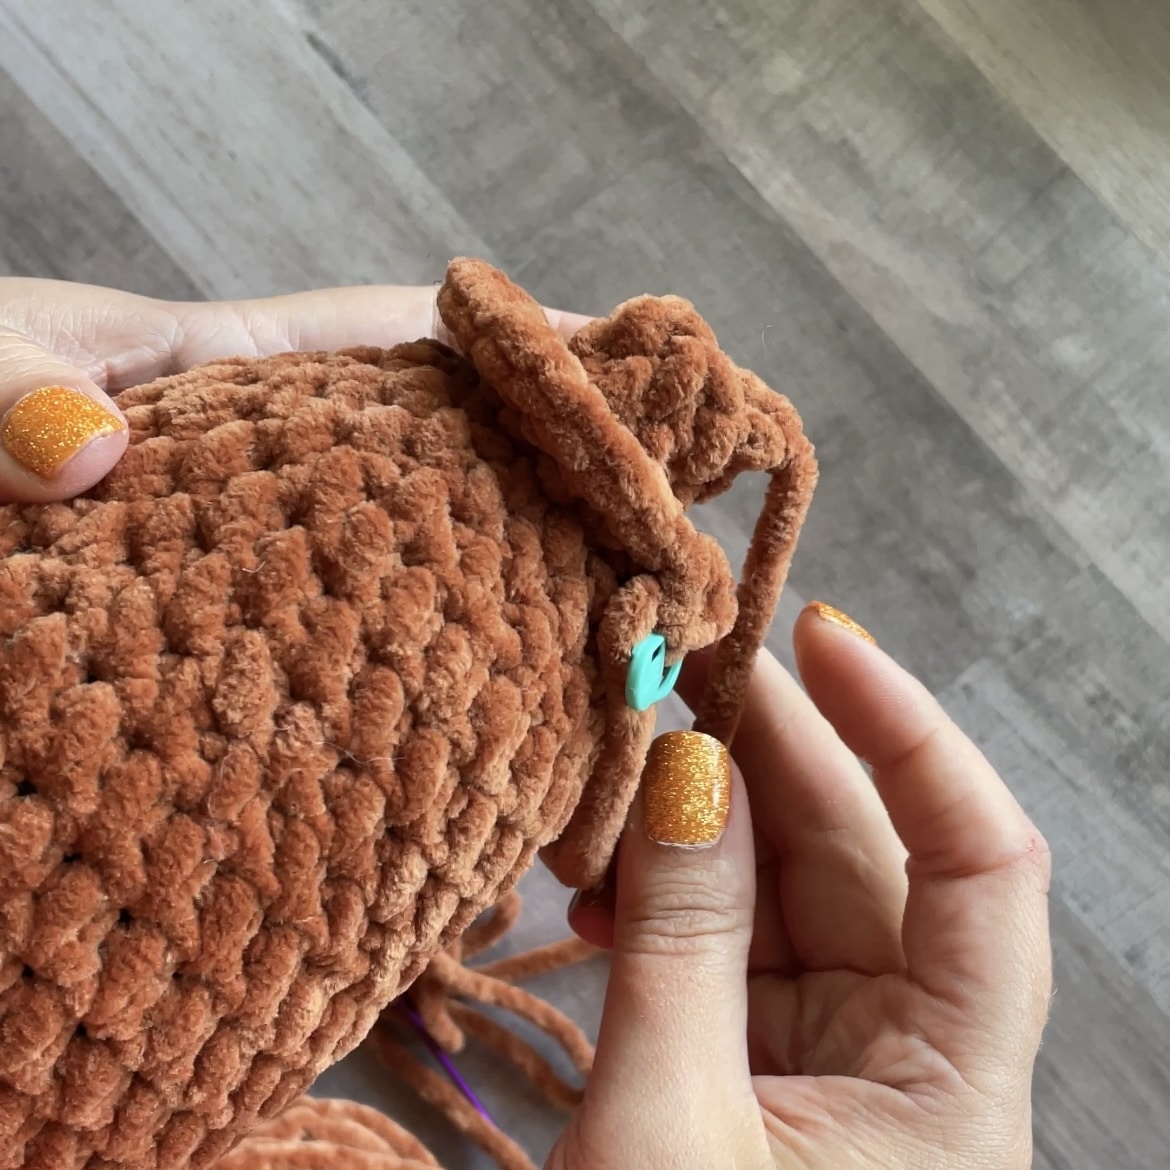
Watch this video on how to attach the legs if you need additional help!
Round 37: SC around. (42)
Rounds 38-58: SC around (42)
Round 59: 4 SC, INV DEC, repeat around. (35)
Round 60: 3 SC, INV DEC, repeat around. (28)
Round 61: 2 SC, INV DEC, repeat around.(21)
Round 62: 1 SC, INV DEC, repeat around. (14)
(For instructions on how to attach head without sewing see this post complete with video! For regular instructions, continue on.)
Round 63: SC in each stitch around. (14)
Round 64: SC in each stitch around. (14)
Round 65: SC in each stitch around. (14)
Fasten off and leave a long tail. This is what you will use to sew on the head.
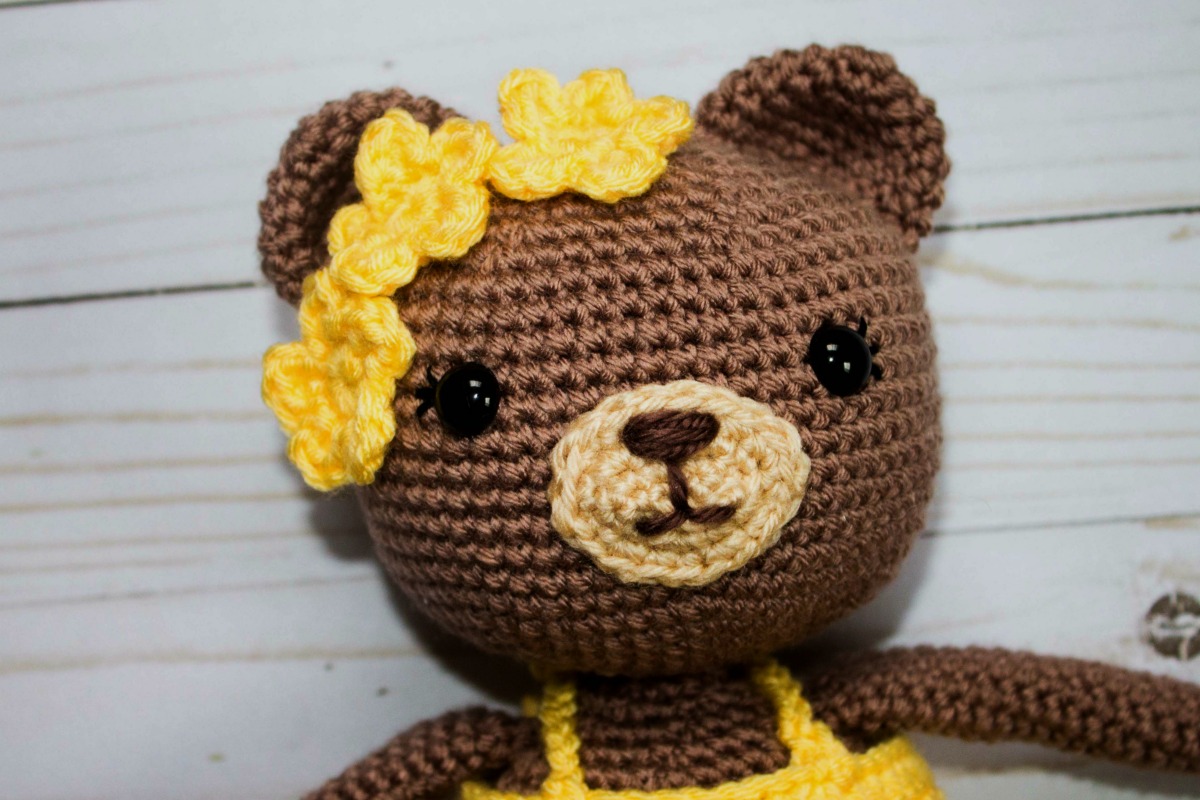
Nose/Mouth/Snout
Using tan yarn, chain 5. In the second chain from the hook SC. SC in the next 2. Place 3 SC in the last stitch on the row. On the other side of the chain, SC in the next 2. Then 2 SC in the end stitch (the first stitch you SC on the chain). Place stitch marker (10)
HINT: It should look like this (every comma represents a stitch)
SC, SC, SC, 3 SC, SC, SC, 2 SC.
There will be 3 SC on the chain, with 3 SC on the end, 3 SC on the opposite side of the chain, and 3 SC total (first SC and then the 2 SC as you come back around) on the other end.
From here on we will be working in the round.
Round 2: *SC in first, SC INC in next*. Repeat * * around. (15)
Round 3: *SC in first 2, SC INC in next.* Repeat * * around. (20)
Slip stitch in the next 4. SC in the next 3. Fasten off. (this will balance the nose better from working in the round)
Using dark brown (or black) yarn sew on the nose by passing over three stitches, multiple times (I usually do three or four passes.) Finish off with the lines for the mouth.
Head
Round 1: In a magic circle, 6 SC.
Round 2: SC INC in each around. (12)
Round 3: SC in first, SC INC in next. Repeat around. (18)
Round 4: SC in first 2, SC INC in next. Repeat around. (24)
Round 5: SC in first 3, SC INC in next. Repeat around. (30)
Round 6: SC in first 4, SC INC in next. Repeat around. (36)
Round 7: SC in first 5, SC INC in next. Repeat around. (42)
Round 8: SC in first 6, SC INC in next. Repeat around. (48)
Round 9: SC in first 7, SC INC in next. Repeat around. (54)
Round 10-20: SC in each stitch around. (54)
Place the safety eyes in between rows 13 and 14, ten stitches apart. Sew on eyelashes. See Best Tips and Tricks for Amigurumi.
Center the nose piece in between the eyes with the top lying on Row 14. I use pins to make sure the piece stays where I want. Sew in between the outside stitches for a nice, clean look.
Round 21: SC in the first 7, INV DEC in the next. Repeat around. (48)
Round 22: SC in the first 6, INV DEC in the next. Repeat around. (42)
Round 23: SC in the first 5, INV DEC in the next. Repeat around. (36)
Round 24: SC in the first 4, INV DEC in the next. Repeat around. (30)
Round 25: SC in the first 3, INV DEC in the next. Repeat around. (24)
Round 26: SC in the first 2, INV DEC in the next. Repeat around. (18)
Round 27: SC in the first, INV DEC in the next. Repeat around. (12)
Round 28: INV DEC around. (6)
Fasten off and carefully sew the remaining hole closed. Leave a long tail to make the nose.
Arms
Round 1: In a magic circle, SC 10 . (10)
Rounds 2-28: SC in each stitch around (10)
Stuff VERY lightly and attach to body. I sew them on between rows 61 and 62.
Ears (make 2)
Round 1: In a magic ring, crochet 6 SC.
Round 2: SC INC in each around. (12)
Round 3: SC in first, SC INC in next. Repeat around. (18)
Round 4: SC in the first 2 stitches. SC INC in next. Repeat around. (24)
Rounds 5-7: SC in each around. (30)
Fasten off and leave a long tail to sew onto head.
Gently curve the ear when you attach to the head. This will make the indention of the ear. I use pins to pin both ears where I like them before I sew them. Each ear starts out 2 rows from the center of the head. I pin the ear so it spans about 7 rows.