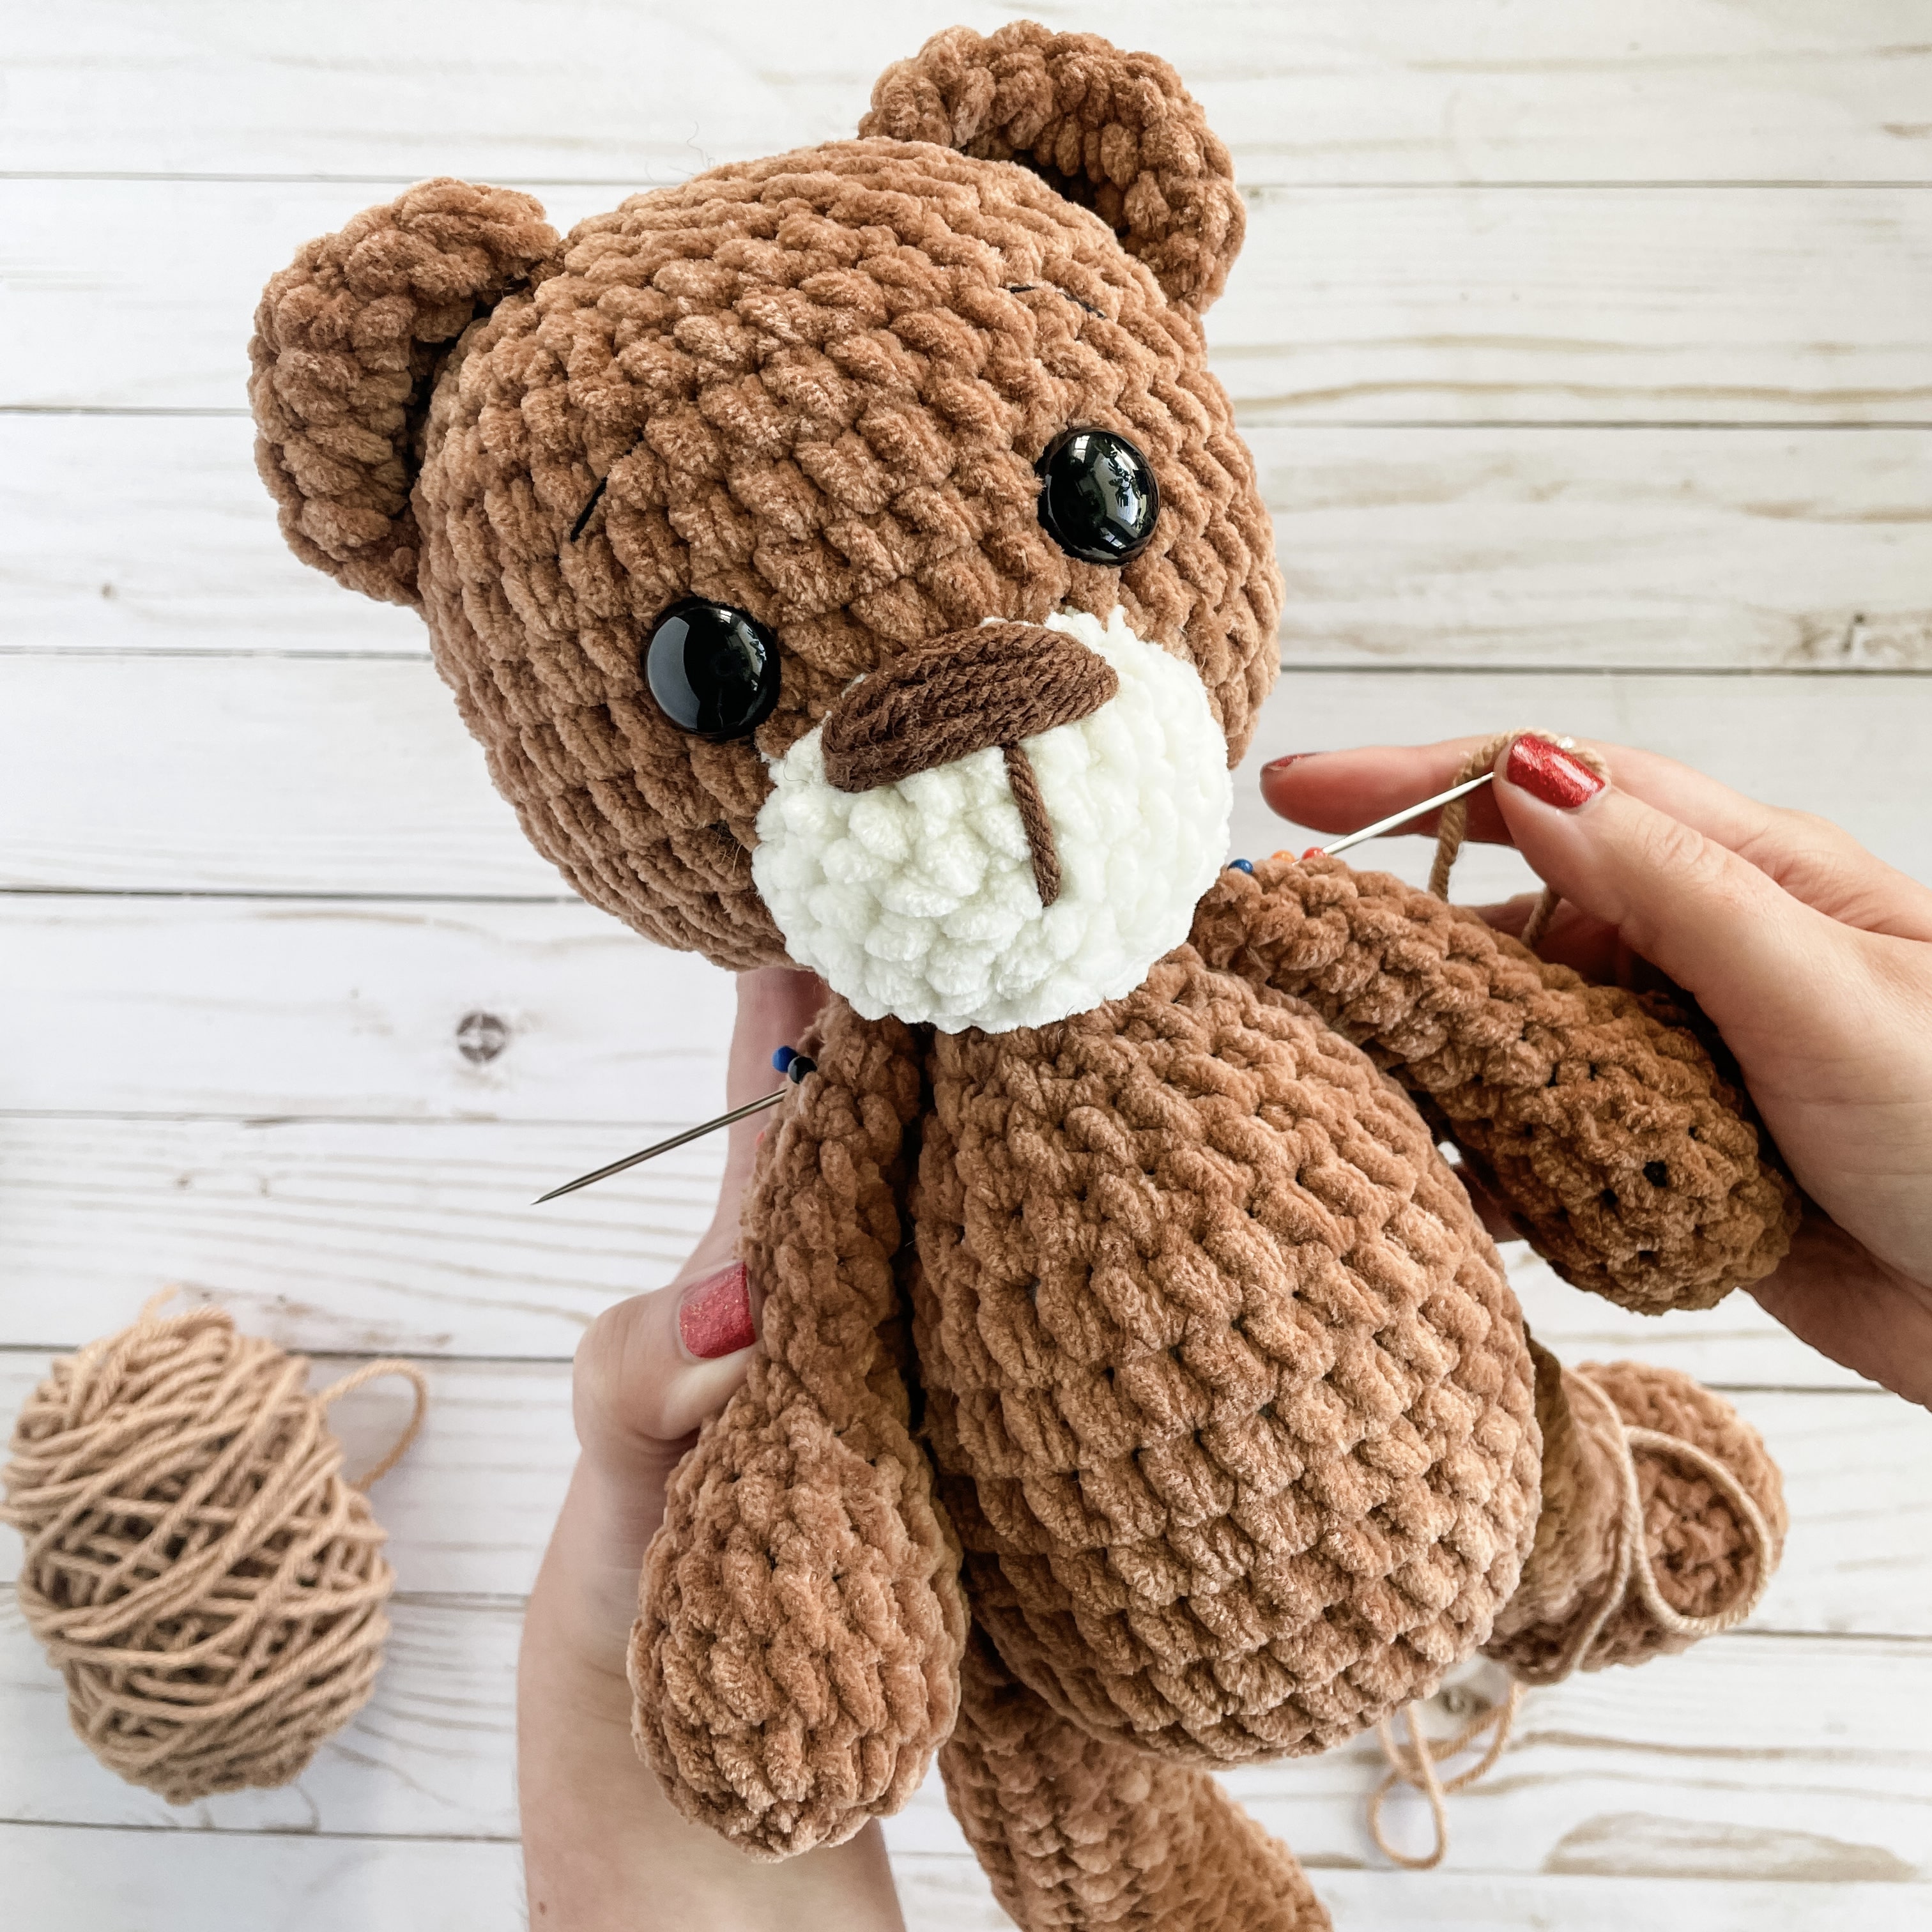
Free Bear in a Sweater Crochet Pattern
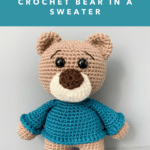
This crochet bear pattern is absolutely adorable! From his expressive eyebrows to his cozy little sweater, you won’t be able to resist him!

Free Bear in a Sweater Crochet Pattern Notes
If you’re looking for a fun and beginner-friendly crochet project, this free small bear in a sweater pattern is just the thing! Originally featured in my Beginner’s Friendly Guide to Amigurumi, this little crochet bear pattern is designed to be simple, adorable, and easy to make. With its classic bear shape, cuddly size, and a cozy little sweater, it’s the perfect introduction to amigurumi while still being a satisfying project for more experienced crocheters.
This pattern uses worsted weight yarn, making it an accessible and quick project that works up beautifully. Whether you’re crocheting one as a gift, adding a new friend to your collection, or making a whole bunch in different sweater colors, this bear is sure to be a favorite. Plus, with simple construction and minimal sewing, you’ll spend more time crocheting and less time assembling—always a win in my book!
So grab your yarn and hook and make a sweet little teddy bear! Whether you go for classic neutrals or get creative with fun colors and sweater patterns, I can’t wait to see your creations.
JOIN MY NEWSLETTER TO RECEIVE…
A free email course-Amigurumi 101
This free amigurumi email course gives you what you need to master the basics of amigurumi, along with some extra tips and tricks!

Ad-free, Printable PDF
My patterns are free on my website, but you can find them in my shop if you prefer a printable copy!
Bear in a Sweater Pattern
$6

Friendly Flamingo Pattern
$6
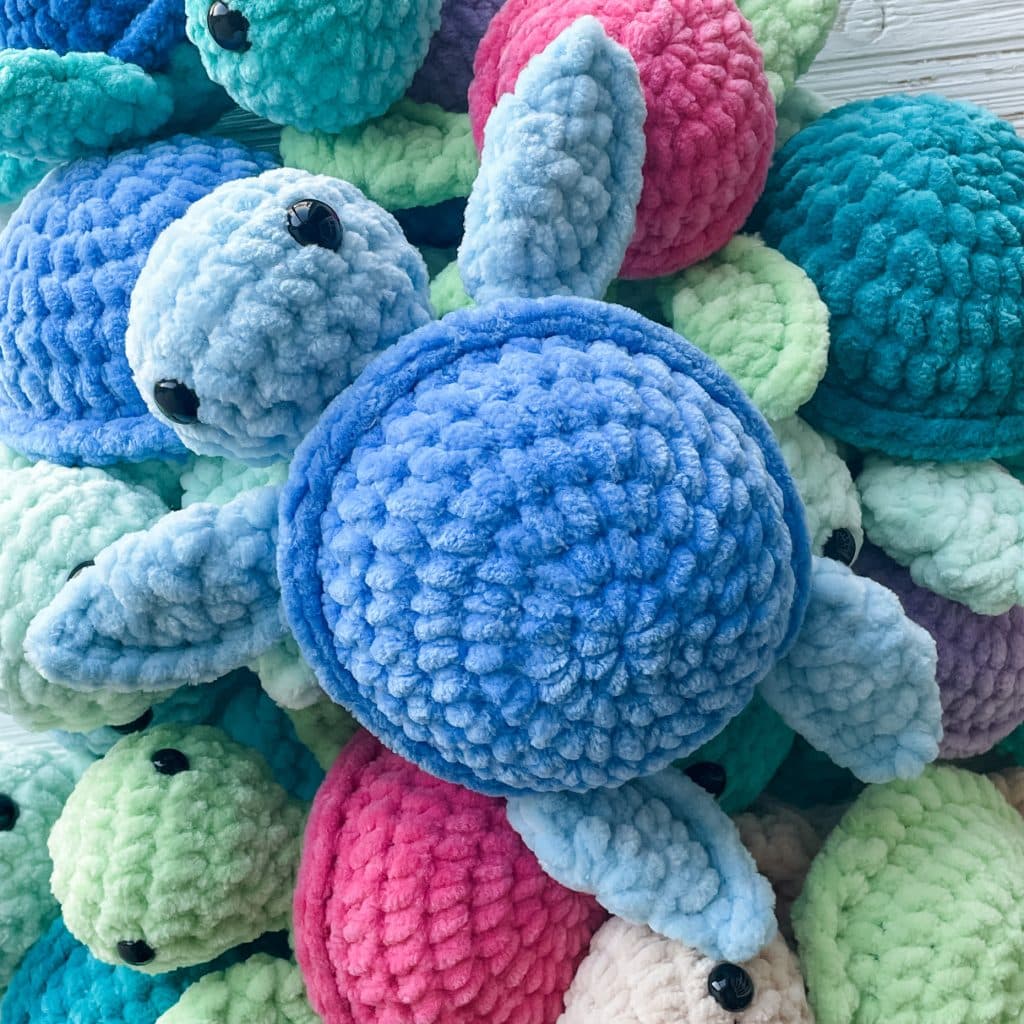
No-Sew Turtle Pattern
$6
Materials you’ll need
To get started making this free bear in a sweater crochet pattern, you’ll want to gather all your materials first.
You will need:
- About 100g size 4 worsted weight yarn in brown or tan color
- Small amount in desired sweater color
- Small amount for snout color (ie ivory) and nose (ie dark brown)
- 12mm safety eyes
- Stuffing 3.75mm hook
- Small amount of floss for eyebrows
- Polyfil
- Needle for sewing
- Stitch marker

Important Notes:
The Friendly Bear is about 8 inches tall. The legs are made separately and then attached to form the body. The body will decrease and then increase into the head. You will attach the snout, arms, and ears. Then you add the sweater edge detail. The options for the color choices with his little sweater are endless!
You can use safety eyes or try out embroidered eyes so it would be safe for a baby/toddler. I have a collection of embroidery videos here.
Abbreviations
SC– Single Crochet
SC INC– Single Crochet Increase- (2 SC in each stitch)
INV DEC– Invisible decrease: – Invisible decrease (put hook through the FRONT LOOP ONLY of two consecutive stitches [two loops on hook] Yarn over pull through both loops. [two loops on hook] Yarn over pull through two loops)
Magic Circle- Make a loop, leaving a long tail to work with. Insert hook in center of loop, yarn over and draw up a loop. Yarn over, pull through to make the first chain (this does not count as a stitch!). Continue to crochet over the loop and tail with the number of stitches called for. (If you need 6 SC, then crochet 6 SC inside the ring.) Pull the tail to close the circle.
Free Bear in a Sweater Crochet Pattern
Always move your stitch marker to the last stitch in the round. This pattern is worked in continuous rounds.
Snout
In ivory
Round 1: SC 5 in magic circle.
Round 2: SC INC in each stitch around. (10)
Round 3: SC in the first, SC INC in the next. Repeat around. (15)
Round 4: SC in the first 2, SC INC in the next. Repeat around. (20)
Round 5: SC in the first 3, SC INC in the next. Repeat around. (25)
Round 6-7: SC in each around. (25) *2 rounds*
Slip stitch in the next two stitches in order to flatten the edge. When attached it lays flat against the head and is not stuffed.
Nose
In brown
DC 10 in a magic circle. Pull tight and slip stitch to the first stitch. Pull the edges of the circle so it becomes more oval and attach to the top of the snout. You will see 5 “edges” on the snout.
Sew the nose in the middle of one of those edges. Then when you attach you will have a slight point at the bottom.

Legs and Body
Round 1: In a magic circle, SC 6
Round 2: SC INC in each stitch around (12)
Round 3: SC in first, SC INC in next. Repeat around. (18)
Round 4-10: SC in each stitch around. (18) *7 rounds*
Fasten off. Repeat for the second leg but do not fasten off.
Instead, chain 3 and then SC in the next stitch of the other leg. Take care to crochet over the tail left over by fastening off. SC around the entire leg (18). When you come to the three chains, SC in each chain to the next leg (3). Crochet in each stitch around the other leg (18). SC on the chain back to the other leg (3). In the last SC on the last chain place your stitch marker (42 stitches total). (This is round 11.)
If you need help I have a video showing a similar pattern on my blog:
https://www.thefriendlyredfox.com/how-to-attach-crocheted-dolls-legs/

(body cont’d)
Rounds 12-14: SC in each around. (42) *3 rounds*
Change to sweater color.
Rounds 15-20: SC in each around. (42) *6 rounds*
Round 21: SC in the first 4, INV DEC in the next. Repeat around. (35)
Rounds 22-23: SC in each around (35) *2 rounds*
Round 24: SC in the first 3, INV DEC in the next. Repeat around. (28)
Round 25: SC in each around. (28)
Round 26: SC in the first 2, INV DEC in the next. Repeat around. (21)
Change to brown.
Round 27: SC in the first , INV DEC in the next. (14)
INV DEC until you have 12 stitches on the round.
Round 28: SC in first, SC INC in next. Repeat around. (18)
Round 29: SC in first 2, SC INC in next. Repeat around. (24)
Round 30: SC in first 3, SC INC in next. Repeat around. (30)
Round 31: SC in first 4, SC INC in next. Repeat around. (36)
Round 32: SC in first 5, SC INC in next. Repeat around. (42)
Round 33: SC in first 6, SC INC in next. Repeat around. (48)
Round 34: SC in first 7, SC INC in next. Repeat around. (54)
Round 35-47: SC in each stitch around. (54) *13 rounds*
Place the safety eyes in between rows 41 and 42, four stitches apart. Sew on eyelashes or eyebrows here. Sew the snout on. The bottom should be on about row 29. The top should be about one row below the eyes.
Round 48: SC in the first 7, INV DEC in the next. Repeat around. (48)
Round 49: SC in the first 6, INV DEC in the next. Repeat around. (42)
Round 50: SC in the first 5, INV DEC in the next. Repeat around. (36)
Round 51: SC in the first 4, INV DEC in the next. Repeat around. (30)
Round 52: SC in the first 3, INV DEC in the next. Repeat around. (24)
Round 53: SC in the first 2, INV DEC in the next. Repeat around. (18)
Round 54: SC in the first, INV DEC in the next. Repeat around. (12)
Round 55: INV DEC around. (6)
Fasten off and leave a tail.
Ears (make 2)
Round 1: 6 SC in a magic ring
Round 2: SC INC in each around. (12)
Round 3: SC in first, SC INC in next. Repeat around. (18)
Rounds 4-6: SC in each around. (18) Leave a long tail to sew on. *3 rounds*
Attach the ears about 3 rows out from the middle on the top.
Arms (make 2)
Round 1: 6 SC in a magic ring
Round 2: SC INC in each around. (12)
Round 3: SC in first, SC INC in next. Repeat around. (18)
Rounds 4-6: SC in each around. (18) *3 rounds*
Change to shirt color.
Rounds 7-9: SC in each around. (18) *3 rounds*
Round 10: SC in the first, INV DEC in the next. Repeat around. (12)
Rounds 11-18: SC in each around. (12) *7 rounds*
Fasten off and leave a long tail to sew on.
Add the edge of the sweater sleeve by attaching yarn around the post on the first row of color. Chain 2 and HDC in each post around the bottom of the sleeve. Attach with a slip stitch to the first stitch. Fasten off and weave in the ends. Attach the arm around round 26.
Add the same edge in the same way to the bottom of the sweater. (Round 15)


Want the Ad-free, Printable PDF?
You can find it in one of my stores!

Did you make this pattern?
Mention me @thefriendlyredfox so I can see your Friendly Bear Crochet Pattern creations! You can also leave a comment below!

I finished this bear a few days ago and it is so cute! I used just a bit over 50g (79m) of brown yarn so less than you indicated, which might depend upon yarn type. I stitched the eyes according to the tutorial you linked. I would have wished a bit clearer instructions on how to sew on the arms or add the hem of the sweater. It turned out pretty cute anyways. Thanks so much for this and more free tutorials on your Blog!