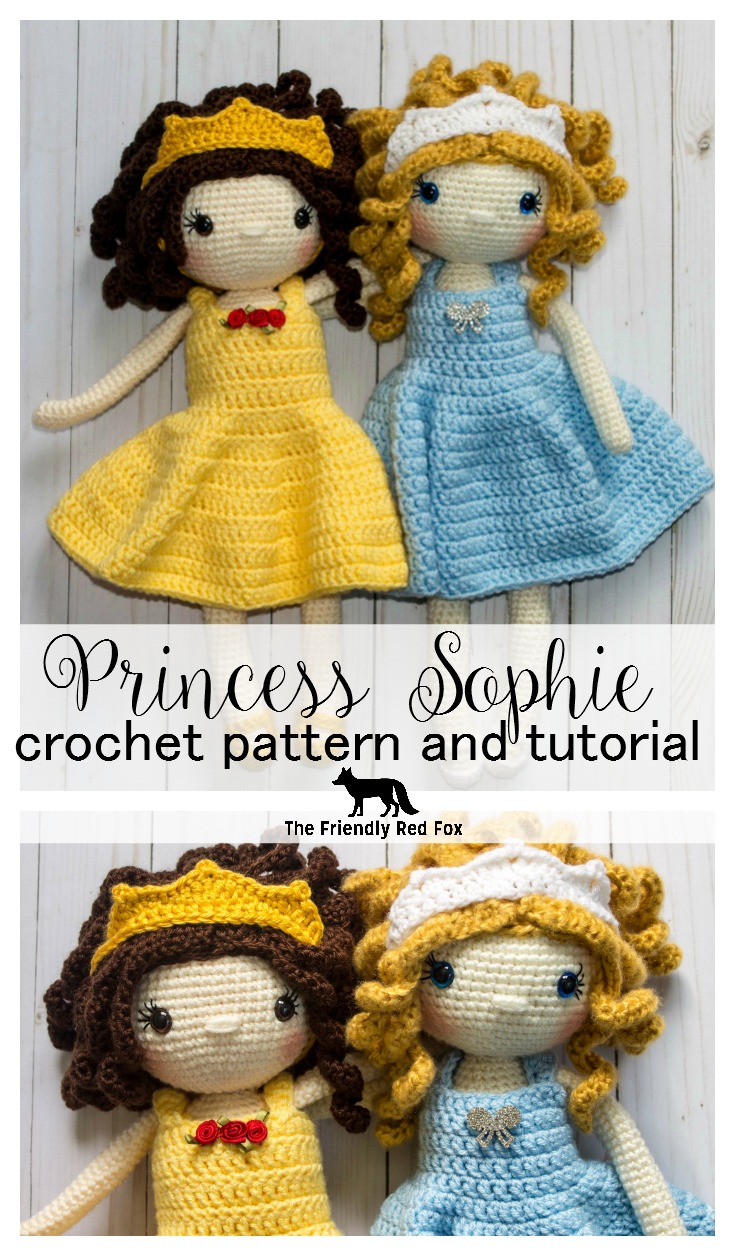
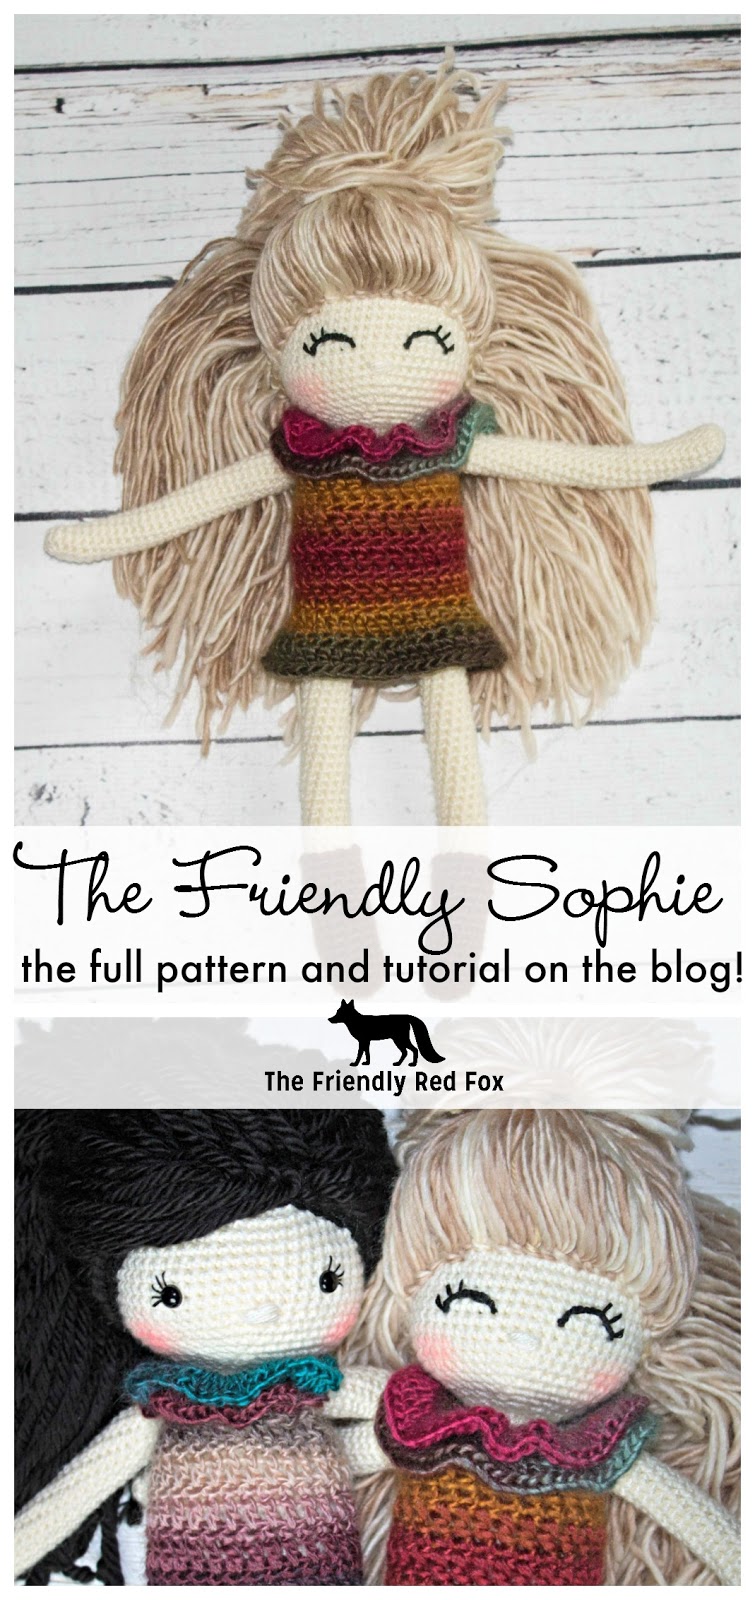
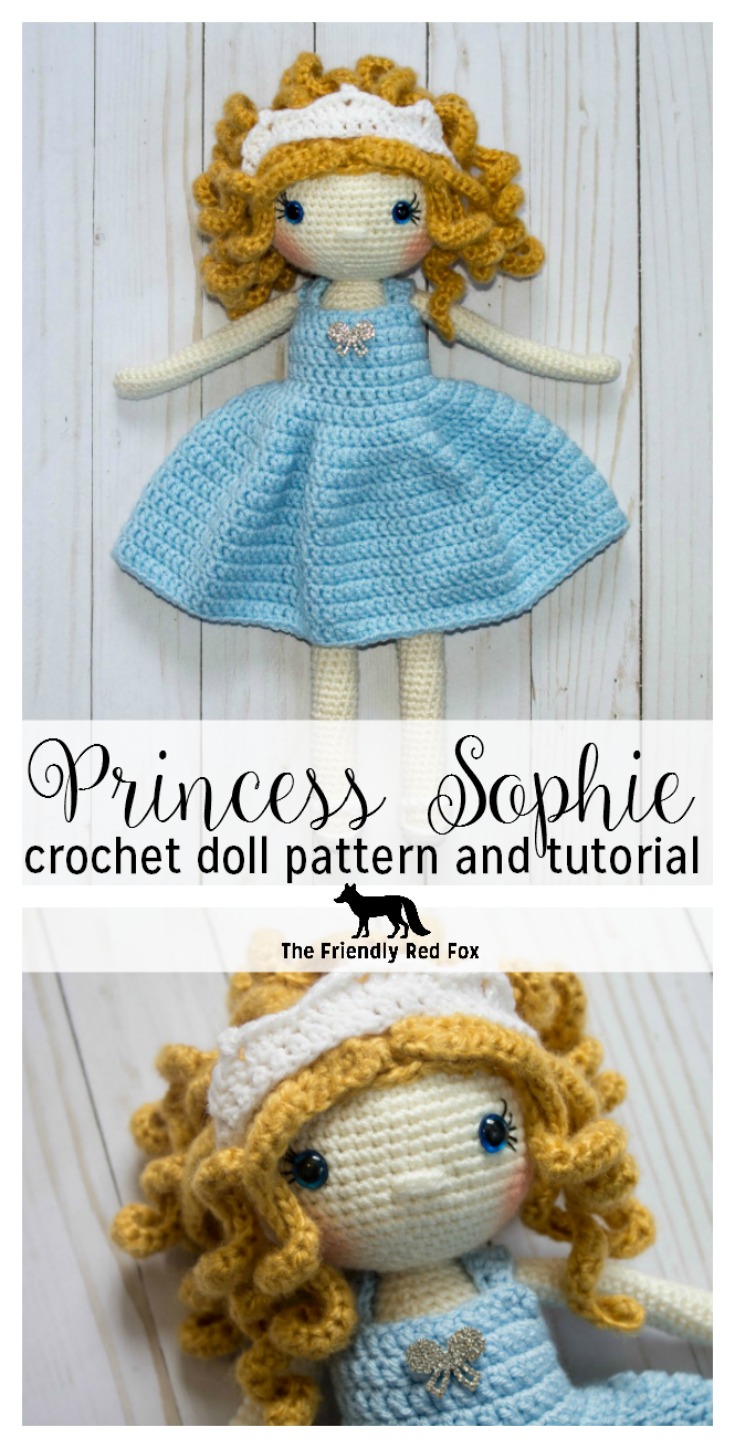
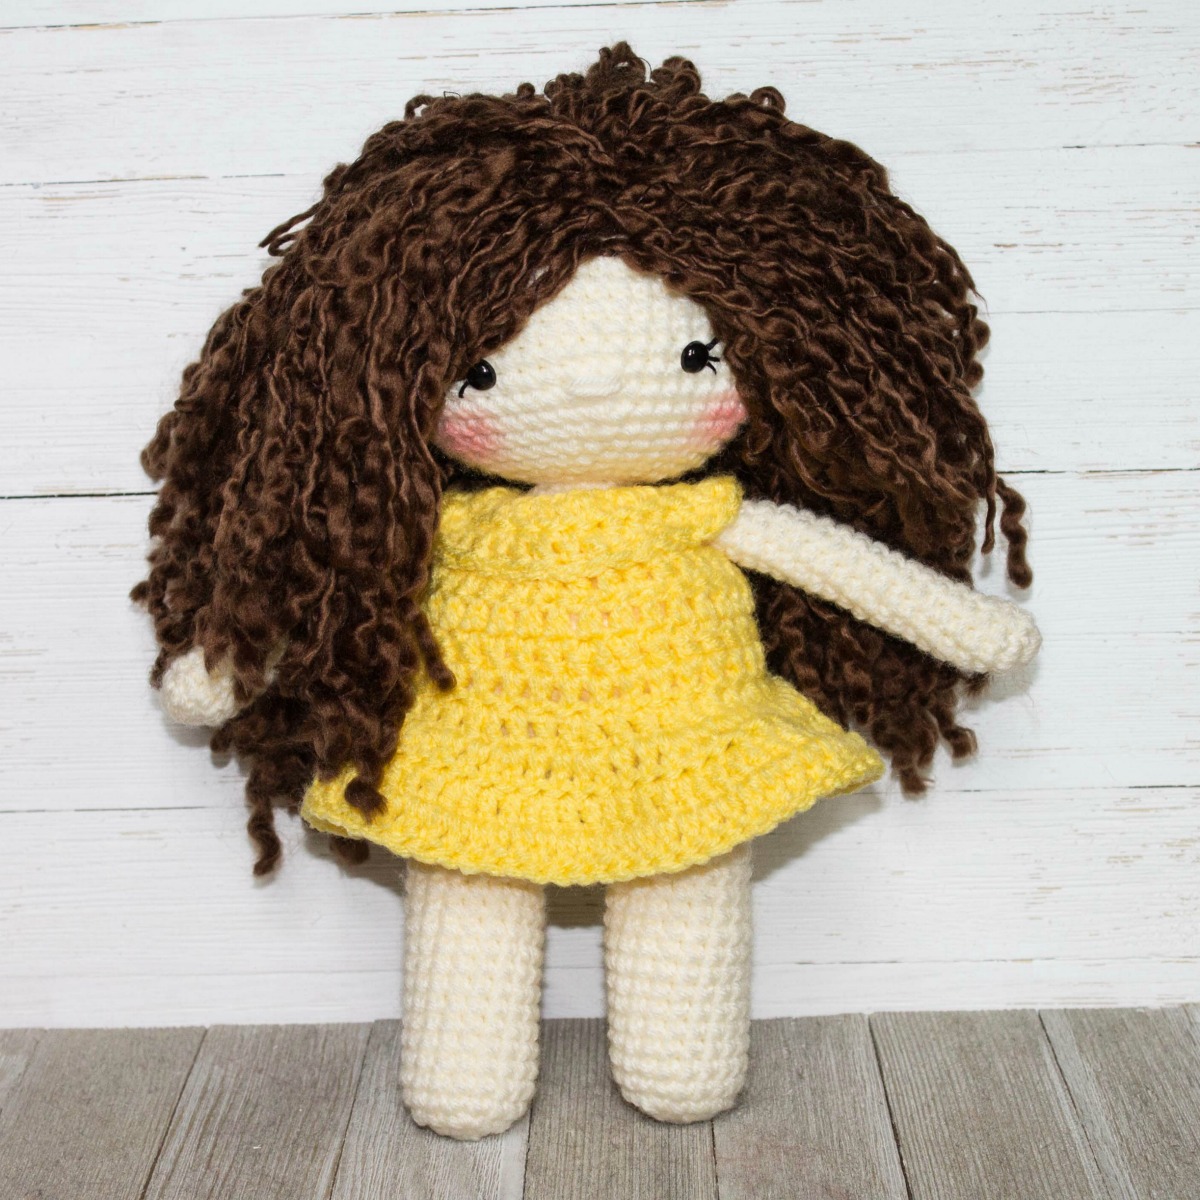
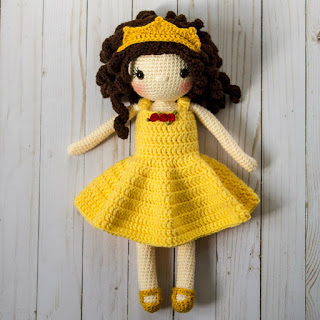
Free Crochet Doll Pattern- The Friendly Sophie

I am so excited to be offering this as a free crochet doll pattern! It has been one of my very favorite Friendly Dolls to make. I have already seen so many sweet pictures of these given as gifts. Be sure to check out the variations of this doll toward the bottom. AND all of the details for the Princess Sophie doll are removable, so you can have an entire wardrobe for her!
Are you a member of The Friendly Crochet Club on Facebook? Please join and share a picture of your creation! This is a great place to go with questions, as well!
Please note this pattern is only for PERSONAL USE. Please feel free to make as many items as you wish for yourself, or as gifts. You may sell items made with this pattern but PLEASE LINK BACK OR GIVE CREDIT TO ME AS DESIGNER. In no way can you share, reproduce, or sell this pattern. Please respect my rights as designer.
Make sure you pin your favorite version of Sophie! Don’t you love how versatile this pattern is?

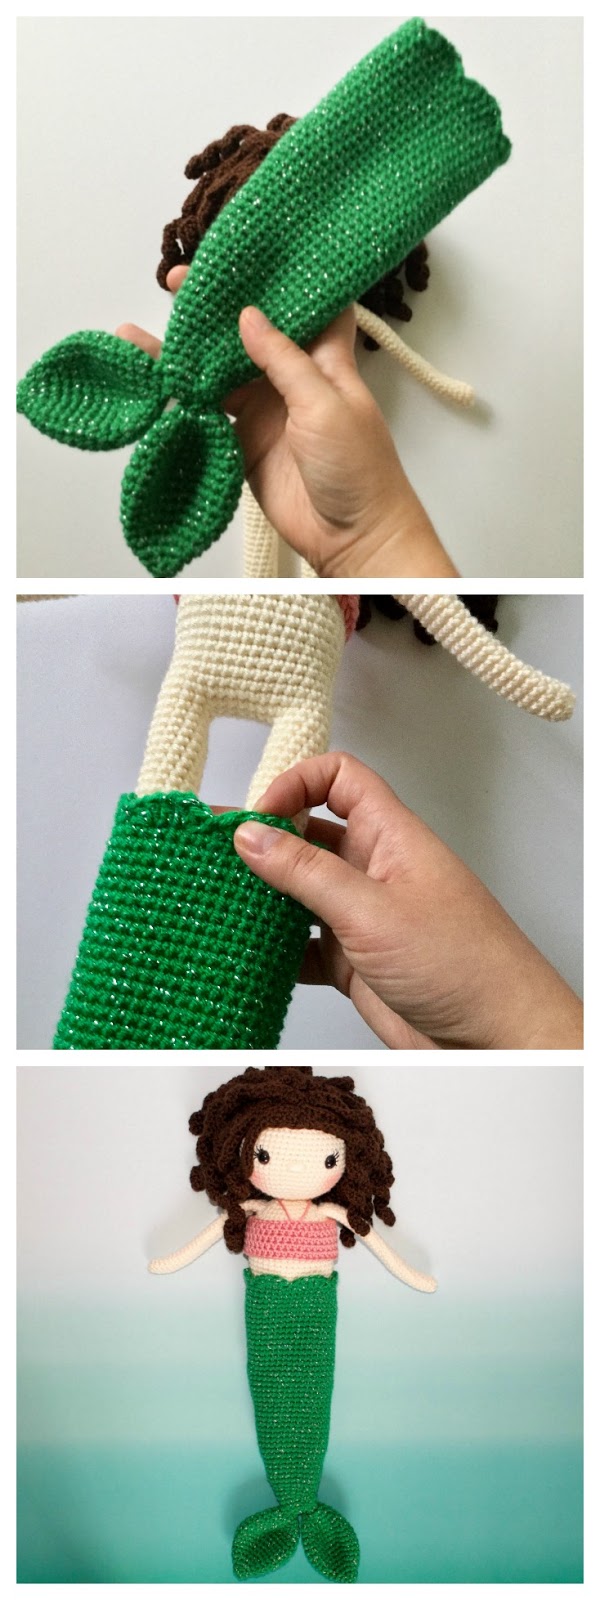
And now you can make a removable mermaid tail so you can play in the land or the sea!

I very highly recommend reading through the entire pattern and these Tips and Tricks! I provide many doll tutorials that will be helpful to know before you begin so you are ready when you reach that point in the pattern.
If you prefer to have the PDF copy of this pattern which comes with my “Best Tips and Tricks for Crochet Dolls” you can purchase the printable, ad-free copy on Ravelry or Etsy.
(This post contains some affiliate links. For more information, see my policies page.)
You will need:
Approx 100 g size 4 worsted yarn in skin color
Crochet Hook in Size 3.75 or 3.5
Tapestry Needle
Polyfil or preferred stuffing
12 mm safety eyes
Embroidery thread
stitch marker
Abbreviations
SC- single crochet
SC INC- single crochet increase (2 SC in each stitch)
INV DEC- Invisible decrease (put hook through the FRONT LOOP ONLY of two consecutive stitches [two loops on hook] Yarn over pull through both loops. [two loops on hook] Yarn over pull through two loops)
Magic Circle- Make a loop, leaving a long tail to work with. Insert hook in center of loop, yarn over and draw up a loop. Yarn over, pull through to make the first chain (this does not count as a stitch!). Continue to crochet over the loop and tail with the number of stitches called for. (If you need 6 SC, then crochet 6 SC inside the ring.) Pull the tail to close the circle.
Always move your stitch marker to the last stitch in the round. This pattern is worked in continuous rounds.
*Lightly Stuff as you go!
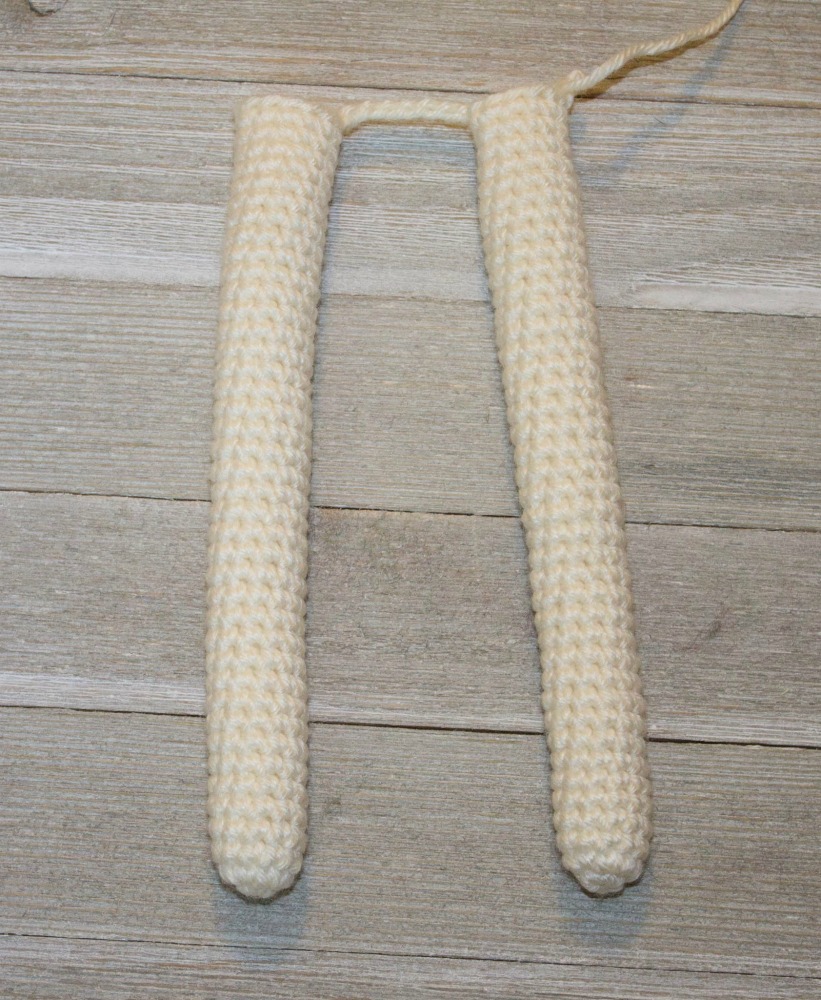
Legs/Body
Round 1: In a magic circle, SC 6
Round 2: SC INC in each stitch around (12)
Round 3-40: SC in each stitch around. (12)
Fasten off.
Repeat for the second leg but do not fasten off. Instead, chain 7 and then SC in the next stitch of the other leg. Take care to crochet over the tail left over by fastening off. SC around the entire leg. When you come to the seven chains, SC in each chain around the next leg. SC over the chain back to the other leg. In the last SC on the last chain place your stitch marker. (This is round 41 and 36 stitches)
Hint: Count 11 stitches around the leg (minus the stitch that will attach the to the chain) then 7 stitches across. Then 11 stitches around the other leg. Then 7 stitches on the other side of the chain.
Watch this video on how to attach the legs if you need additional help!
Round 42: SC around. (36)
Rounds 43-60: SC around (36)
Round 61: 4 SC, INV DEC, repeat around. (30)
Round 62: 3 SC, INV DEC, repeat around.(24)
Round 63: 2 SC, INV DEC, repeat around. (18)
Round 64: 1 SC, INV DEC, repeat around. (12)
Round 65: SC in each stitch around. (12)
Round 66: SC in each stitch around. (12)
Fasten off and leave a long tail. This is what you will use to sew on the head.
If you are interested in attaching the head to the body in one piece, please read this post with a tutorial on how to do so.
Head
Round 1: In a magic circle, 6 SC.
Round 2: SC INC in each around. (12)
Round 3: SC in first, SC INC in next. Repeat around. (18)
Round 4: SC in first 2, SC INC in next. Repeat around. (24)
Round 5: SC in first 3, SC INC in next. Repeat around. (30)
Round 6: SC in first 4, SC INC in next. Repeat around. (36)
Round 7: SC in first 5, SC INC in next. Repeat around. (42)
Round 8: SC in first 6, SC INC in next. Repeat around. (48)
Round 9: SC in first 7, SC INC in next. Repeat around. (54)
Round 10-20: SC in each stitch around. (54)
Place the safety eyes in between rows 16 and 17, 12 stitches apart.
Sew on eyelashes. See the Best Tips and Tricks for Doll faces.
Round 21: SC in the first 7, INV DEC in the next. Repeat around. (48)
Round 22: SC in the first 6, INV DEC in the next. Repeat around. (42)
Round 23: SC in the first 5, INV DEC in the next. Repeat around. (36)
Round 24: SC in the first 4, INV DEC in the next. Repeat around. (30)
Round 25: SC in the first 3, INV DEC in the next. Repeat around. (24)
Round 26: SC in the first 2, INV DEC in the next. Repeat around. (18)
Round 27: SC in the first, INV DEC in the next. Repeat around. (12)
Round 28: INV DEC around. (6)
Fasten off and carefully sew the remaining hole closed. Leave a long tail to make the nose.
Arms
Round 1: In a magic circle, SC 10 . (10)
Rounds 2-28: SC in each stitch around (10)
Stuff lightly and attach to body. I sew them on between rows 62 and 63.
Read through this tutorial on how to attach the hair! Be sure to check out the various dolls to see how I did their hair!


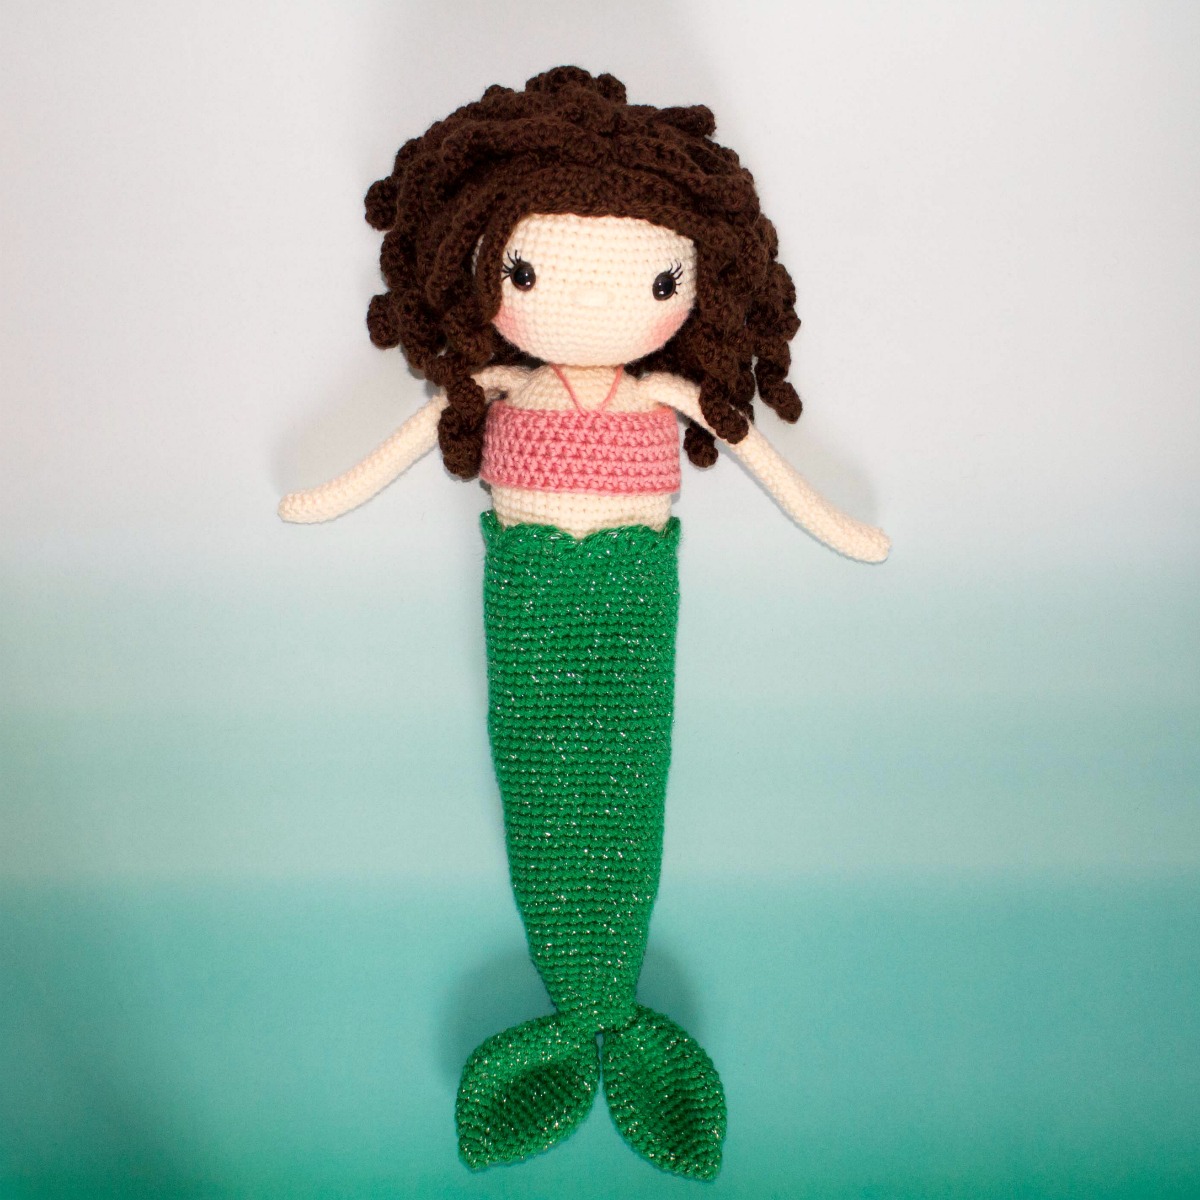
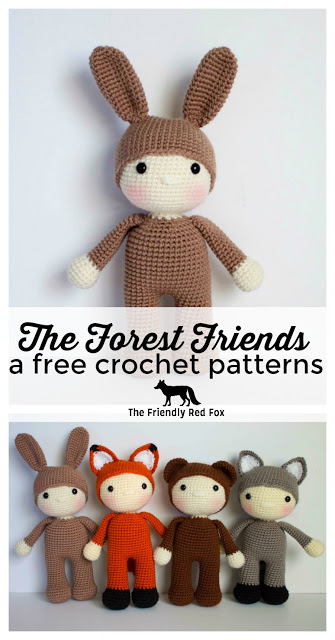
Interested in more free crochet doll patterns? Be sure to check out The Friendly Mermaid!


Hi if I buy your pattern will I get instructions on how to do the hair, the dress and crown for the Sophia doll.
Yes! OR you can visit the second part of the post for all the details here: https://www.thefriendlyredfox.com/princess-sophie-details/