Crochet Teddy Bear- a free pattern
Crochet Teddy Bear Information
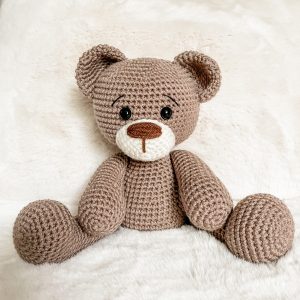
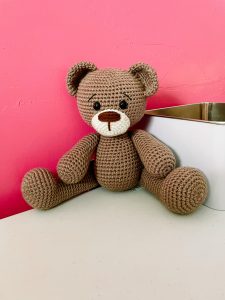
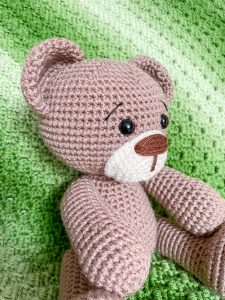
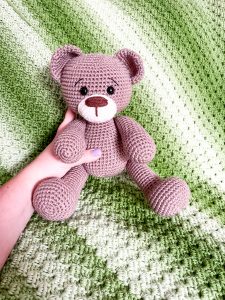
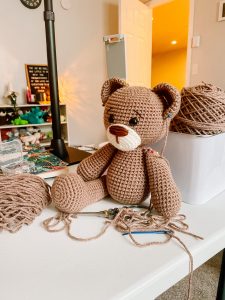
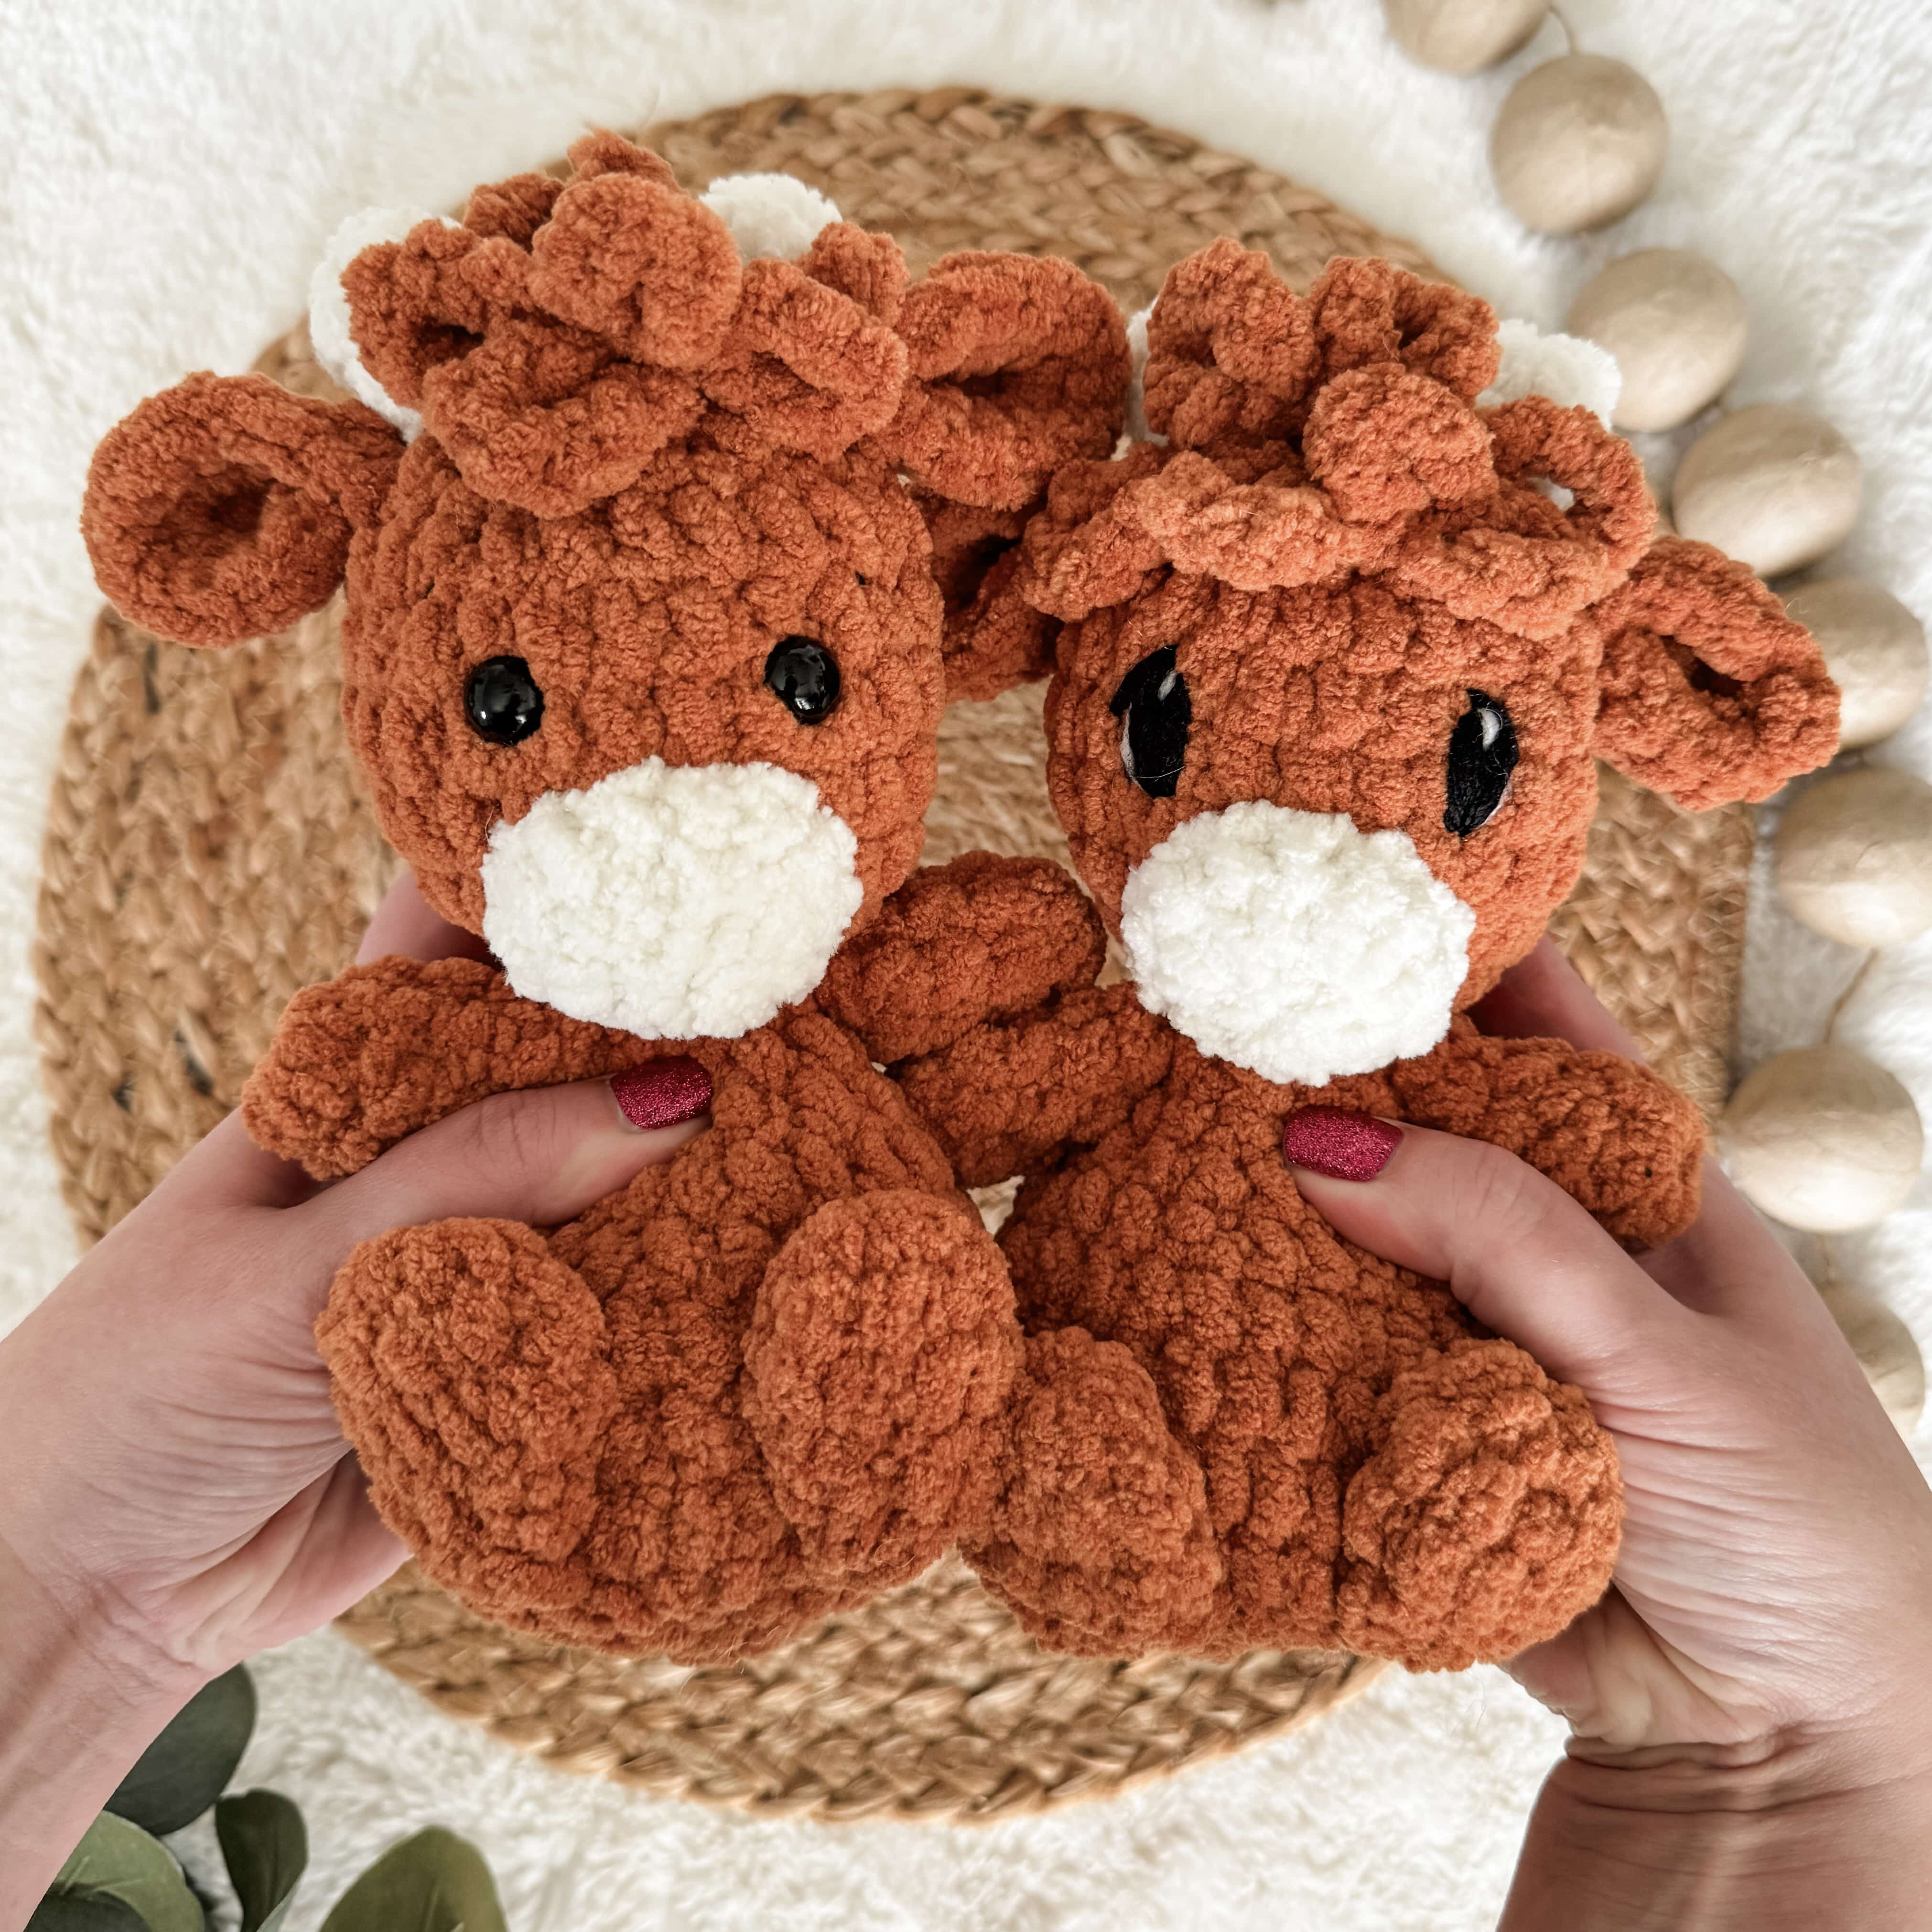
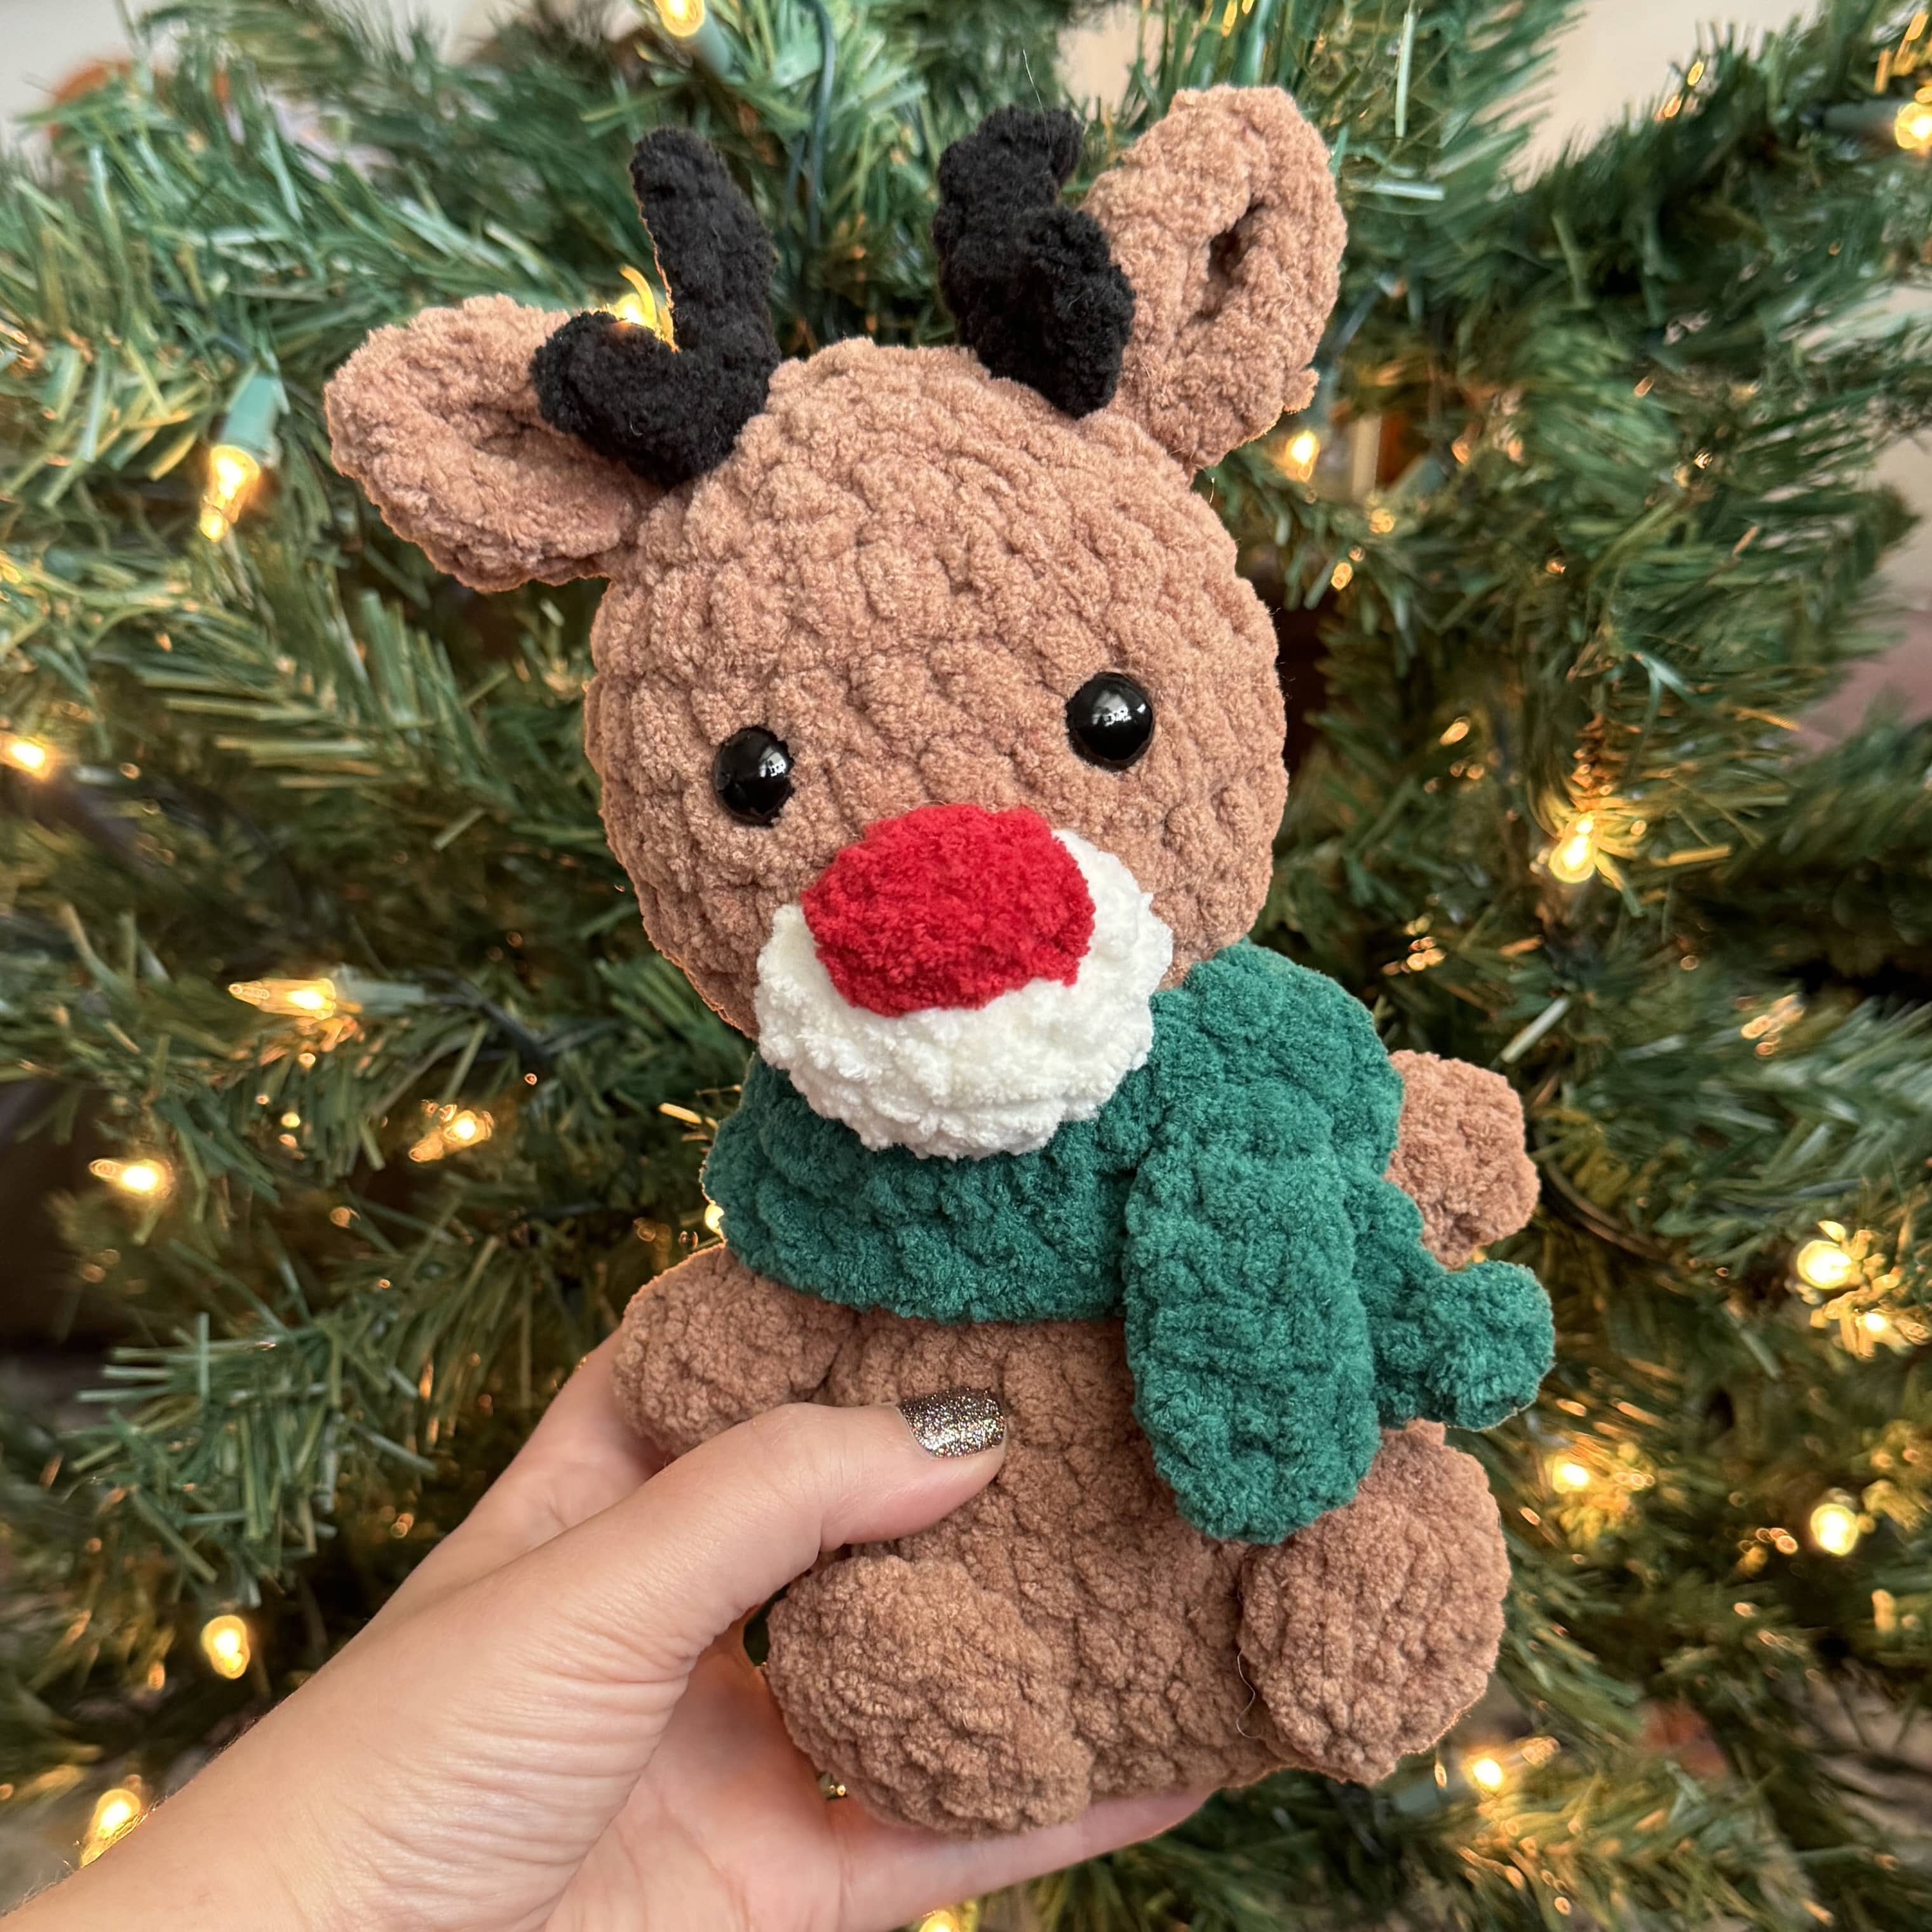
This classic crochet teddy bear pattern is about 9 inches tall sitting and the perfect size for pretty much any age if you are looking to gift this sweet little teddy bear. I love his expressive little face and how perfectly cuddly he is! This is a great pattern for advanced beginners, but even a determined beginner can make this work. This teddy bear is made to sit as a decoration or become a beloved crochet teddy bear toy.
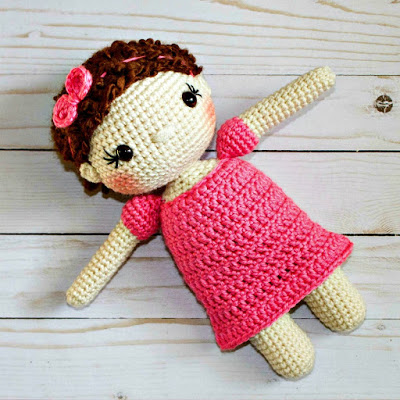
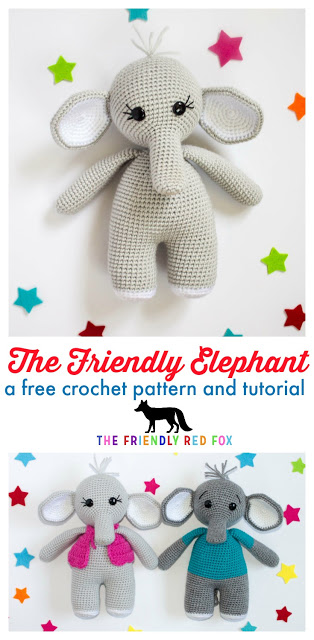
If you like teddy bears, be sure to check out my other bear pattern. I have a couple other “classic” toy patterns. I love this little monkey and my little doll pattern, Molly.
As with all my patterns, if you want to support me as the designer and get the ad-free, printable PDF you can find it on Etsy or in my Ravelry Shop.
Please note this pattern is only for PERSONAL USE. Please feel free to make as many
items as you wish for yourself, or as gifts. You may sell items made with this pattern but
PLEASE LINK BACK OR GIVE CREDIT TO ME AS DESIGNER. In no way can you
share, reproduce, or sell this pattern. Please respect my rights as designer, this pattern belongs to The Friendly Red Fox.
Crochet Teddy Bear Materials
You will need:
Approx 120 g size 4 yarn in main color (I used I Love this Yarn in Brown)
Small amount of Ivory worsted weight
Embroidery thread for eyebrows
Crochet Hook in Size 3.75
Tapestry Needle
Polyfil
12mm safety eyes
stitch marker
Crochet Teddy Bear Pattern Stitch Abbreviations
SC– single crochet
SC INC- single crochet increase (2 SC in each stitch)
INV DEC– Invisible decrease (put hook through the FRONT LOOP ONLY of two consecutive stitches [two loops on hook] Yarn over pull through both loops. [two loops on hook] Yarn over pull through two loops)
Magic Circle– Make a loop, leaving a long tail to work with. Insert hook in center of loop, yarn over and draw up a loop. Yarn over, pull through to make the first chain (this does not count as a stitch!). Continue to crochet over the loop and tail with the number of stitches called for. (If you need 6 SC, then crochet 6 SC inside the ring.) Pull the tail to close the circle.
Crochet Teddy Bear Pattern
Nose/Mouth
Round 1: In a magic circle, 6 SC.
Round 2: SC INC in each around. (12)
Round 3: SC in first, SC INC in next. Repeat around. (18)
Round 4: SC in first 2, SC INC in next. Repeat around. (24)
Round 5: SC in first 3, SC INC in next. Repeat around. (30)
Rounds 6-7: SC in each around. (30)
Slip stitch in the next 3 stitches. Fasten off and leave a long tail to sew on to the face. Get a long piece of brown yarn. Sew the nose on about row 6. I make multiple passes (think 10-12) for this bear’s nose. Try to use the same two holes when you go in and out. Use pins to attach it. For this bear, the snout will be more flat than full. Sew it around and very lightly stuff it.
Body and Head
Round 1: In a magic circle, 6 SC.
Round 2: SC INC in each around. (12)
Round 3: SC in first, SC INC in next. Repeat around. (18)
Round 4: SC in first 2, SC INC in next. Repeat around. (24)
Round 5: SC in first 3, SC INC in next. Repeat around. (30)
Round 6: SC in first 4, SC INC in next. Repeat around. (36)
Round 7: SC in first 5, SC INC in next. Repeat around. (42)
Rounds 8-17: SC in each around. (42)
Round 18: SC in first 5, INV DEC in the next. Repeat around. (36)
Rounds 19-20: SC in each around. (36)
Round 21: SC in first 4, INV DEC in the next. Repeat around. (30)
Rounds 22-23: SC in each around. (30)
Begin stuffing here. Make sure you do not under-stuff.
Round 24: SC in first 3, INV DEC in the next. Repeat around. (24)
Rounds 25-26: SC in each around. (24)
Round 27: SC in first 2, INV DEC in the next. Repeat around. (18)
Round 28: SC in the first, INV DEC in the next. Repeat around. (12)
From here we are increasing the head.
Round 29: SC in first, SC INC in next. Repeat around. (18)
Round 30: SC in first 2, SC INC in next. Repeat around. (24)
Round 31: SC in first 3, SC INC in next. Repeat around. (30)
Round 32: SC in first 4, SC INC in next. Repeat around. (36)
Round 33: SC in first 5, SC INC in next. Repeat around. (42)
Round 34: SC in first 6, SC INC in next. Repeat around. (48)
Rounds 35-45: SC in each around. (48)
Attach eyes between rows 39 and 41, about 6 stitches apart. Begin to stuff here. I also stretch the base of the head a little bit so it is more defined, more round than oval. Sew on the nose at this time as well.
Round 46: SC in the first 6, INV DEC in the next. Repeat around. (42)
Round 47: SC in the first 5, INV DEC in the next. Repeat around. (36)
Round 48: SC in the first 4, INV DEC in the next. Repeat around. (30)
Round 49: SC in the first 3, INV DEC in the next. Repeat around. (24)
Round 50: SC in the first 2, INV DEC in the next. Repeat around. (18)
Round 51: SC in the first, INV DEC in the next. Repeat around. (12)
Round 52: INV DEC around. (6)
Fasten off and carefully sew the remaining hole closed.
Arms
Round 1: 6 SC in a magic ring
Round 2: SC INC in each around. (12)
Round 3: SC in first, SC INC in next. Repeat around. (18)
Round 4: SC in first 2, SC INC in next. Repeat around. (24)
Rounds 5-8: SC in each around. (24)
Round 9: SC in first 2, INV DEC in the next. Repeat around. (18)
Start stuffing here.
Round 10-22: SC in each around. (18)
Round 23: SC in the first, INV DEC in the next. Repeat around.(12)
Rounds 24: SC in each around. (12)
Stuff the second half lightly.
Fasten off and leave a long tail. Pin the arms on each side the bear, about halfway just a couple of rounds beneath the head. Sew them on using the tail.
Legs
Round 1: 6 SC in a magic circle.
Round 2: INC in each around. (12)
Round 3: SC in the first, SC INC in the next. (18)
Round 4: SC in the first 2, SC INC in the next. Repeat around. (24)
Round 5: SC in first 3, SC INC in next. Repeat around. (30)
Round 6: SC in first 4, SC INC in the next. Repeat around. (36)
Rounds 7-11: SC in each around. (36)
Round 12: INV DEC 12 times. SC in the remaining 12 stitches. (24)
Start stuffing here.
Round 13: INV DEC 6 times. SC in the remaining 12. (18)
Rounds 14-25: SC in each around. (18)
Round 26: SC in the first, INV DEC around. (12)
Round 27: INV DEC in each around (6)
Fasten off and leave a long tail. Pin the legs on each side of the bottom of the bear, about halfway back. Sew them on using the tail.
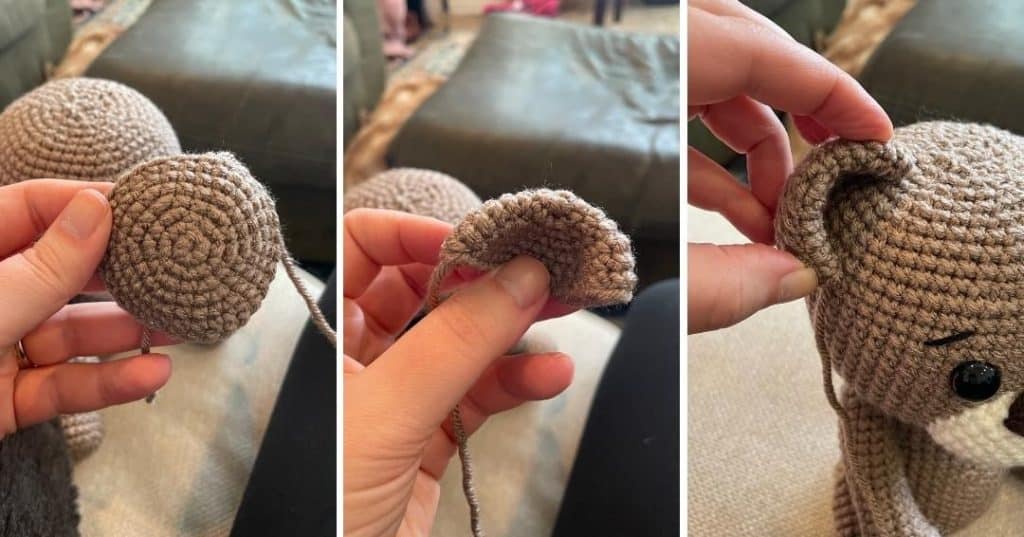
Ears (make 2)
Round 1: 6 SC in a magic ring
Round 2: SC INC in each around. (12)
Round 3: SC in first, SC INC in next. Repeat around. (18)
Round 4: SC in first 2, SC INC in next. Repeat around. (24)
Round 5: SC in first 3, SC INC in next. Repeat around. (30)
Rounds 6-7: SC in each around. (30)
Fasten off and leave a long tail. Flatten the ear. Attach about 5 rounds out from the middle of the head. Use pins to keep it in place. The ear will curve around so it looks more three dimensional. Attach it with the long tail.

Hello
I am new to crochet , I’m wondering if this pattern is beginner friendly
I don’t want to fail and end up discouraged
Thank you
Hello! I would classify this pattern as an intermediate beginner – not quite intermediate but also not quite very beginner level. There are definitely a few easier patterns you could start with, but if you want to try it- go for it! I always think that a good portion of joy comes from the process. It’s ok to not get it exactly like mine – everyone has a different style and everyone’s ends up looking just a little bit different. That’s the beauty of crochet! And feel free to email me or message me on Facebook with any questions. I’m happy to help!
Hi, my stitches are curling inward instead of being upright, is this normal? If not what’s causing it and how can I fix it?
Tight stitches usually occur when your tension is too tight. I’d try loosening your tension just a little bit, but if you just naturally crochet tight (like me!), you may want to go up a half a hook size or two!
Are you slightly sticking each round together or working in a continuous round? The instructions don’t make that very clear but I really want to make this adorable bear
Hi! This pattern is worked in continuous rounds
Thank you so much for this amazing pattern!! I love my bear so much! ❤️
Hi Kali,
This is a super cute bear that I am excited to start making, but I’m wondering if I’m missing something. The nose/mouth section of the pattern seems to be for what you call the snout (in ivory) but I can’t seem to find where you do the dark brown nose. Am I just reading something wrong or is it missing from the pattern here?
Thanks!
Hi! It’s in the paragraph right below the instructions for the ivory snout. It gets embroidered on around round 6.
I have to say, I cone back to your patterns again and again. They are so beautiful and the instructions are spot on. I have just finished this teddy amd he is adorable. Thank you so much!!! 🐻
Thank you so much!
Hey, I wanted to make this for my boyfriend for Valentine’s Day but when I followed that pattern it came out really funny… it could have been something I did wrong but I feel like I followed it as it said. The head came out a weird shape and the body came out too big as well as the head, also when I was making the mouth I removed some rows juts to make it fit and was still too big… I haven’t make the rest out of feeling defeated. Any help would be appreciated.
Sure! Feel free to send me a message with pictures on Facebook or IG or even an email and I can take a look and help out.
That would be great, talking over email would be greatly appreciated! Where can I find your email?
https://www.thefriendlyredfox.com/contact-me/
I picked up a crochet hook for the first time 2 months ago at the age of 40 and I have yet to put down my hook. Since I started I have made several small amigurumi, from a popular beginner amigurumi site, and my nephew (4 almost 5) asked me to make him a teddy bear, only bigger with arms and legs for his upcoming birthday…. So I scoured the web looking for just that. I came across this teddy and instantly knew he was the one. I was praying as I read over the pattern that you used stitches I was familiar with and, low and behold you did. I ordered the yarn and can not wait to start him this weekend. So I want to give a big thank you for this pattern!!
Do I need to close the top of the arms and legs before I sew them on
If you sew them on by attaching them across the top, then no, you won’t need to sew them closed. If you use my favorite method (https://www.thefriendlyredfox.com/attaching-arms-and-legs-to-plush-amigurumi/), then you’ll need to sew them closed first.
I just read your article about the neck tube to keep the head from flopping… I am currently making this teddy as a gift for a child and wondered if this is a technique I should use or of it’s mostly for more plush type projects using chenille. Im using a size 4 “Beginner friendly” type yarn that is a cotton/polly mix. The yarn is strong and tube like and I love the way the stitches come out looking, I use this yarn for almost all my plushies.
It’s good for all types of yarn projects! I just use one stitch less than the stitch count of the neck.
This is such a fun pattern! I’m currently making my bear in Big Twist plush yarn (basically blanket yarn) and it’s so much fun! He’s turning out to be lots bigger than planned but I love it. I ended up having to up the hook size to an 8 so it worked with the yarn but he’s turning out so cute!
I am starting on my third time through this pattern. I absolutely love it. I’ve made it with 3 different types and weights of yarn and it’s so easy and so cute. My son and niece adore it!!
I love this bear. But, I was wondering about the instructions that say “Repeat around”. If it is repeated, the count will not be the count you have in ( ). Am I not understanding something?
It just means to repeat the sequence around to the end of the round! Which round are you referring to? I can help further!
This is a really cute teddy bear do I need to fold ears in half before I sew them on
Yes! They’re folded and then curved a little bit.
Great pattern! Very beautiful bear!
I love this bear and would like to crochet just the head and arms to use it with a lovey blanket. Could you please tell me what row the head starts at?
Thanks so much,
Laura
Round 28 is the neck, and round 29 is where the head starts!
Thanks so much! My bear looks so cute and the pattern was very easy to follow. I appreciate you!