Free Crochet Axolotl Pattern
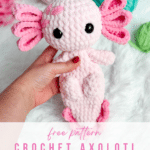
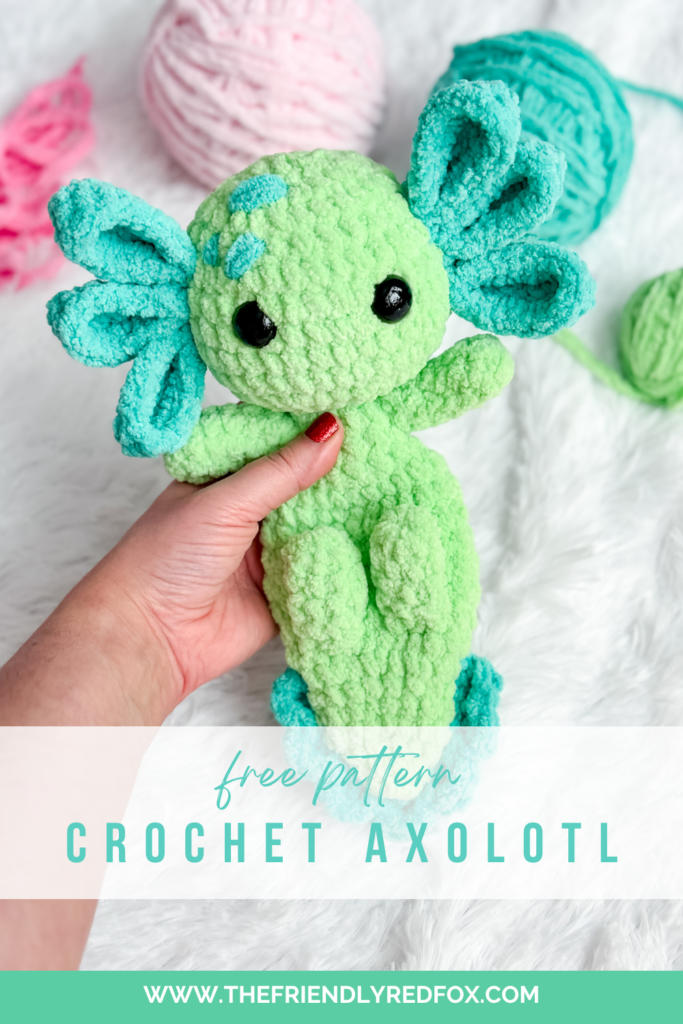
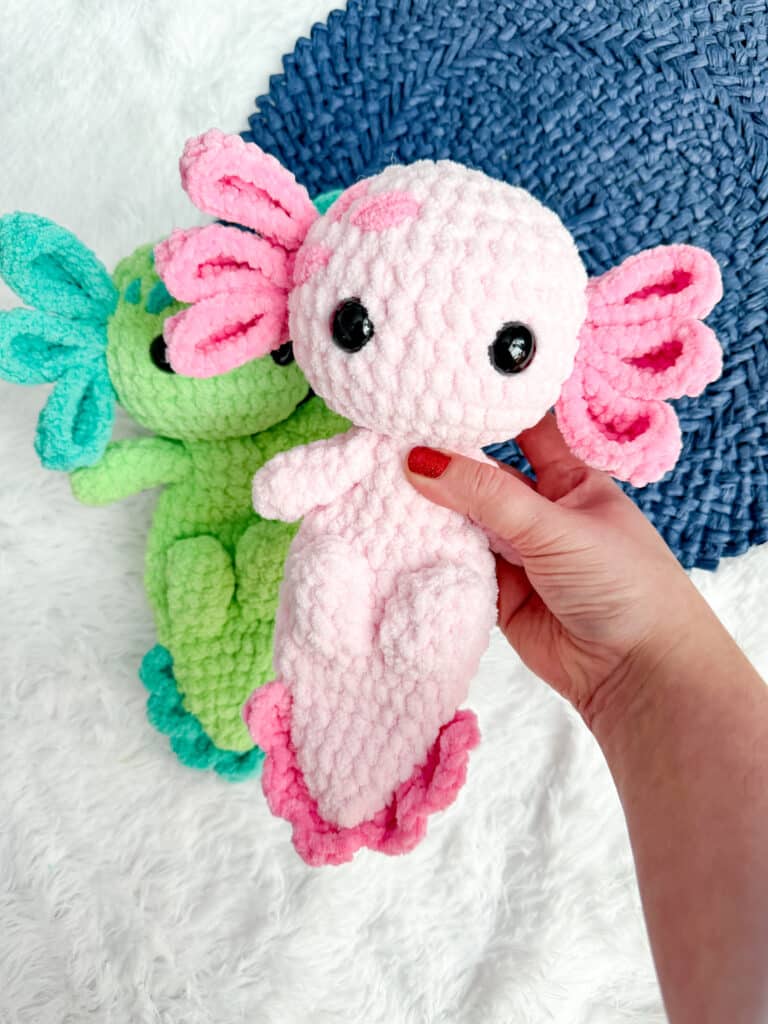
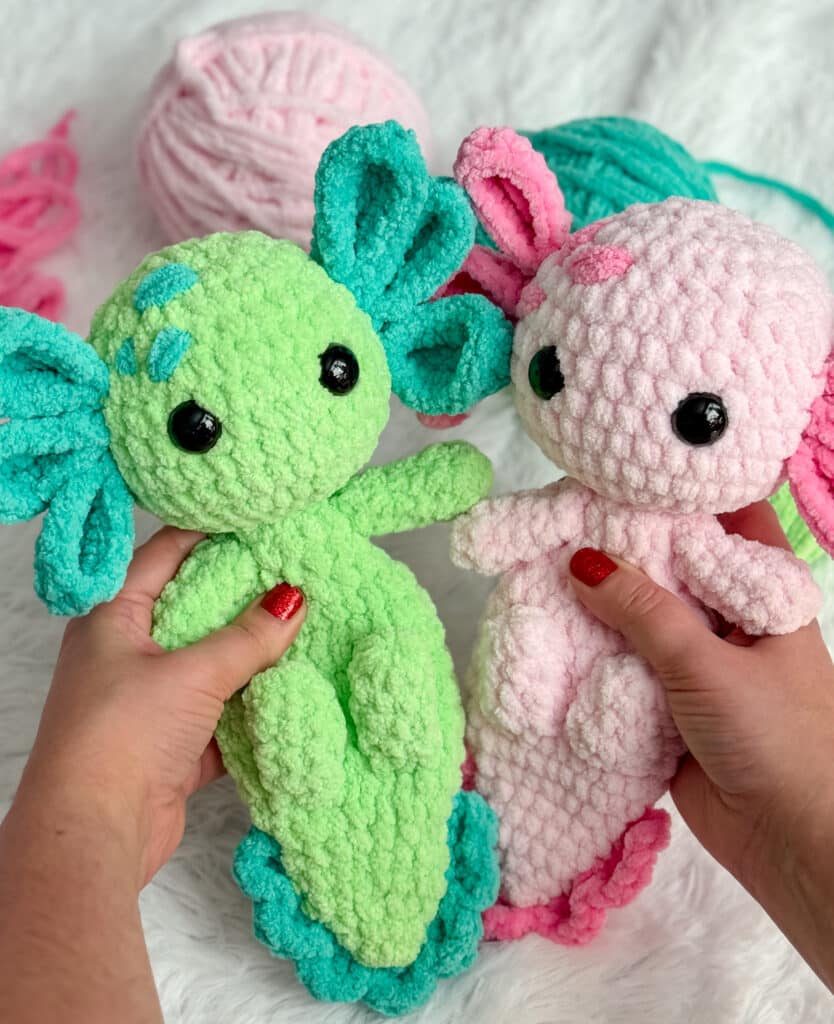
This free crochet axolotl pattern is cute and quick to make! Using blanket yarn makes this a cuddle sized amigurumi axolotl plushie, while using worsted weight yarn makes a 5 inch little backpack buddy!
Learn how to make free crochet axolotl pattern
This free crochet axolotl pattern results in a fun cuddly amigurumi friend. When I first heard of an axolotl, I thought it was a pokemon, and totally made up. Similar to how my cousin thought that a narwhal was mythical… And even though this unique amphibian and a unicorn whale seem like they may be too strange to be true, they exist! Now this axolotl exists as a free crochet pattern, and one you can make!
JOIN MY NEWSLETTER TO RECEIVE…
A free email course-Amigurumi 101
This free amigurumi email course gives you what you need to master the basics of amigurumi, along with some extra tips and tricks!
This pattern is somewhat similar to the squishy collection, although the body is a different shape. In fact, it is a mix between a squishy and a snuggler! Only the head is stuffed on this pattern, but you will find that the cuteness factor doesn’t go down due to the lack of stuffing!

Would you like to save this project for later? Input your email address below, and we will promptly deliver the project to your inbox.
You will start by making this free crochet axolotl pattern from the tail and working up to the head. The head/body/tail is made in one piece and everything is attached seperately. The position of the body is meant to seem like the axolotl is lying flat on its back with the little feet sticking up.
Tips and Tricks Videos
Don’t be afraid of the sewing, it goes quickly and the pieces are relatively easy to attach. I made some videos of this amigurumi axolotl’s steps, you can see them all here.
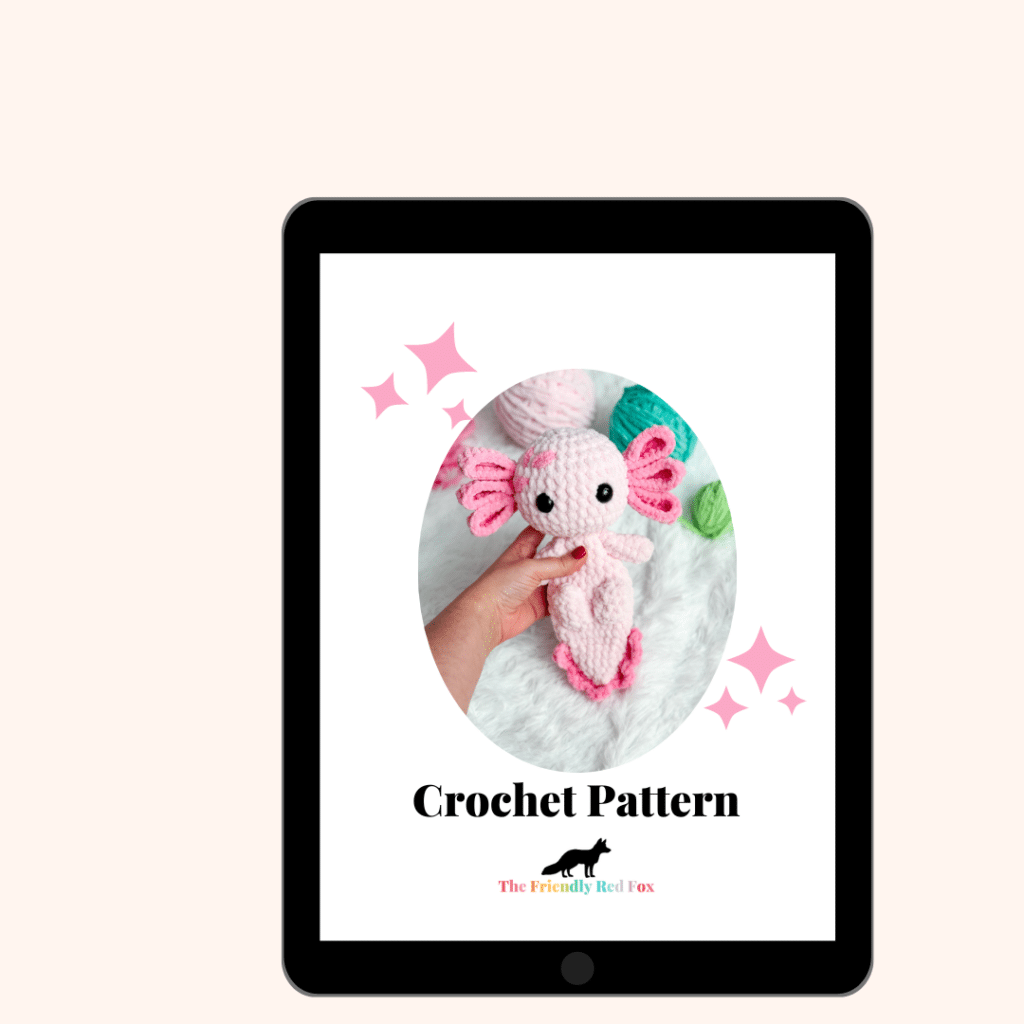
Want the Ad-free, Printable PDF?
You can find it in one of my stores!
Notes:
If you make this axolotl with the suggested yarn it will be about 10 inches tall. If you use worsted weight, it should be about 5 inches tall.
This axolotl’s tail, body and head is made from the bottom to the head, all in one piece. You will not stuff the tail/body, arms, or feet, only the head. You will insert a neck strengthener which will help with the shape and stability of the head, while allowing you to understuff the bottom and stuff the head a little more.
The fins, tail fin, and arms are attached at the end.
I made a collection of tip and tricks videos for this axolotl. You can see them all at this link, or they are linked throughout the pattern!
The arms are attached with a long needle. You can find the video for that here.
You can use safety eyes or try out embroidered eyes so it would be safe for a baby/toddler. You can find my collection of embroidery videos here.
Substitute yarns could be Bernat Blanket yarn or Big Twist from Joann’s. You may need to change the hook size if you change the yarn.
How to make an Amigurumi Axolotl Step by Step
Ready to make this free crochet axolotl pattern? This post contains some affiliate links for your convenience! Read my full disclosure policy.
You will need:
- 70g Bernat Baby Blanket Pink or Premier Basix Chenille in Kiwi
- 30g bulky yarn for the fins (I used Parfait Chunky in bubblegum or Premier Basix Chenille in Caribbean)
- 18mm safety eyes
- Crochet Hook in Size 4.5mm
- Tapestry Needle
- Polyfil
- stitch marker

Step by Step Instructions
Neck Strengthener
*Click here for a video and picture tutorial on how this works*
In a magic circle, SC 7. SC in each around for a total of 7 rows. Fasten off and leave a long tail. You will need this before you stuff the head.
Tail/Body/Head
Round 1: In a magic circle, SC 8.
Round 2: SC in each around. (8)
Round 3: SC INC in each around. (16)
Round 4-6: SC in each around. (16) *3 rows*
Round 7: SC in the first, SC INC in the next. Repeat around. (24)
Round 8-14: SC in each around. (24) *7 rows*
Round 15: SC in the first, INV DEC in the next. Repeat around. (16)
Round 16-17: SC in each around. (16) *2 rows*
Round 18: INV DEC in each around. (8)
Round 19: In the front loop only, SC INC in each around. (16)
Round 20: SC in the first, SC INC in the next. Repeat around. (24)
Round 21: SC in the first two stitches, SC INC in the next. Repeat around. (32)
Rounds 22-26: SC in each around. (32) *5 rows*
Insert the neck strengthener here. Attach the eyes between rounds 25 and 26, about 5 stitches apart. Stuff as you close.
Round 27: SC in the first two stitches, INV DEC in the next. Repeat around. (24)
Round 28: SC in each around. (24)
Round 29: SC in the first. INV DEC in the next.. Repeat around. (16)
Round 30: INV DEC 8 times. (8)
Fasten off and sew the remaining hole closed. Weave in the ends.
Arms
*do not stuff the arms*
Round 1: SC 7 in a magic circle
Rounds 2-7: SC in each around.
Fasten off and leave a long tail to sew on. Sew on between rounds 16 and 17.
Feet
*do not stuff the feet*
Round 1: SC 8 in a magic circle
Rounds 2-5: SC in each around.
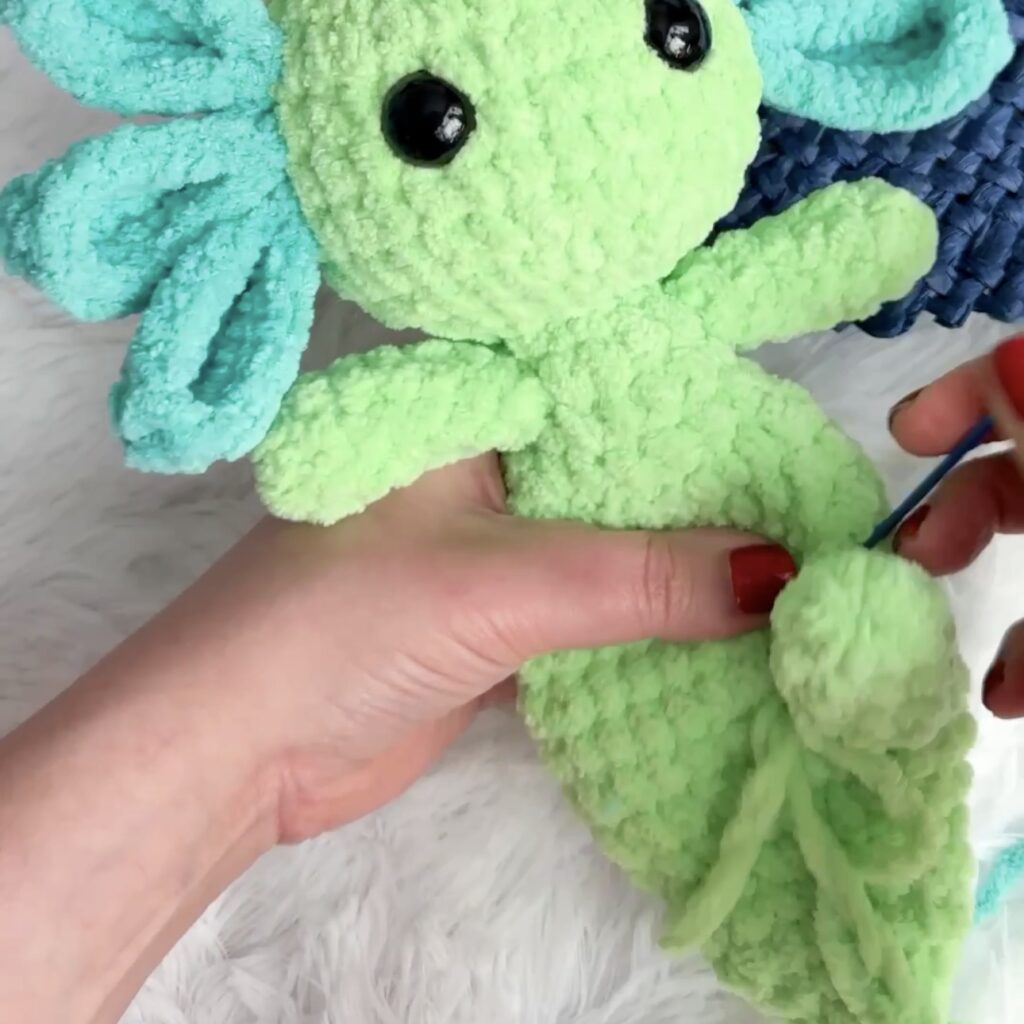
Fasten off and leave a long tail to sew on. Sew on with the bottom of the foot on round 8. Here is a video on how I attach the feet- a few simple tricks make a big difference in the end!
Fins (make 6)
R1: Chain 8. Turn and SC in the next chain from the hook. SC in the remaining 7. Chain 1 and turn. SC 7 times. SC 3x in the top chain. SC 7 times down the other side.
R2: Chain 1 and turn. SC in all 17. Fasten off and leave a long tail to sew it on.
Attach three fins on each side of the face. I attached one on round 23, 24, and 25 (or at least close to that, give or take) Watch the video below (or click here to open in a new tab) to see me making a fin, step by step.
Attaching the Fins
Line the first fin about 3-4 stitches from the eye, on the same round as the bottom of the eyes. Double check that they look to be about the same distance from the eyes so that both sides seem even. Pin them in place to make sure. Here is a helpful video that shows how I attach them to the face.
Tail Fin
Chain 22. Turn and skip a stitch, then 3 DC in one chain. Slip stitch in the next. *Slip stitch in the next stitch. 3 DC in the next. Slip stitch in the next.* Repeat * * for a total of 7 “shells” and fasten off. Place the middle shell at the verry bottom of the tail. Make sure the edges are even on both sides and attach to the tail with a whip stitch.
Embroider the scale patches with the contrasting color, just like the giraffe embroidery video here.
Answers to your questions about making this Free Crochet Axolotl Pattern
Q: Do I stuff the body?
A: No, only the head is stuffed on this pattern!
Q: Do you really use a size 4.5 hook? The yarn wrapper recommends that I use an 8mm.
A: Yes, I do! I always size down with amigurumi, but if this is too tight for you, size up until you can get a tight stitch without it bunching.
Q: Is there a video for this pattern?
A: Not for the whole thing, but you can find the collection of helpful tip videos for this axolotl amigurumi here.

If you loved this project, you’ll love these projects too:
Did you make this axolotl?
I would love to see what you have created so mention me @thefriendlyredfox when you share a picture!


I have a question about the feet. In the pictures and videos they only appear to have 4-5 rows to them instead of the 7 in the pattern. I am just curious if they are 7 rows long? I am using blanket yarn and am just wondering if that is the cause for them to be so long.
Hi! Thanks for letting me know! It was a typo and I’ve fixed it now! You’re right, it’s 5 rows 🙂
I’m confused with the repeat on the tail fin. There is no asterisk to mark the beginning and end. Or am I missing something 🤔 😭. I’m almost finished! 😅it’s coming out great so far.
Thanks for catching that! It autoformatted into italics instead of the asterisk. I fixed it!
Hi there! First, thank you so much for the free pattern it’s really great and I really appreciate it. But I was having some trouble with the neck strengthener (I also referenced the other guide about the neck strengthener specifically) and my head ended up coming out more cone shaped as opposed to nice and round. I stuck in the neck strengthener so maybe an inch was poking out into the head area. I’m planning on making the pattern again so I was wondering if you had any other tips to get it right. Again thank you so much for the free pattern!
Stretching the head as you sew the neck strengthener in will help! I have a reel here that shows it better. https://www.instagram.com/reel/C6pefNRxUu5/
If I want to make a smaller one using worsted weight do you you know how much yarn I would need? What size hook should I use? Thank you
I’m not sure how much you will need for the worsted weight – but I would size down to whatever size you usually use for amigurumi. For me, that’s around a 3-3.75mm depending on the yarn!
Just wanted to thank you for this pattern. I’ve made several of your creations and love them all. This may very well be my favorite. ❤️
I am trying to figure out how to attach the neck stabilizer and exactly where to attach it. Please help. Thank you…
The instructions are at the beginning of the pattern! But here’s the direct link to the video. Visuals always help me! https://www.thefriendlyredfox.com/stop-the-neck-wobble-in-amigurumi-made-in-one-piece/
I just completed my first axolotl! I love a lot of your patterns!! Thank you for sharing you gift with the world!