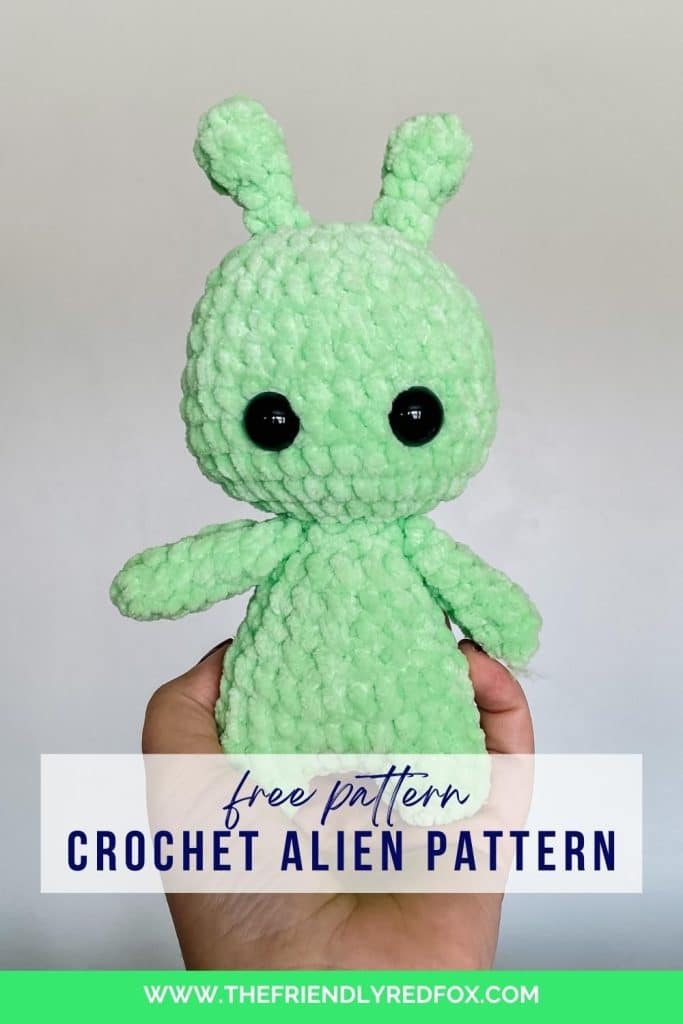
Crochet Alien Pattern

This crochet alien pattern will knock you out of this world for three reasons: it is very low sew, works up quickly, and is made with cuddly, plush yarn.
Free Crochet Alien Pattern
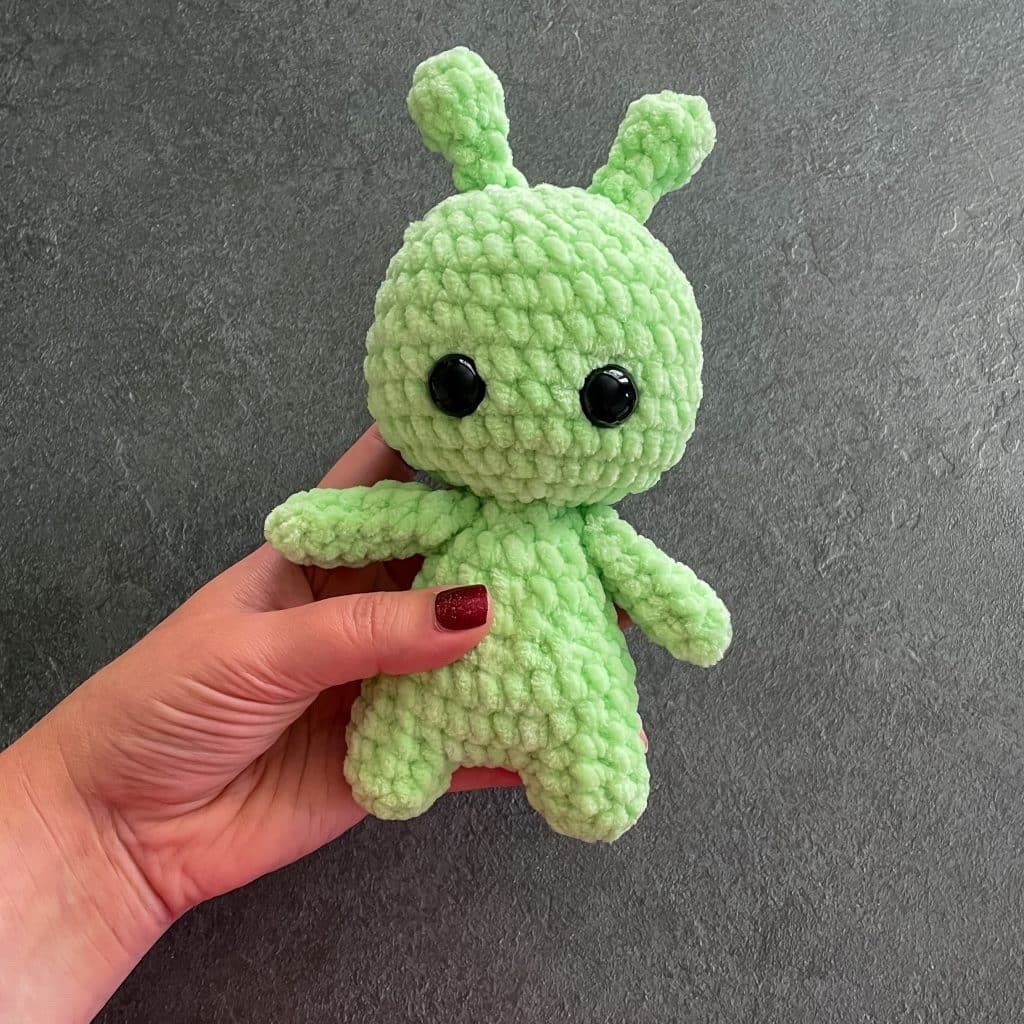
There are a couple of things to love about this crochet alien pattern. It is a simple pattern, but still very cute! This would be a great thing to make if you do a lot of markets, because it works up quickly. This crochet pattern is low-sew.
JOIN MY NEWSLETTER TO RECEIVE…
A free email course-Amigurumi 101
This free amigurumi email course gives you what you need to master the basics of amigurumi, along with some extra tips and tricks!
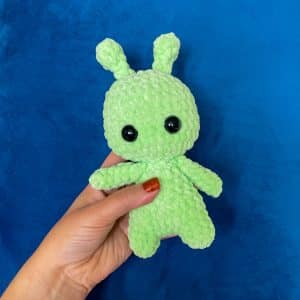
This alien pattern is the plushie version of an earlier one I did! The yarn I used is Premier’s Parfait Chunky in Key Lime. You can substitute this with another size 6 bulky yarn, it might just change the size a little bit. In my experience, Michael’s Sweet Snuggles Lite yarn is the closest thing to the Parfait Chunky. Bernat Blanket yarn could also be used. You could also go a little bit more out of this world and make him glow in the dark! Or, if you want to use worsted weight yarn, you could try out the other crochet alien pattern I have.
If you are looking for more quick plushie crochet patterns, you should check out my no-sew, one hour turtle and my classic teddy bear!
Would you like to save this project for later? Input your email address below, and we will promptly deliver the project to your inbox.
Want the Ad-free, Printable PDF?
You can find it in one of my stores!
Materials you’ll need
To get started making this free crochet alien pattern, you’ll want to gather all your materials first.
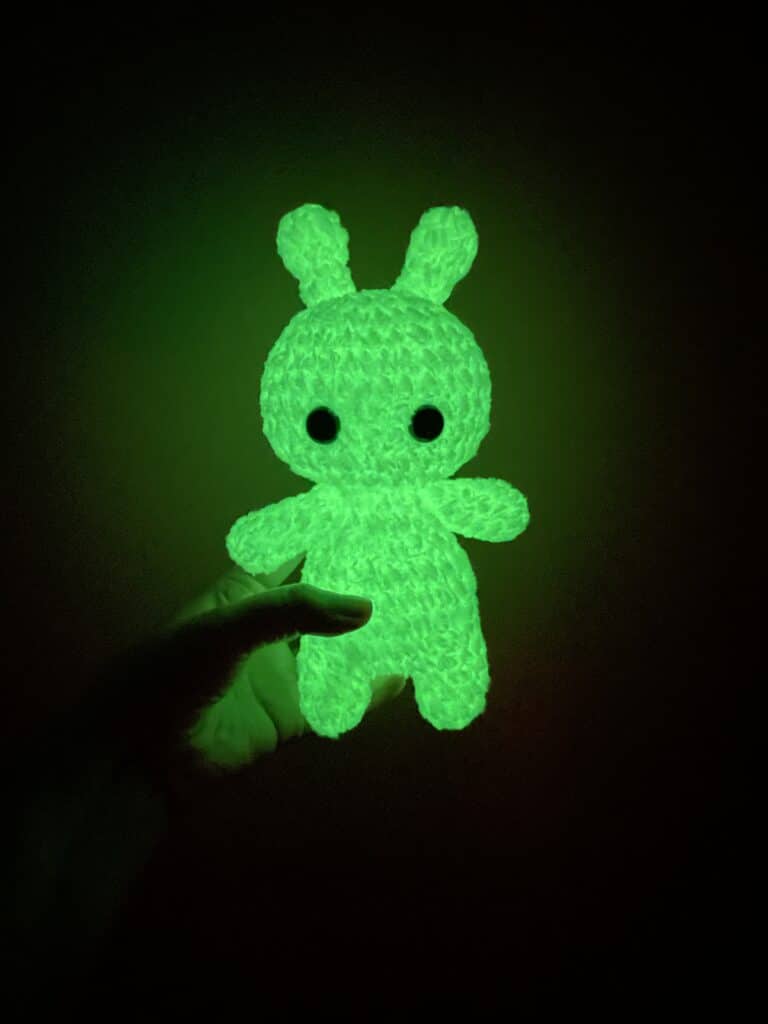
Glow in the Dark Version
I used two skeins of Lion Brand Glow Chenille Yarn to make this glow in the dark version. The yarn is slightly rough, but really does glow!

Abbreviations
SC- single crochet
SC INC- single crochet increase
INV DEC- Invisible decrease
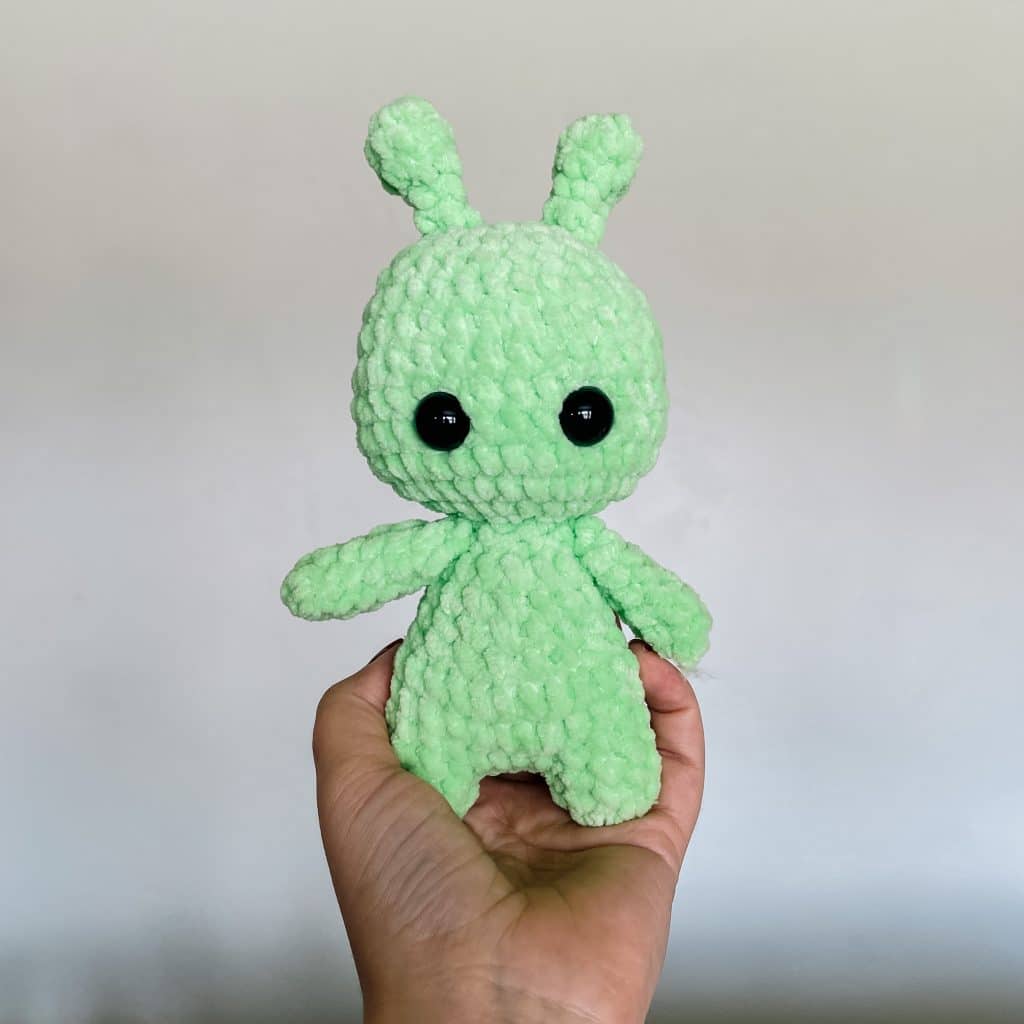
This little alien is made from the bottom up. You make two feet and attach them as you go. The head is made by decreasing the body and increasing back out. You will use a neck strengthener to keep the head stable. The feet, body, and head are made in one piece. The arms and antenna are attached at the end.
Amigurumi Alien Crochet Pattern
Neck Strengthener
*Click here for a video and picture tutorial on how this works*
In a magic circle, SC 7. SC in each around for a total of 7 rows. Fasten off and leave a long tail to sew the hole closed and sew through the neck.
Crochet Pattern for Alien’s Body
Round 1: In a magic circle, SC 8.
Rounds 2-3: SC in each around. (8)
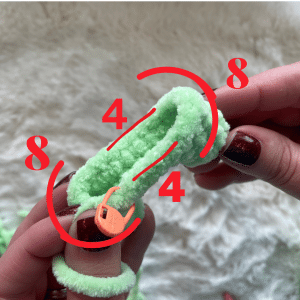
Fasten off the first foot. On the second foot, chain 4 and slip stitch to the first leg where you fastened off.
Round 4: SC in each stitch around the first leg (8). SC in each chain across. (4) SC in each stitch around the second leg. (8) SC on the other side of the chain. (4) Attach to the first SC with a slip stitch. (a total of 24)
I go through this whole process in the video here, if you need a visual!
Rounds 5-9: SC in each around. (24)
Round 10: SC in the first, INV DEC in the next. Repeat around. (16)
Rounds 11-12: SC in each around. (16)
Begin to stuff here. Make sure you get the little feet well. Continue to stuff as you close.
Round 13: INV DEC 8 times. (8)
Round 14: SC in each around. (8)
Round 15: In the front loop only, SC INC. (16)
Round 16: SC in the first, SC INC in the next. Repeat around. (24)
Round 17: SC in the first two stitches, SC INC in the next. Repeat around. (32)
Rounds 18-22: SC in each around. (32)
Insert the neck strengthener here (see notes!). Attach the eyes between rounds 19 and 20, about 4 stitches apart. Stuff as you close. Watch the video here to get a round head.
Round 23: SC in the first 2, INV DEC in the next. Repeat around. (24)
Round 24: SC in each around. (24)
Round 25: SC in the first. INV DEC in the next.. Repeat around. (16)
Round 26: INV DEC 8 times. (8)
Fasten off and sew the remaining hole closed.
Crochet Alien Parts
Arms
SC 7 in a magic circle
Rounds 2-7: SC in each around. (7)
Fasten off and weave in the end. Attach using the method outlined in this picture/video tutorial. This body is small enough you can use a normal tapestry needle.
Antennae
Round 1: In a magic circle, SC 6. (6)
Round 2: SC INC in each around. (12)
Round 3: INV DEC in each around. (6)
Rounds 4-6: SC in each around. (6)
Fasten off leaving a long tail to attach to the head. Attach them at the top, about 2 rounds out from the center of the head.
Did you make this pattern?
Mention me @thefriendlyredfox so we can see your creations! You can also leave a comment below!

I tjinl the count on row 15 is off, to go from 8 to 16 itd be all increases! Otherzise do fqr the pattern looks good!
That’s what it is! The instructions say “SC INC”. If the instructions were to single crochet and then increase, there would be a comma. “SC, INC”. I know it’s a little confusing – but there are different types of increases (like HDC or DC) so I need to specify the SC INC. Hope that helps!
how many hours would it take to make it?
It’s about an hour and half!
I made this little guy twice, and they turned out so cute. Added droopy ears to the second one!
Loved making this pattern! I made big Sparkly alien eyes an added a belly button.
This was so fun and easy would recommend he’s so cute and he’s a lil’guy
I named mine perry and I made him a het
I’m like 90% sure I sewed the arms on wrong but it’s okay because my alien still turned out so cute!