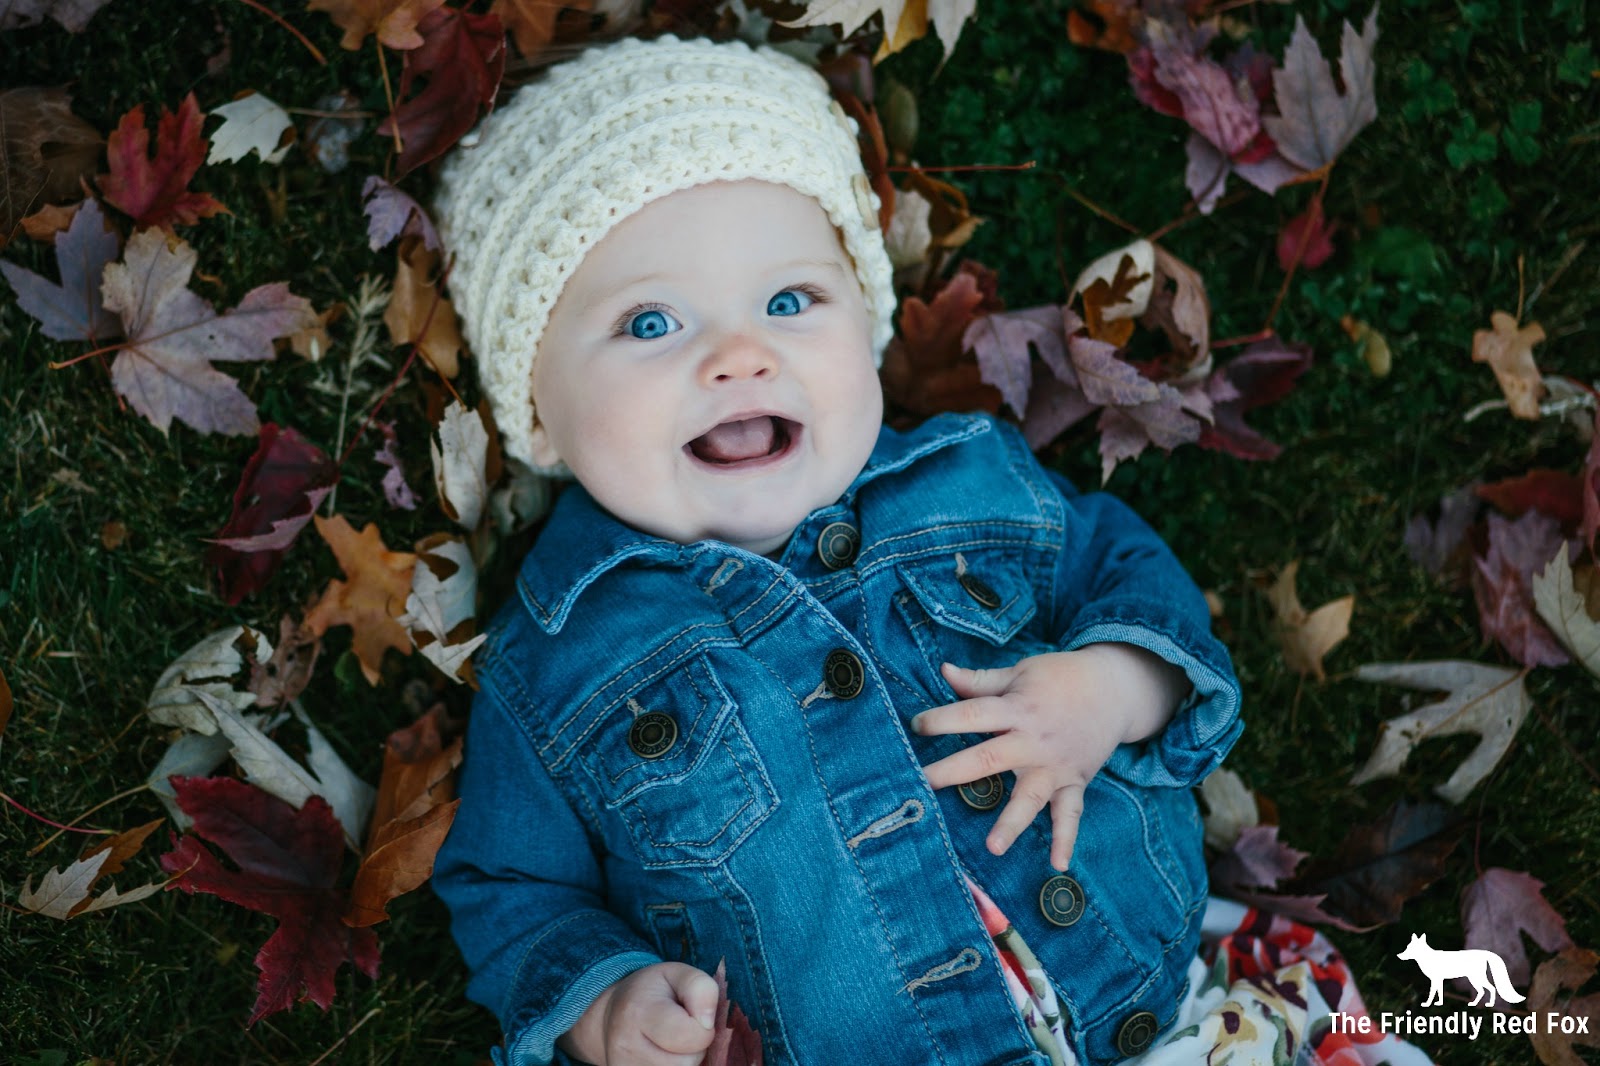
Free Ear Warmer Pattern

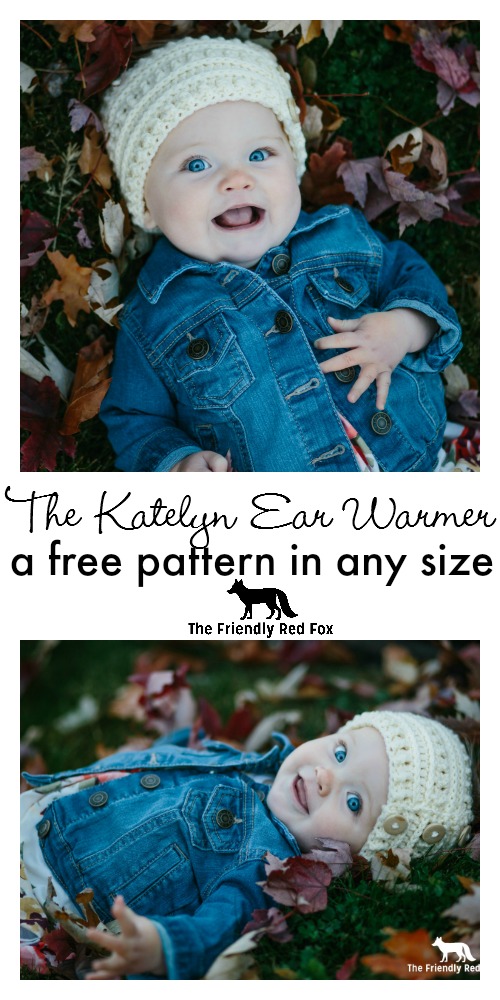
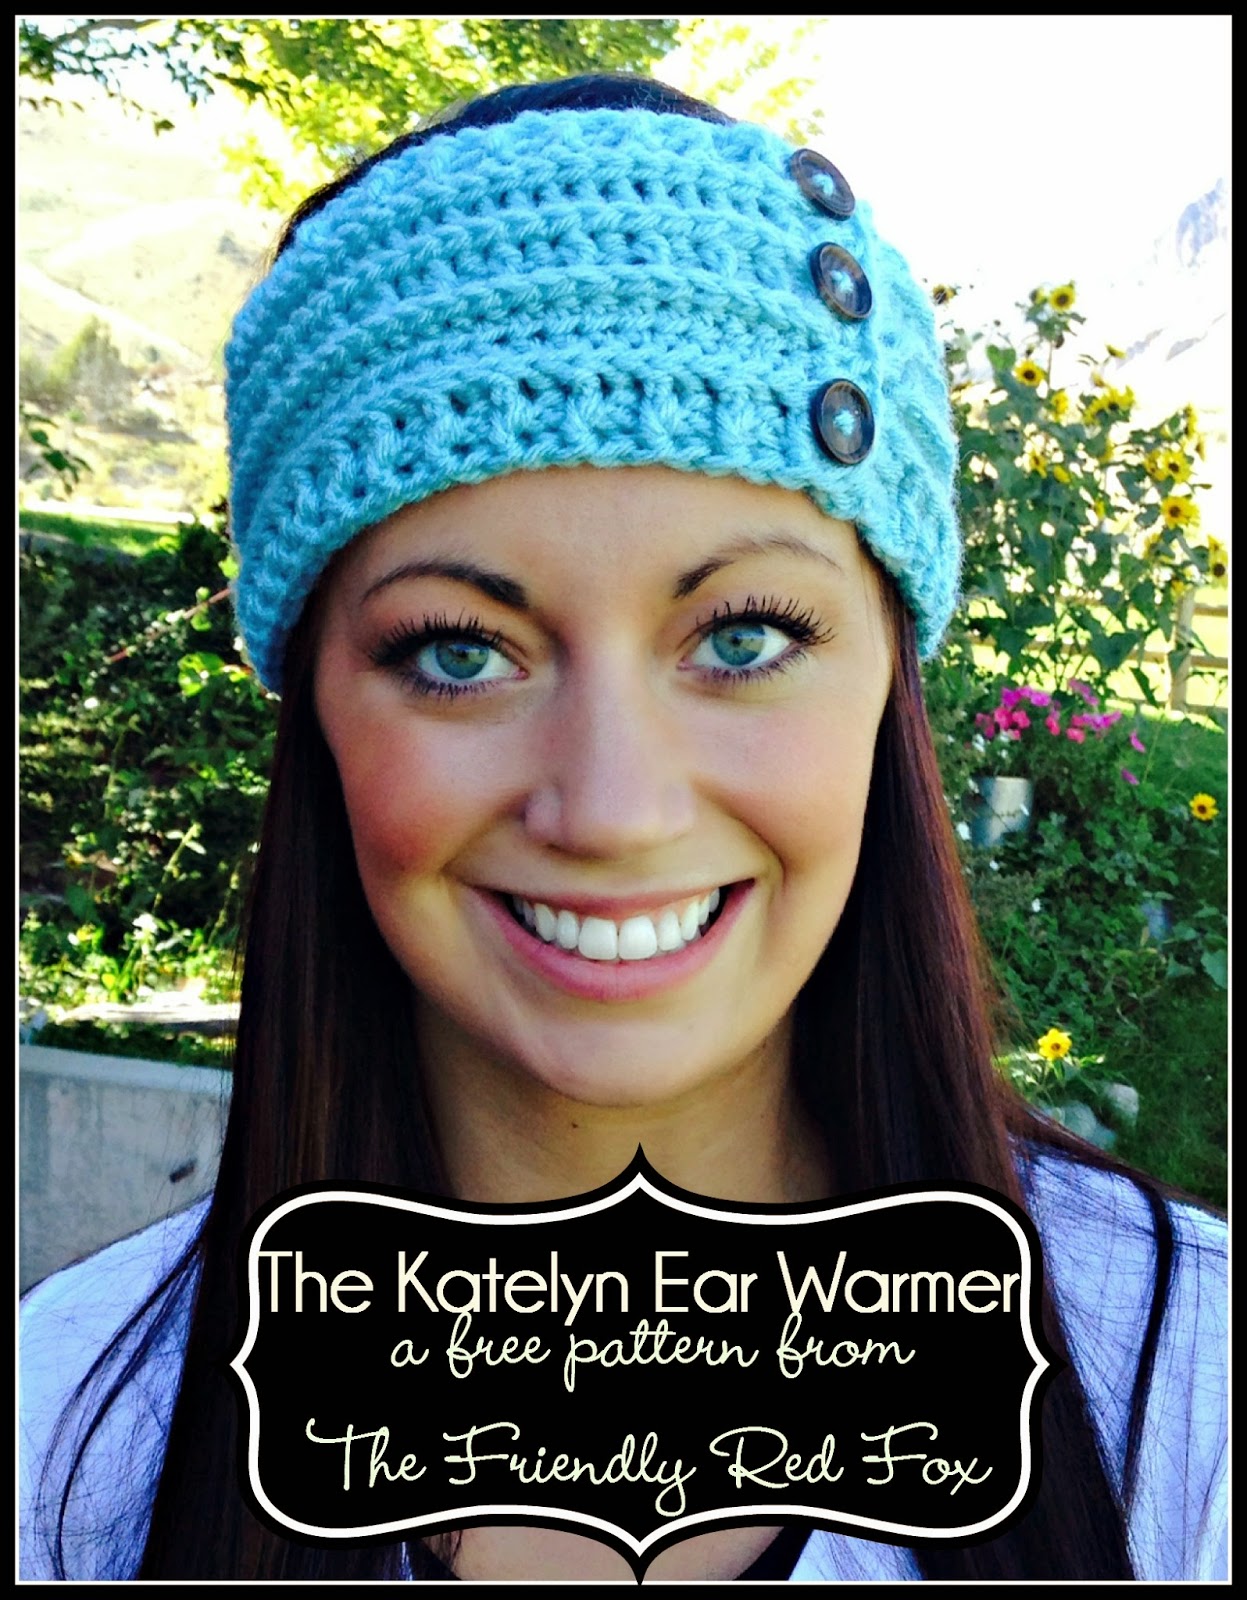
I had a couple of puzzlers when naming this pattern… I usually call these headbands, but that seems to confuse people if they are larger like this one. The size of this one is really ideal for the cold winter months. So I went with “ear warmer.” Also, most of my other patterns are very easy to name. “Fox hat,” “penguin hat,” “Katniss cowl”… You see what I mean. So I decided to name it after my very gracious, very beautiful sister, Katelyn. (That is her beautiful face in the picture. Thanks Katelyn!)
You will need…
Size 4 Worsted Weight Yarn (I love Simply Soft by Caron for headbands! So shiny and soft…)
Size 5.00 hook
yarn needle for sewing
3 matching buttons
You will need to know how to:
Chain
DC (double crochet)
FPDC (front post double crochet)
BPDC (back post double crochet)
If you have made my Katniss Cowl or my Ribs and Ridges Scarf you will be very familiar with these stitches. In fact, this is a great project to get comfortable with the post stitches before you begin that giant scarf!
Let us begin.
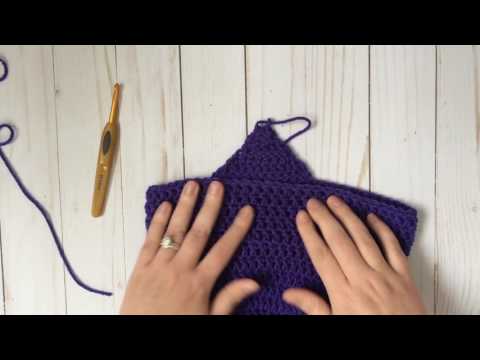
Chain 77. (This will be longer than most heads, but the post stitches shrink it down. And we will be overlapping and sewing it together at the end so you need a little room for that.)
Row 1:In the third stitch from your hook start your first DC. DC in each stitch across.Chain 2 and turn.
Row 2: DC in first stitch. Then FPDC around the post of the next stitch. Then BPDC. Alternate across. Chain 2 and turn.
Row 3: DC in every stitch across. Chain 2 and turn.
Row 4: DC in every stitch across. Chain 2 and turn.
Row 5: DC in first stitch. Then FPDC around the post of the next stitch. Then BPDC. Alternate across. Chain 2 and turn.
Row 6: DC in every stitch across. Chain 2 and turn.
Row 7: DC in every stitch across. Chain 2 and turn.
Row 8: DC in first stitch. Then FPDC around the post of the next stitch. Then BPDC. Alternate across.
I like to SC around the edges to give it a nice clean look. The overlap the ends (your nicest looking edge on top!) and using your yarn needle, sew together. Then attach your buttons. I placed mine on each row of post stitches.

And you are done!
I am curious though… would you call this an ear warmer or a headband?
Follow me on Pinterest to see my projects and inspiration. And keep up with me on Facebook! Do you prefer Instagram? (So do I!)
I do not have a problem with individuals making and selling items using
this pattern. I do have a problem if you take my photos and the credit:)
No big deal, just use your own pictures and link back to this page if
you are selling online! Thanks so much!

You are a dear for this sharing your pattern .I AM GOING TO CROCHET THIS AND ADD MY OWN HAND MADE BUTTONS OF POLMERE CLAY. will send you a pic.
Wonderful pattern, thank you so much. I'm wanting to make one in a super bulky yarn (6), how many stitches would I need? Sorry, my math stinks!!
Thank you!!
Lovely, lovely, lovely. Have made two of these within the last 24 hours 🙂
Lovely, lovely, lovely. Have made two of these within the last 24 hours 🙂