No-Sew Silly Bird Crochet Pattern
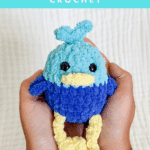
This silly bird no sew amigurumi pattern can be done in well under an hour- And the color possibilities are endless! This is a great pattern if you hate sewing- this amigurumi pattern great for markets!

Silly Bird No Sew Amigurumi Pattern Notes
This little silly bird no-sew amigurumi patterns is the perfect quick project if you sell what you make or need a lot of cute somethings quick! Unlike my one hour turtle, I timed myself making one of these at 32 minutes (that was after making seven of them so I had the pattern down-but still!) The blanket yarn makes it work up fast, soft, and perfectly squishy. And if you get stuck, don’t worry, I’ve included video tutorials for the trickier parts.
These little amigurumi birds fit in the palm of my hand, measuring about 4 inches tall (not counting the legs.) The little legs dangle just like my silly goose– that is why I call it the Silly Bird! They are fun and whimsical and kids LOVE them!
You can choose to work with different yarn, just keep in mind that although many yarns are classified the same, they can work up much differently.

JOIN MY NEWSLETTER TO RECEIVE…
A free email course-Amigurumi 101
This free amigurumi email course gives you what you need to master the basics of amigurumi, along with some extra tips and tricks!
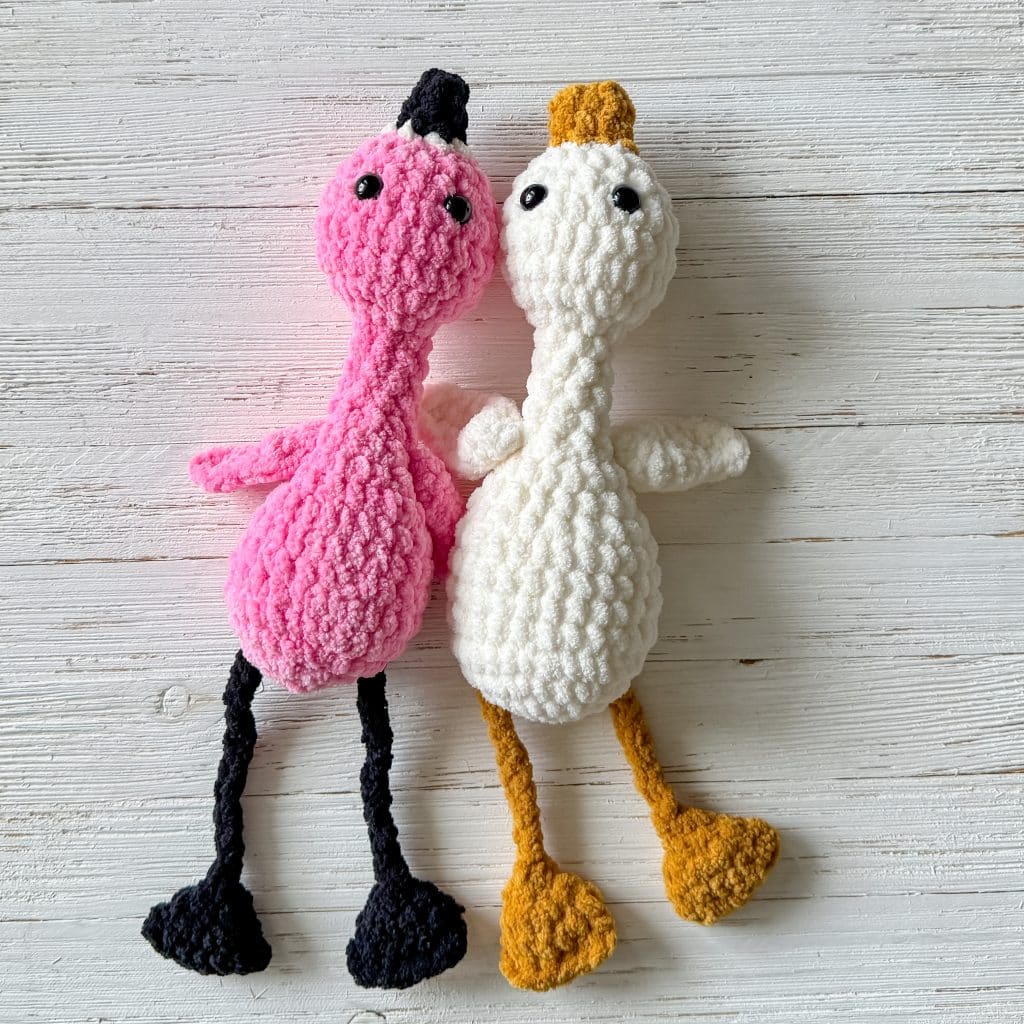
If you want to see some of my other silly birds, I’ve got a whole flock right here: The Silly Goose, the Silly Chicken, and the Squishy Chicken, too!
Ad-free, Printable PDF Full Pattern
My patterns are free on my website, but if your prefer a printable copy, you can find them in my shop!
Silly Bird Pattern
$6
Silly Goose Pattern
$6

Squishy Chicken Pattern
$6
Free No-Sew Amigurumi Pattern Materials
To get started making this free Silly Bird crochet pattern, you’ll want to gather all your materials first.
You will need:
- Bottom & Wing Color (A) – 18g plush yarn (I used Premier Basix Chenille for most of these. You can find the color combinations at the bottom of this post.)
- Top Color (B) – 15g plush yarn
- Beak/Leg Color (C) – small amount
- 10.5mm safety eyes
- Crochet Hook in Size 4.5mm (or hook size that keeps stitches tight and feels comfortable)
- Tapestry Needle
- Polyfil
- stitch marker
video tutorials
These methods are used in this pattern!


Notes:
This Silly Bird pattern is super quick to make and a fun, no-sew project! You will make the body first, then crochet on the feet, beak, wings, and top feathers. The only reason I recommend a yarn needle is to sew in the ends for these additions.
You can use safety eyes or try out embroidered eyes so it would be safe for a baby/toddler.
I have a collection of embroidery videos here.
I used blanket yarn for this pattern, a size 6 weight. I typically use Premier Basix Chenille, Bernat Blanket and Bernat Baby Blanket. I think these are interchangeable size wise. I use a 4.5mm hook for the Premier Basix Chenille and a 5mm for Bernat, which is much smaller than the recommended size on the label, but I want nice, tight stitches for this type of pattern. If this is too tight for you, size up a hook size until you can crochet comfortably but still have tight stitches.
Please be aware that even though the label may say it is size 6, some materials and brands work up much differently. Keep that in mind as you are choosing your yarn.
Suitable yarns could be regular Bernat Blanket, Premier Basix Chenille yarn or Cozy Cub from Michaels (formerly Big Twist from Joann’s).
No-Sew Silly Bird Crochet Pattern
Body
Start with Color A
Round 1: In a magic circle, SC 8.
Round 2: SC INC in each around. (16)
Round 3: SC in the first, SC INC in the next. Repeat around. (24)
Rounds 4-7: SC in each around. (24)
Change to Color B (Click to see my favorite way to change color)
Rounds 8-10: SC in each around. (24)
Round 11: SC in the first, INV DEC in the next. Repeat around. (16)
Insert safety eyes between rounds 9 and 10, 4 stitches apart.
Begin stuffing here.
Round 12: INV DEC in each around. (8)
Finish stuffing and finish off with a long tail.
Sew hole closed with a whip stitch
Wings
Using Color A
On round 7, two stitches from the eye, insert your hook around the post of that stitch. Pull up the yarn (leaving a small tail to tie off and weave in) and chain 3 times. TRC around the next two posts. Chain 3 and slip stitch to the next stitch over. Fasten off and weave the end near the first tail. Tie a knot and weave in the ends. Repeat on other side. Scroll down or see here for the video tutorial!


Feather Tuft
Using Color B
Centered between the eyes, on the top of the head, insert your hook and pull up your yarn, leaving a small tail (to tie off and weave in.) Chain 4 times. One stitch away from the hook, slip stitch in the remaining 3 stitches. Slip stitch to the head. Chain 3 times. One stitch away from the hook, slip stitch in the remaining 2 stitches. Fasten off and weave the end near the first tail. Tie a knot and weave in the ends.

Beak
Using Color C
Right beneath the right eye, insert your hook and pull up your yarn, leaving a small tail (to tie off and weave in.) Chain once. HDC around the next two posts. Chain once and slip stitch in the next stitch. Fasten off and weave the end near the first tail. Tie a knot and weave in the ends. Video tutorial here!


Legs/Feet (make 2)
Note: The legs are intentionally dangly. The actual foot part is open, like a bell. The tail before you make your magic circle AND the one when you fasten off are both very important to the construction of the leg. The measurements I provide for length are probably more than you need, but I rather you be safe than sorry. Video Tutorial Here!

Silly Bird CHICKEN Mod:
Make the body in ALL white, beak and legs in mustard and then follow the instructions below for the comb!
Using red:
Centered between the eyes, on the top of the head, insert your hook and pull up your yarn, leaving a small tail (to tie off and weave in.) Chain 4 times. One stitch away from the hook, slip stitch in the remaining 3 stitches. Slip stitch to the head, going towards the back of the head. Chain 4 times. One stitch away from the hook, slip stitch in the remaining 3 stitches. Repeat one more time for a total of three “spikes.” Fasten off and weave the end near the first tail. Tie a knot and weave in the ends.

Yarn Color Combos:
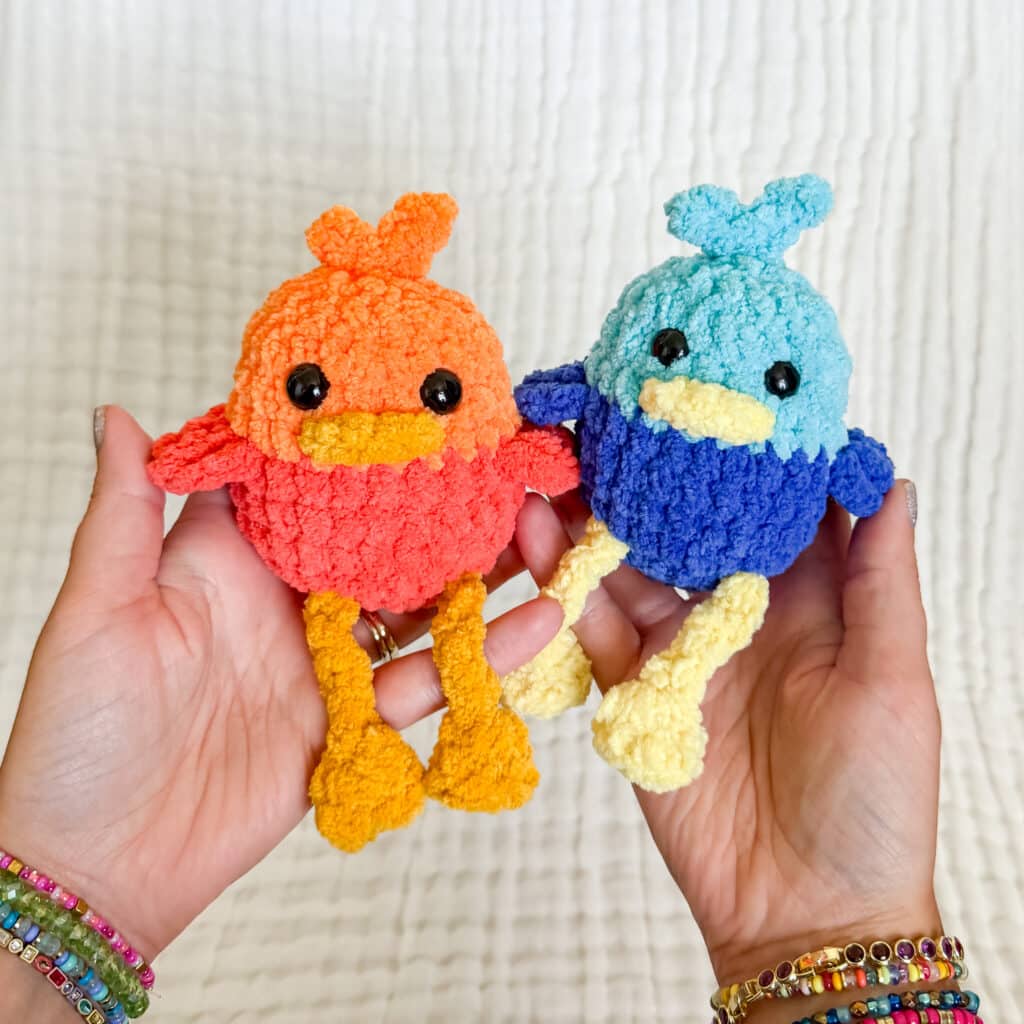
While the combinations for these Silly Birds are literally endless, here are some of the color combos I used. I can’t wait to see what colors you end up using!

I used Premier Basix Chenille for these birds! Blue Bird
Top- Seaside, Bottom- Royal (not listed on site)
Orange Bird
Top-Tangerine, Bottom- Hot Coral
Pink Bird
Top-Bubblegum, Bottom- Hibiscus
Red Head
Top-Poppy, Bottom- Seaside
Beaks and Legs were Banana and Mustard
Want the Ad-free, Printable PDF?
You can find it in one of my stores!

Did you make this pattern?
Mention me @thefriendlyredfox so I can see your No-Sew Silly Bird Crochet Pattern creations! You can also leave a comment below!


Looks very cute and I definitely want to try., thanks so much ❤️
I have made so many of your silly goose and now I can’t wait to make your silly bird!!!
Bah!! These are ADORABLE!!!! Loved your sea turtle patterns, this will no doubt be another great pattern!! Can’t wait to try tomorrow!! Thank you!!🩵
Is color A going to be the top or the bottom?
Color A is the bottom and the wings!