Free Platypus Crochet Pattern-Squishy
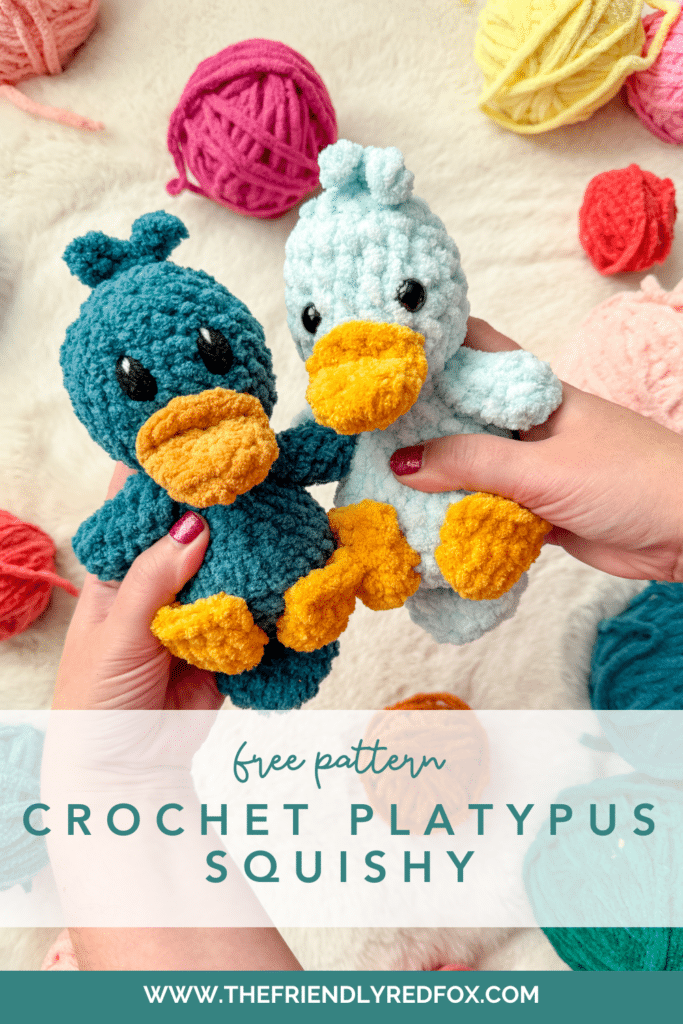
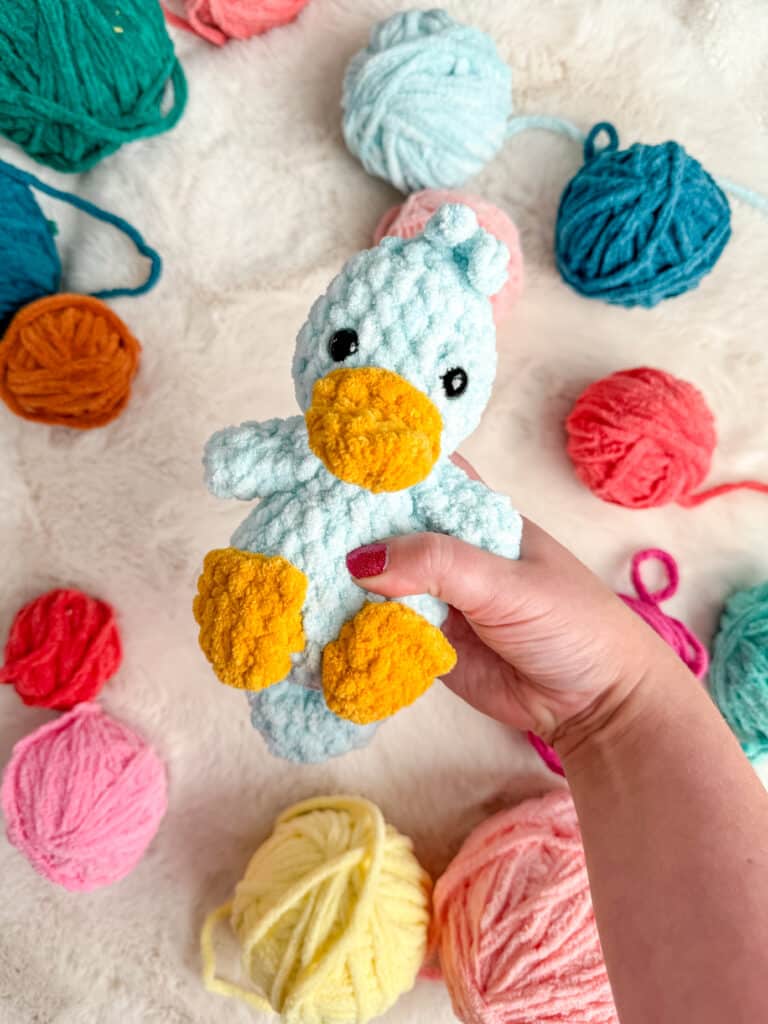
If you want a lovable and squishable friend, this free platypus crochet pattern is just what you need! This works up quickly with blanket yarn, so you can make many for markets or for gifts!
Free Platypus Crochet Pattern Notes
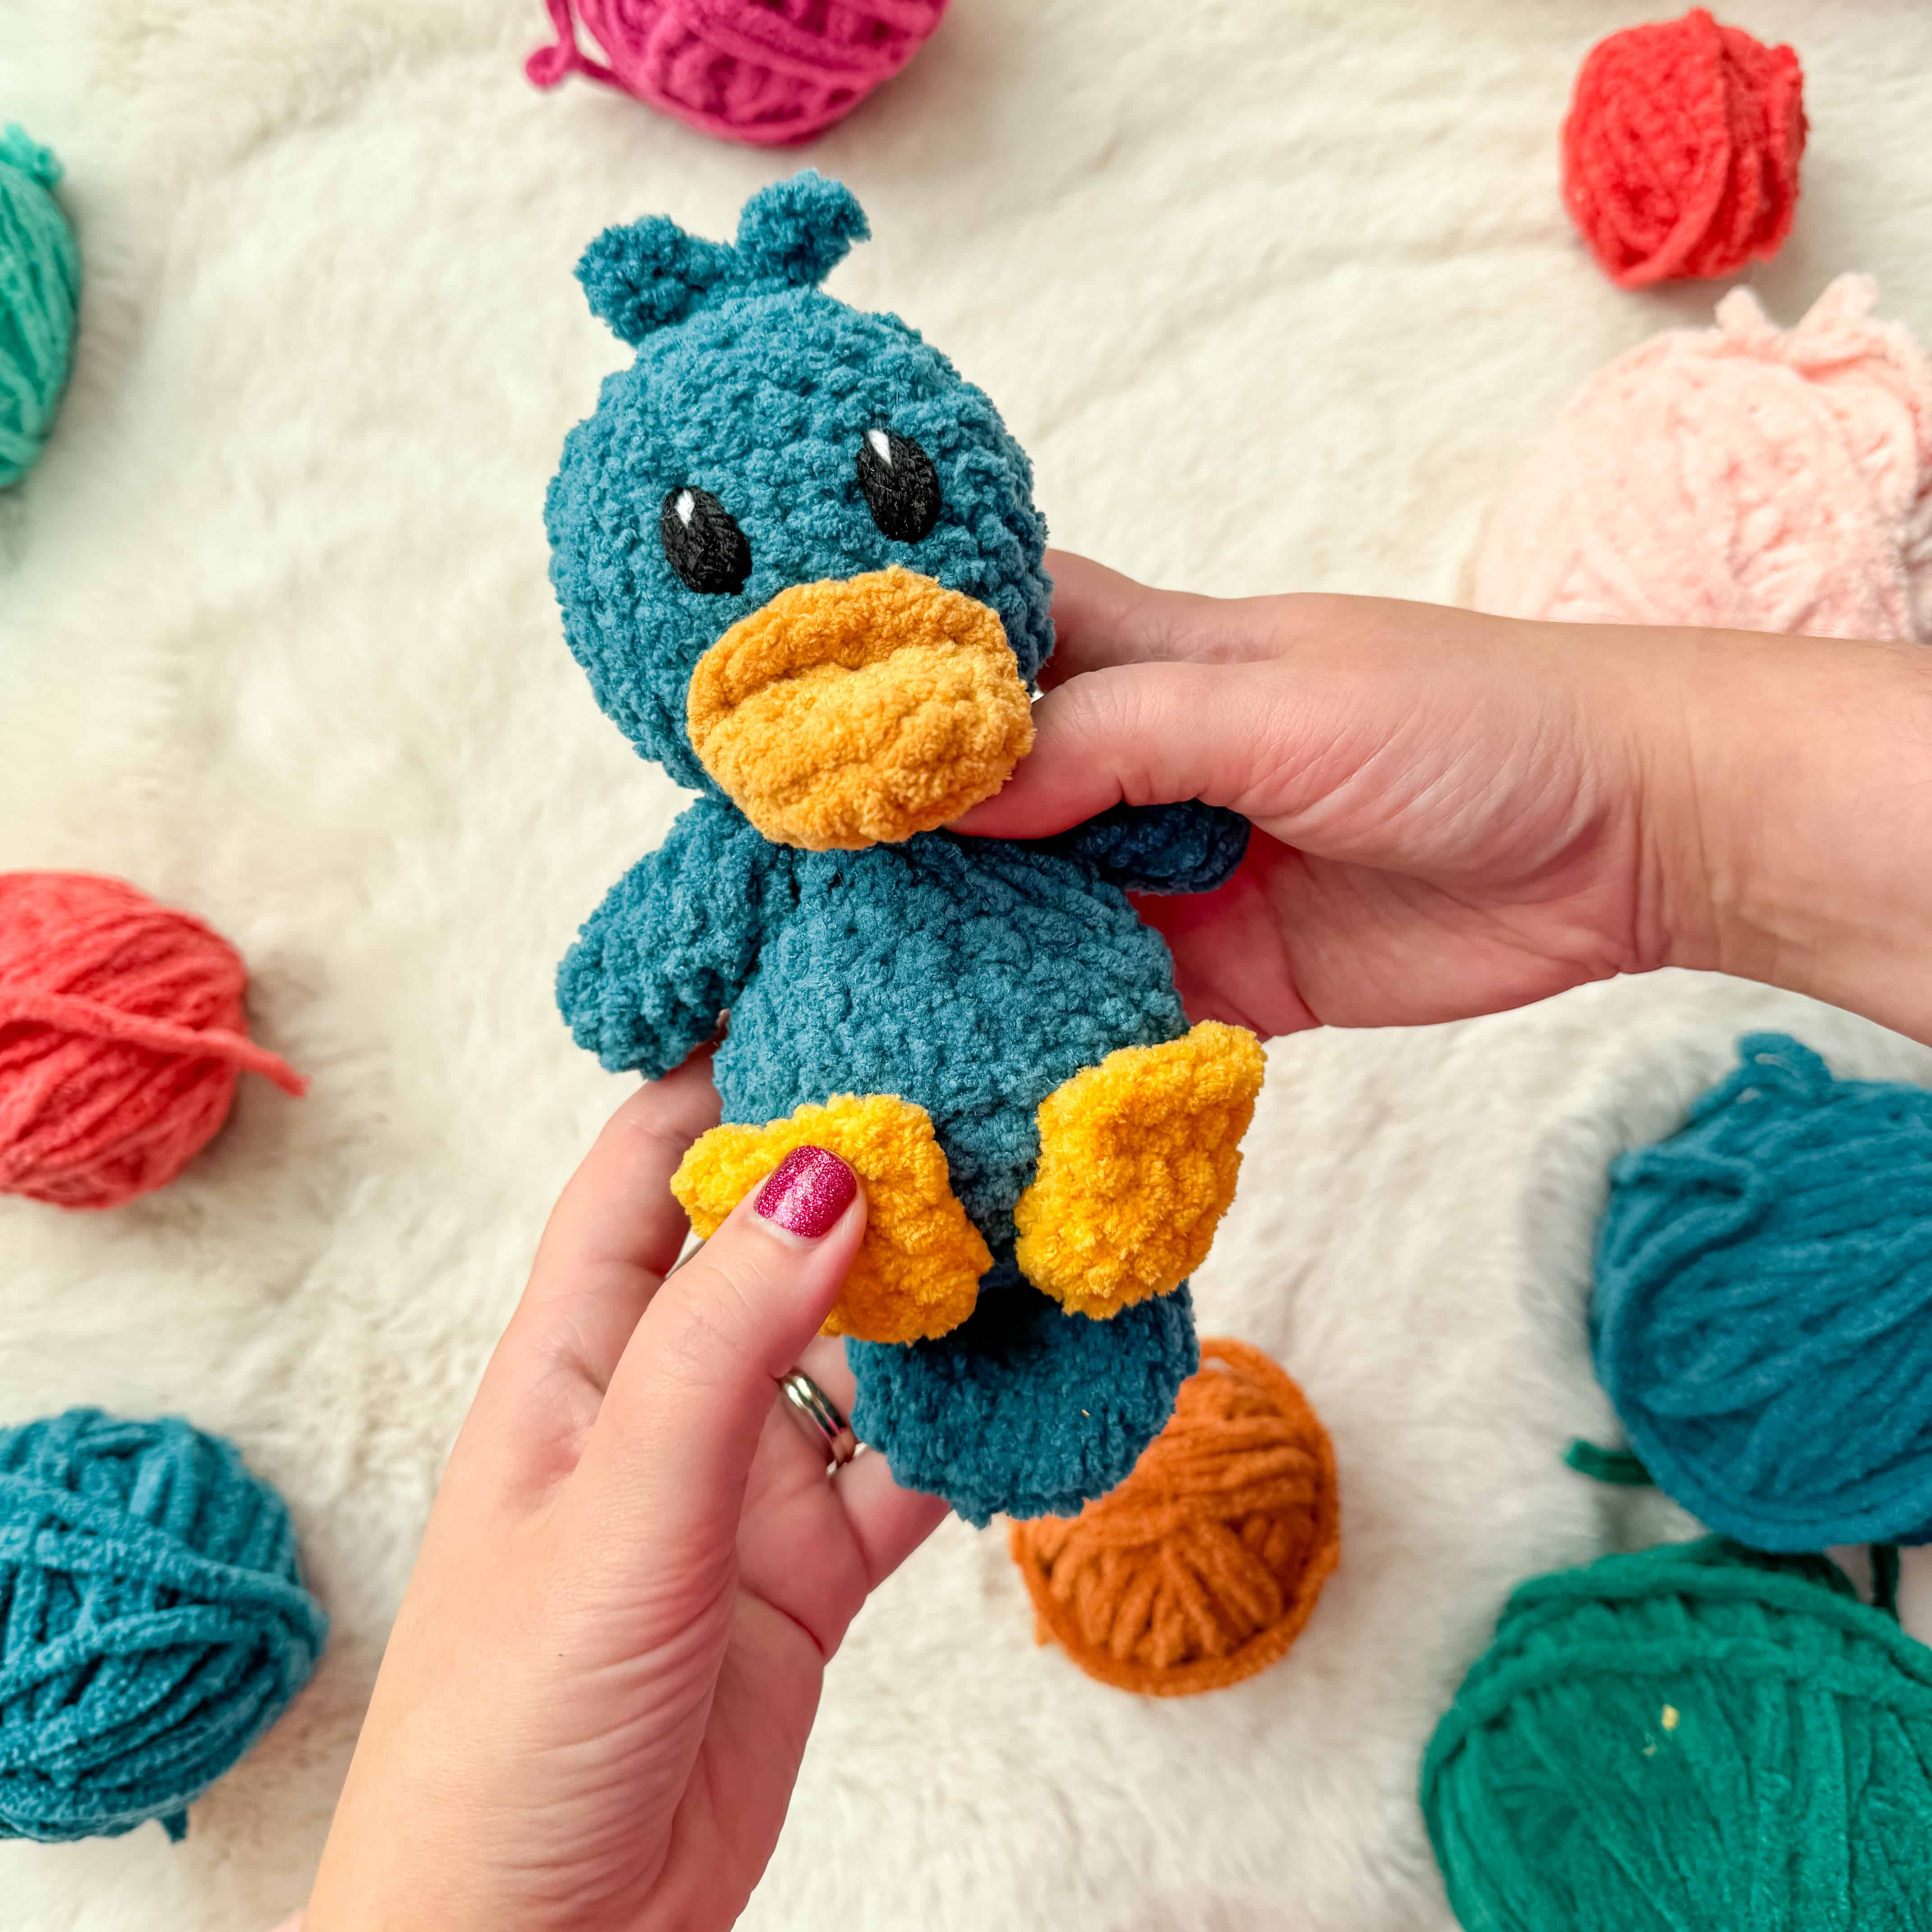
This free platypus crochet pattern works up quickly with blanket yarn to about 8 inches tall. This amigurumi version is the perfect size for small hands and a quick make! There are so many color options you can play around with!
This is another pattern in my “squishie” series! I called them that as an ironic nickname, and then it slowly became the official term. They are made with blanket yarn and the body is intentionally understuffed. This makes them adorably squishy! You will get hooked, and want to make the entire collection – especially the adorable Squishy Hippo!
While this free platypus crochet pattern is made to have a squishy body, the head is fully stuffed. The arms, feet and tail, however, are not. I found this was the best way to get the cuddly body while keeping the shape that I want.
JOIN MY NEWSLETTER TO RECEIVE…
A free email course-Amigurumi 101
This free amigurumi email course gives you what you need to master the basics of amigurumi, along with some extra tips and tricks!
Ad-free, Printable PDF Full Pattern
My patterns are free on my website, but if your prefer a printable copy, you can find them in my shop!

Squishy Platypus
$6

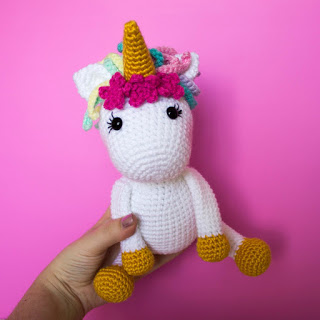
Mix & Make Unicorn Bundle
$9
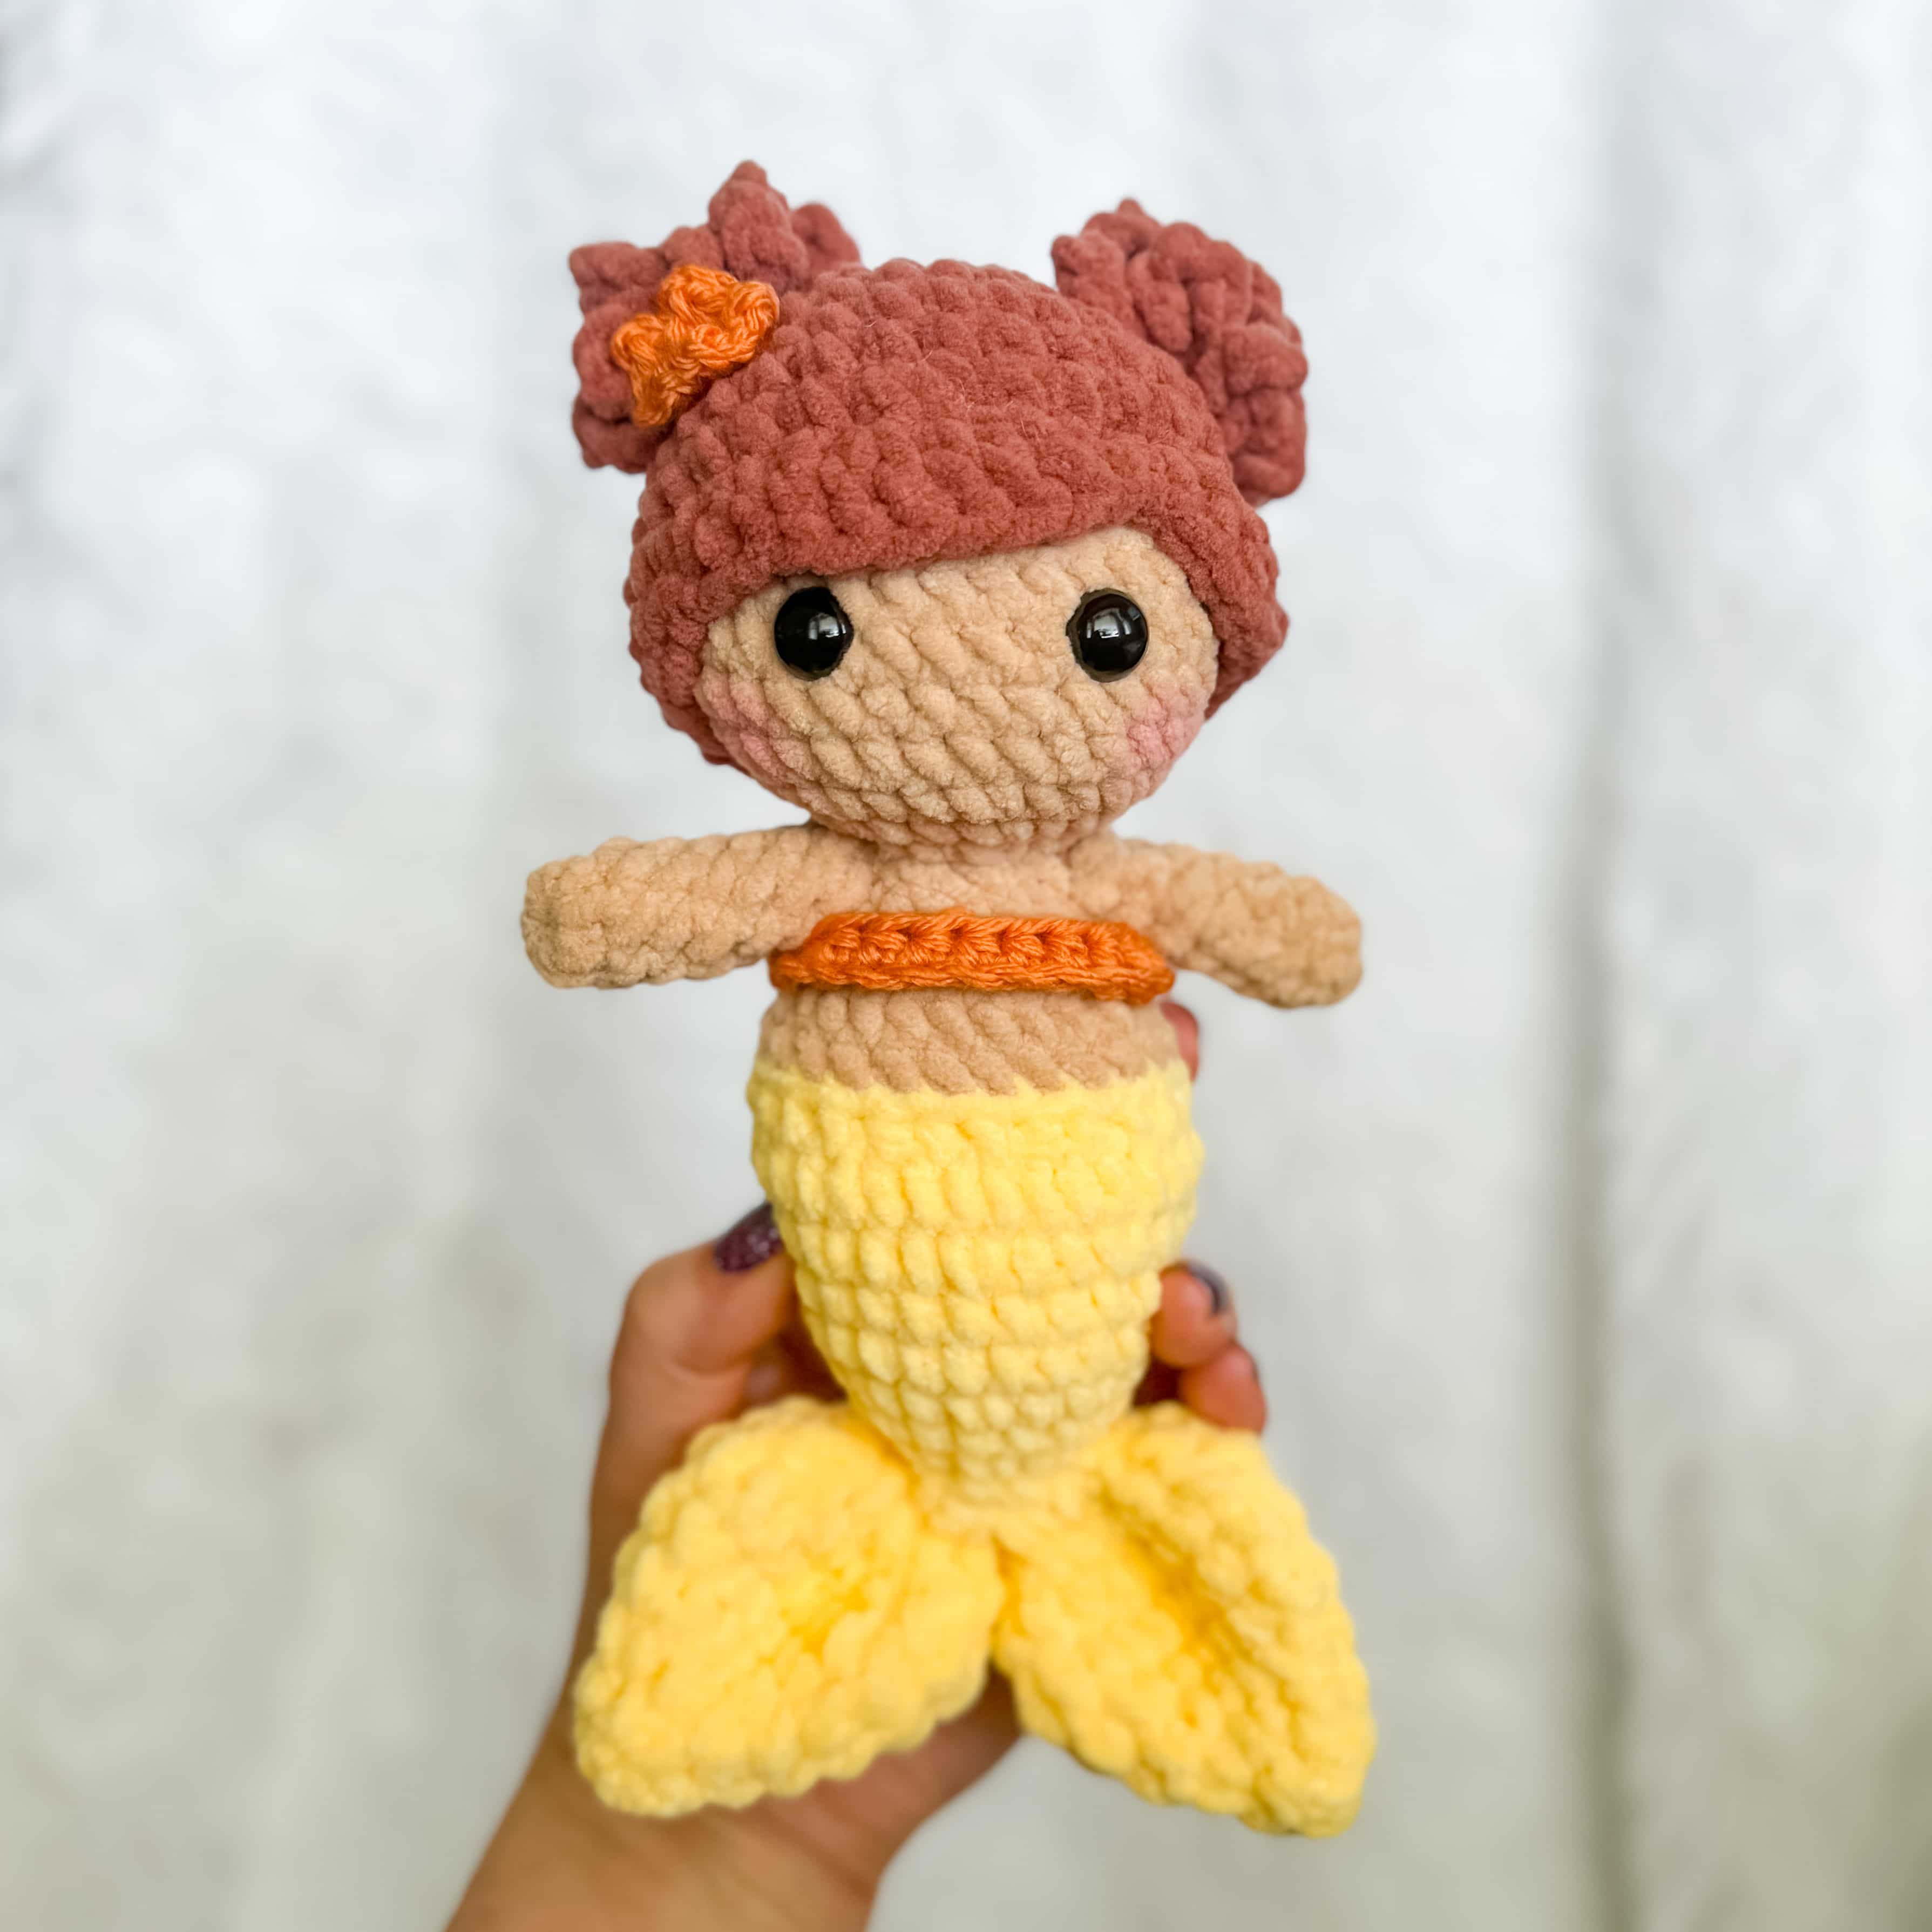
Plush Mermaid
$6
Materials you’ll need
To get started making this squishy platypus crochet pattern, you’ll want to gather all your materials first.
You will need:
- 60g Premier Basix Chenille in Teal Blue
- 20g Premier Basix Chenille in Mustard
- 12mm safety eyes
- Crochet Hook in Size 4.5mm
- Tapestry Needle
- Polyfil
- stitch marker


Notes:
This platypus is made from the bottom to the head, all in one piece. You will intentionally understuff the body for a more floppy, silly look. Over-stuffing will change the look dramatically. You will insert a neck strengthener which will help with the shape and stability of the head, while allowing you to understuff the bottom and stuff the head a little more.
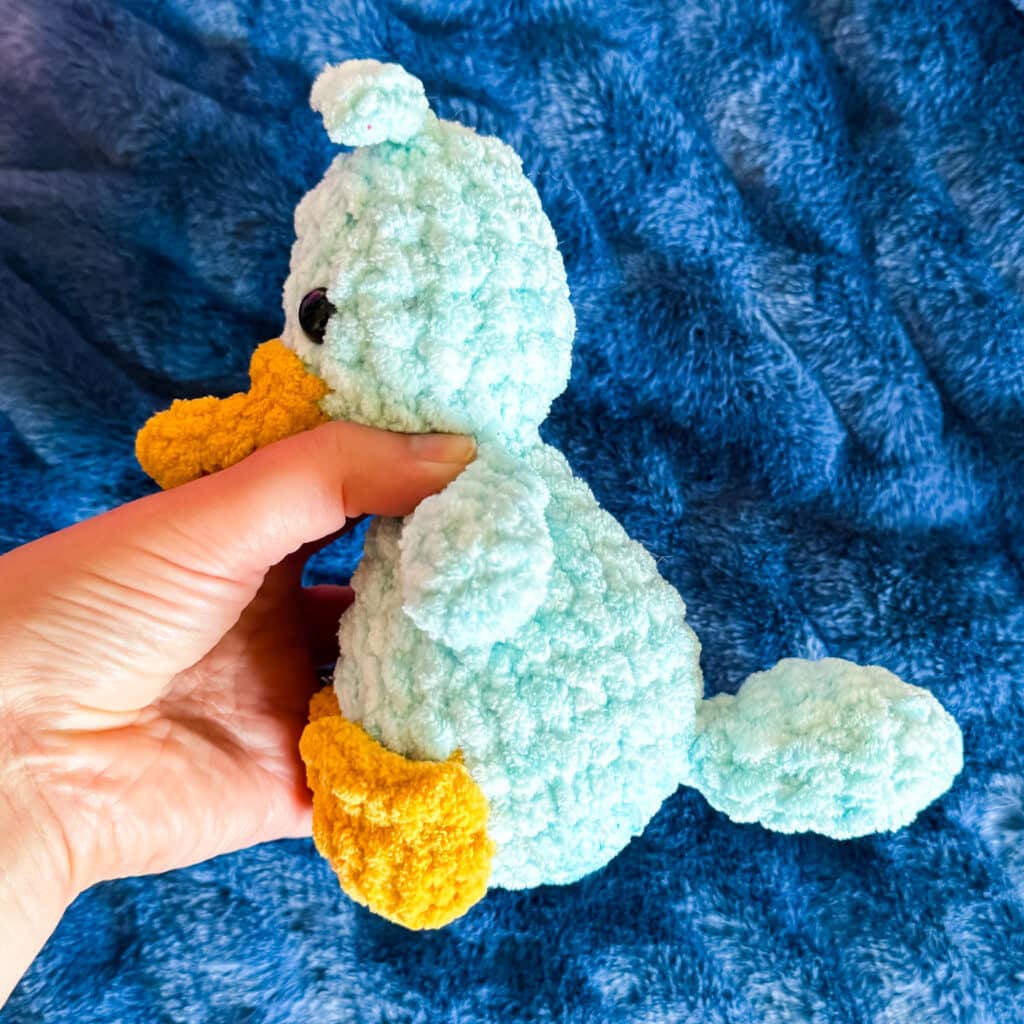
The beak, arms, tail and feet (and little hair!) are attached at the end. The feet are attached flat against the body. You can find the video for that here.
You can use safety eyes or try out embroidered eyes so it would be safe for a baby/toddler. You can find my collection of embroidery videos here.
Substitute yarns could be Bernat Blanket yarn or Big Twist from Joann’s. You may need to change the hook size if you change the yarn.
Squishy Platypus Crochet Pattern
Neck strengthener
*Click here for a video and picture tutorial on how this works*
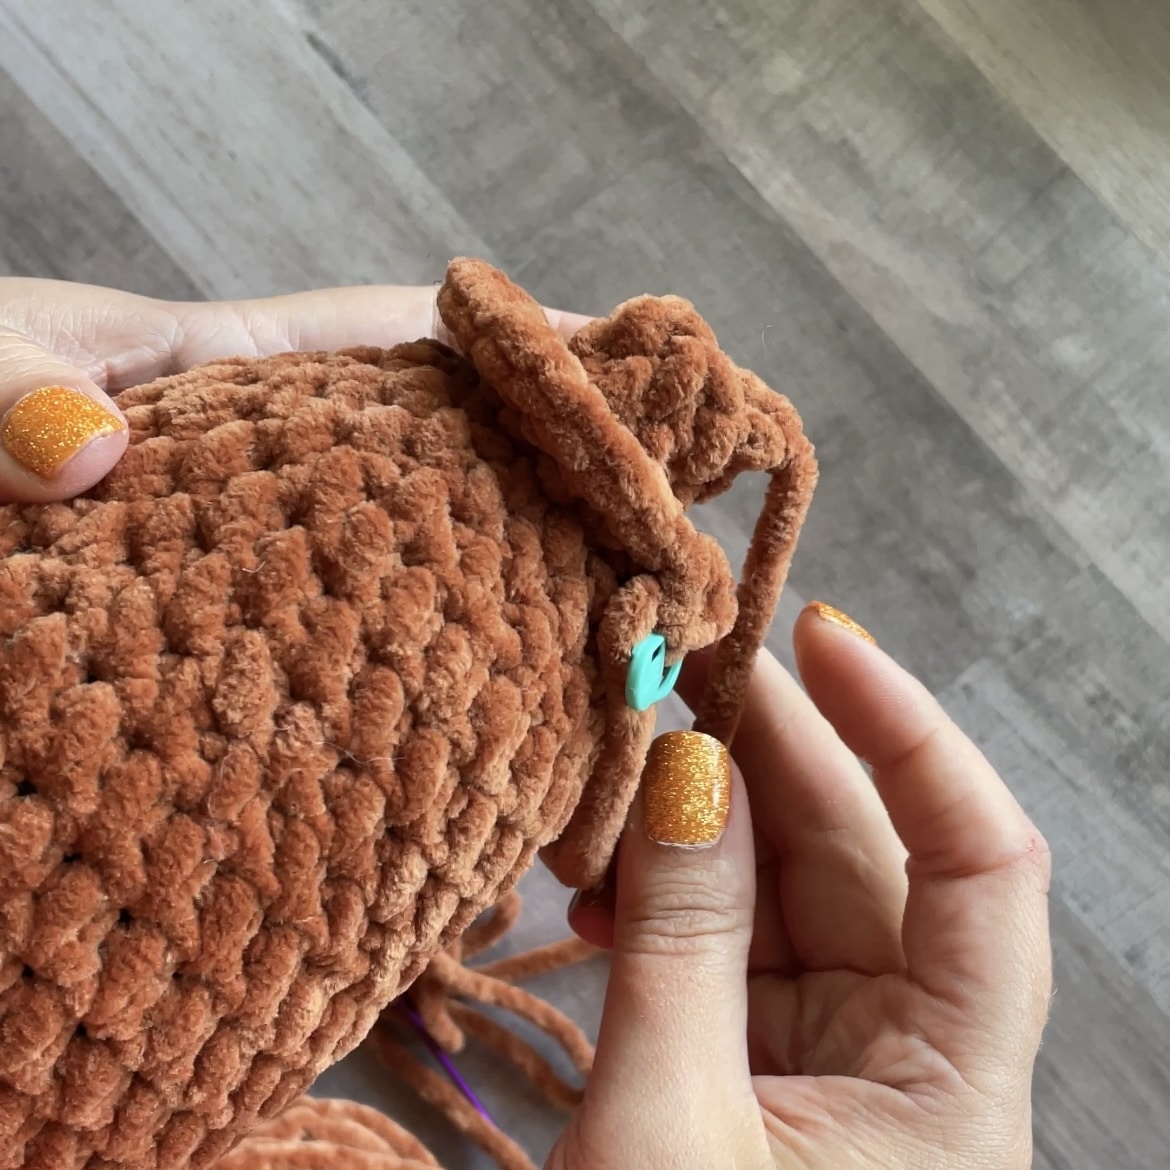
In a magic circle, SC 7. SC in each around for a total of 7 rows. Fasten off and leave a long tail to sew the hole closed and sew through the neck.
Body/Head
In teal:
Round 1: In a magic circle, SC 8.
Round 2: SC INC in each around. (16)
Round 3: SC in the first, SC INC in the next. Repeat around. (24)
Round 4: SC in the first 2, SC INC in the next. Repeat around. (32)
Round 5: SC in the first 3, SC INC in the next. Repeat around. (40)
Round 6: SC in the first 3, INV DEC in the next. Repeat around. (32)
Round 7: SC in each around. (32)
Round 8: SC in the first 2, INV DEC in the next. Repeat around. (24)
Round 9: SC in each around. (24)
Begin to stuff here. Remember to stuff lightly.
Round 10: SC in the first, INV DEC in the next. Repeat around. (16)
Round 11: SC in each around. (16)
Round 12: INV DEC in each around. (8)
Round 13: In the front loop only, SC INC in each around. (16)
Round 14: SC in the first, SC INC in the next. Repeat around. (24)
Rounds 15-19: SC in each around. (24)
Insert safety eyes between rounds 17 and 18, about 4 stitches apart. Or watch these videos for eye embroidery! Insert neck strengthener. Remember to watch this video if you haven’t yet!
Round 20: SC in the first, INV DEC in the next. Repeat around. (16)
Stuff the head.
Round 21: SC in each around. (16)
Round 22: INV DEC in each around. (8)
Fasten off and sew the remaining hole closed.
Platypus Amigurumi Parts
Arms (Make 2)
In teal:
Round 1: SC 7 in a magic circle
Rounds 2-5: SC in each around.
Fasten off and leave a long tail to sew on. Sew the remaining hole closed and attach between rounds 10 and 11.
Feet (Make 2)
In Mustard
Round 1: 10 SC in a magic circle (10)
Rounds 2-3: SC in each around (10)
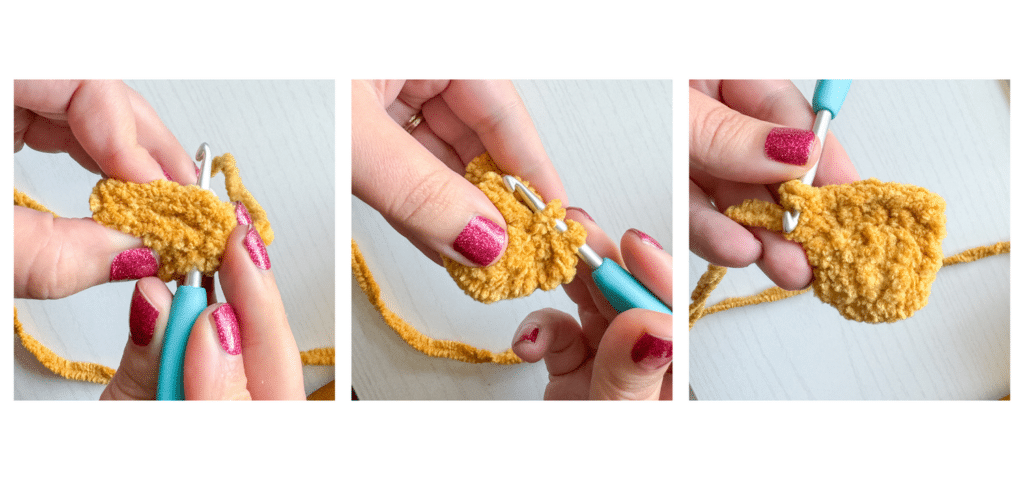
Flatten the piece so that two halves touch. Seal the edge with a SC in each stitch across, with your hook going between the stitches of both sides. SC INC in the last stitch.
Fasten off and leave a long tail to attach.
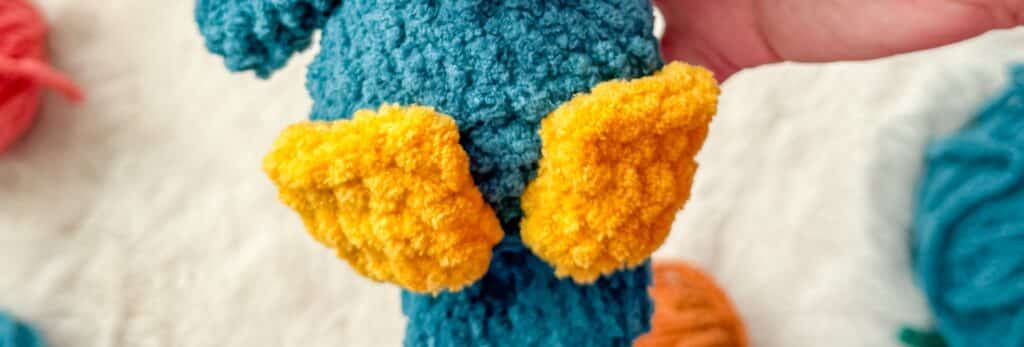
Sew the feet on flat to to the body, with the bottom of the foot touching Round 4.
Beak
In Mustard:
Round 1: 6 SC in a magic circle. (6)
Round 2: SC INC in each around. (12)
Round 3: SC in each around. (12)
Round 4: SC in the first 8. HDC, DC, HDC, SC.
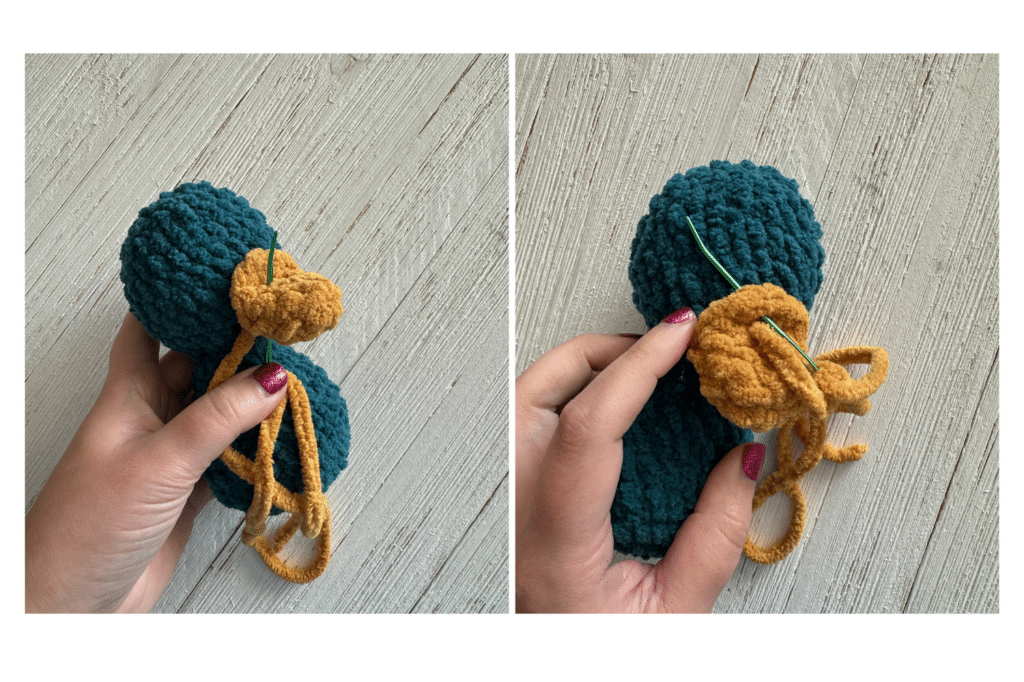
Fasten off and leave a long tail to sew on, with the bottom touching round 15 and the rounded part at the top. When you attach, go up through the beak, and then through the rounded part of the top. Then back down through the head. You don’t want to attach that top part, it will lay better this way.
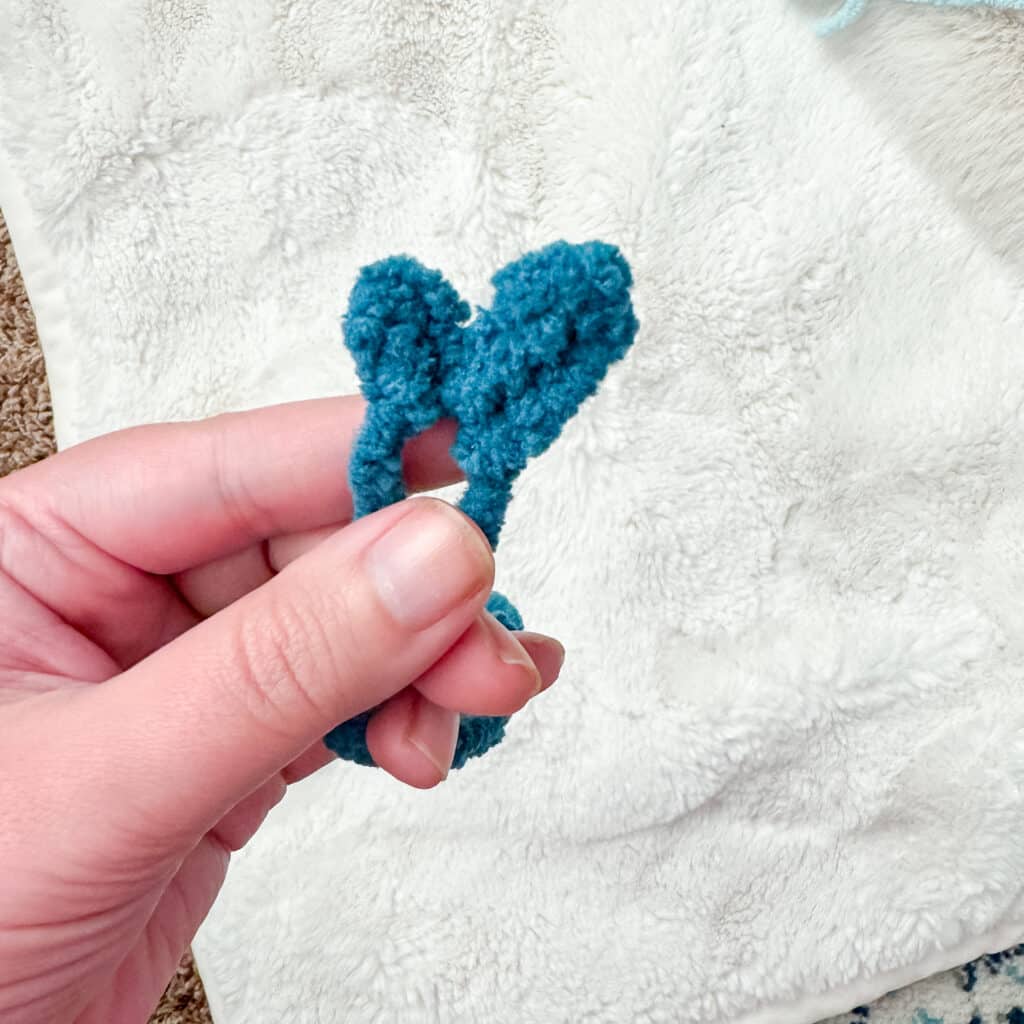
Tuft of Hair
In teal:
Chain 4, turn and SC in the 3 chains back toward the beginning.
Chain 3, turn and SC in the remaining 3. Fasten off and sew in the center of the head.
Tail
In teal:
Round 1: In a magic circle, SC 8.
Round 2: SC INC in each around. (16)
Round 3: SC in the first, SC INC in the next. Repeat around. (24)
Round 4: SC in each around. (24)
Round 5: SC in the first, INV DEC in the next. Repeat around. (16)
Round 6: SC in each around. (16)
Round 7: INV DEC in each around. (8)
Round 8: SC in each around. (8)
Want the Ad-free, Printable PDF?
You can find it in one of my stores!

Did you make this pattern?
Mention me @thefriendlyredfox so I can see your Squishy Platypus Crochet Pattern creations! You can also leave a comment below!