Crochet Edge on Fleece Blanket Tutorial
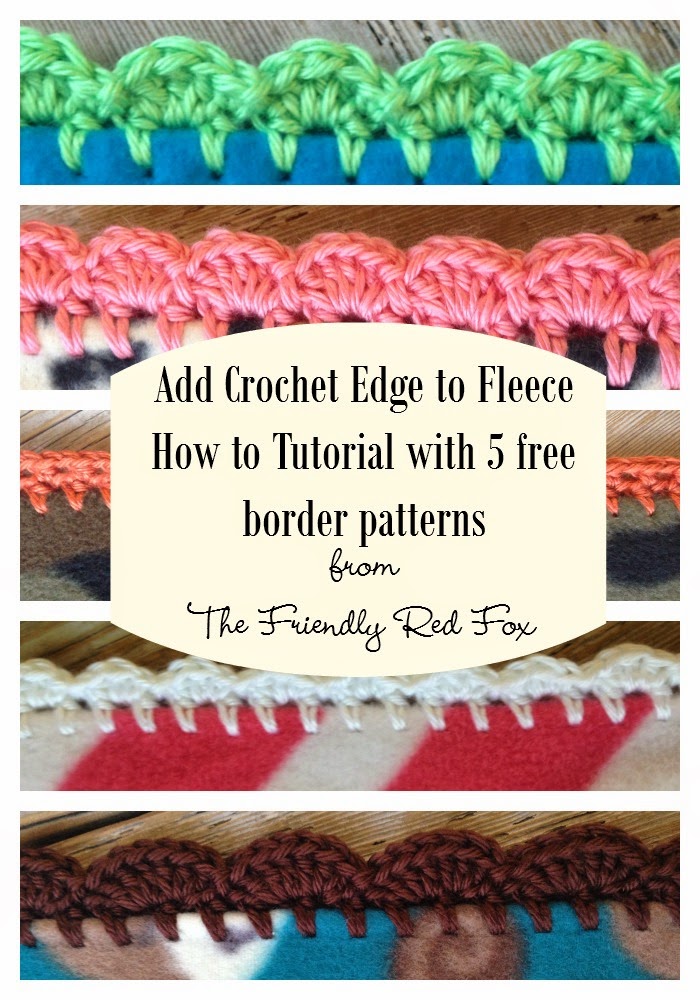
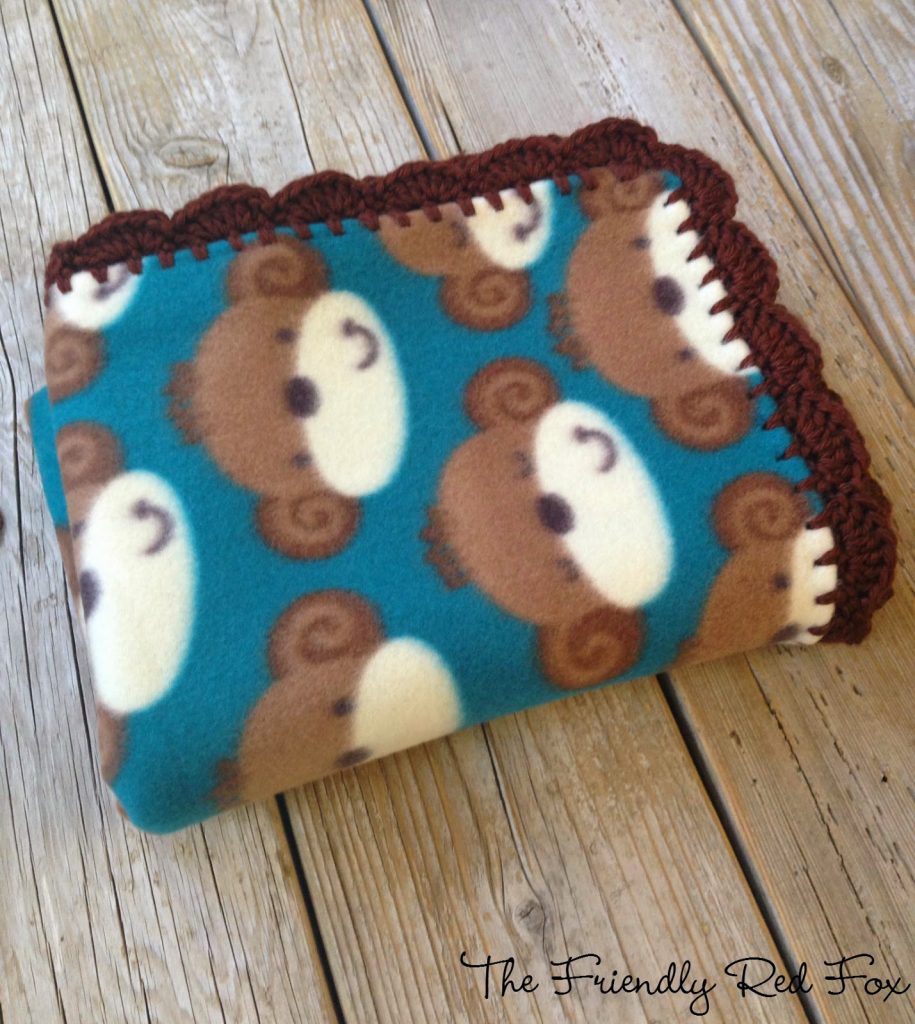
It happens to all of us (at least I hope its not just me!). It’s Friday and you have a baby shower Saturday. And you forgot until that moment. For now, on our husband-is-in-school-and-I-am-a-stay-at-home-mom budget, I need to combine our gift giving budget with my crafty stuffs budget. Luckily I found the perfect quick/reasonable price/still nice gift in this crochet edged fleece blanket! I actually have a stock of these now for all the wee babes coming into our life!
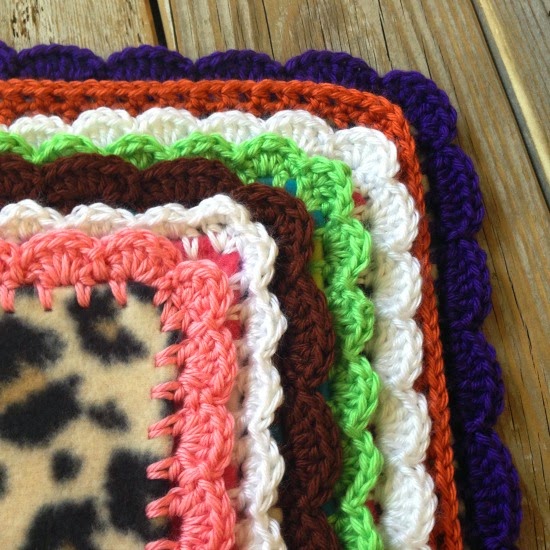
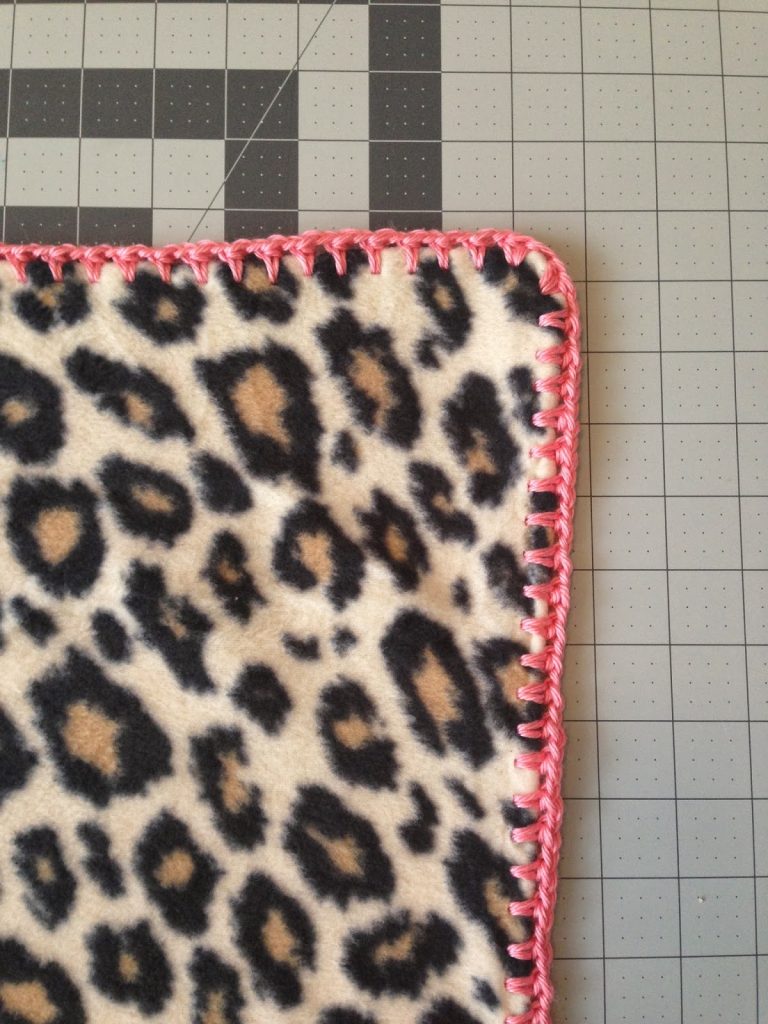
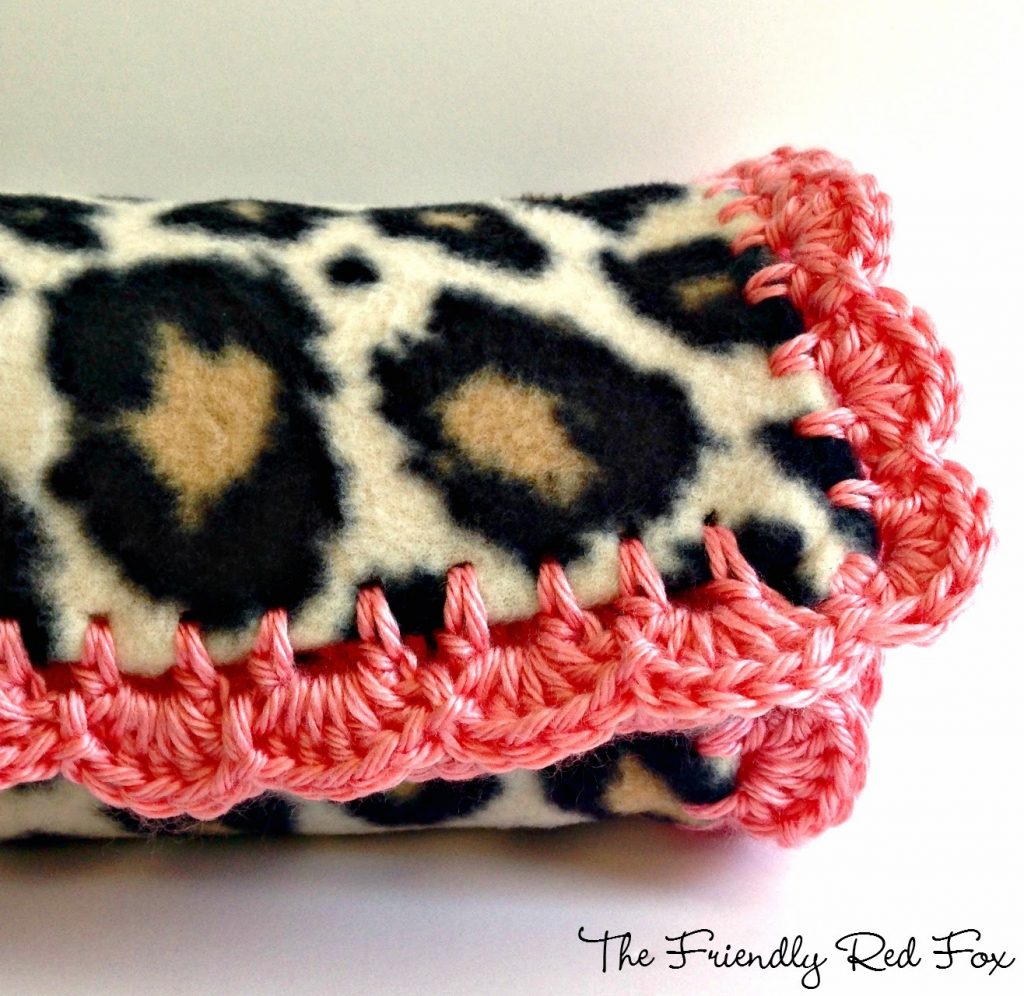
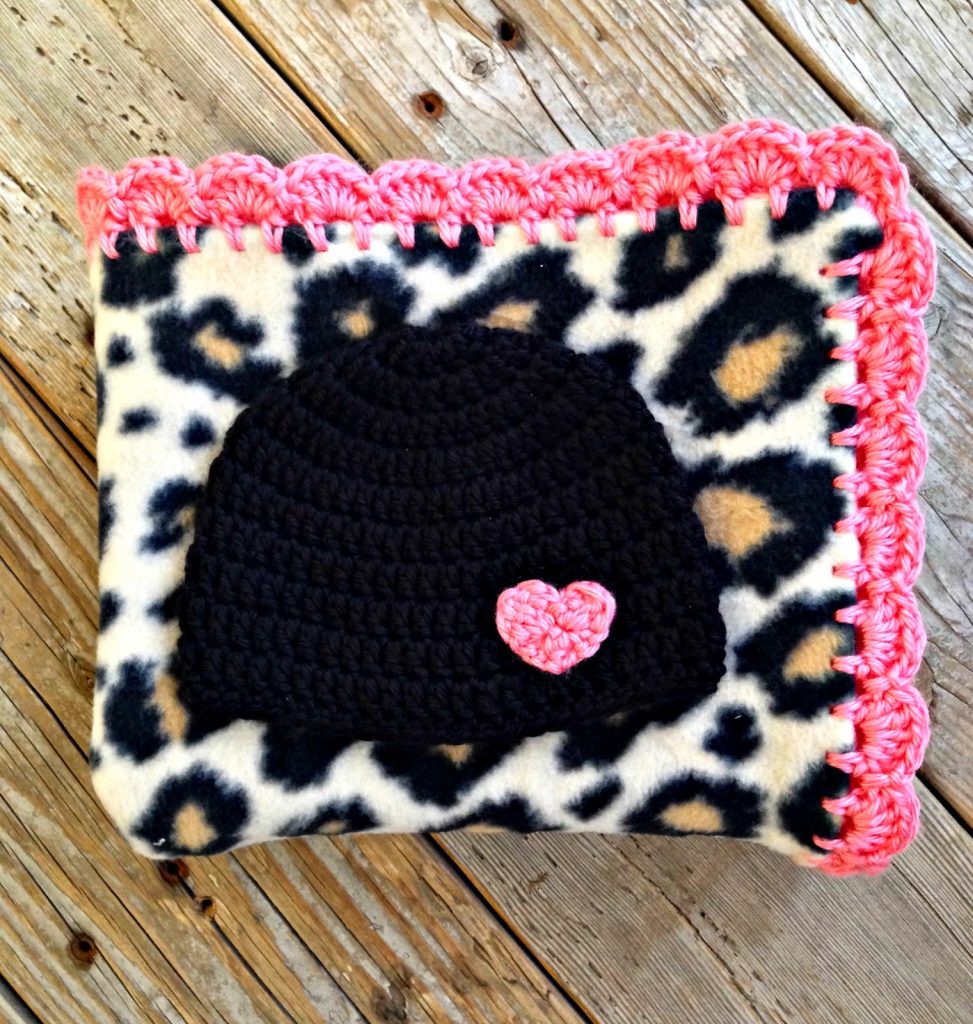
It is a half yard, single layer of fleece, crocheted around with a pretty border. My absolute favorite is the leopard print. I have a serious weakness for anything animal print… Its almost embarrassing. I think it does embarrass my husband a little, but really isn’t leopard a neutral? And neutrals go with everything. But I digress.
(There are affiliate links in this post, which means I get a small portion of anything you buy from the link. No worries, it does not cost anything more for you, just helps a little with keeping up with the bloggy stuff.)
- Half a yard of fleece
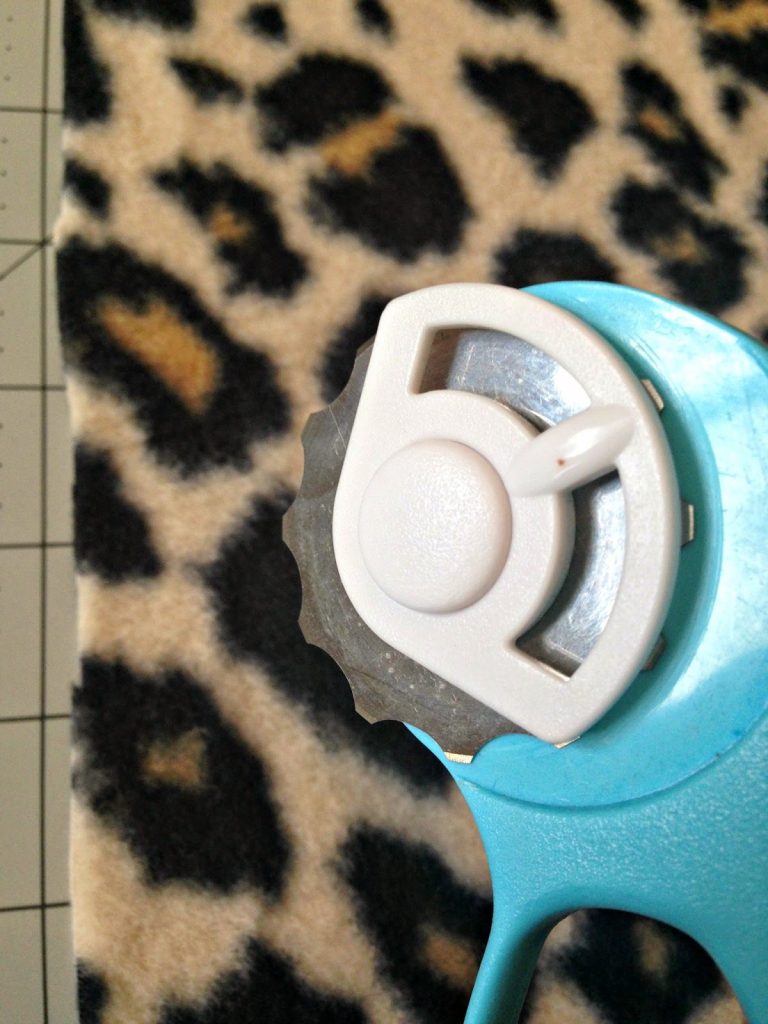
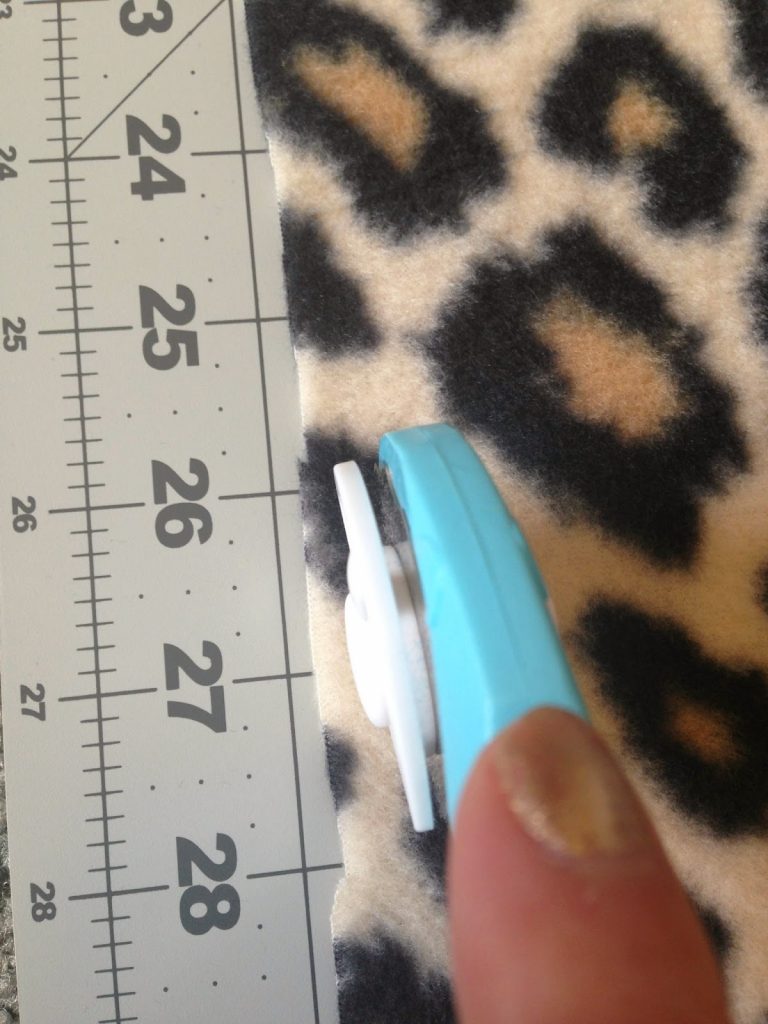
- Kay’s Crochet Edge Fleece Blade
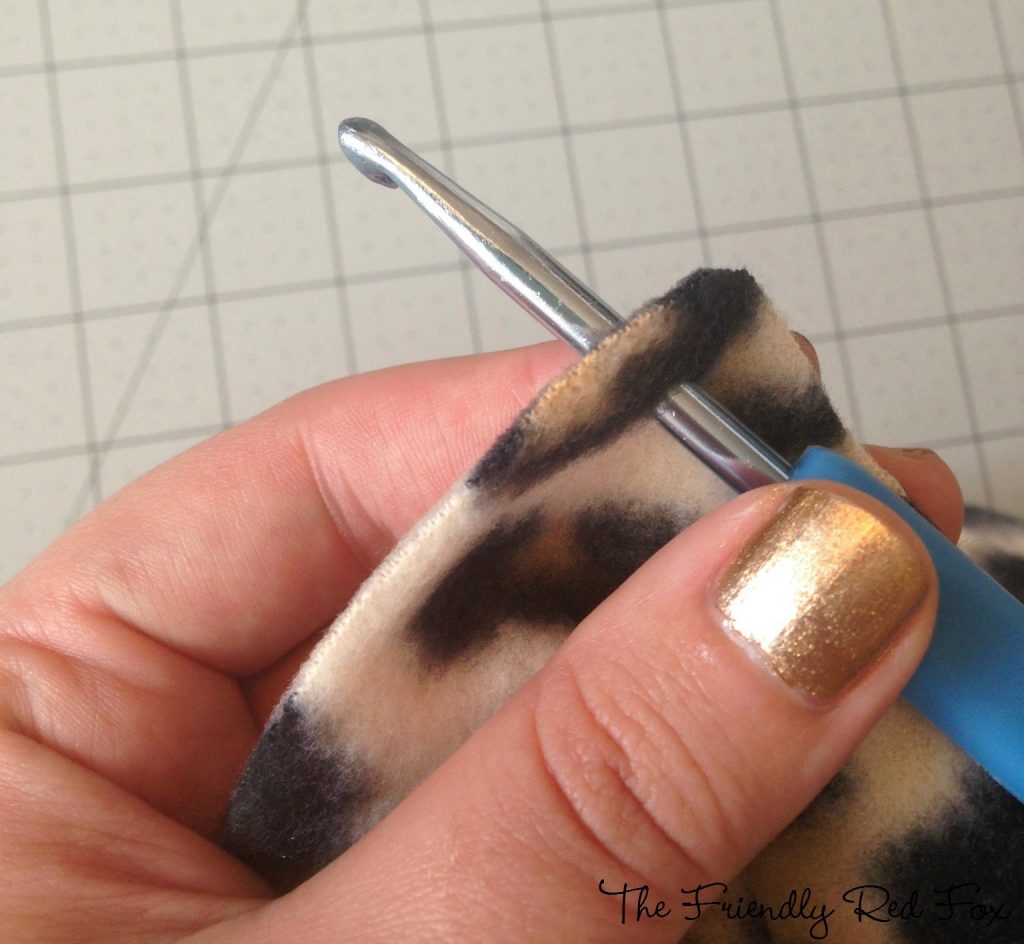
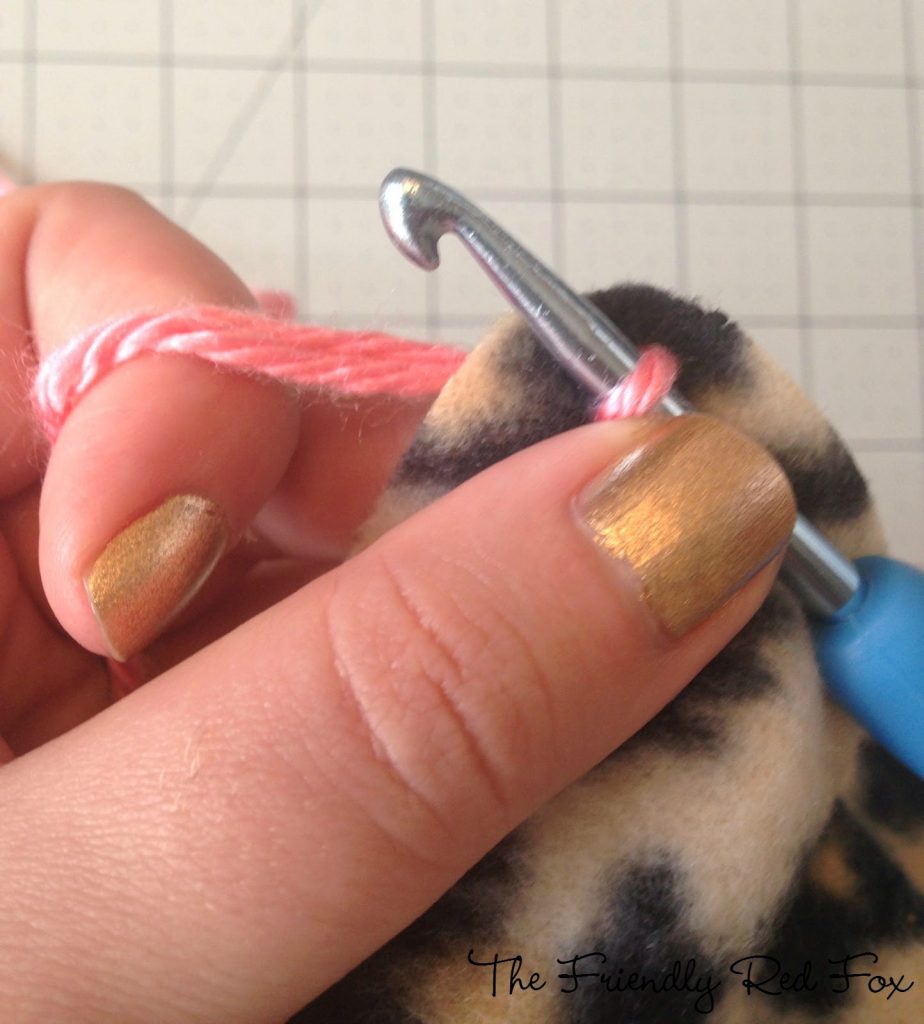
- H (5.0 mm) Crochet Hook
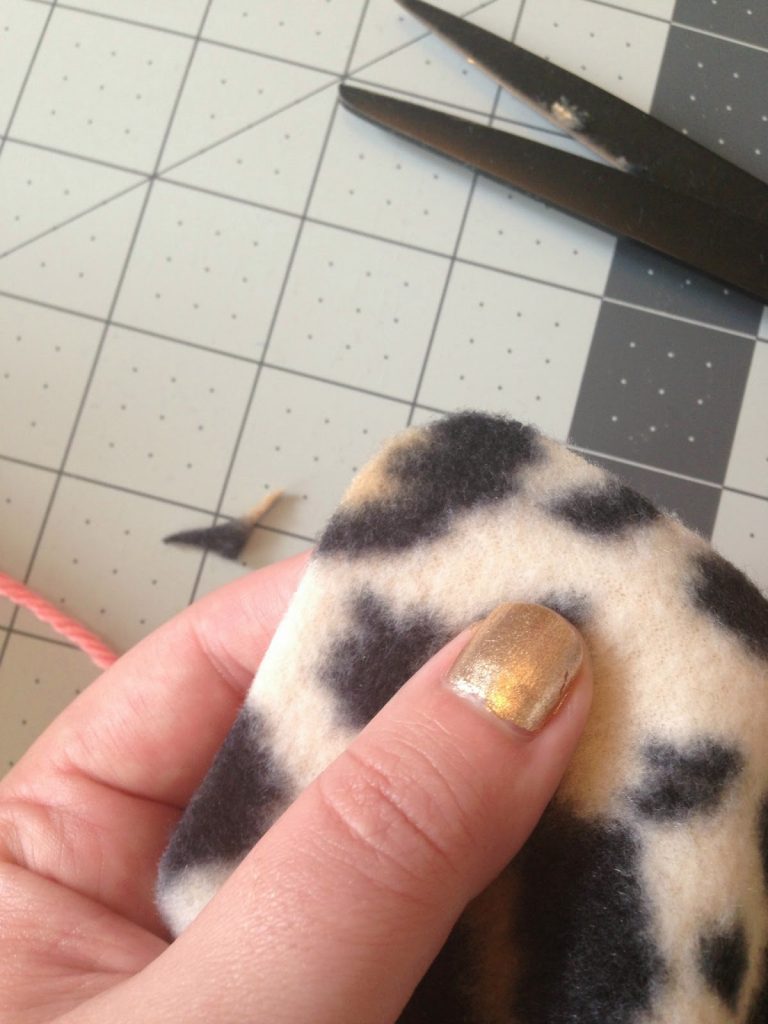
- Cutting mat
- Needle for sewing in ends
- Caron Simply Soft yarn. (I HIGHLY recommend this yarn for this project. I don’t think you will get the same results with a less pliable yarn. In my humble opinion)

For this blanket I did:
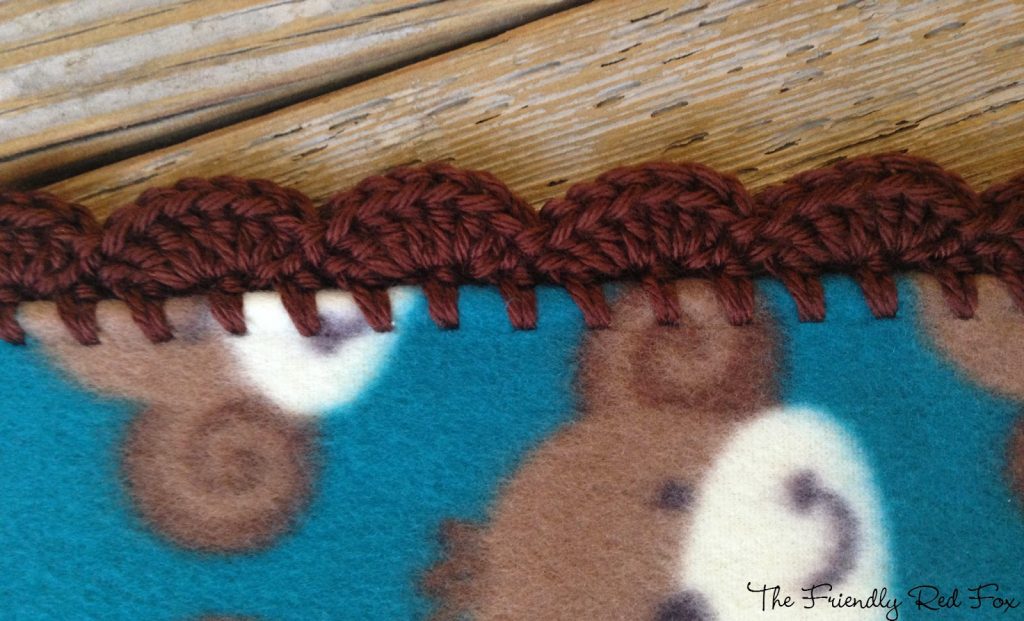
For this blanket I did:
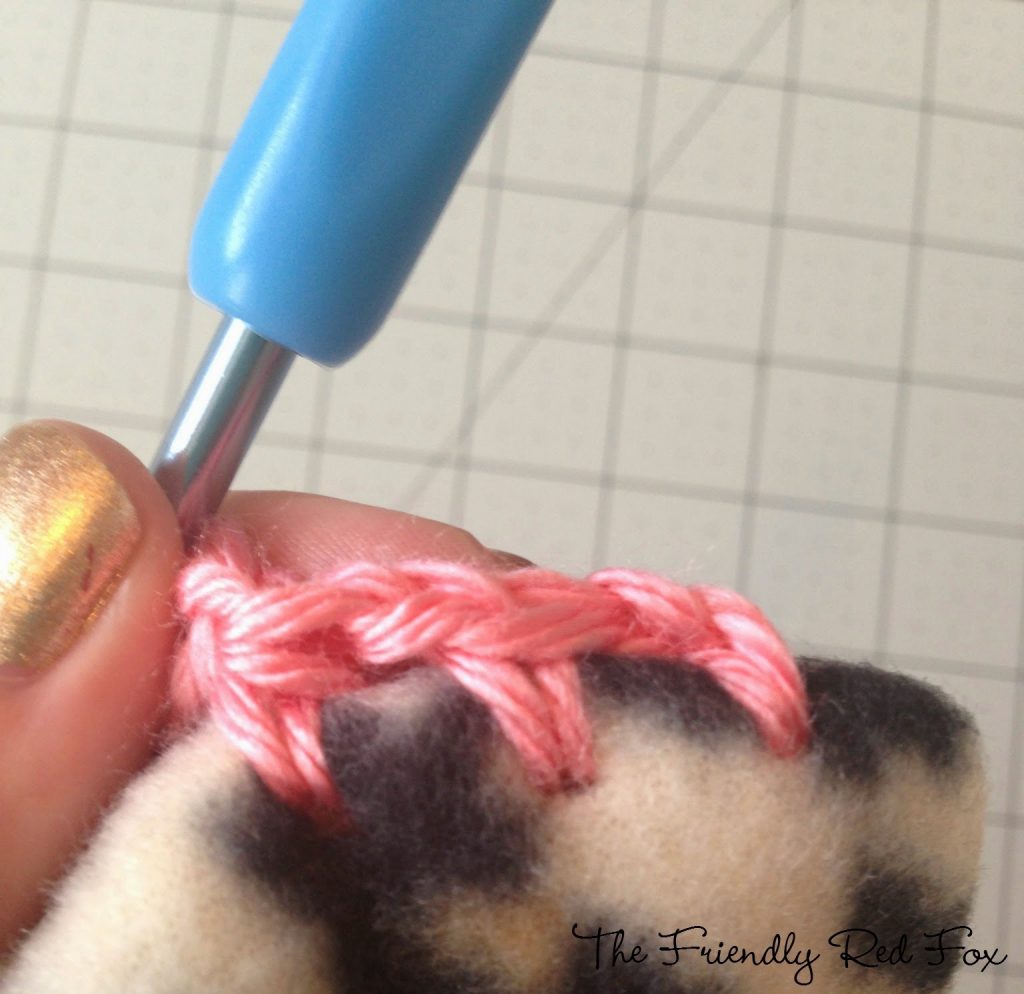
3 DC in one stitch, 3 DC in next, slip stitch in
next, repeat around. I did not chain any before starting my DCs.
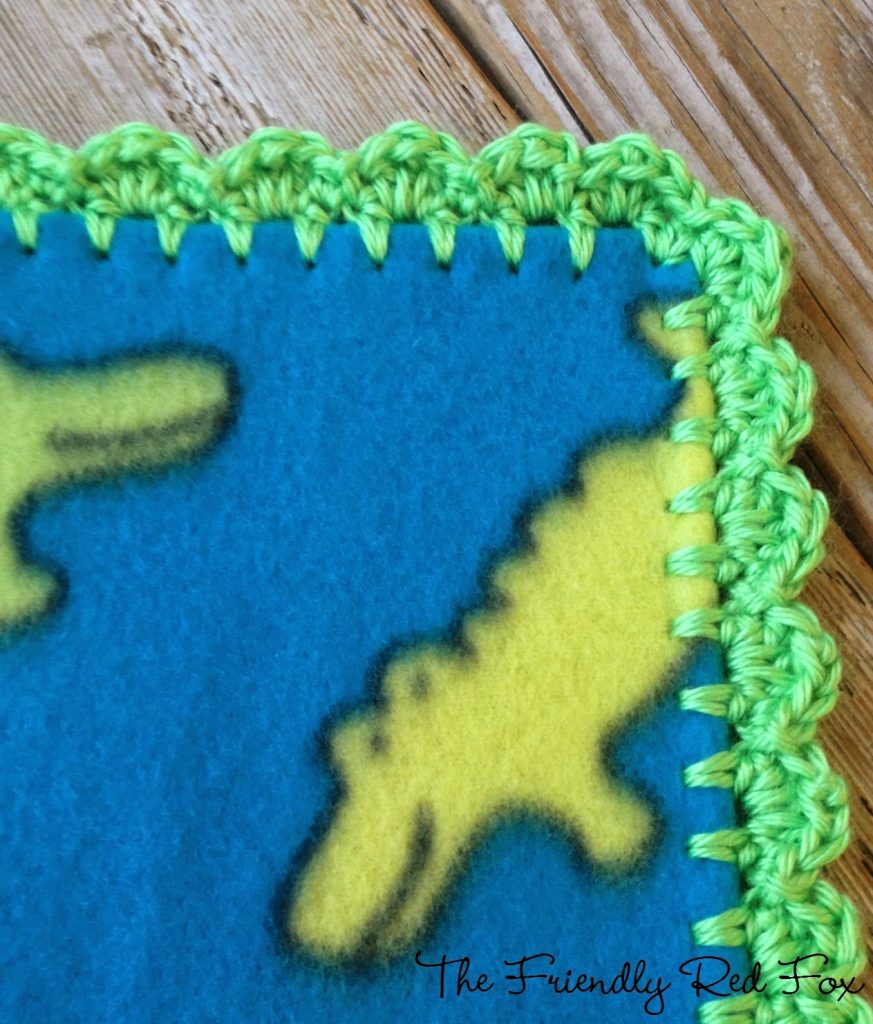
For this blanket I did:
next, repeat around. I did not chain any before starting my HDCs.
Fasten off and weave in any ends.
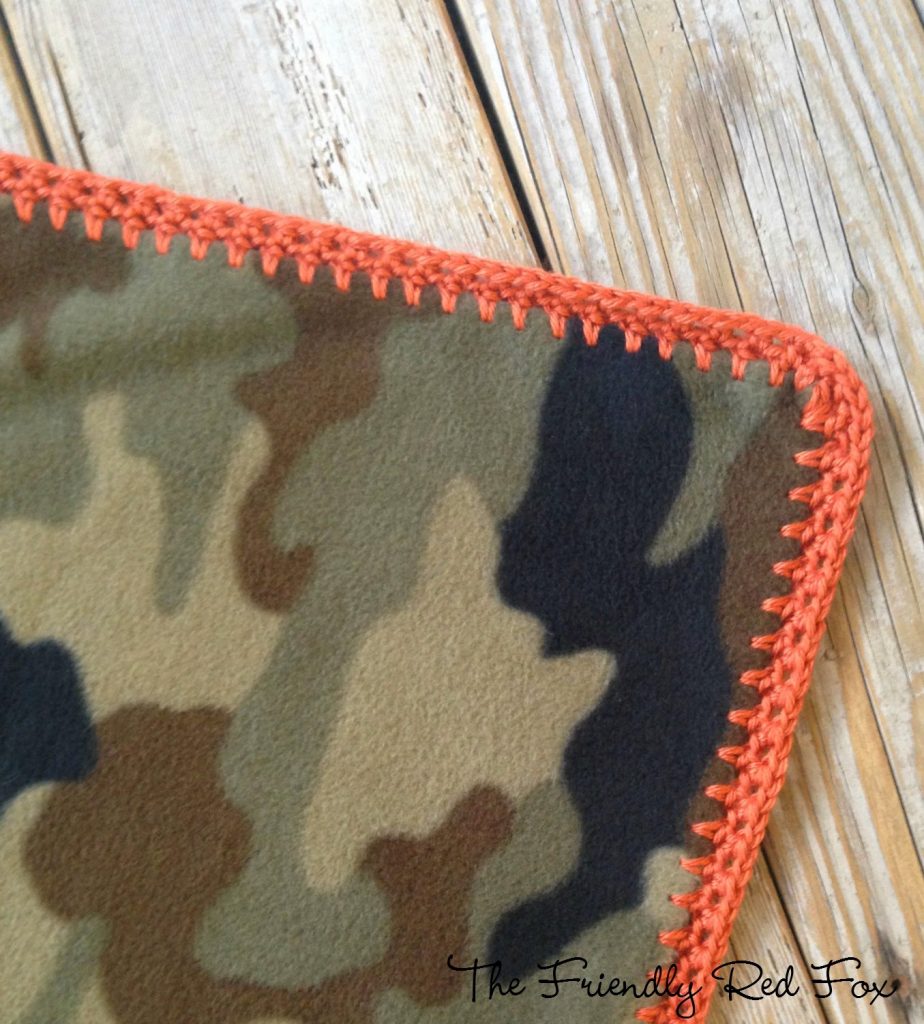
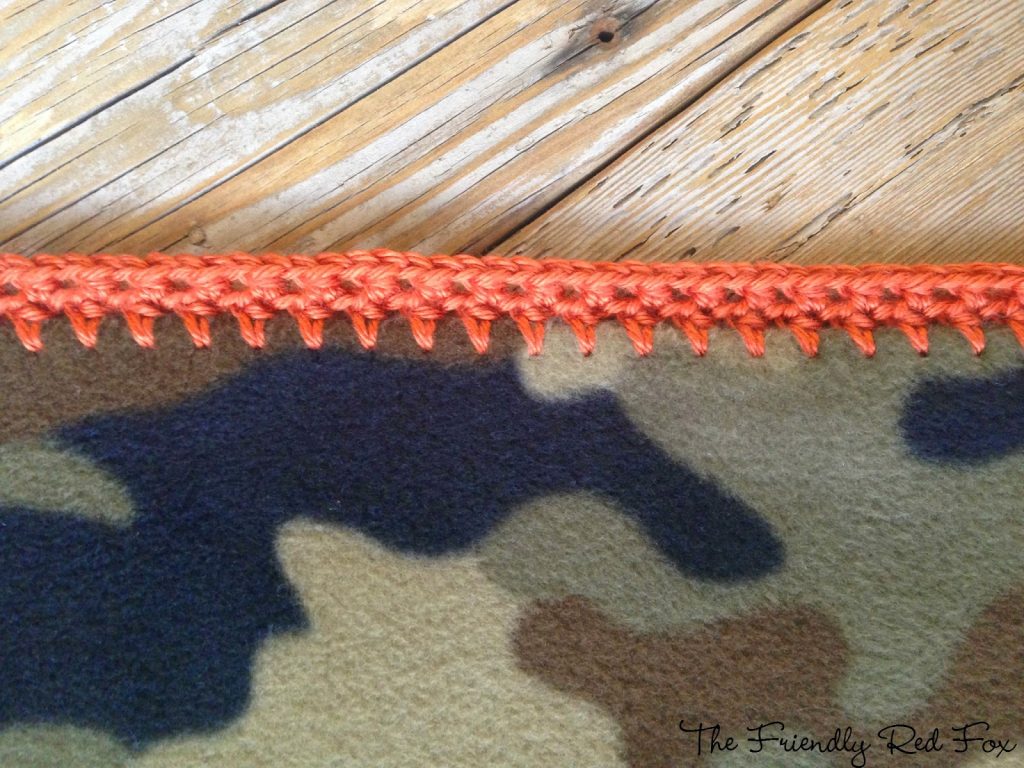
For this blanket I did:
DC in one stitch, chain one and skip a stitch, DC in next, repeat around. I did not chain any before starting my DCs.
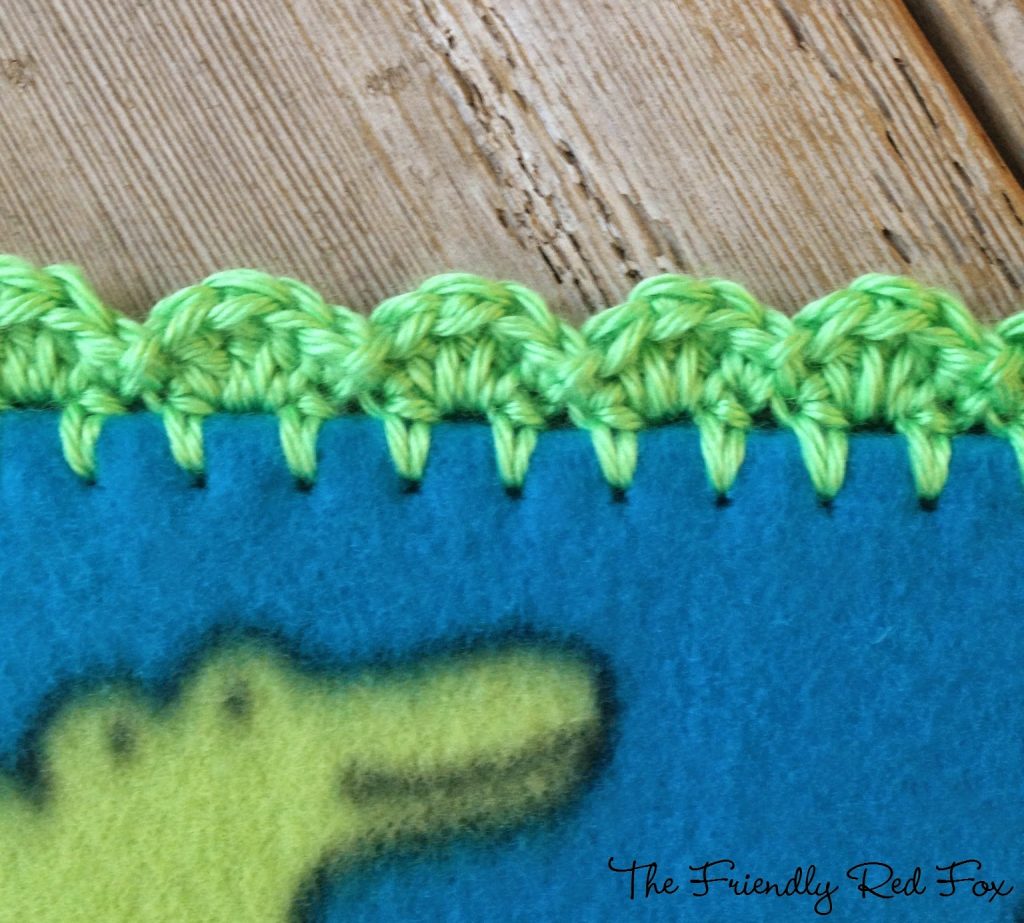
next, repeat around. I did not chain any before starting my DCs.
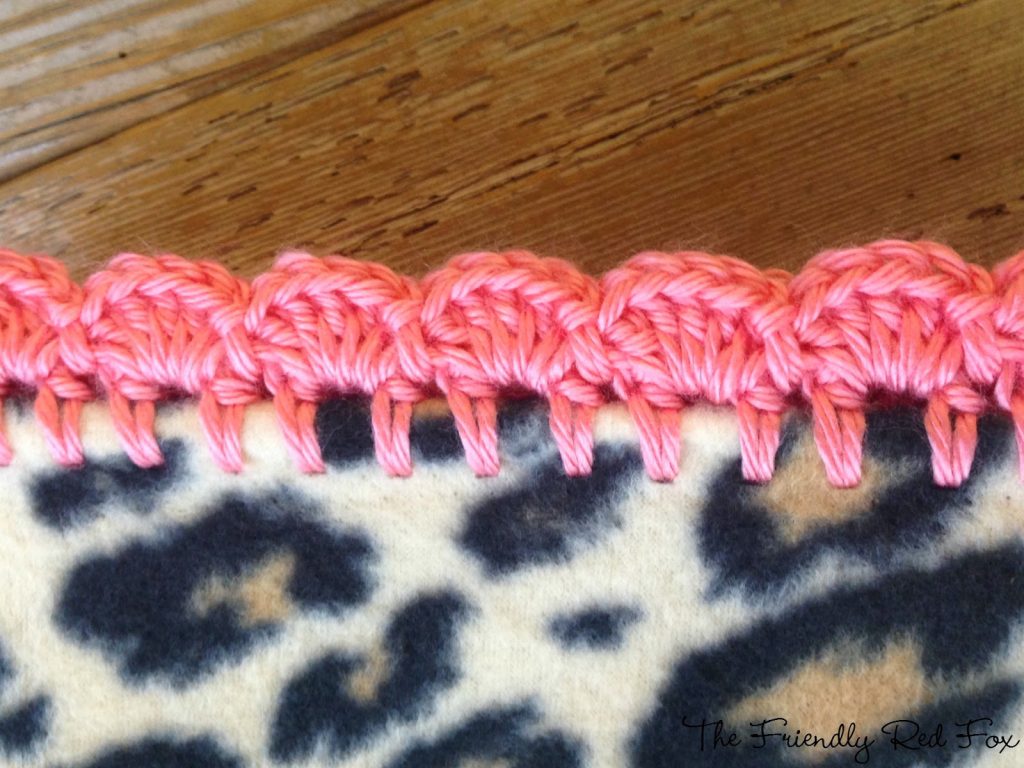
Row 11: SC in each chain around. Fasten off and weave in ends.
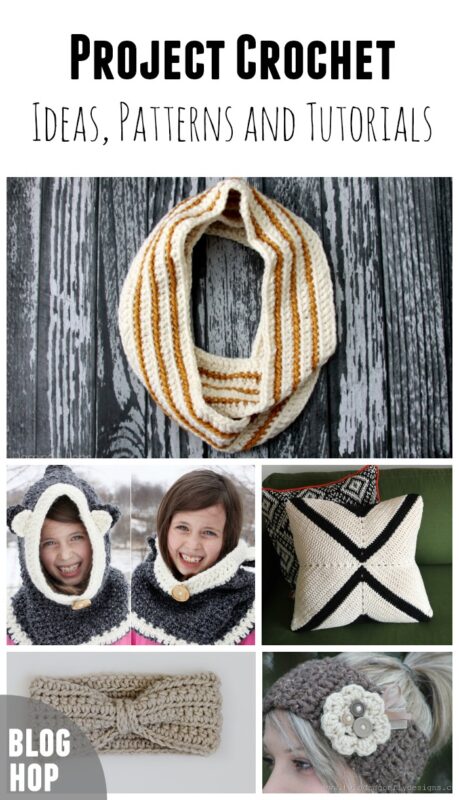
This month has been a collaborative even called Project Crochet! There are some awesome ideas, patterns and tutorials by some pretty impressive bloggers! Be sure to check out all the the other links and send them some love!


This is such a brilliant idea! Now I just need a baby… hee hee Thanks for joining us!
I love this idea !!!
This is such a great idea to finish off a simple fleece blanket! LOVE IT!!
I love these blankets!! My son has one that was given to him when he was in the hospital when he was about two months old. I use to crochet when my oldest (10) was a baby but it hurts my wrist so I can't crochet for long but that is a project I could probably complete.
The crochet edges are so pretty! What a great idea 🙂
I love all the different options you provided! And indeed, leopard IS a neutral color.
Found you on the Yarn Fanatic Party
-Jenny from crochetistheway.blogspot.com
Can you give me an idea of where to find the generic brand/name of generic brand, of the rotary tool? Looks like the name brand it really pricey. 😉
I got mine at Joann's! All the blades/scissors were on sale PLUS I had a 20% off your total purchase coupon, so it ended up being around 5$! The brand was tailor, skip rotary cutter (and I got the one which makes holes farther apart).
I bought mine at JoAnn's Fabrics. Watch for a sale.
What a great idea! I'm going to give this one a try for sure!
Whoa, you are a GENIUS! I am on a budget crunch (trying to pay our mortgage off early) and it seems to me everyone is having a baby 😉 So this is a GREAT cute/easy/cheap gift idea! I ended up buying 3/4 a yard and getting 2 blankies out of it. Thanks again 🙂
I LOVE this!!!! I'm not a sewer, but an avid crocheter and have been shopping for our first GBaby, due in April. I haven't really shopped for baby things in many years, so imagine my "sticker shock"! I'm going to start on some of these right away. Quick question; if you only purchase 1/2 yard, doesn't that mean the blanket is only 18 inches wide? That seems awfully small for a blanket. I was going to make one at least 36 inches square. Thanks!
This is exactly what ive been looking for but I had no idea how to make the holes!! thank you so much
I've been crocheting for several years now but I'm pretty new to the fabric side of crafts. How big is the finished size in inches? Sorry for the silly question!
The fleece is 18×18. The border brings it out to 20×20. Nice pad to change a baby on. You can make it any size, just cut your fleece as desired. I like to do 36×36 in cotton flannel. Julie
Thank you so much for your crochet borders for fleece blankets. We have a new baby in the family so I've already made 1/2 dozen blankets. I'll be glad to have some new borders to switch it up. Thank you for taking your time and experience and putting it here for us to use free of charge. May the blessings return to you by the boatload. Love from your brother in Christ.
I have fleece that I don't know what to do with now I know! Thanks for a great inspiration!
Hi, thank you so much for fleece blanket edging! I wanted something fast for a blanket but with a little extra this is perfect. Also thumb and polish look great! I have working hands lol Deb
love the fleece edging!
Thank you. These edges are just what I was looking for to finish a baby blanket.
Thank you so much for sharing these borders. I didn’t know how to do it now I think I can do this as it seems easy. Can you do this with to fleece pieces together to make a heavier blanket?
I’m sure you could! You would probably want to sew the fleece pieces together first to prevent slipping and tearing.