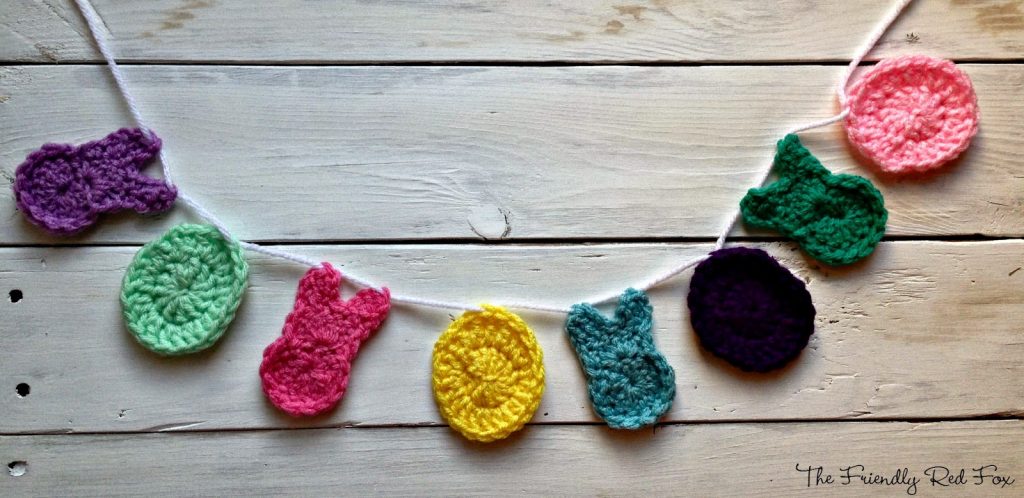
Free Bunny and Easter Egg Crochet Garland Pattern
![]()
This time of year is so brown and blegh. I think everyone NEEDS some color to brighten up the grayness of early spring. My mom said that the brown is the Lord’s blank canvas for spring, something that I love to think about. My 18 year old brother laughed and said, “What are you a poet or something?” Oh little brothers. So uncultured.
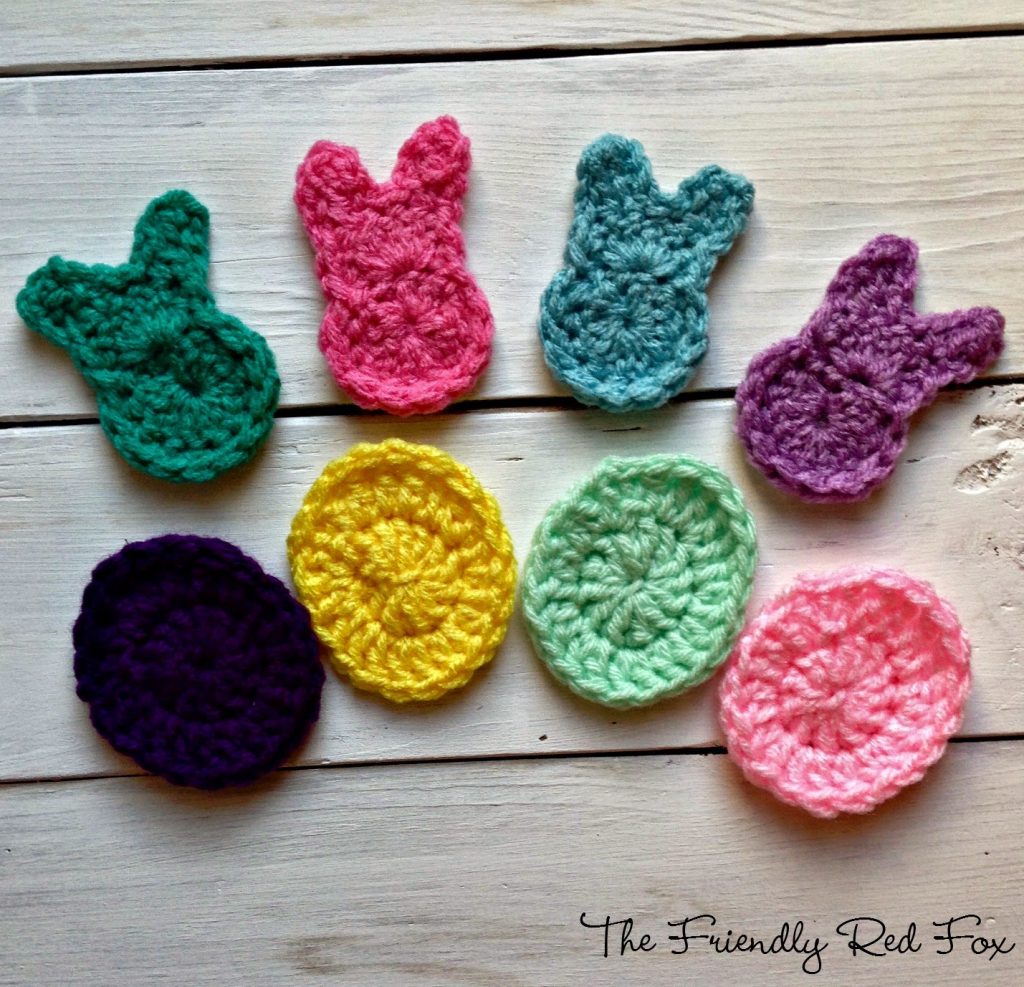
I do love the fun colors of Easter! I especially love the adorable Peeps colors and their fun and simple shape. I think they belong on the list of nastiest candy (right along with candy corn. yuk.), but I think they are cute. Give me chocolate any day of the week, twice on Sundays, and a ridiculous amount on Easter. But I decided to use the fun shape and colors to make a little Easter garland! I made my own pattern for the bunny and a little egg to match.These whip up SUPER quickly so you can have your own Easter garland in under an hour, depending on toddler distractions of course.
What you will need:
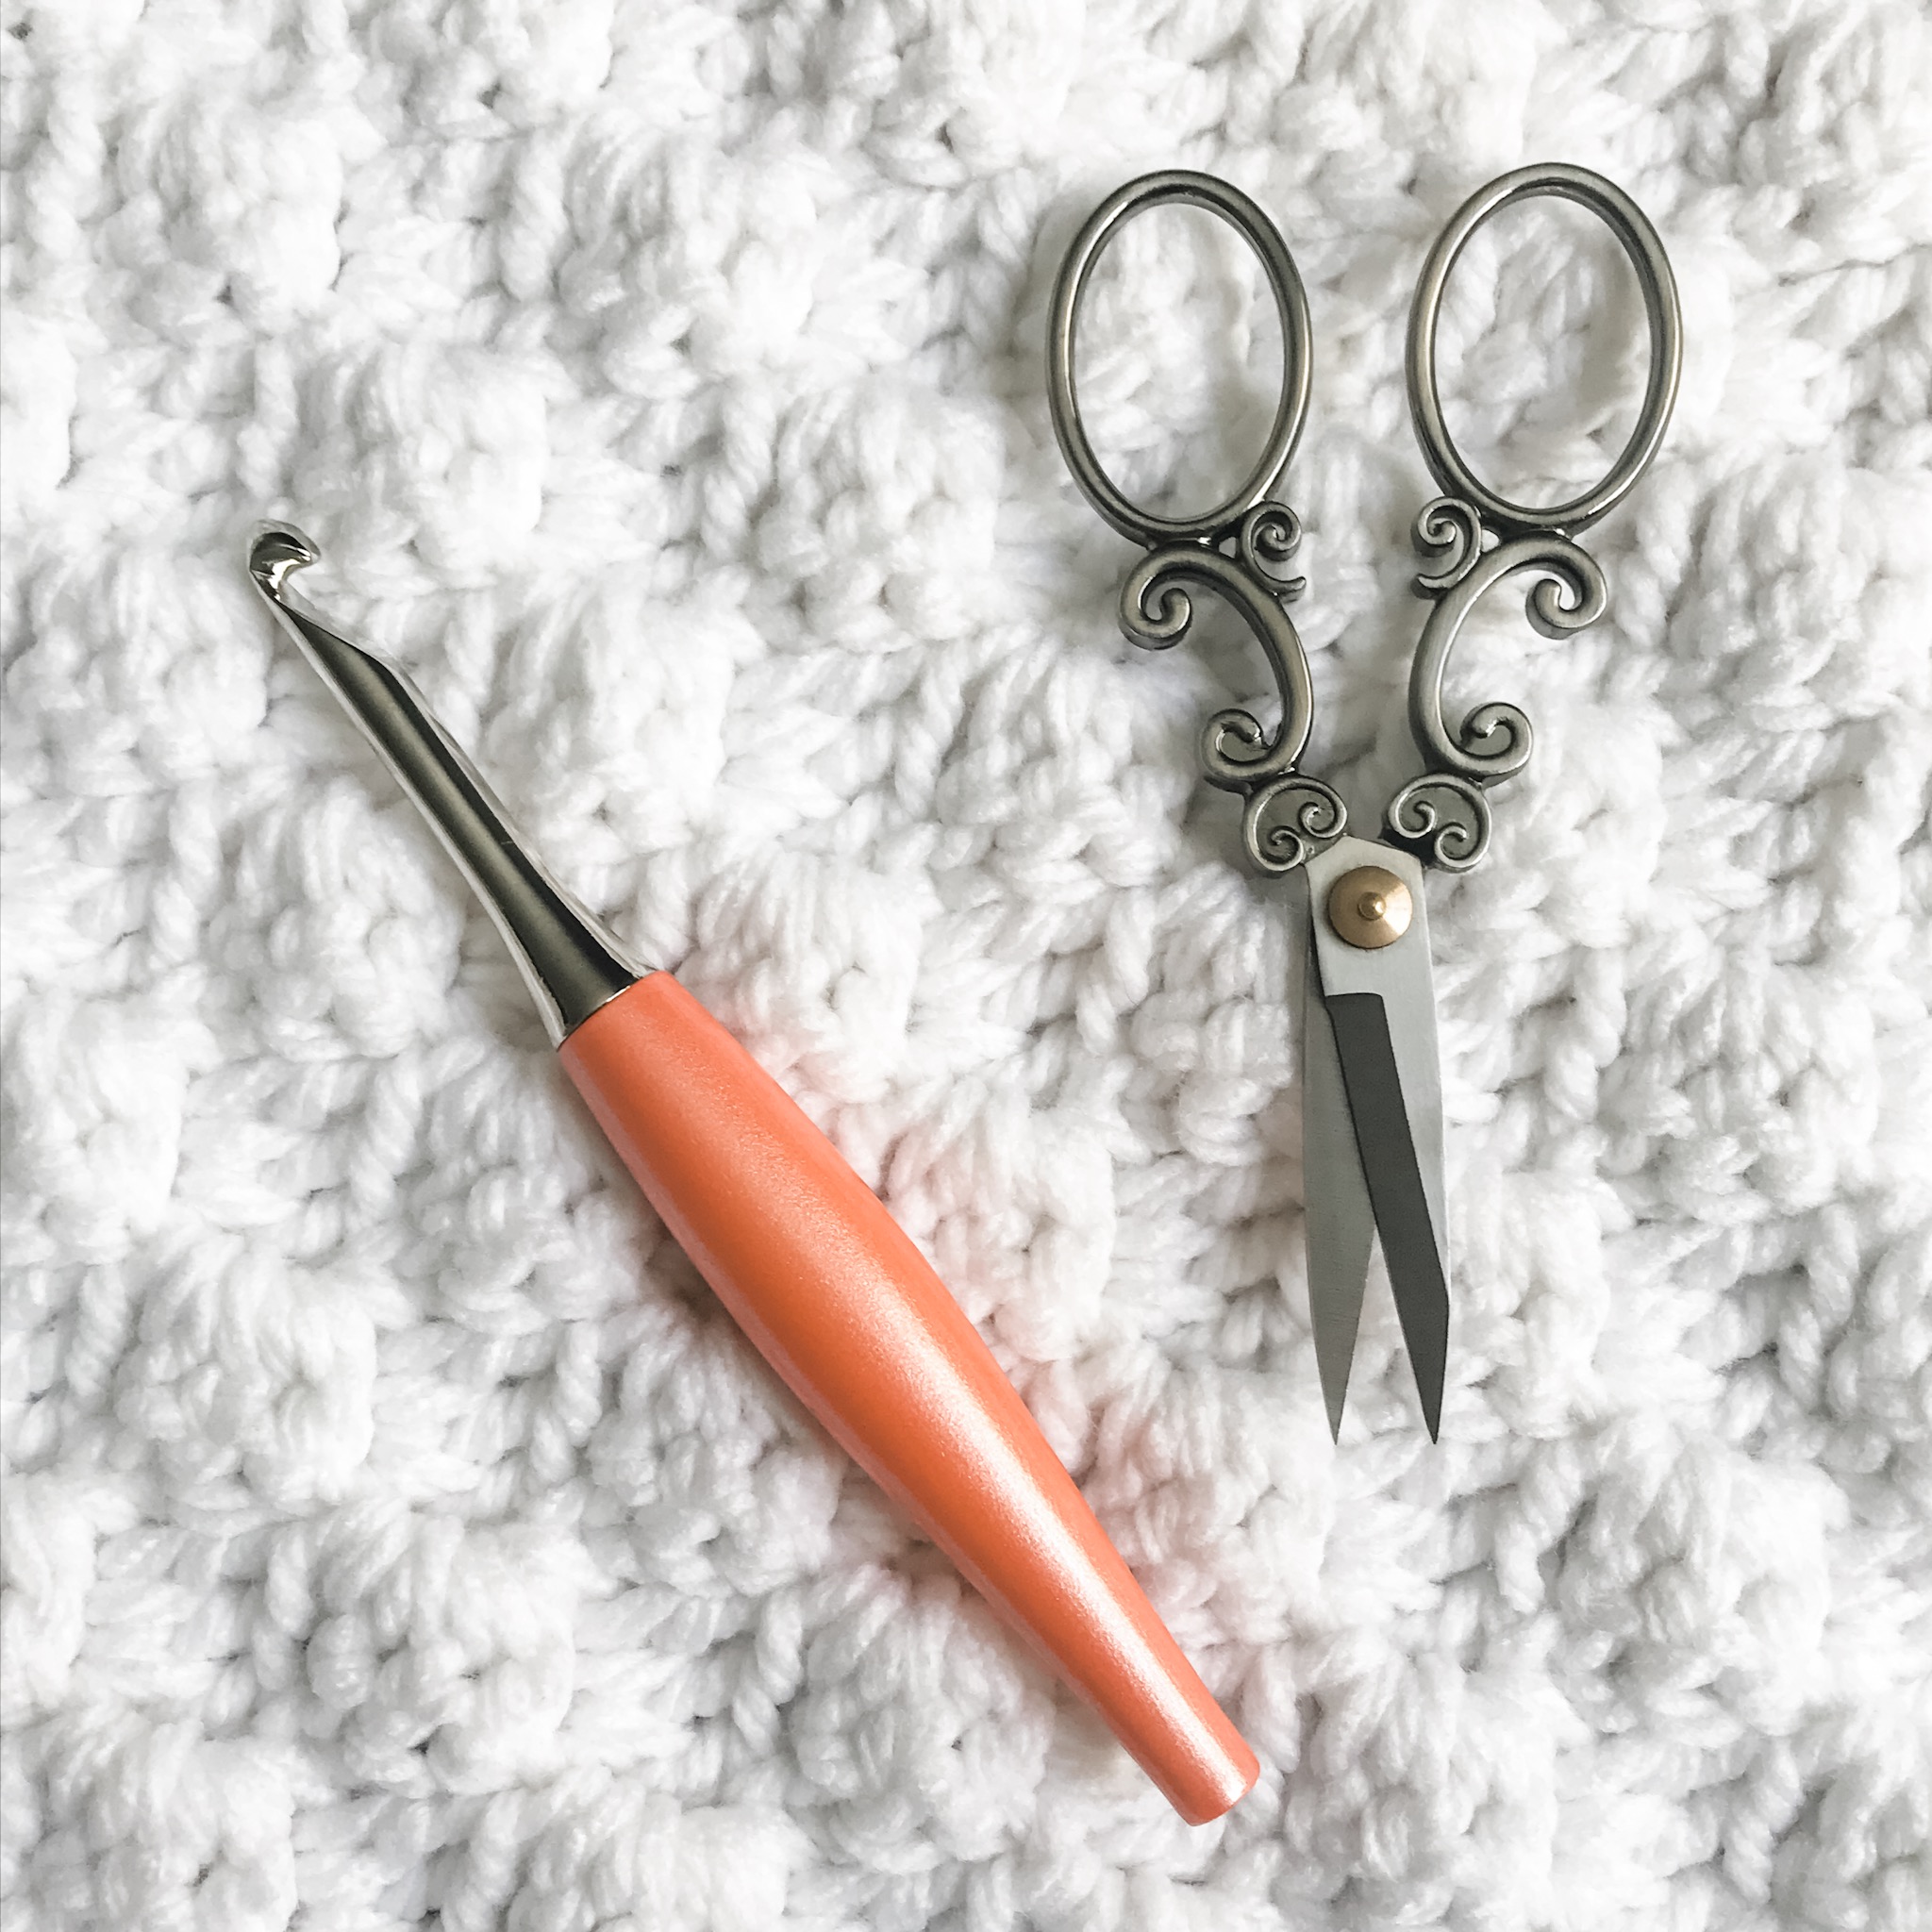
an H (5.0) hook
Size 4 yarn in pastel colors
yarn needle to sew in ends
For the bunnies:
In a magic ring chain 2, 12 DC, join and chain 2
In the same stitch 5 DC
Chain 3, TRC in next stitch and chain 3 then slip stitch into the next stitch. Slip stitch in next stitch. Chain 3 and then TRC into next stitch, chain 3 and slip stitch in next.
HDC, then slip stitch into next.
10 HDC, then slip stitch, one more HDC then slip stitch and fasten off.
For the egg:
In a magic circle, DC 12, join and chain 2.
Place 2 DC in next 7. Then DC TRC in next stitch, TRC in next 3, TRC DC in last stitch, Join and fasten off.

and there you are! Some color and cuteness to brighten up your spring!
What is your favorite Easter treat?