Creating Moving Arms and Legs with Yarn

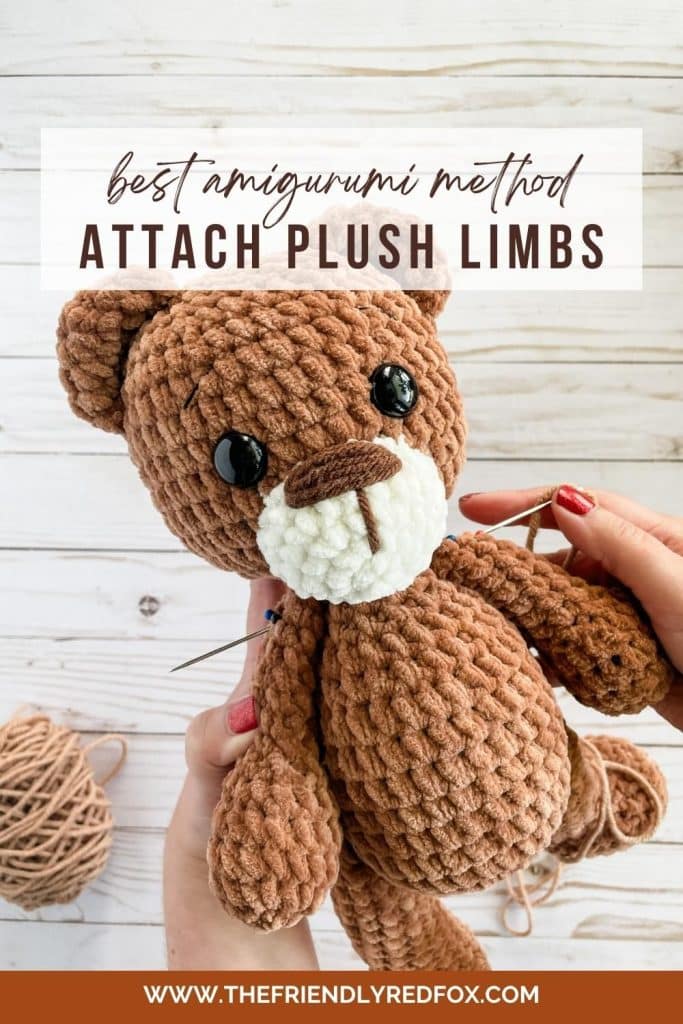
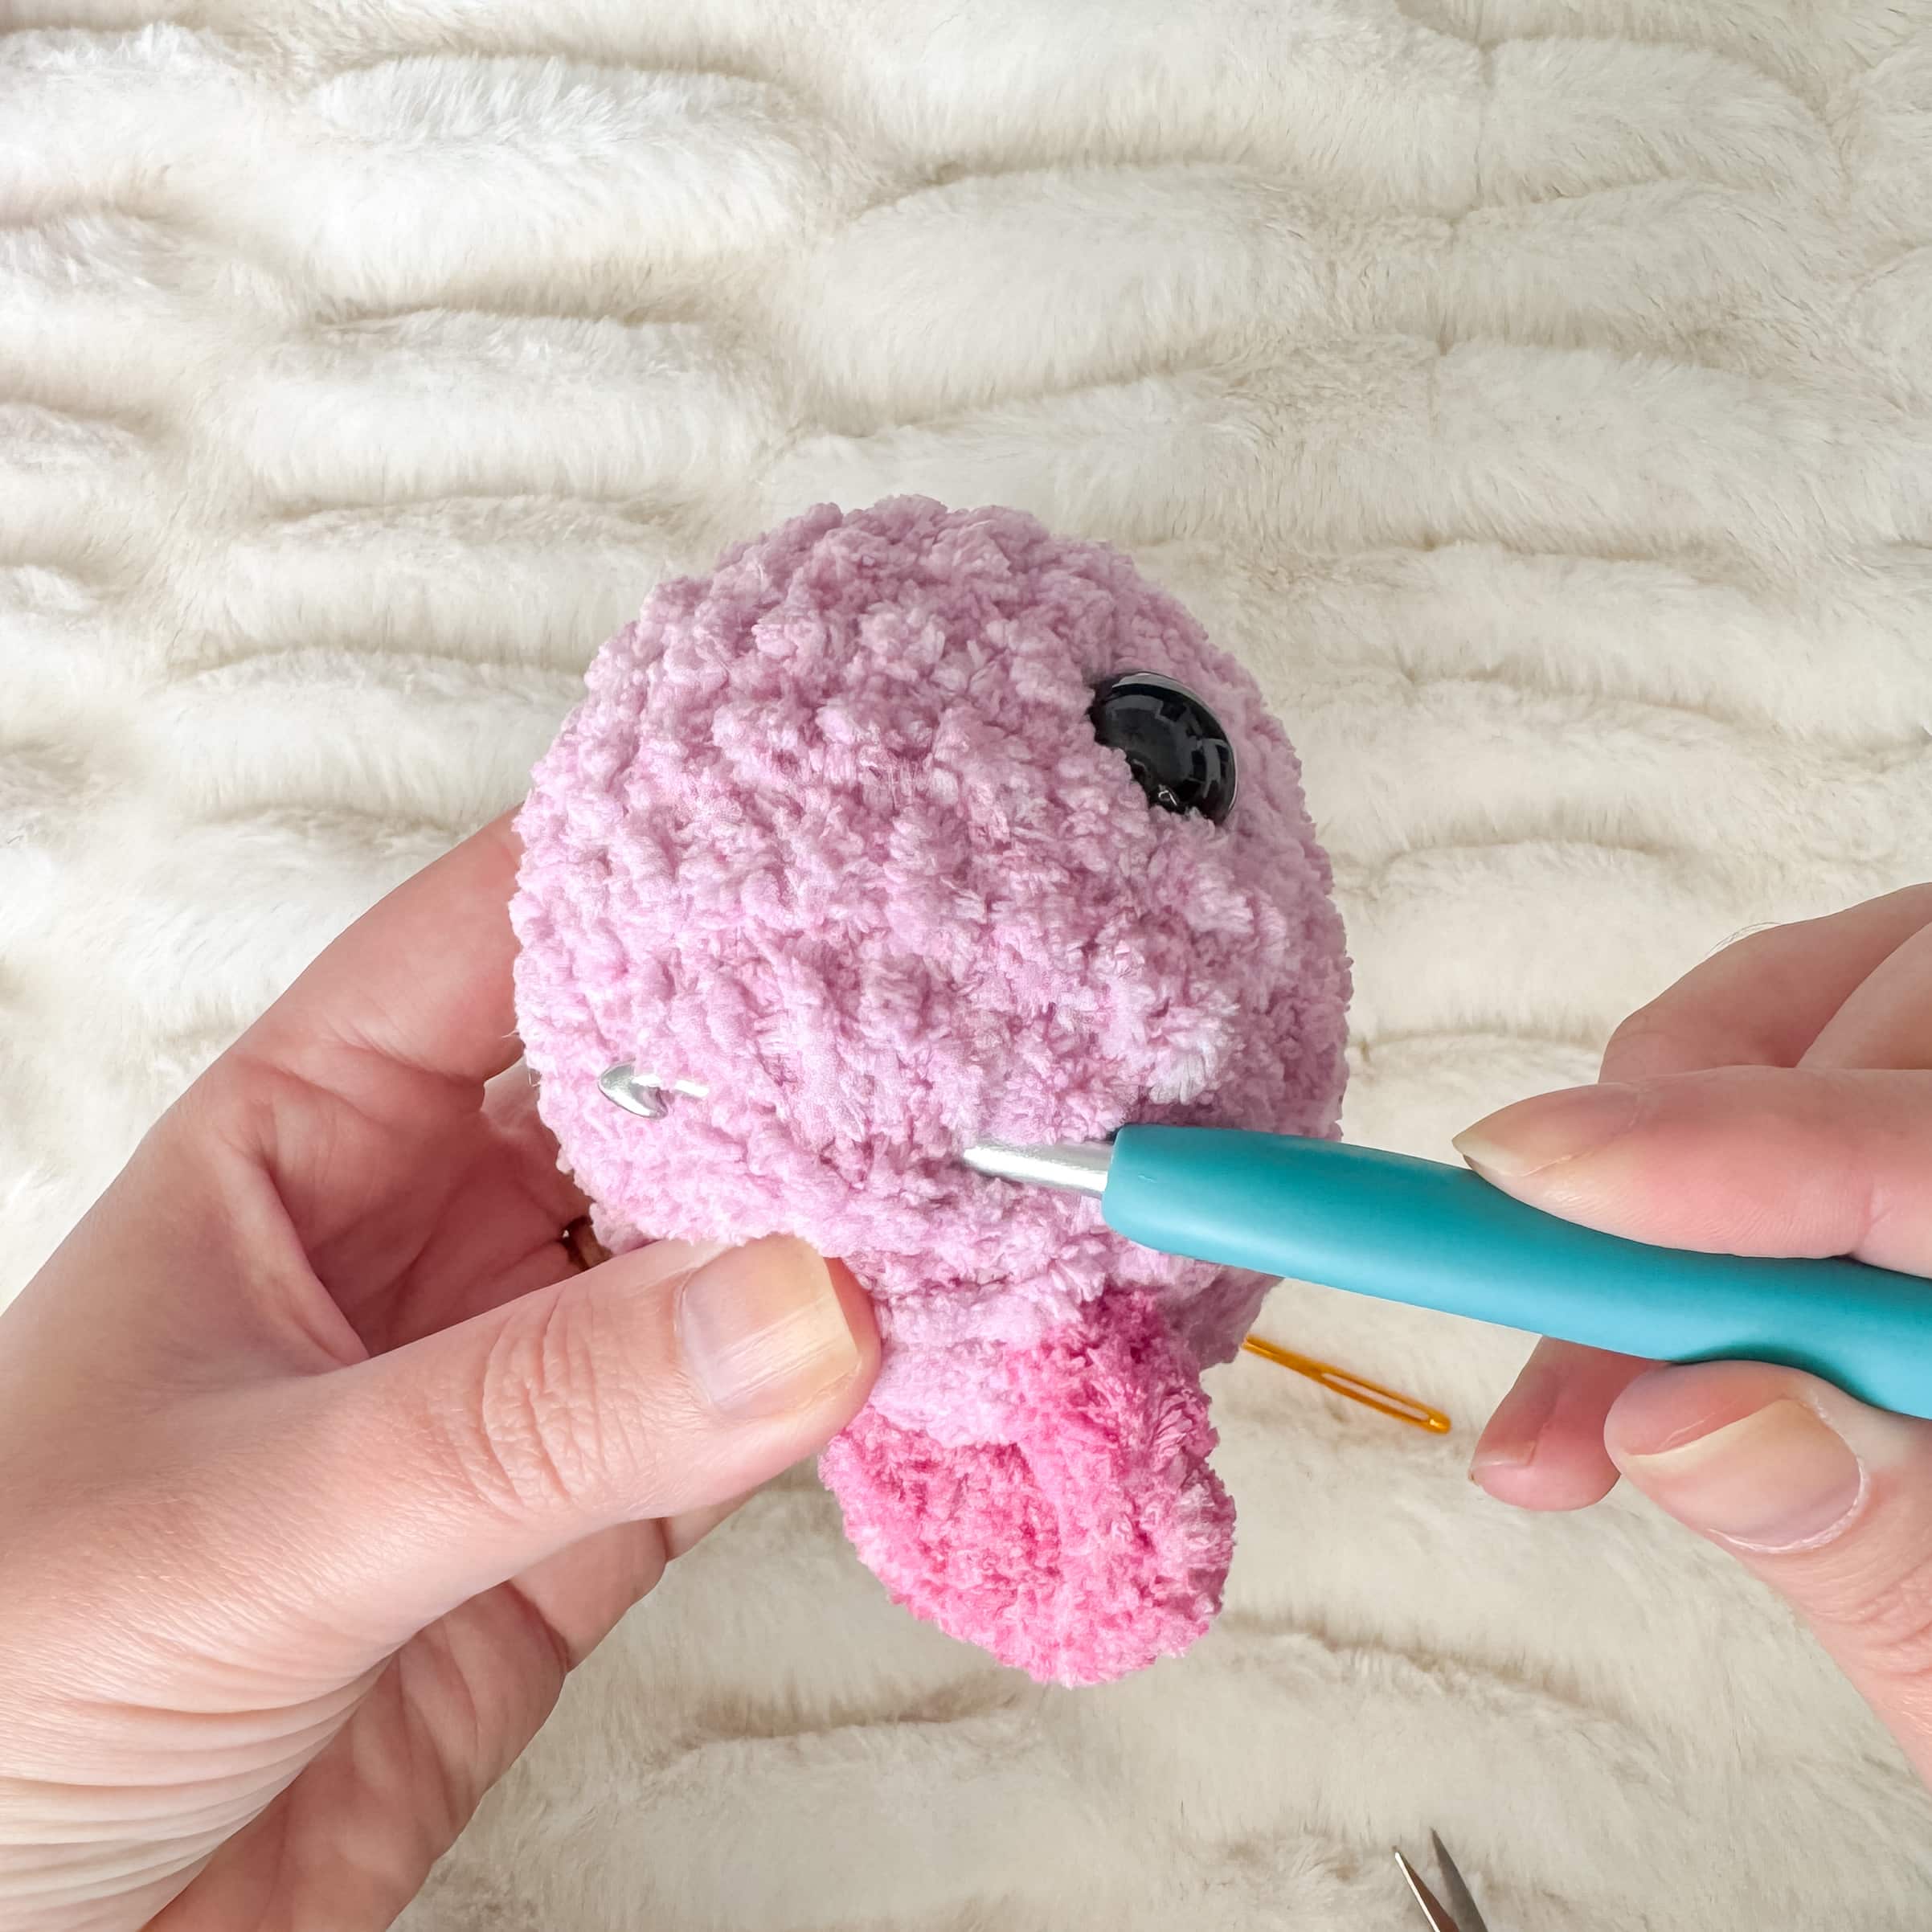
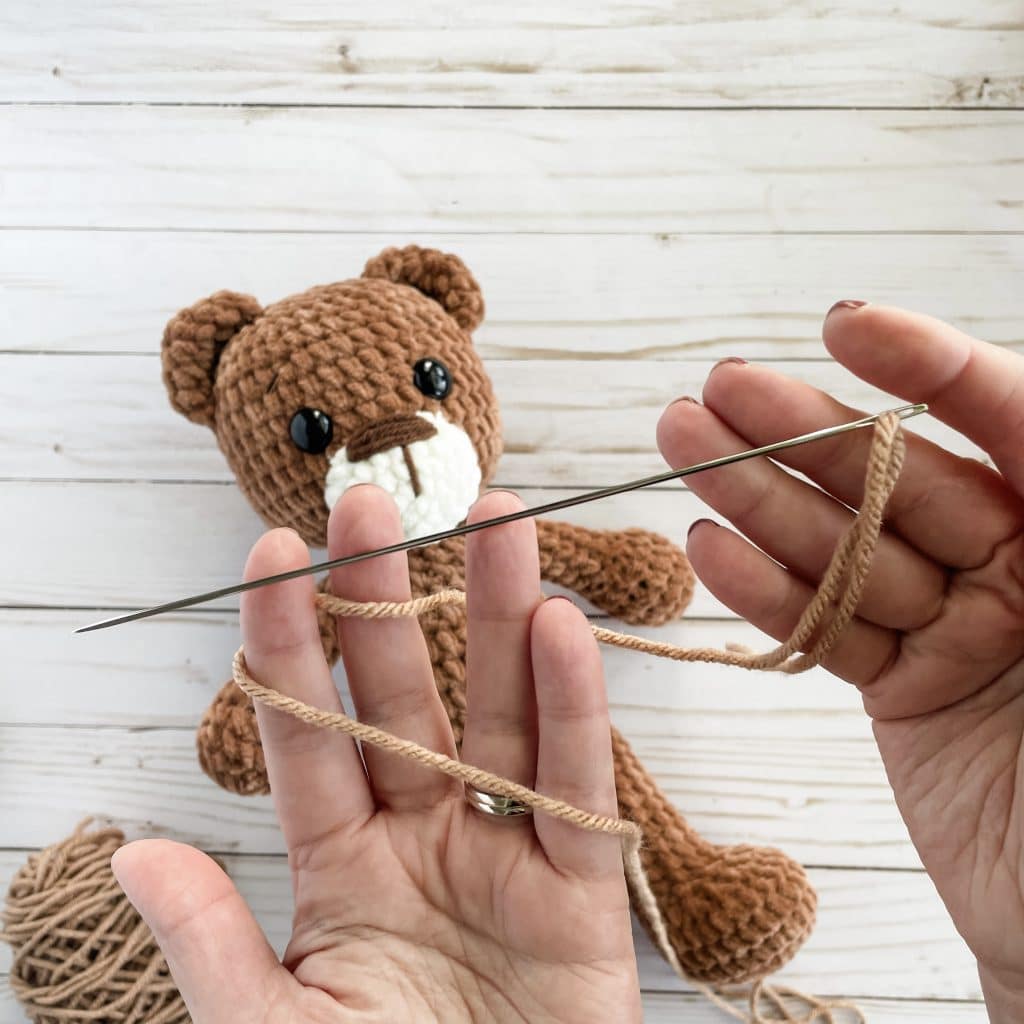
When I want to create moving arms and legs for my amigurumi, I use what I call the “Yarn Through Method.” The “Yarn Through Method” is exactly how it sounds. When you fasten off, you will leave a much longer tail than usual. Then using a very long, very sharp needle, you go through the layers of one leg, through the body, and out through the other leg. After making a series of passes you repeat from the other side. The “jointed” part of this is the yarn.
Scroll down to see the step by step video I made to show how I use this method of attaching amigurumi.

Want the pattern?
Free Plush Teddy Bear Pattern
Are you wanting to make the pattern that is shown in this post? It is available here on my website!
Long Sewing Needles
These are the needles that I use for this method. Be careful, they are sharp! But they work really well.
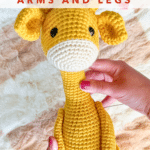
This is an awesome choice for a lot of reasons. You don’t need to deal with a lot of extra parts that you may be unfamiliar with. Unlike the other methods, you can attach the limbs AFTER the body is complete. This is why I chose this method for the giraffe. When I tried a different joint method for the giraffe, I got tired of dealing with the attached limbs as I crocheted the long neck. Another benefit from choosing this over the other methods is that you are not limited by the size of joints. You can attach much smaller pieces this way. I love this method for small arms, especially on dolls.
There are a few disadvantages as well. Unlike the cotter pin and plastic joints, the yarn does relax over time. While still movable, I find that if you are set on having it hold a certain position, the strength of the joint won’t be as reliable. It is still a great method for anything that you want to stand or sit, but that can have more flexibility. (ie the giraffe pattern)
Although it sounds simple, going through that many layers of “fabric” can be tricky. It takes some strength and practice to get through the right hole.
The needle is also very sharp, so please watch out for that! (You can find needles here!)
*If you cannot see the video, it may be that you are using an ad-blocker that does not allow the video player to show. Turning that off, or using a different browser may help.*
To sum it up:
Pros
*Only needing to purchase one thing (the long sewing needle)
*Being able to adapt it for most patterns
*making every piece and then putting it together
*Ideal for attaching parts of a different color or type of yan
*works well for tight spots
Cons
*The needle is sharp and needs some strength
*This will not work for heads
*Tends to loosen over time
*Does not quite hold one position, even though it is movable
Although the methods are very similar, I have video that show how I adapt for projects that are use plush yarn! You can see that video here.