
Monkey Crochet Pattern – Around the World
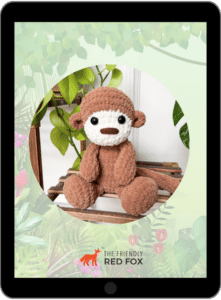
This plush monkey crochet pattern is part of my Around the World adventure! The yarn makes it a snuggly plush amigurumi project.
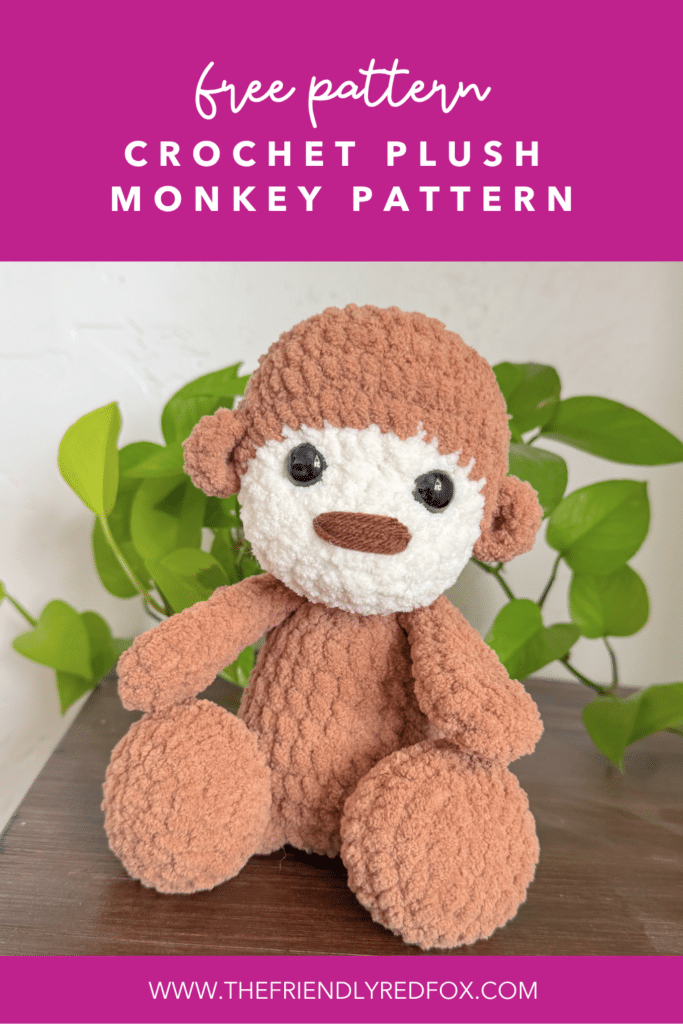
Monkey Crochet Amigurumi Pattern Notes
This plush monkey crochet pattern is extra cuddly but works up so quickly compared to “traditional” yarn. It sits about 10 inches tall with a cuddly, chubby body!
This is one of the patterns from our journey Around the World in South America- our second stop! This is a trip we are taking together- all without leaving our homes. I do love traveling, but real life gets in the way. Each continent we go to will have 3-4 (but maybe more!) patterns. Once they’re all released, we’ll head to a new stop.
I used Premier Basix Chenille for this pattern- one of my favorites! But you can sub a different yarn if you would like. Just keep in mind that different types of yarn, even if they say they are the same size, work up differently.
The full pattern is available for free below, just keep scrolling! But, I’m also offering special sale access to the PDF versions of these patterns through the whole journey around the world! You can see all the details here.
JOIN MY NEWSLETTER TO RECEIVE…
A free email course-Amigurumi 101
This free amigurumi email course gives you what you need to master the basics of amigurumi, along with some extra tips and tricks!
Ad-free, Printable PDF Full Pattern
My patterns are free on my website, but if your prefer a printable copy, you can find them in my shop!
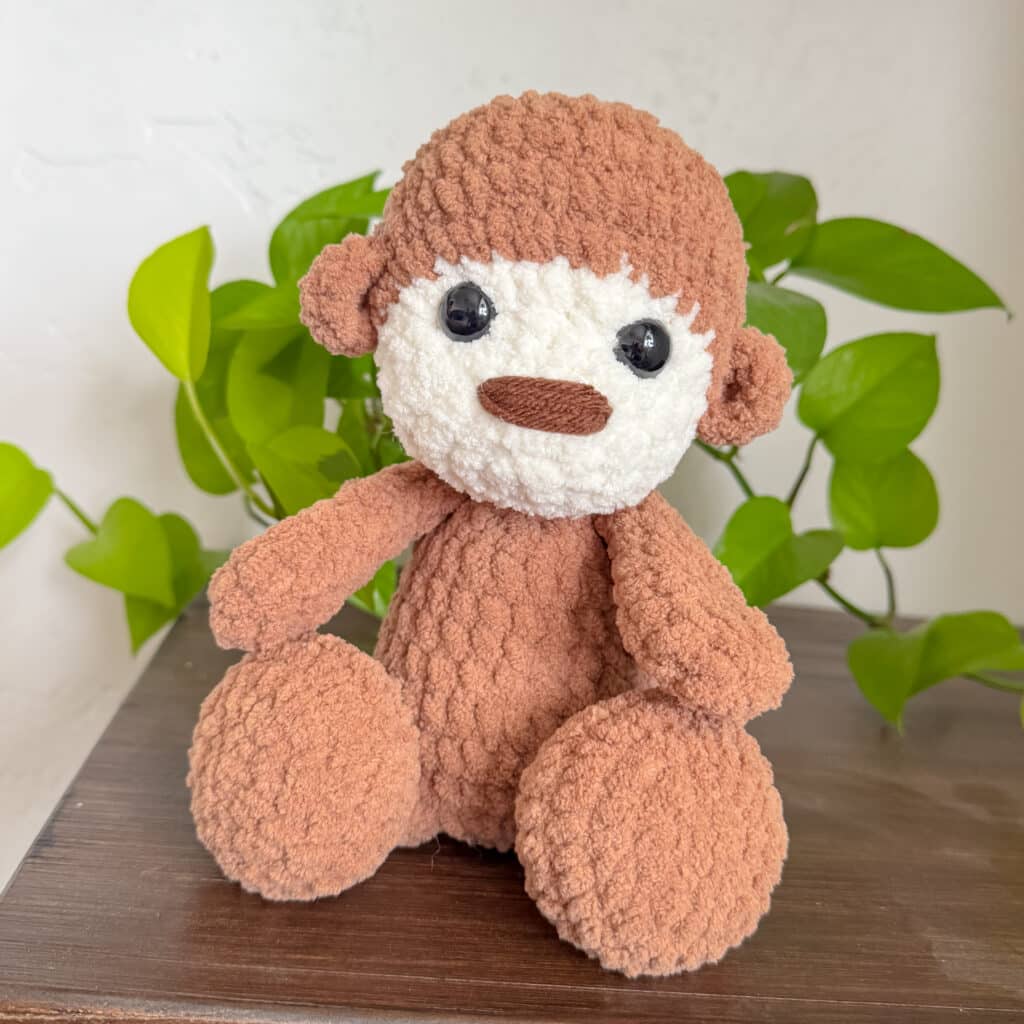
Monkey Stuffy Pattern
$6
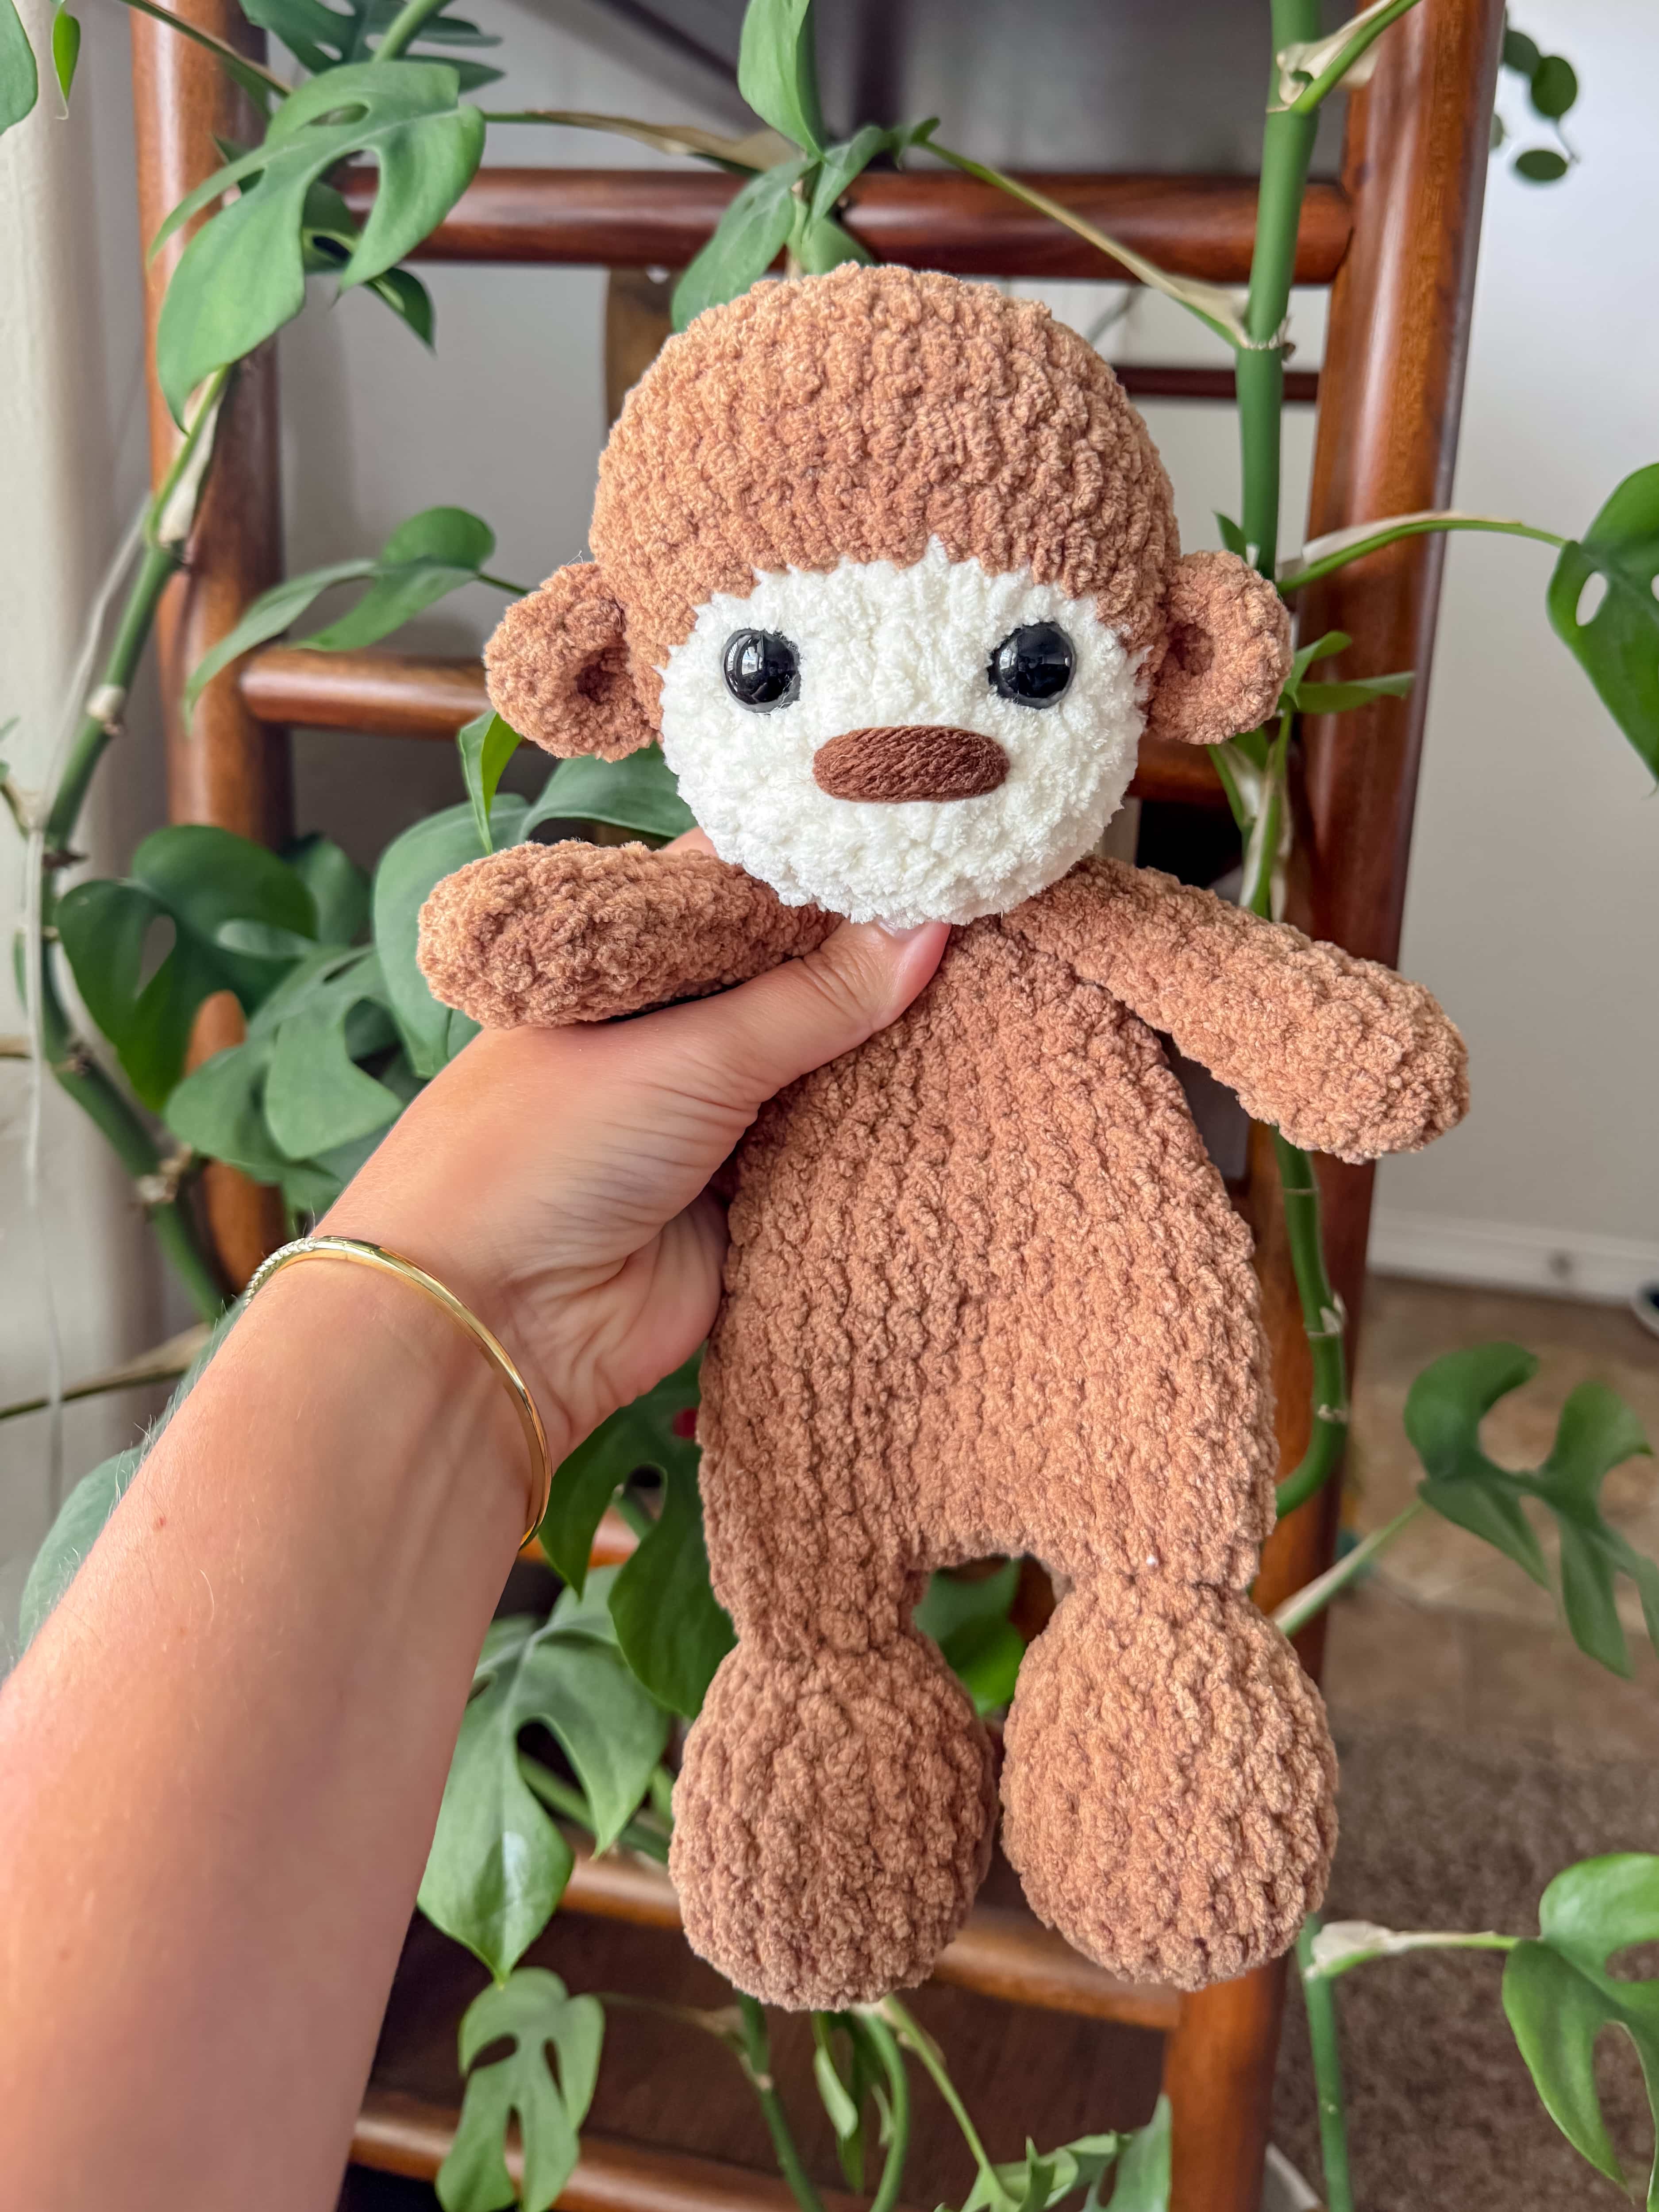
Monkey Snuggler Pattern
$6

Capybara Stuffy Pattern
$6
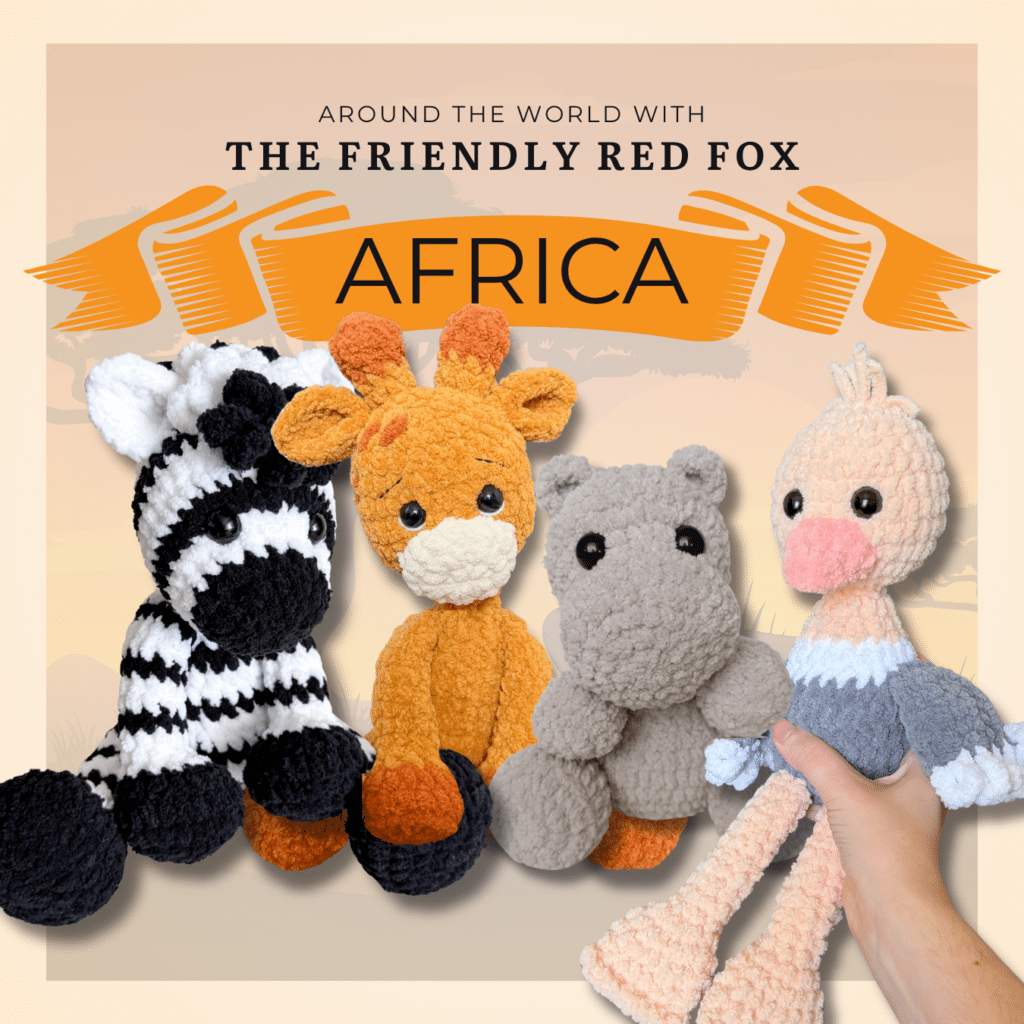
Africa eBook Pattern
$6
Free Crochet Monkey Stuffy Pattern Materials
To get started making this free monkey crochet pattern, you’ll want to gather all your materials first.
You will need:
- You will need:
- 30g Premier Basix Chenille in Winter White Color
- 150g Premier Basix Chenille in Caramel or Body Color
- small amount of worsted weight in brown
- Stuffing
- 15mm safety eyes
- 4.5mm crochet hook (or hook size that keeps stitches tight and feels comfortable)
- Needle
- Stitch marker
video tutorials
These methods are used in this pattern!


Notes:
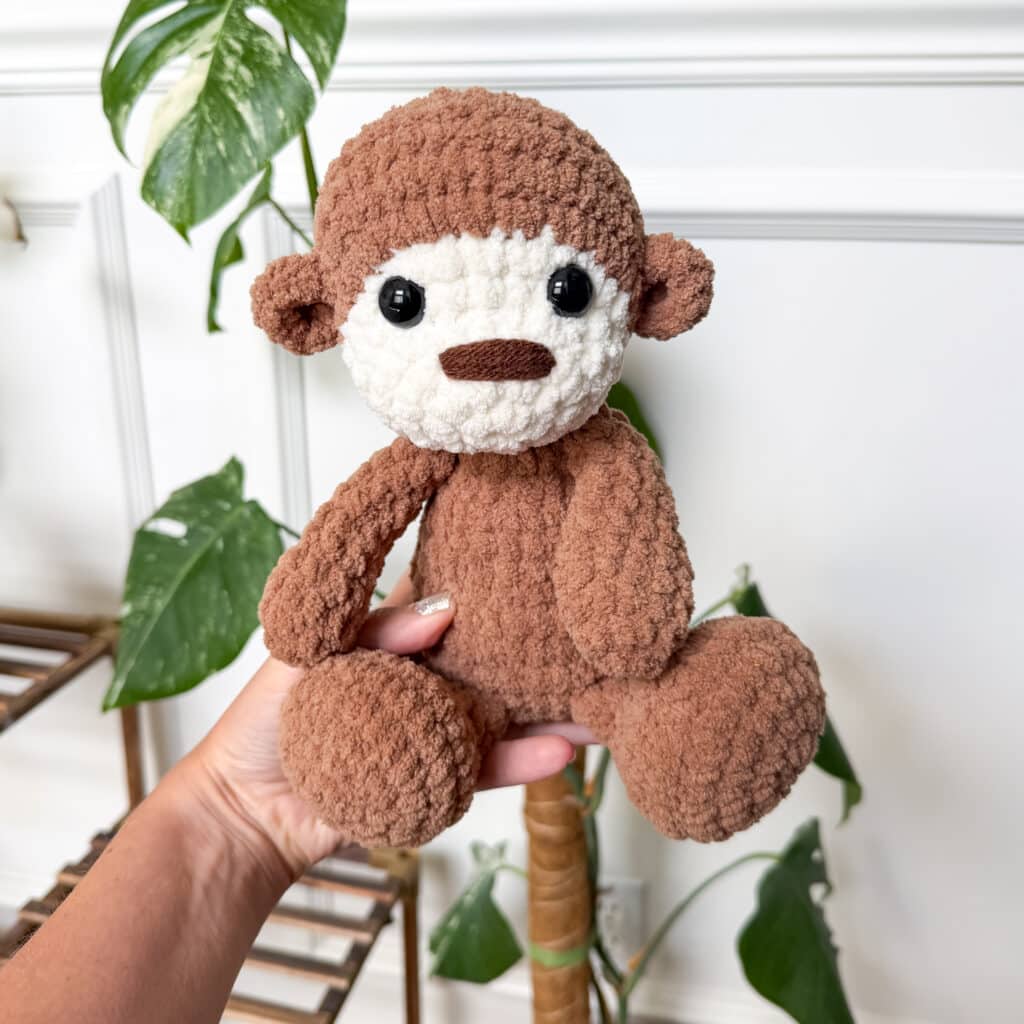
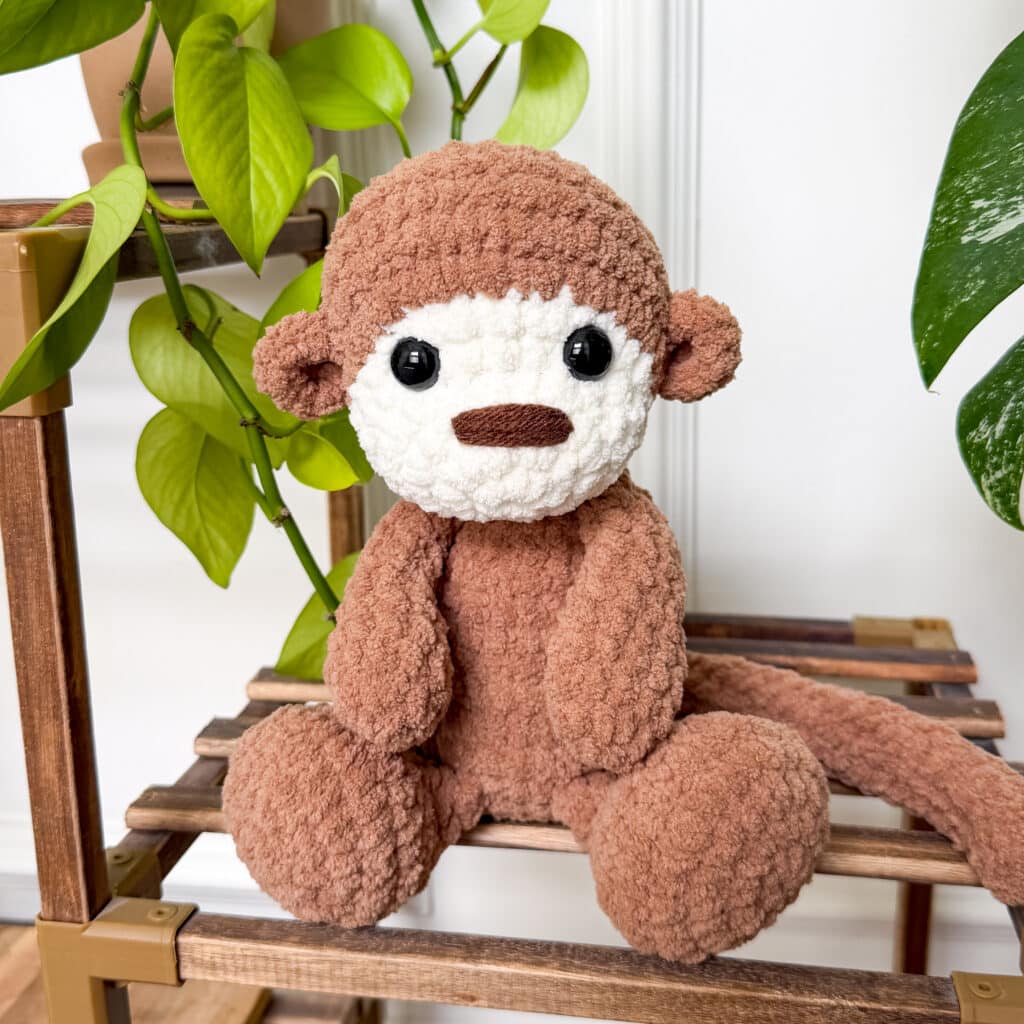
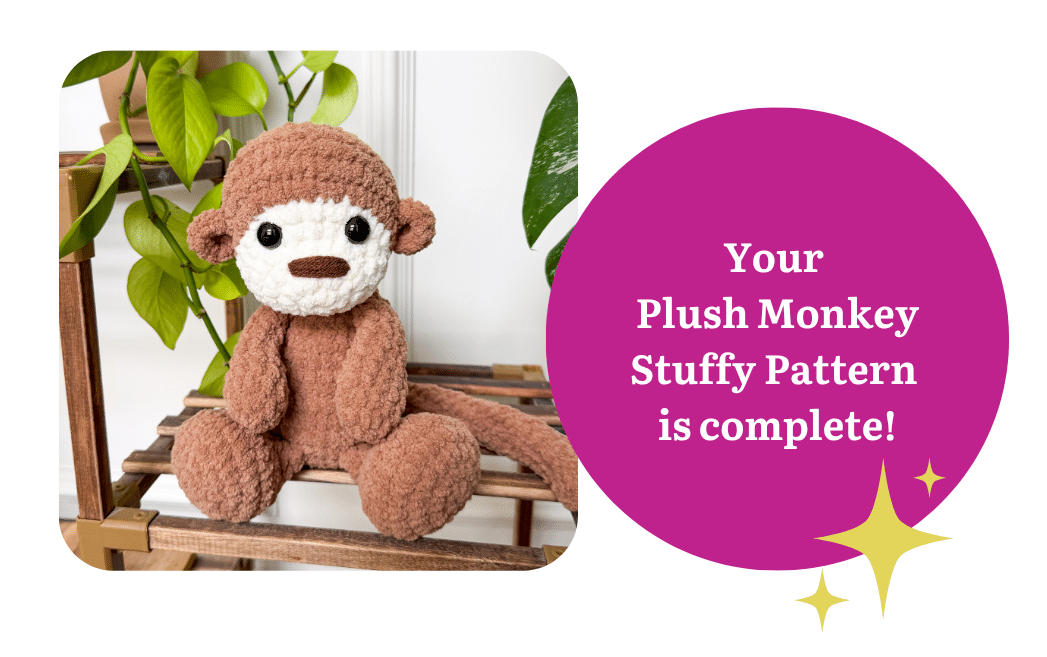
This monkey is the more traditional stuffy, with a defined body and adorably long arms and legs. This is a good-sized stuffy, when sitting it is about 9 inches tall (with the cutest long tail!). When you use the method found right here (my favorite way to attach plush yarn) the arms are movable!
You can use safety eyes or try out embroidered eyes so it would be safe for a baby/toddler.
I have a collection of embroidery videos here.
I used blanket yarn for this pattern, a size 6 weight. I typically use Premier Basix Chenille, Bernat Blanket and Bernat Baby Blanket. I think these are interchangeable size wise. I use a 4.5mm hook for the Premier Basix Chenille and a 5mm for Bernat, which is much smaller than the recommended size on the label, but I want nice, tight stitches for this type of pattern. If this is too tight for you, size up a hook size until you can crochet comfortably but still have tight stitches.
Please be aware that even though the label may say it is size 6, some materials and brands work up much differently. Keep that in mind as you are choosing your yarn.
Suitable yarns could be regular Bernat Blanket, Premier Basix Chenille yarn or Cozy Cub from Michaels (formerly Big Twist from Joann’s).
Monkey Stuffy Crochet Pattern
Head
Using winter white:
Round 1: SC 8 in a magic ring (8)
Round 2: INC in each around. (16)
Round 3: INC in the first 4. SC in the next 4. INC in the next 4. SC in the final 4. (24)
Round 4-5: SC in each around. (24)
Round 6: SC in the first 6. SC INC in the next 8. SC in the last 10. (32)
Change to caramel color.
Round 7: SC in the first 6. *SC in the first, INC* 8x. SC in the last 10. (40)
Rounds 8-10: SC in each around. (40) *3 rounds*
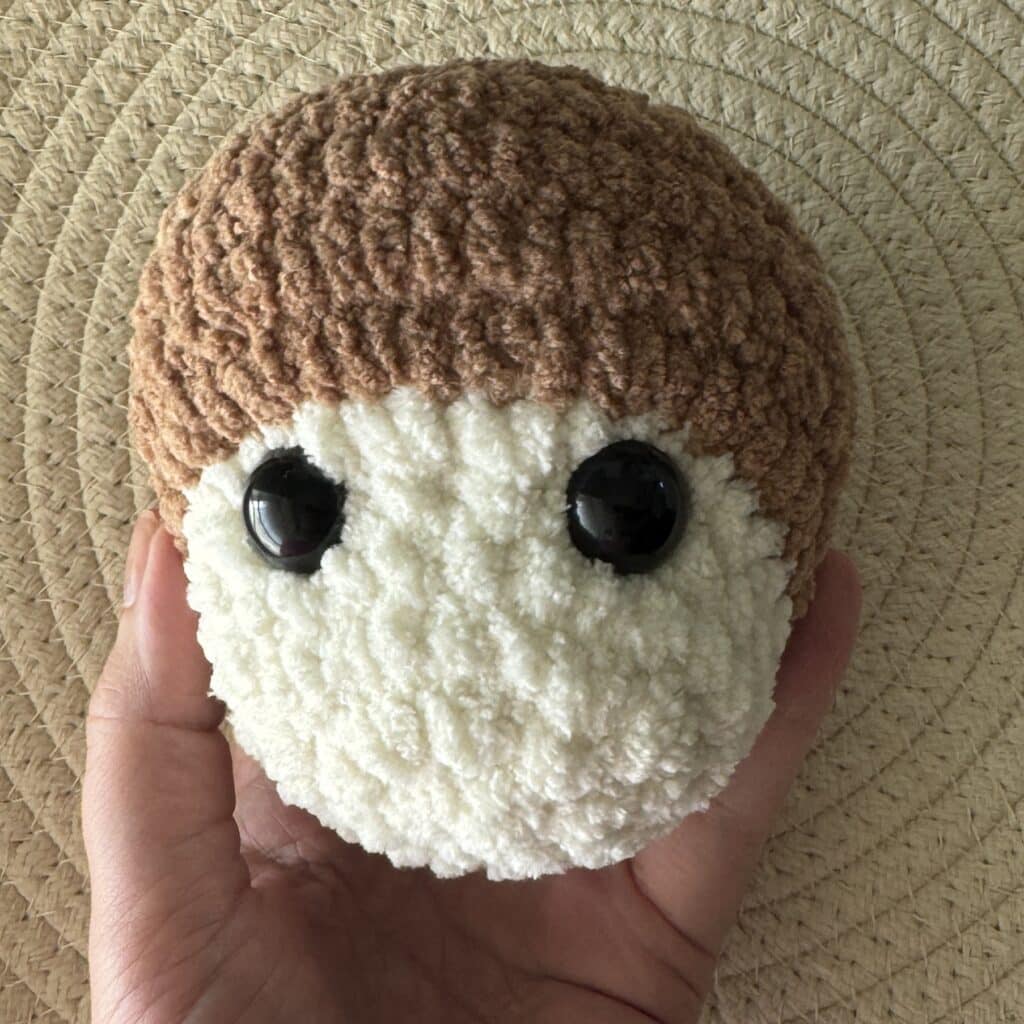
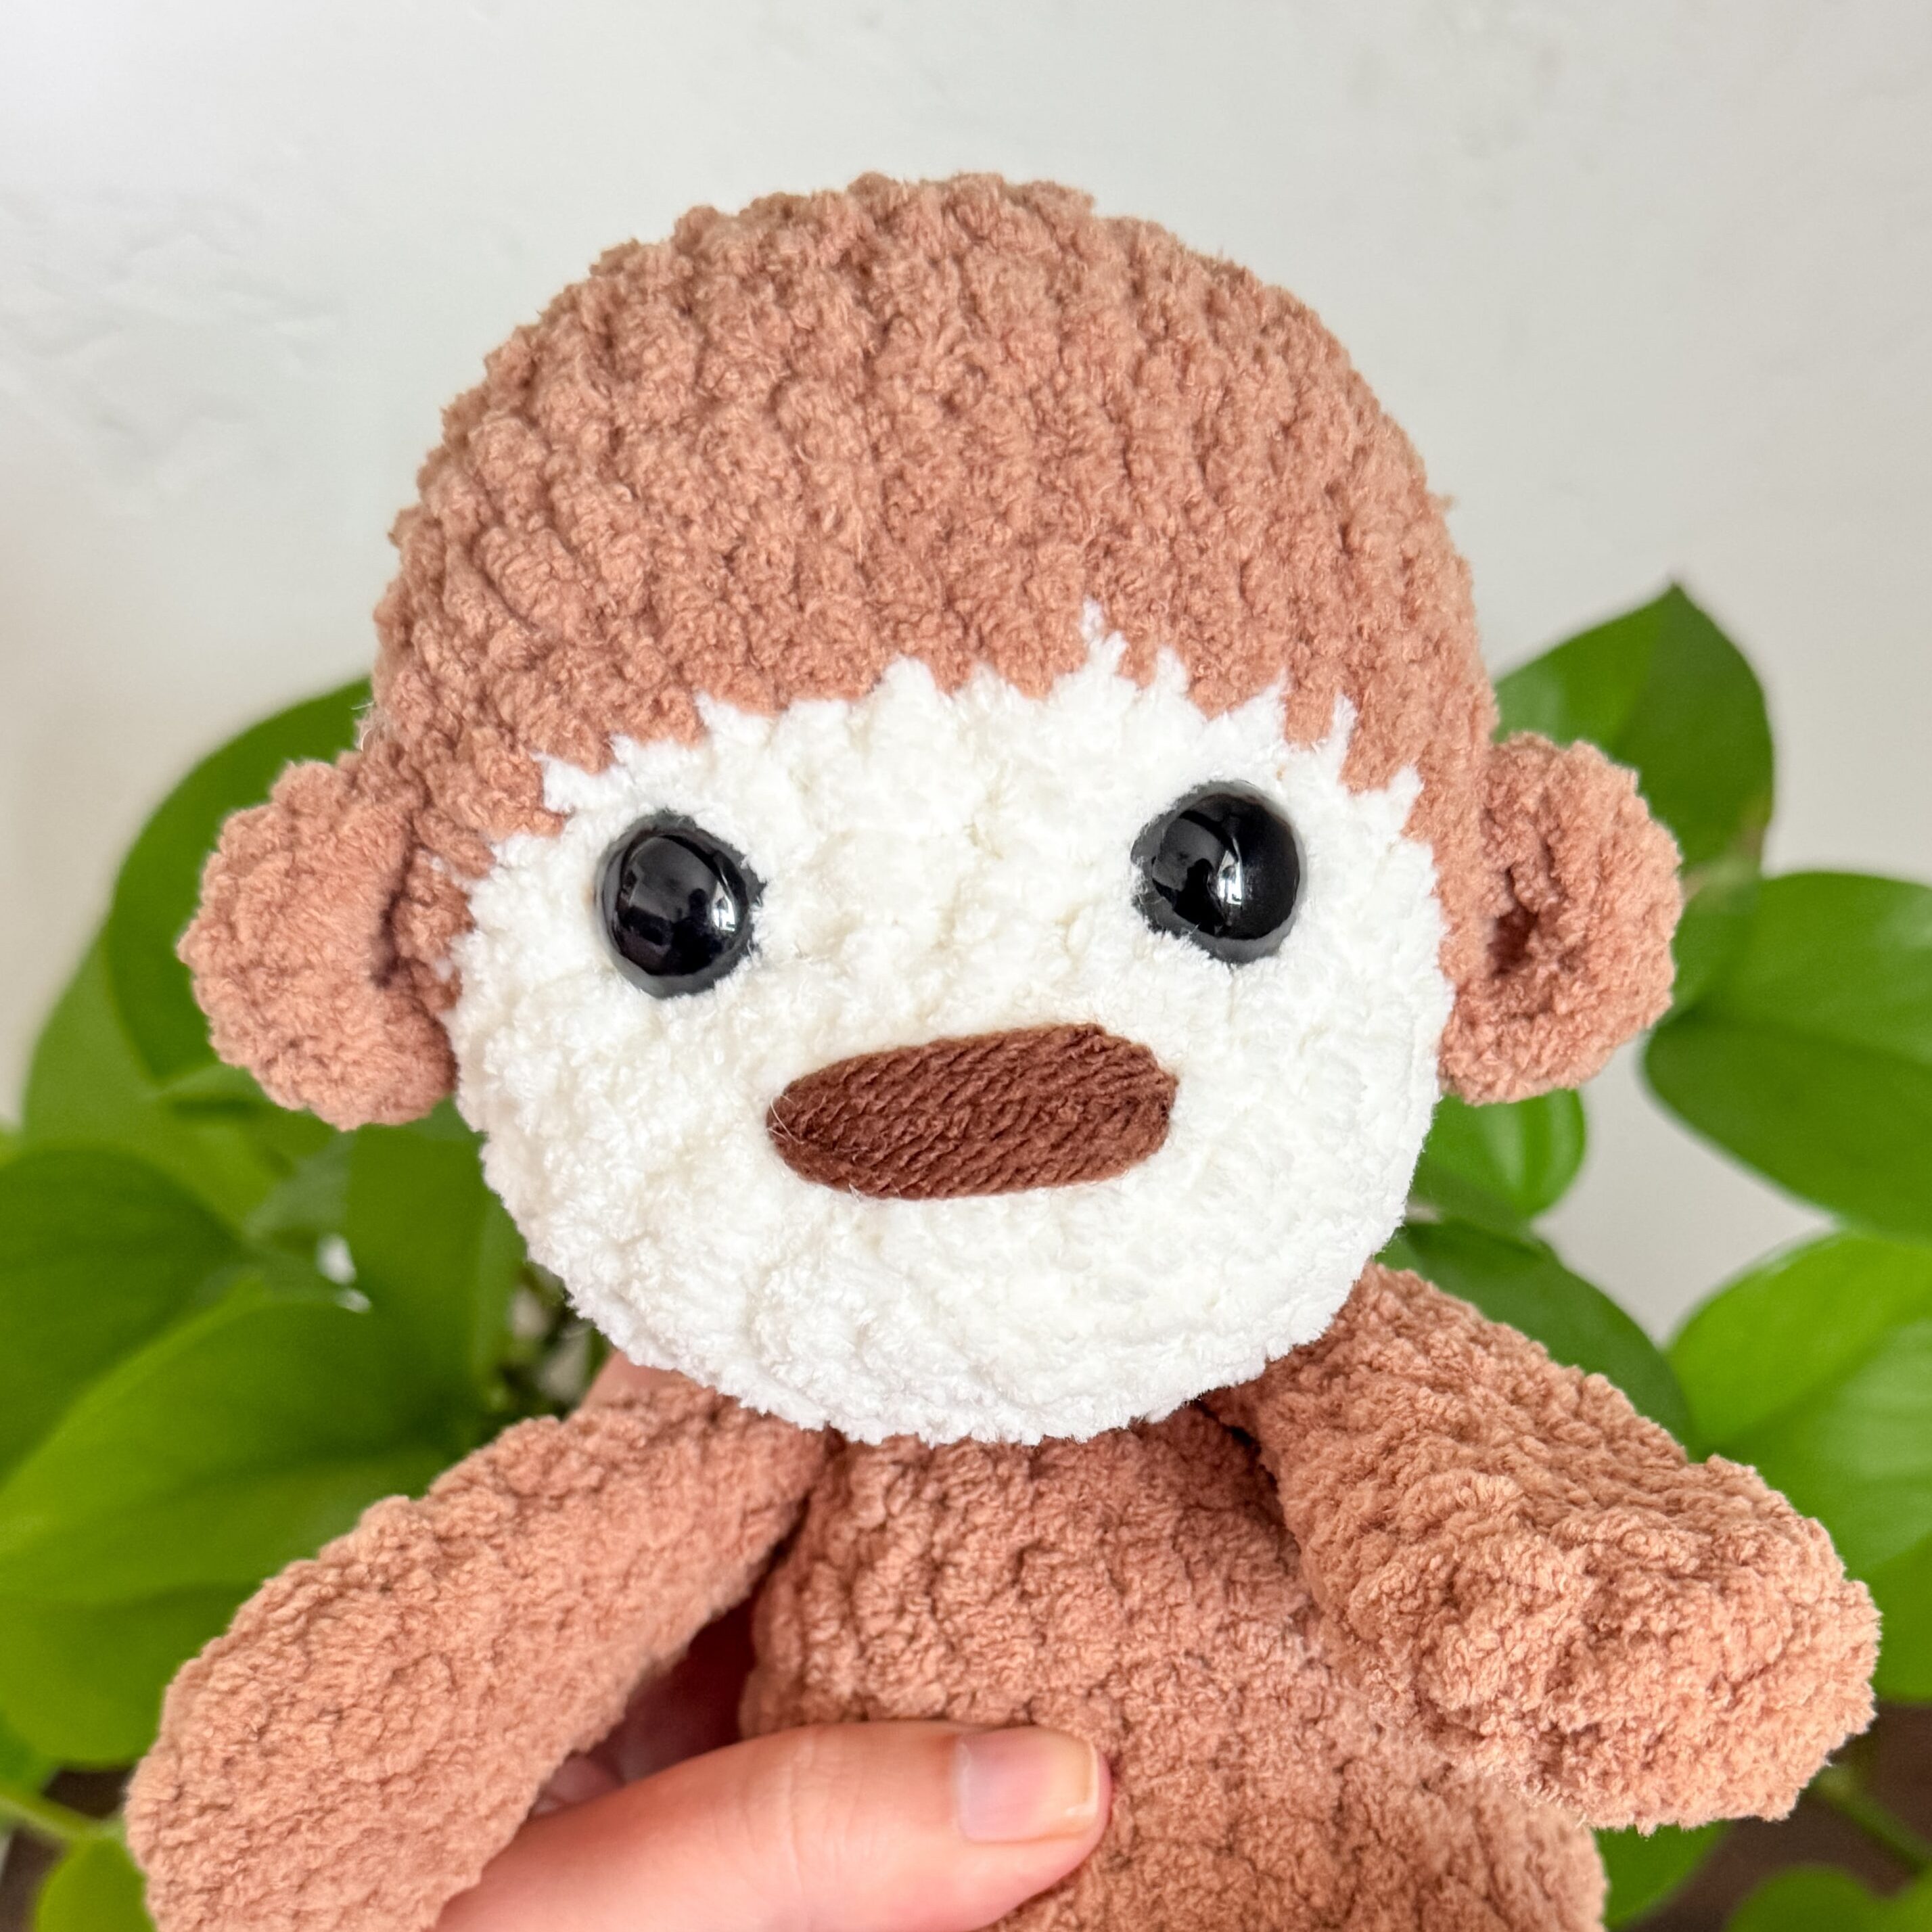
Insert eyes between round 5 and 6, using the 8 INC of row 6 to help center them. There should be about 6 stitches between the eyes.
Round 11: SC in the first 3, INV DEC (32)
Round 12: SC in the first 2, INV DEC (24)
Stuff here.
Round 13: SC in the first, INV DEC (16)
Round 14: INV DEC around (8)
Fasten off, close the circle and weave in the end.
Embroider the nose with worsted weight brown yarn, around round 3 between the eyes. Cover about 4-5 stitches for length.
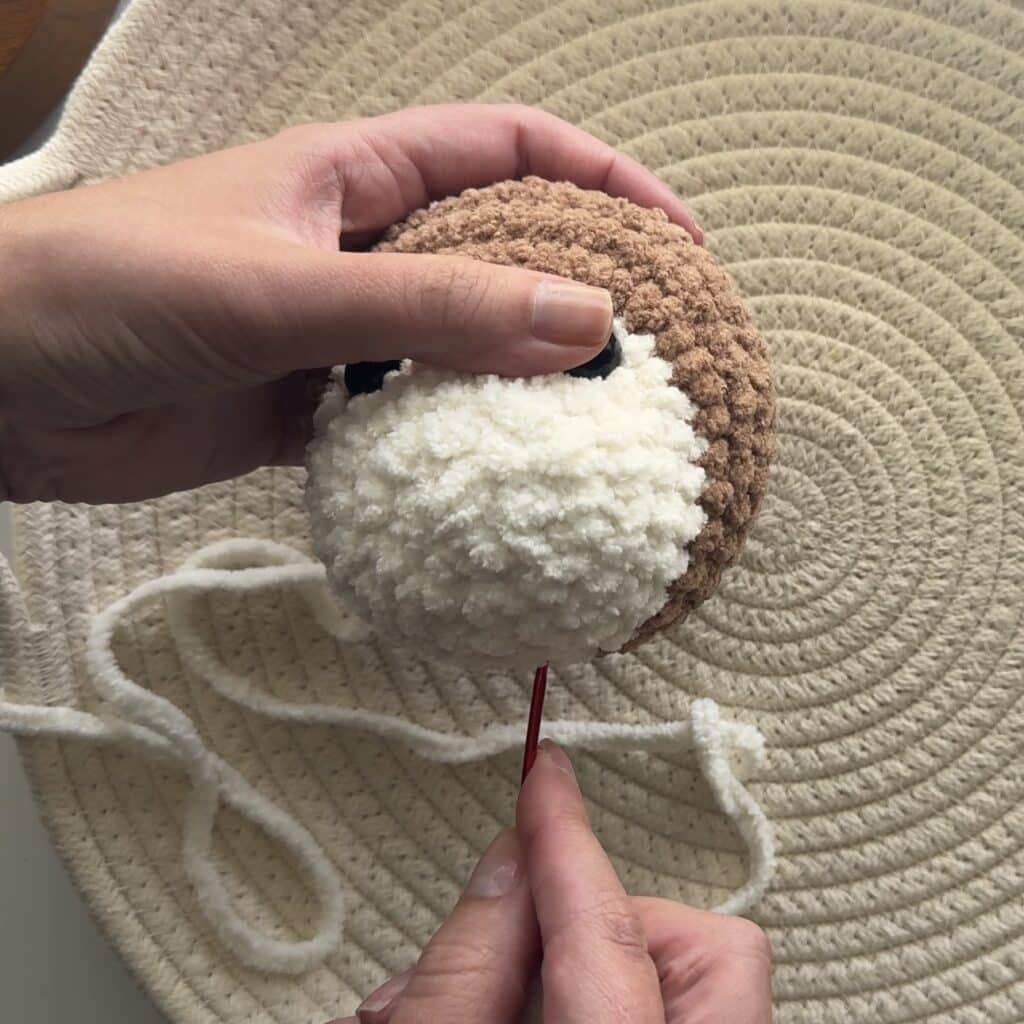
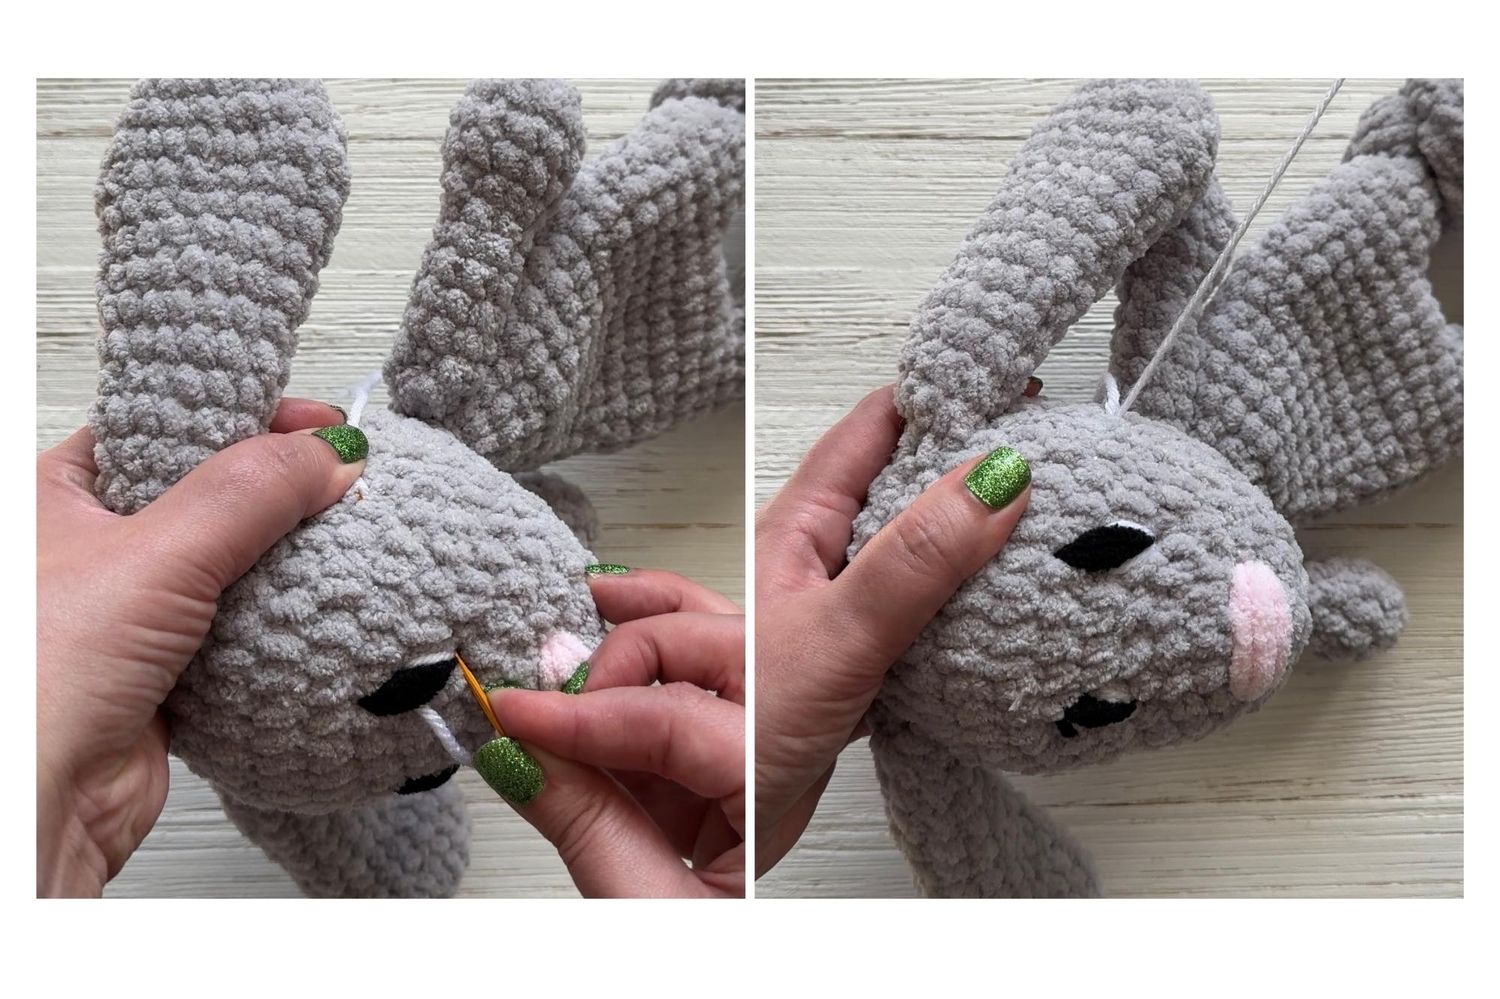
Lightly shape the eyes by using a long piece of the winter white yarn. Going from the bottom of the head, come up as close to the eye as you can. Go underneath the eye and come back to your original insert point, and pull on both ends of the yarn to create an indent. Repeat on the other eye. You can check out the pictures below or the video here!
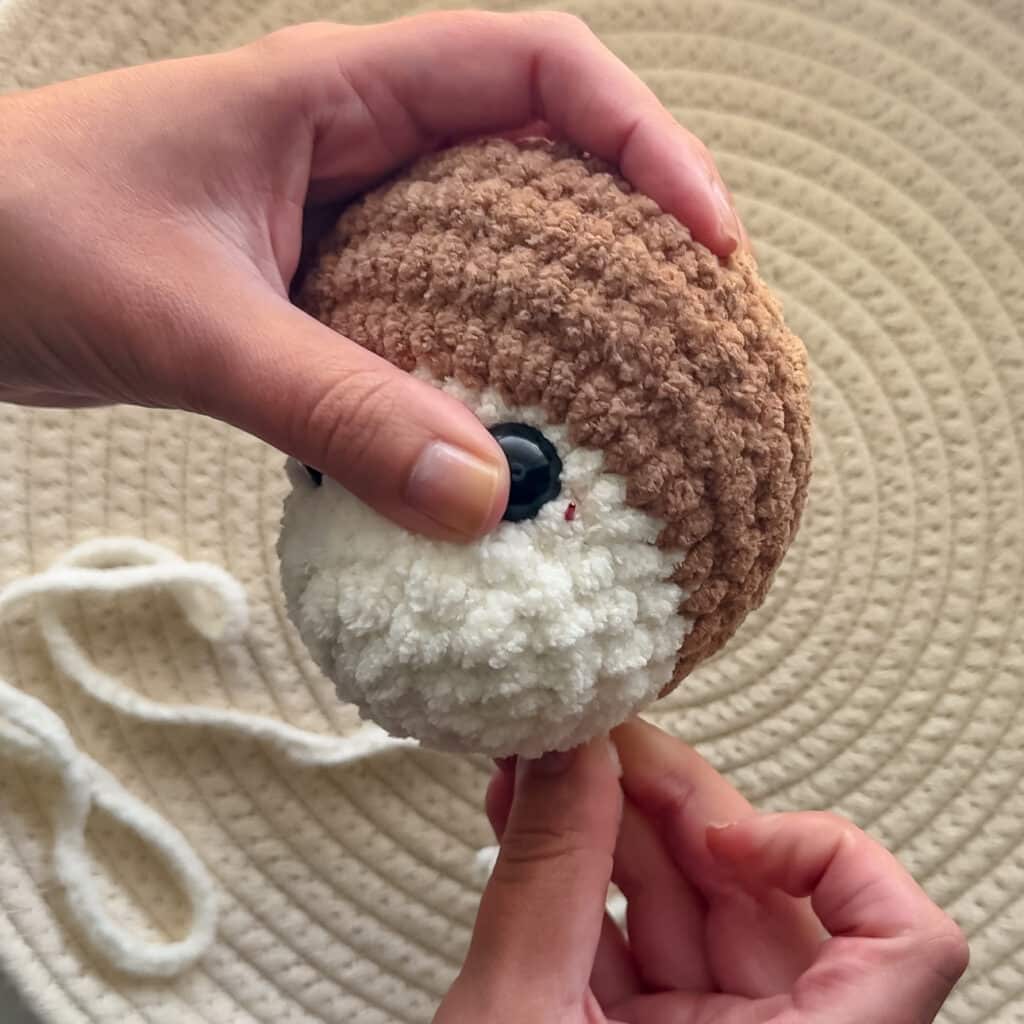
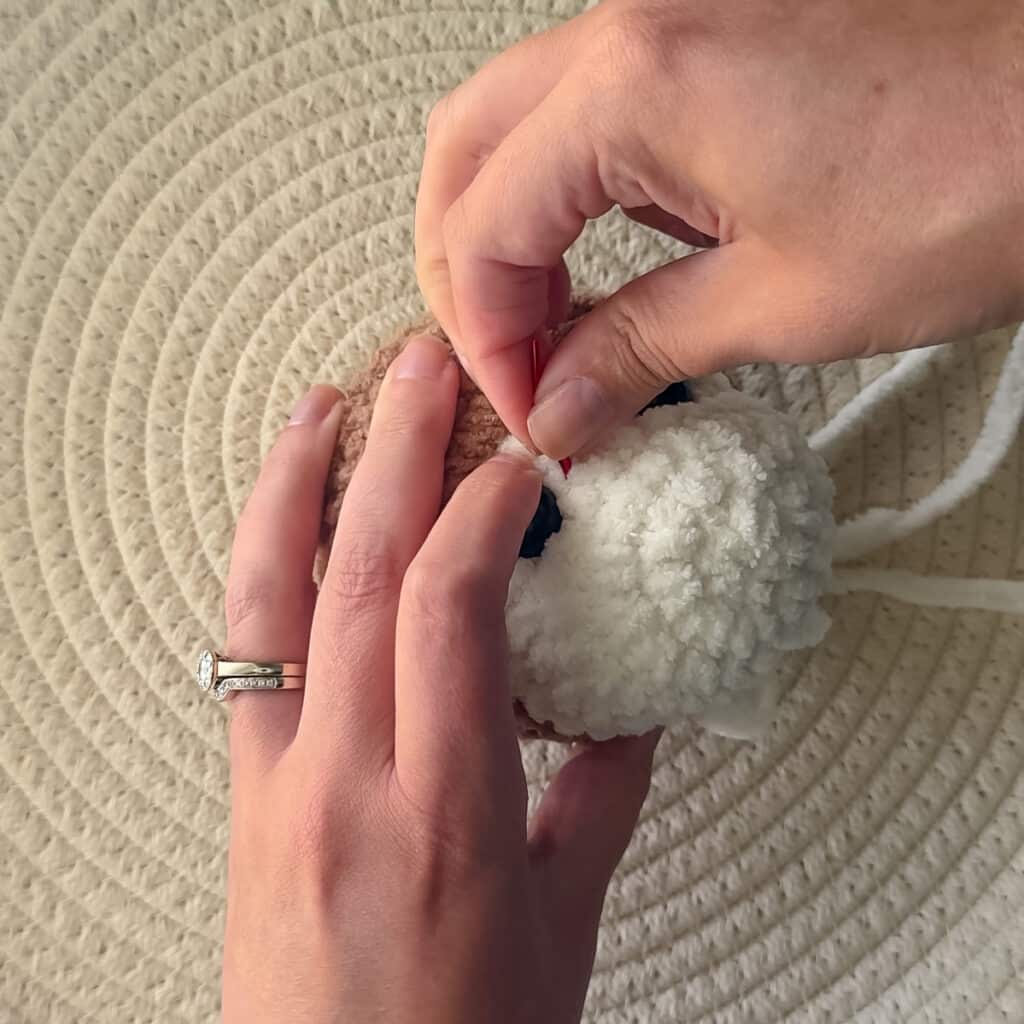
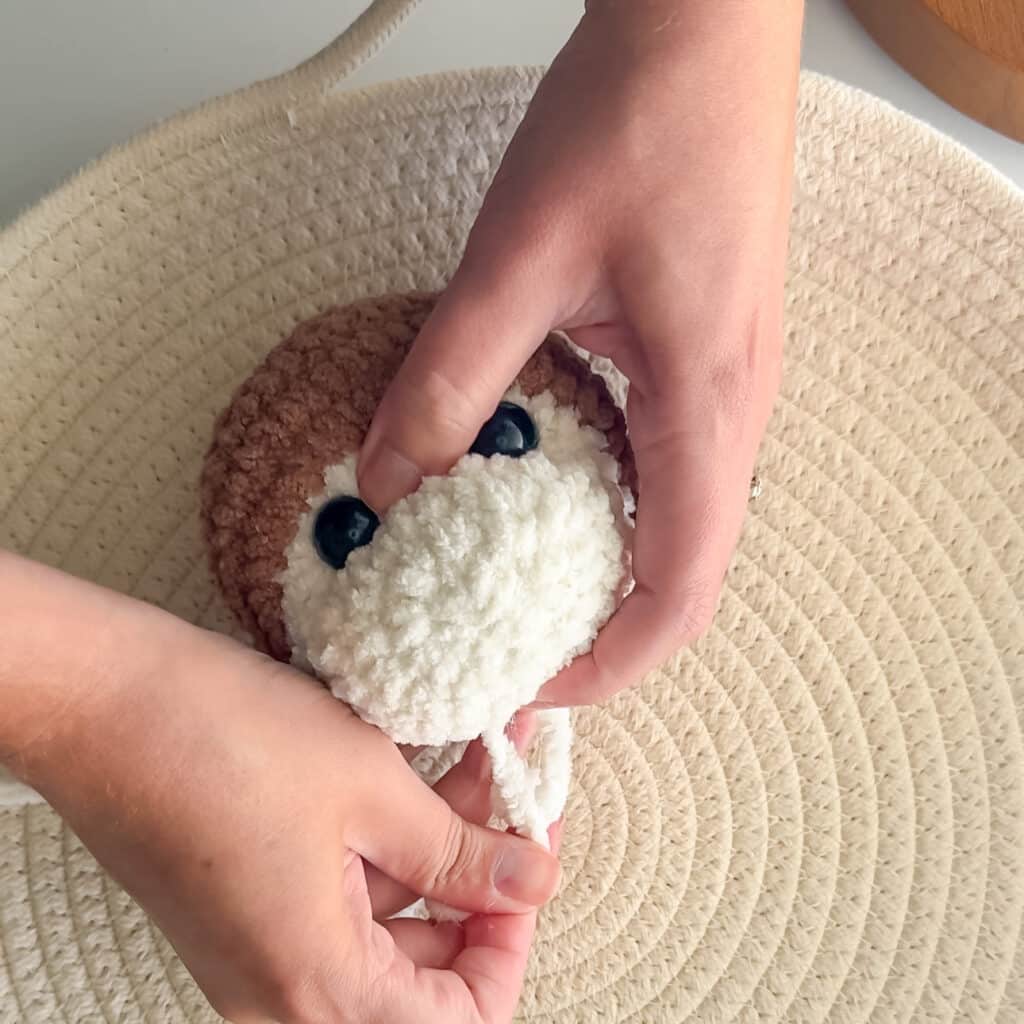
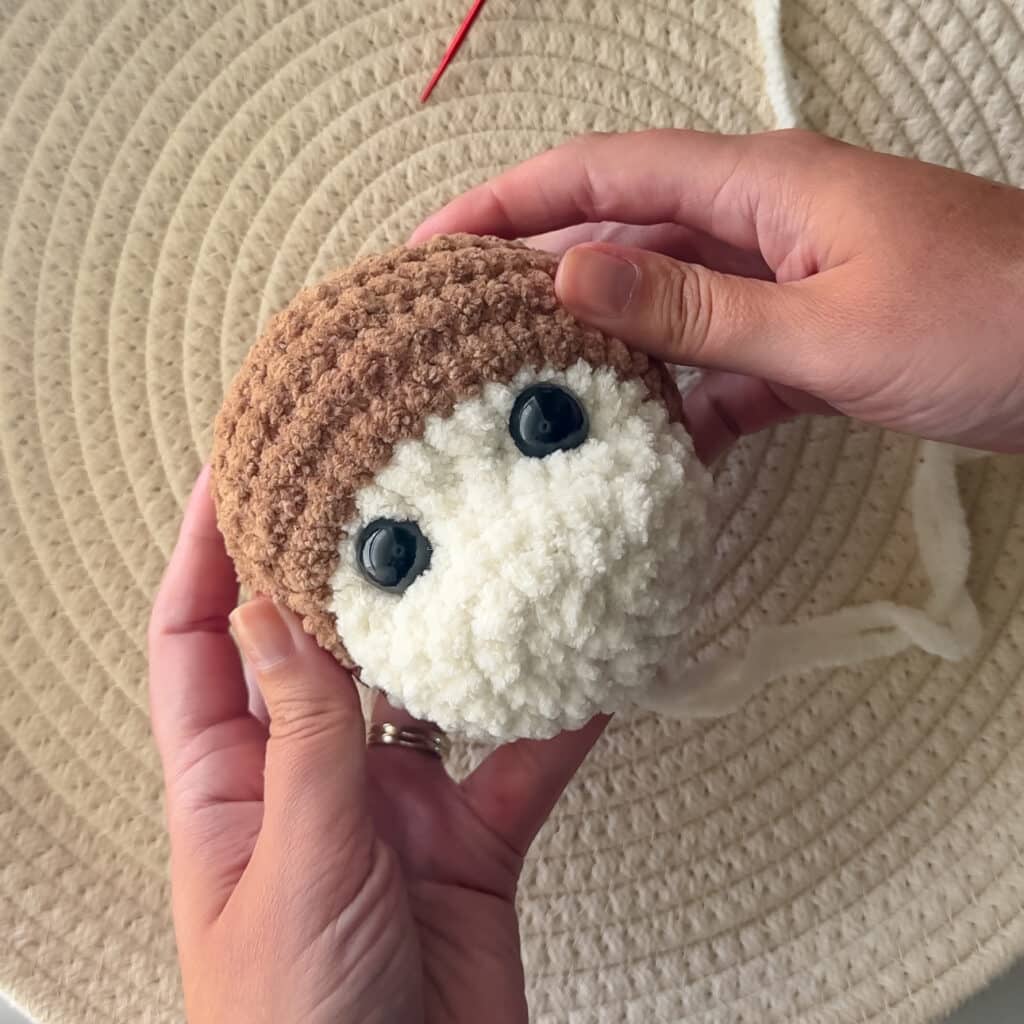
Ears (make 2)
Using caramel:
SC 6 In magic ring. Do not close. Chain 1 and turn. SC in each of the 6 SC back. Fasten off.
Sew on round 8, with the top of the ear level with the top of the eyes.
Body
Using caramel:
Round 1: In a magic circle, SC 8.
Round 2: SC INC in each around. (16)
Round 3: SC in the first, SC INC in the next. Repeat around. (24)
Round 4: SC in the first 2, SC INC in the next. Repeat around. (32)
Round 5-8: SC in each around. (32)*4 rows*
Round 9: SC in the first 2, INV DEC in the next. Repeat around. (24)
Rounds 10-13: SC in each around. (24) 4 rows
Start stuffing here.
Round 14: SC in the first, INV DEC in the next. Repeat around. (16)
Round 15: SC in each around. (16)
Round 16: INV DEC in each around. (8)
Round 17: In the front loop only, SC INC in each around. (16)
Round 18: SC in the first, SC INC in the next. Repeat around. (24)
Fasten off, leaving a long tail to attach the head with.

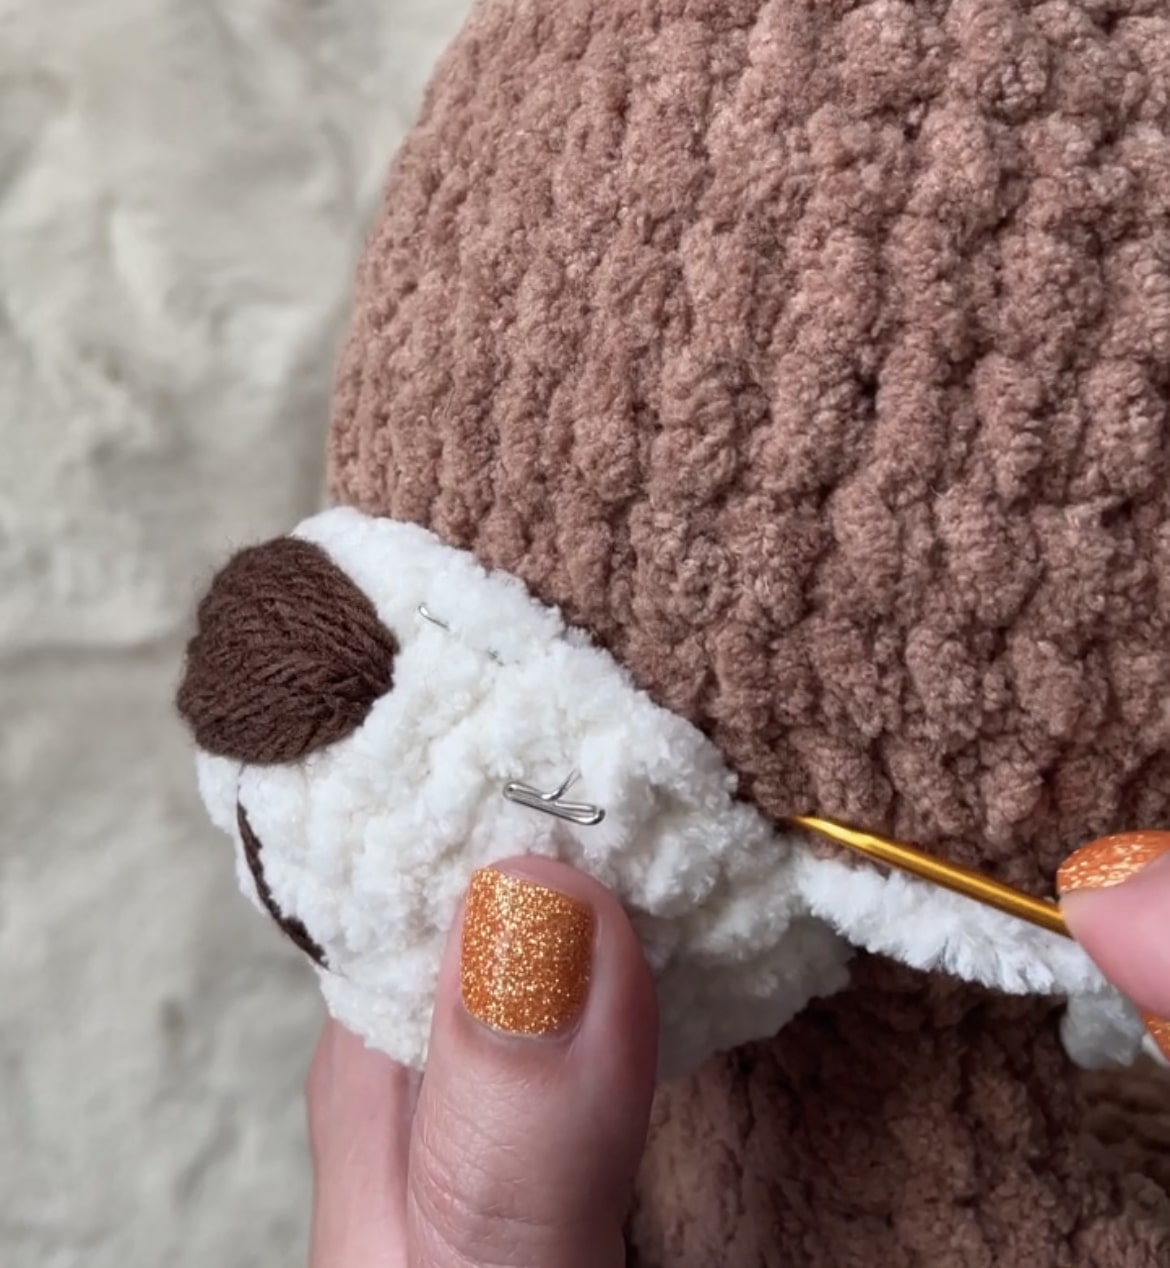
Once you are ready to attach the head to the body, pin the flat disc that is at the top of the body where you want it on the head. Try to center it as best you can. I prefer mine to be slightly close to the nose so that the head flops forward more than backwards.
As you sew, go through the front loop on the SC at the top of the disc. Pull tightly each time. Try to pull the disc out as you go, so that it lies as flat to the head as you can. See a video here!
Arms (make 2)
Using caramel:
Round 1: In a magic ring, SC 6.
Round 2: SC INC in each around. (12)
Round 3-4: SC in each around. (12)
Round 5: INV DEC in the first. SC in the next 4. INV DEC. SC in the remaining 4. (10)
Round 6: SC in each around. (10)
Round 7: INV DEC in the first. SC in the next 3. INV DEC. SC in the remaining 3. (8)
Rounds 8-11: SC in each around.
Fasten off and leave an extra-long tail. Sew the opening closed. Attach to the body between rounds 13-14 using my favorite method here.
Legs (make 2)
Round 1: In a magic ring, SC 7.
Round 2: SC INC in each around. (14)
Round 3: SC in the first, SC INC in the next. Repeat around. (21)
Round 4: SC in the first two, SC INC in the next. Repeat around (28)
Rounds 5: SC in each around. (28)
Round 6: SC in the first two, INV DEC in the next. Repeat around. (21)
Round 7: SC in the first 7, then INV DEC 7x. (14)
Round 8: SC in the first 7, then INV DEC 3X. Take the stitch marker out, decrease one more time and put the stitch marker there. (10)
Stuff the foot here and continue stuffing (only about halfway up)
Rounds 9-10: SC in each around. (10)
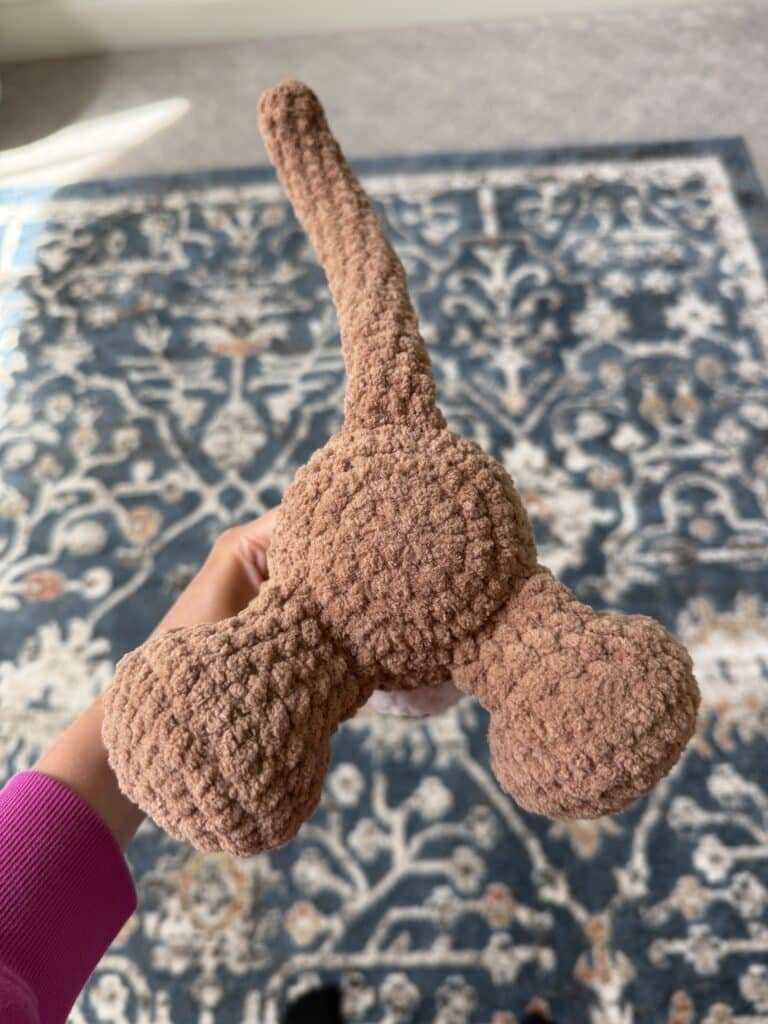
Fasten off and leave a long tail to sew on. Flatten the opening of the leg and attach these facing the front of the body, on round 4, with about 4 stitches between them. (You may need to do one additional sc to reach the side of your foot so you can flatten it correctly.)
Tail
Sc 6 in a magic ring
Rounds 2-25: SC in each stitch around.
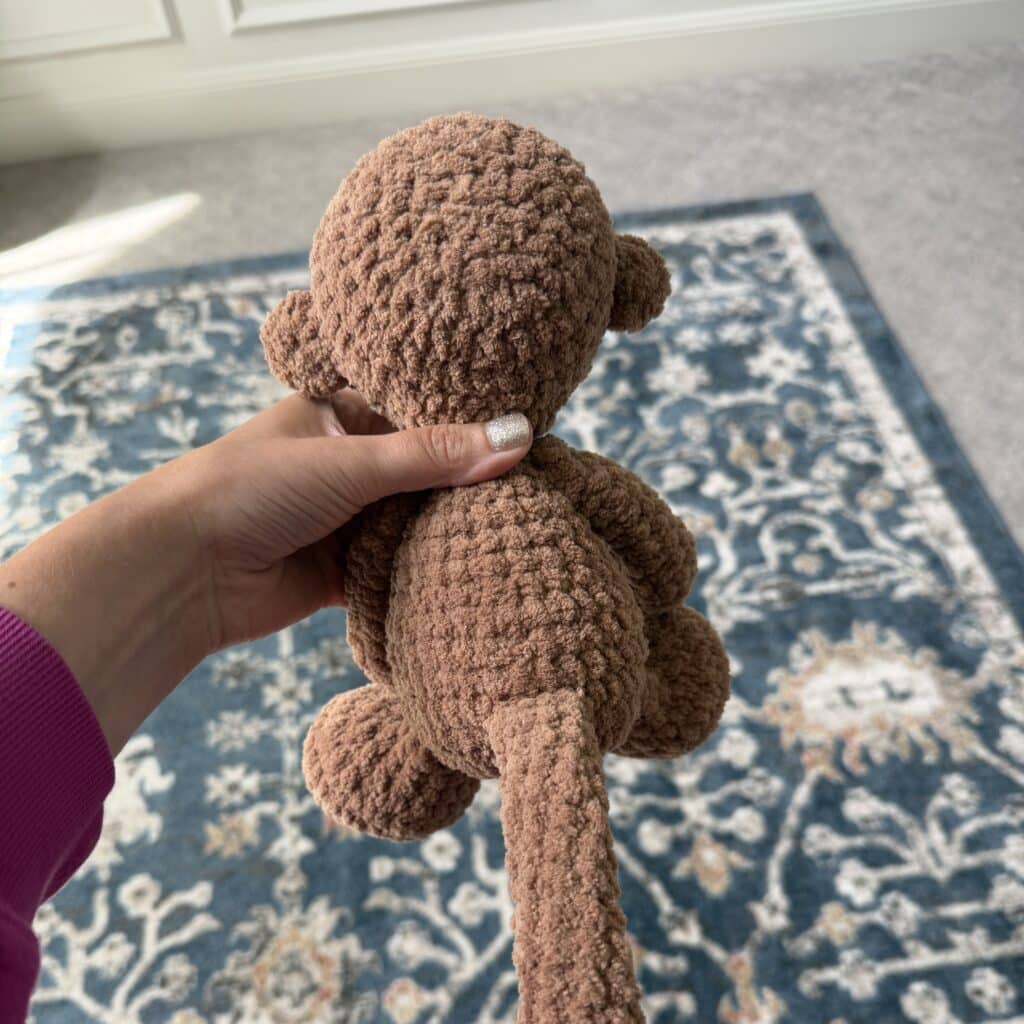
Attach the tail around rounds 5-6
Want the Ad-free, Printable PDF?
You can find it in one of my stores!
Did you make this pattern?
Mention me @thefriendlyredfox so I can see your Monkey Stuffy Crochet Pattern creations! You can also leave a comment below!

Gorgeous pattern. When do you stuff the body? I can’t see that.
Between rows 13 and 14!