
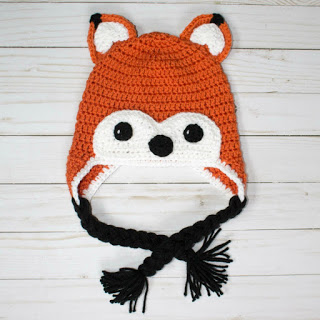
Free Fox Hat Pattern
Surprise! I loves foxes. My dad used to sing me a song about a red fox who ran away (anyone heard of it? It was my favorite and I have never heard it anywhere else!) I like to say that I liked foxes before they were cool and everyone started to wonder what the fox said. (Ha.) Thus the name of my blog and shop and thus the creation of this super cute fox hat! And since I am feeling very friendly I am sharing this free fox hat crochet pattern! Right now I only have the children’s size hat, but hope to update it with other sizes in the future.


Thank you for supporting The Friendly Red Fox!
You will need:
Size 6 (super bulky) yarn in orange, black and white.
Size J (6.0mm) hook
Large needle for sewing
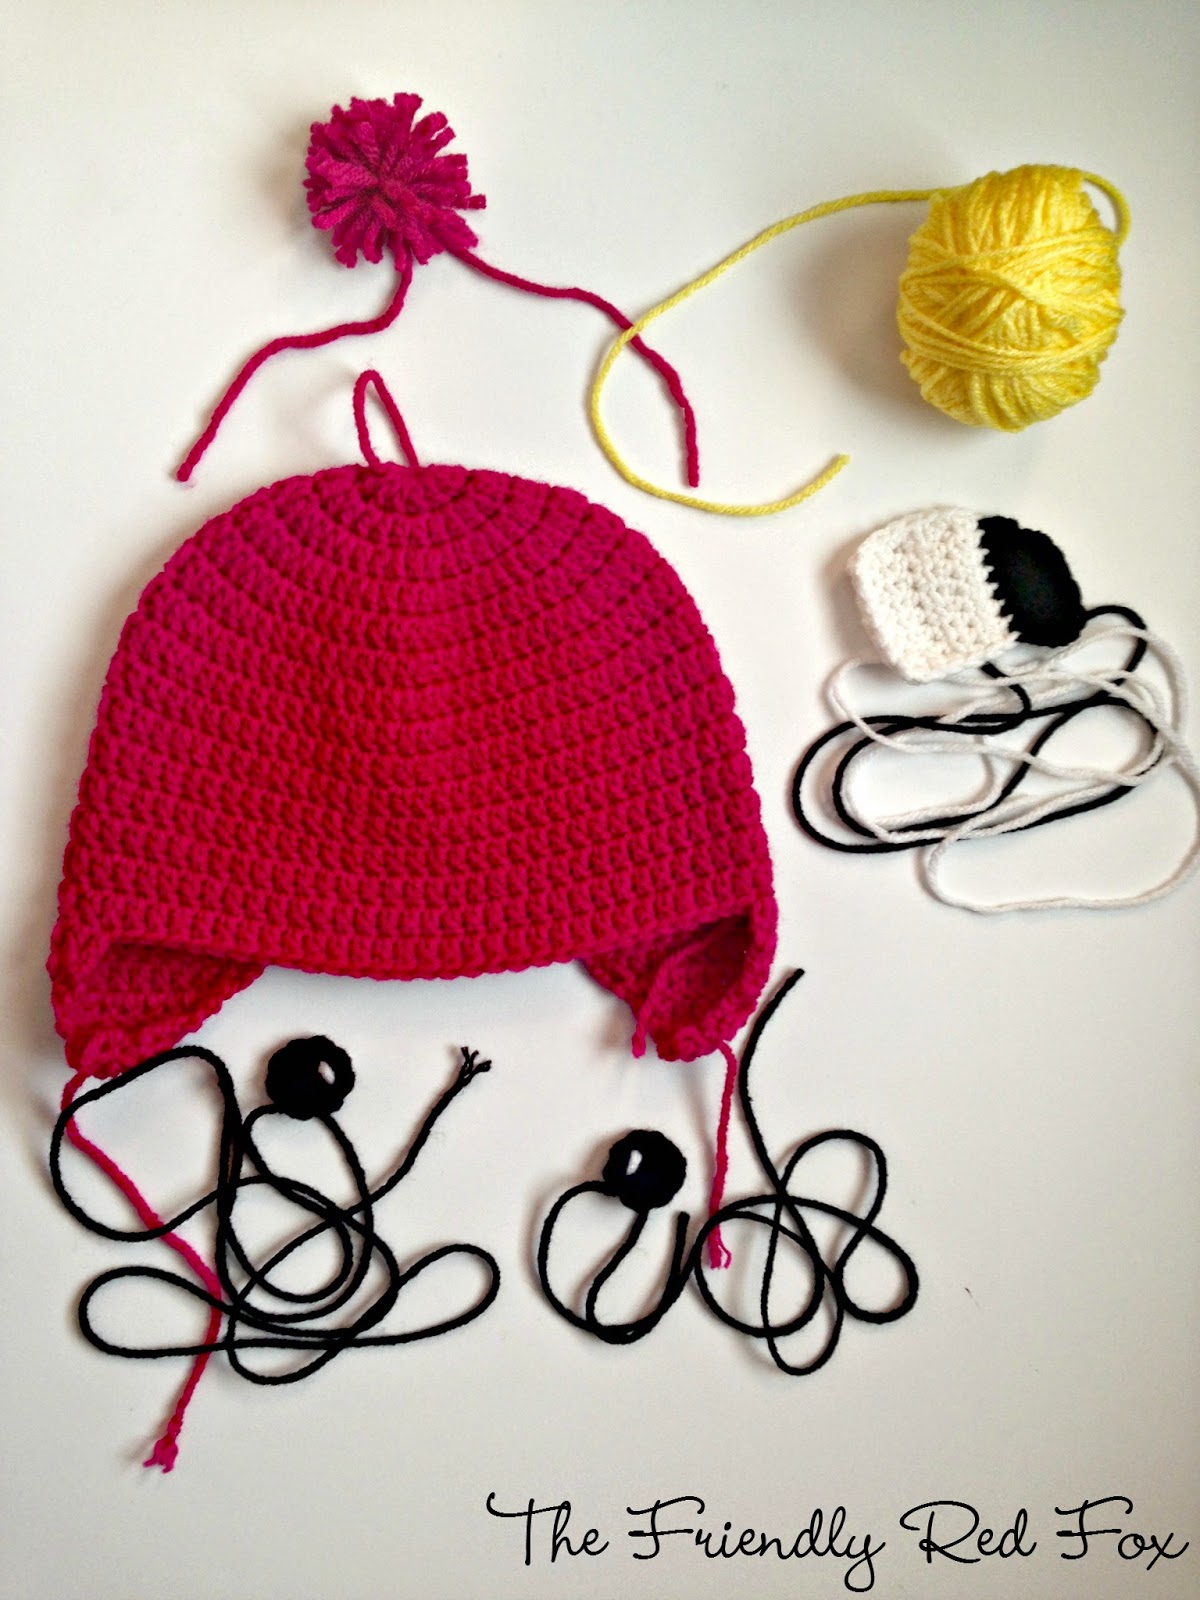
Okay, now let’s make a fox hat!
Children’s Size Hat
Magic
ring, chain 2, DC 11 in magic ring, join to first DC, ch 2
Round 2: 2 DC in each around, join, ch 2 (22 DC)
Round 3: 2 DC in first stitch, DC in next, around, join, ch 2. (34 DC)
Round 4: 2 DC in first stitch, DC in next two, join, ch 2 (45 DC)
Round 5: 2 DC in first stitch, DC in next three, join, ch 2 (56 DC)
Round 6-11: DC in each stitch around, join, ch 2 (56 DC)
Ear Flaps
Row 1: 10 DC, Chain one, turn
Row 2: DC Decrease, 8 DC, DC Decrease, Chain one, turn
Row 3: DC Decrease, 6 DC, DC Decrease, Chain one, turn
Row 4: DC Decrease, 4 DC, DC Decrease, Chain one, turn
Row 5: DC Decrease, 2 DC, DC Decrease, Chain one, turn
Fasten off and weave in.
Count 12 stitches across and attach yarn for the second flap. Repeat.
Now HDC around the whole bottom in white.
Ears (Make 2)
With orange yarn:
Magic circle, chain 2, DC 7 in magic ring DO NOT JOIN. Chain 2 and turn.
Round 2: DC, 2 DC, DC TRC, TRC, TRC DC, 2 DC, 2 DC (Each comma separates a stitch)
Round 3: HDC in each stitch.
Fasten off and leave a long tail for sewing (you will need to sew on the ear insert and attach to hat. I leave about 12 inches to be safe.
With white yarn:
Magic circle, chain 2, DC 7 in magic ring, again do not join. Fasten off and weave in ends. Sew on using the long tail to the orange ear.
Sew on to the hat. A great way to make sure your ears line up correctly is to use the lines that already exist on the hat.
Face
Chain 24
Row 2: In second chain from hook HDC across (23 HDC)
Rows 3-5: Chain one, turn and HDC across. (23 HDC)
Row 6: HDC, DC, DC, DC, TRC, 3 TRC, TRC, DC, DC, DC, HDC, SLIP STITCH, HDC DC, DC, DC, TRC, 3TRC, TRC, DC, DC, DC, HDC
Row 7: Chain one, turn, HDC in nect 12, Slip stitch in next 3, HDC in next 12.
Single Crochet around the entire thing. This makes it look so much more finished and adds some of that rounded look.
Fasten off and leave a really long tail for sewing. like over 3 feet long.
Eye Lashes
In black, chain the length you desire (I usually go about 10 chains). Position on the hat and sew on. Every other stitch make a small lash by coming up in the desired spot and then sewing down on to the chains.
Nose
With black, in a magic ring, chain 2, DC 8, Join. Sew on face piece.
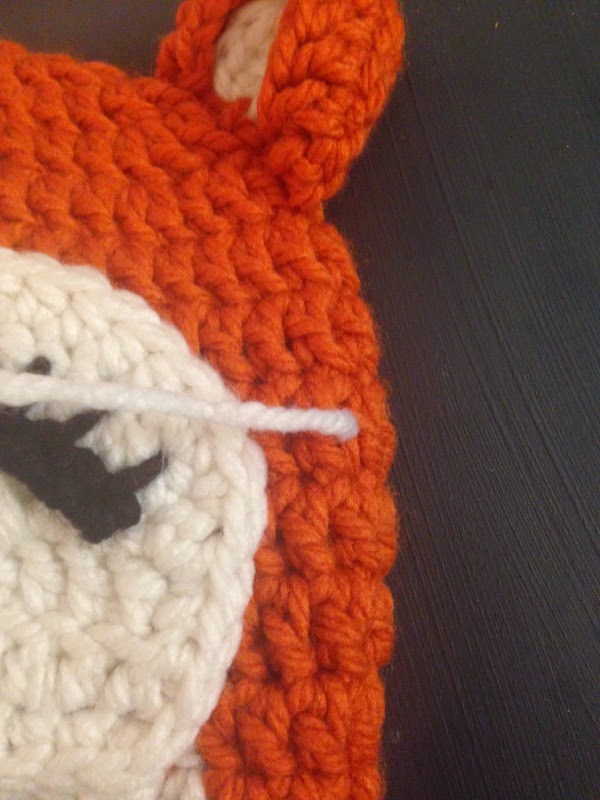
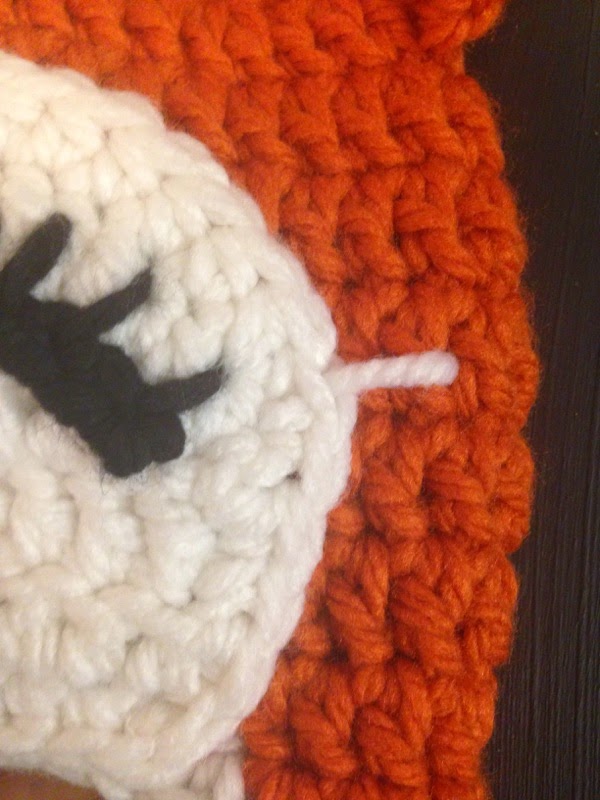
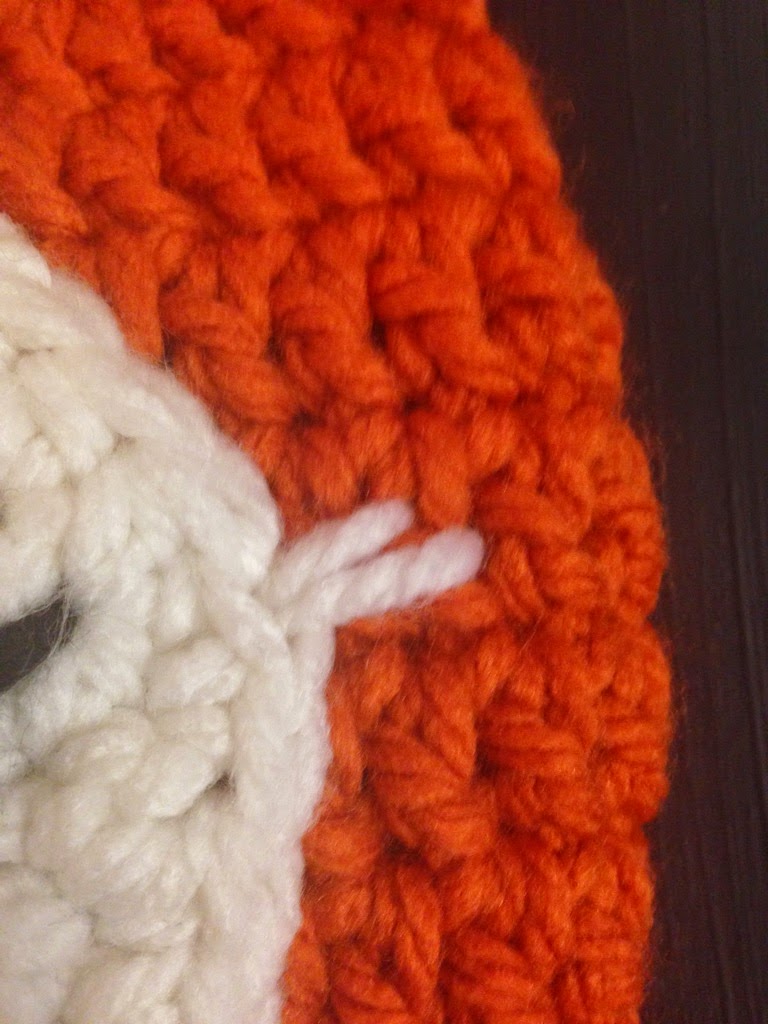
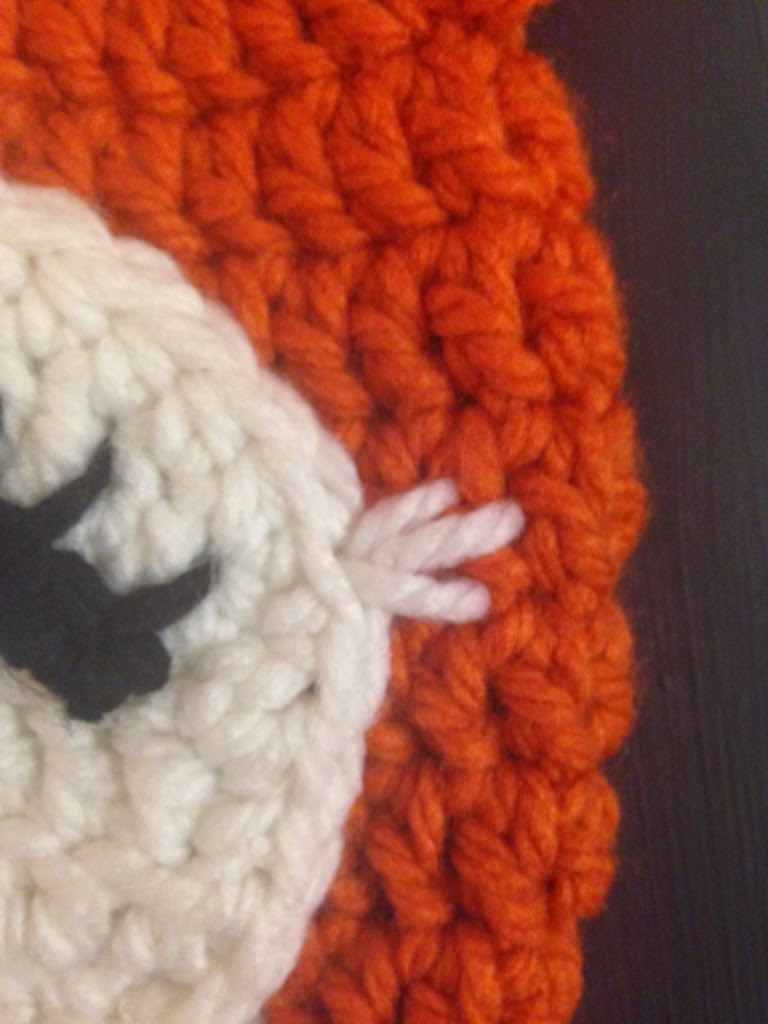
Now with the face piece, as you are sewing on the hat, you will use some of the embroidering techniques as the eyelashes. This will give the “furry” look. When you come to a spot you want to “fur” up, come up from underneath the face of the hat and then down on the white face piece. It takes three stitches, on long middle sandwiched by two shorter stitches. Continue around.
Attach black yarn to ear pieces and braid. See the video HERE
And you are done!!
Follow me on Pinterest to see my projects and inspiration. And keep up with me on Facebook!
Find more FREE crochet patterns HERE.
You may also like this Little Deer Hat

Round 3: 2 DC in first stitch, DC in next, around, join, ch 2. (30 DC)
Round 4: 2 DC in first stitch, DC in next two, join, ch 2 (40 DC)
Round 5: 2 DC in first stitch, DC in next three, join, ch 2 (50 DC)
Round 6-11: DC in each stitch around, join, ch 2 (50 DC)- change color to white for round 11
– See more at:
https://www.repeatcrafterme.com/2014/01/crochet-valentine-hat-pattern.html?utm_source=feedburner&utm_medium=email&utm_campaign=Feed:+RepeatCrafterMe+(Repeat+Crafter+Me)#sthash.A4RyY0D4.dpuf

Hi there!! I just discovered your blog via pinterest (your katniss-esque cowl caught me eye) and I wnated to tell you that I love it! Cute stuff, and fun to read. I followed you on google plus as well!
From one blogger to another,
Cheers!
So cute <3
I am working on this right now. I love the pic, and know some grandkids it would make good Christmas presents for. Thank you for sharing your talent! I know enough to start Many projects, get stuck, and quit! I had to look up the DC TRC on the ears, now I see TRC DC on the same line. I can't find it anywhere. Is it the same thing?
i think it means that you should put a DC and a TRC in the one stitch then on the next just a TRC
Could you please tell me what Size 6 yarn is? Is it worsted weight, bulky, or something else? Thank you.
Size 6 yarn is considered Super Bulky, although it doesn't look like it.
Its the same stitch just reversed so the ear doesn't come,out all,wonky
I share your love of foxes and this is the cutest hat !! Really is. Thanks for sharing!!
Thank you for sharing this awesome hat pattern.
Super cute!
I really like your patterns. Thanks for sharing!
how many single crochets to make the magic ring?
Can u use size 4ply
Super cute, Kali. Thank you for the pattern!!!!!
Lovelly pattern, thank you
Any chance in obtaining pattern for a teen? I will gladly pay for it. its for a newly diagnosed cancer teen. Thanks
this pattern is great. just finished two beanies one for my baby one yer old and one four a baby girl 4 months old. they look great. just like in the pic.
Wow! You've beautifully made this fox. I also want to make one like this for my little kid. But still, I couldn't learn how to sew properly. It seems very tough to me. And the other side there are a lot of work which his inhibiting my learning desire. But I am very much determined to learn this in the next week by following your tips. You're wonderful actually–helping moms throughout the world. I would love to read to your next blog. And if I successfully made this, I would be a perfect mother for my child.
Hi, I am trying to make one for my daughter (aged 6 1/2 years) and so far as I have been following the pattern it is coming out to a newborn (Baby) size, not a child's size. Where is the measurements for sizes of children? etc. Cheers, Thank you very much.
My daughter loves foxes.
Oh my goodness this is the cutest thing ever!! I am going to have to find a little one to make this for 🙂