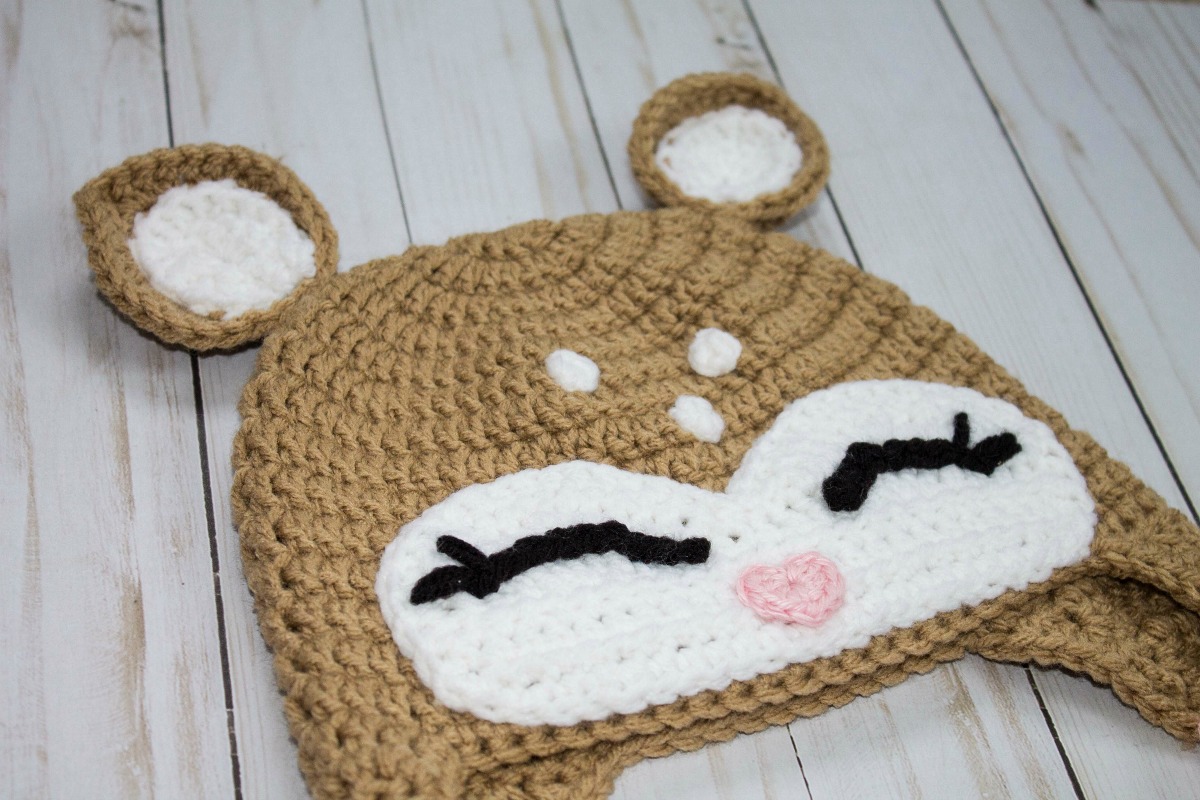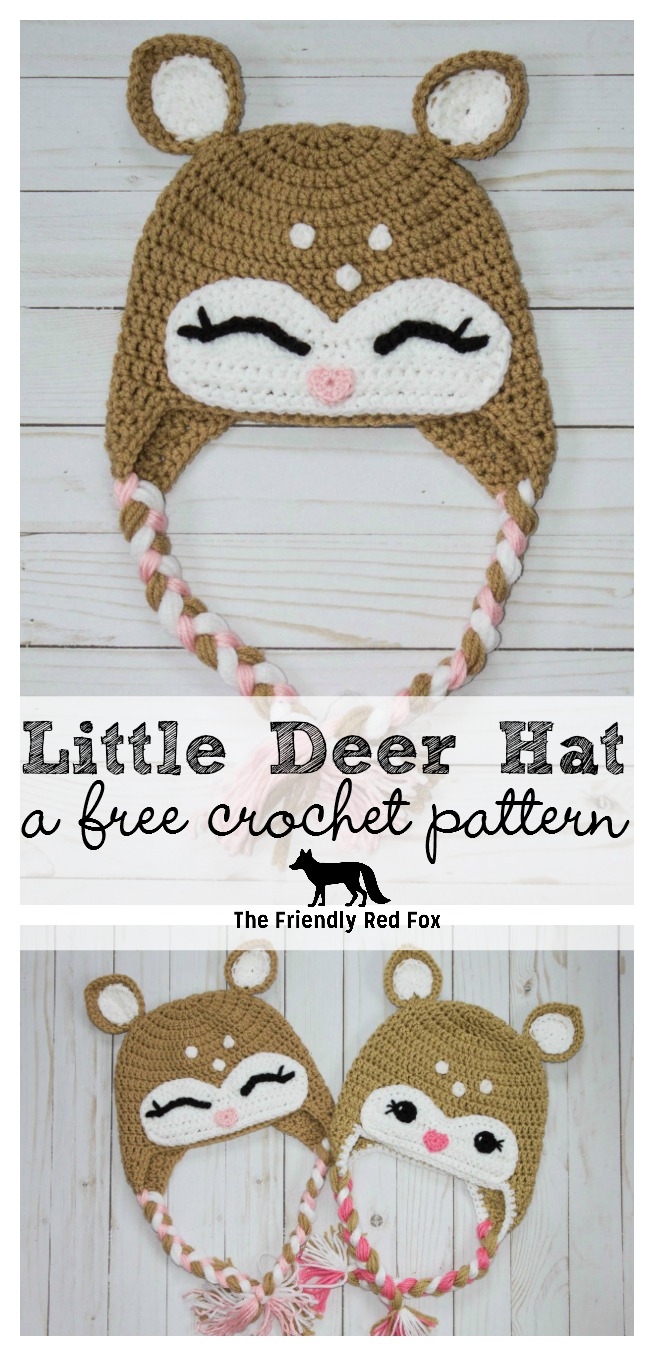
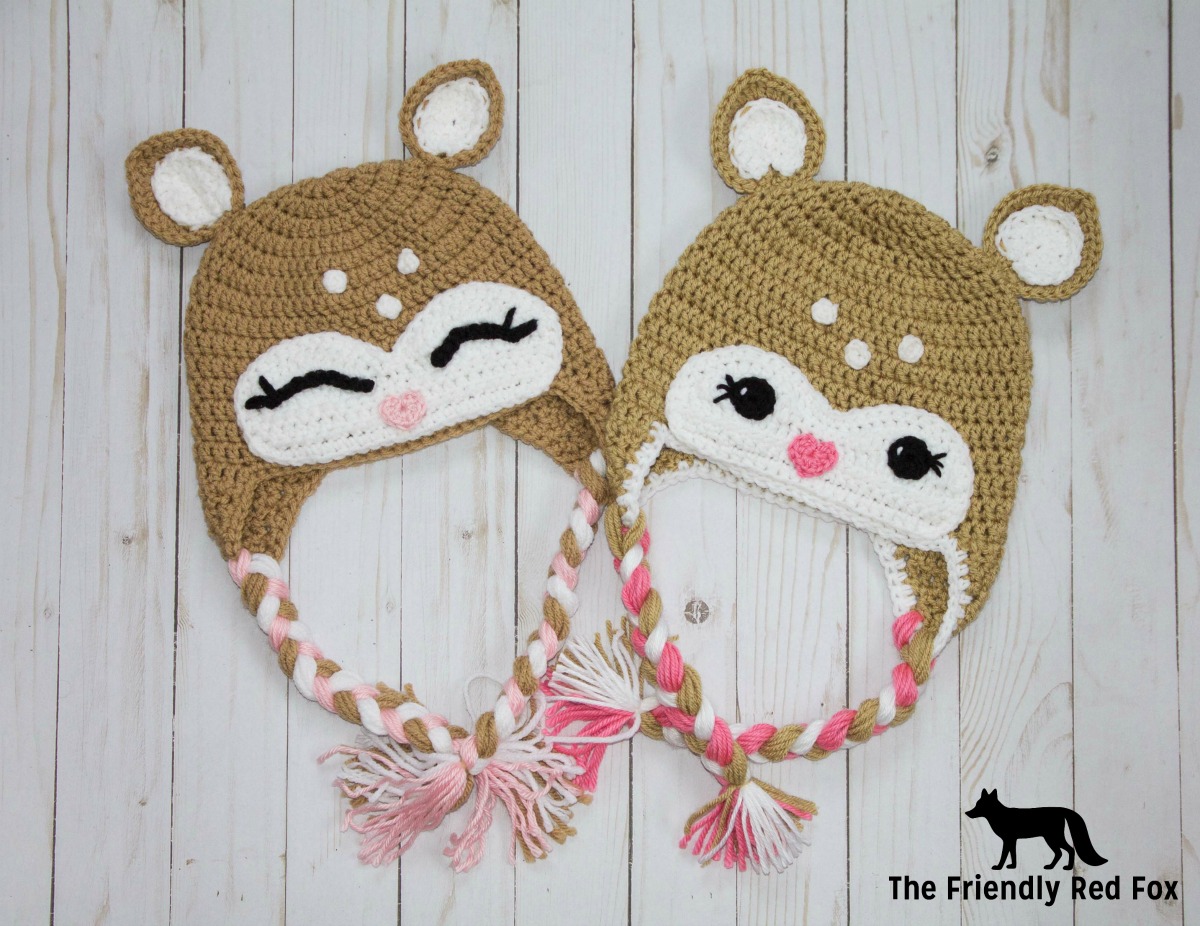
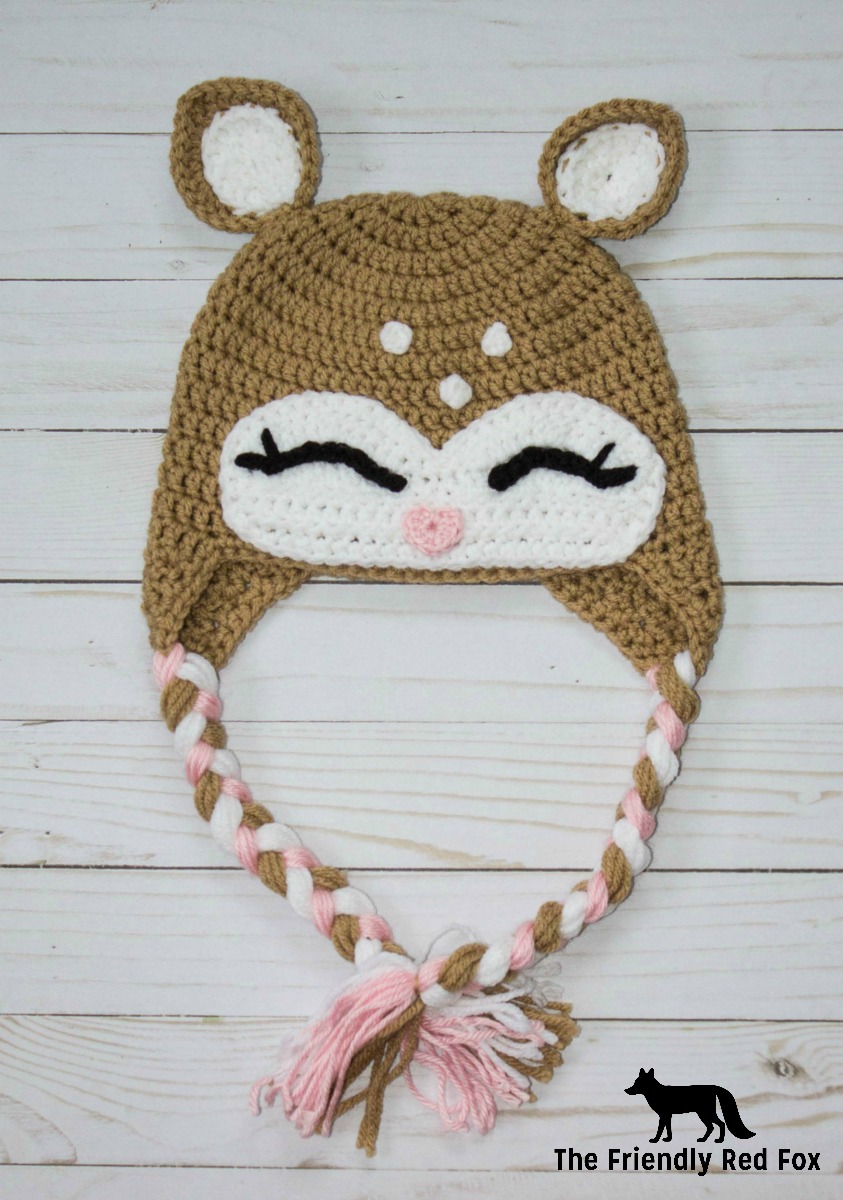
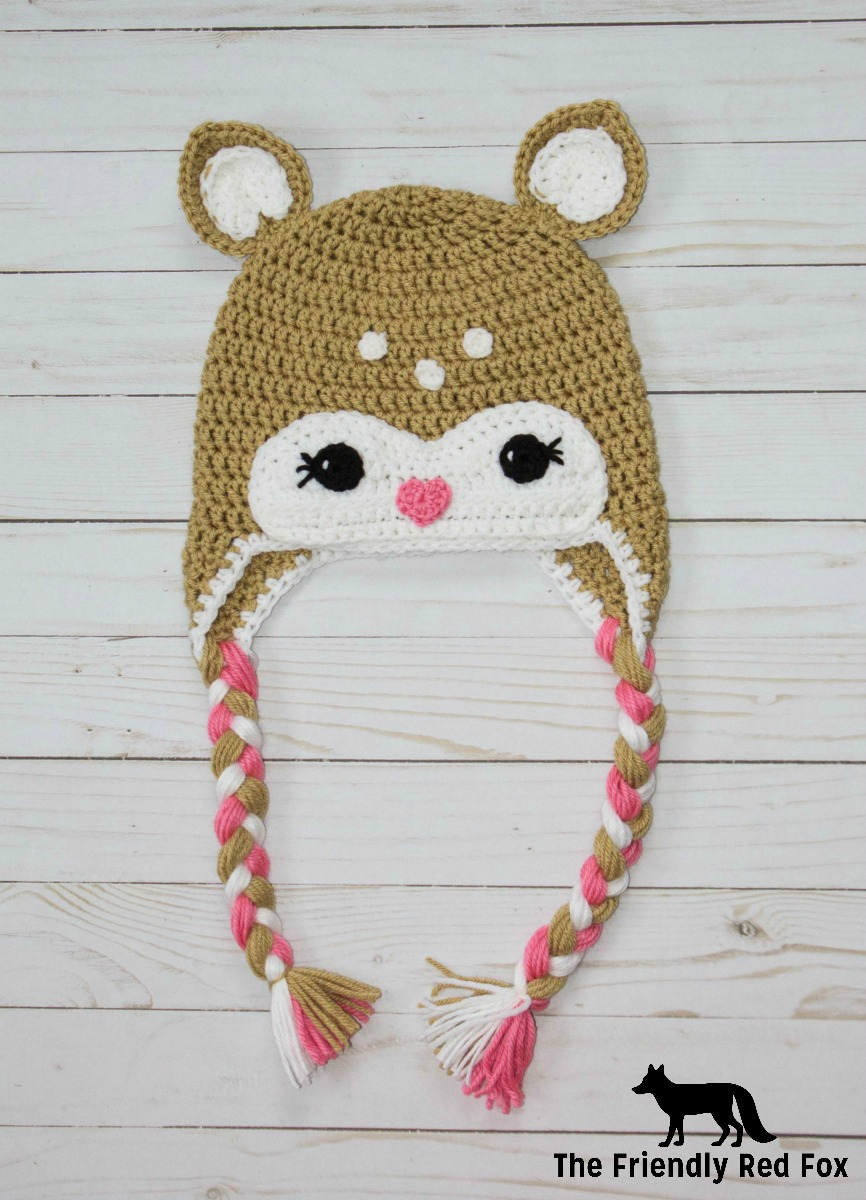
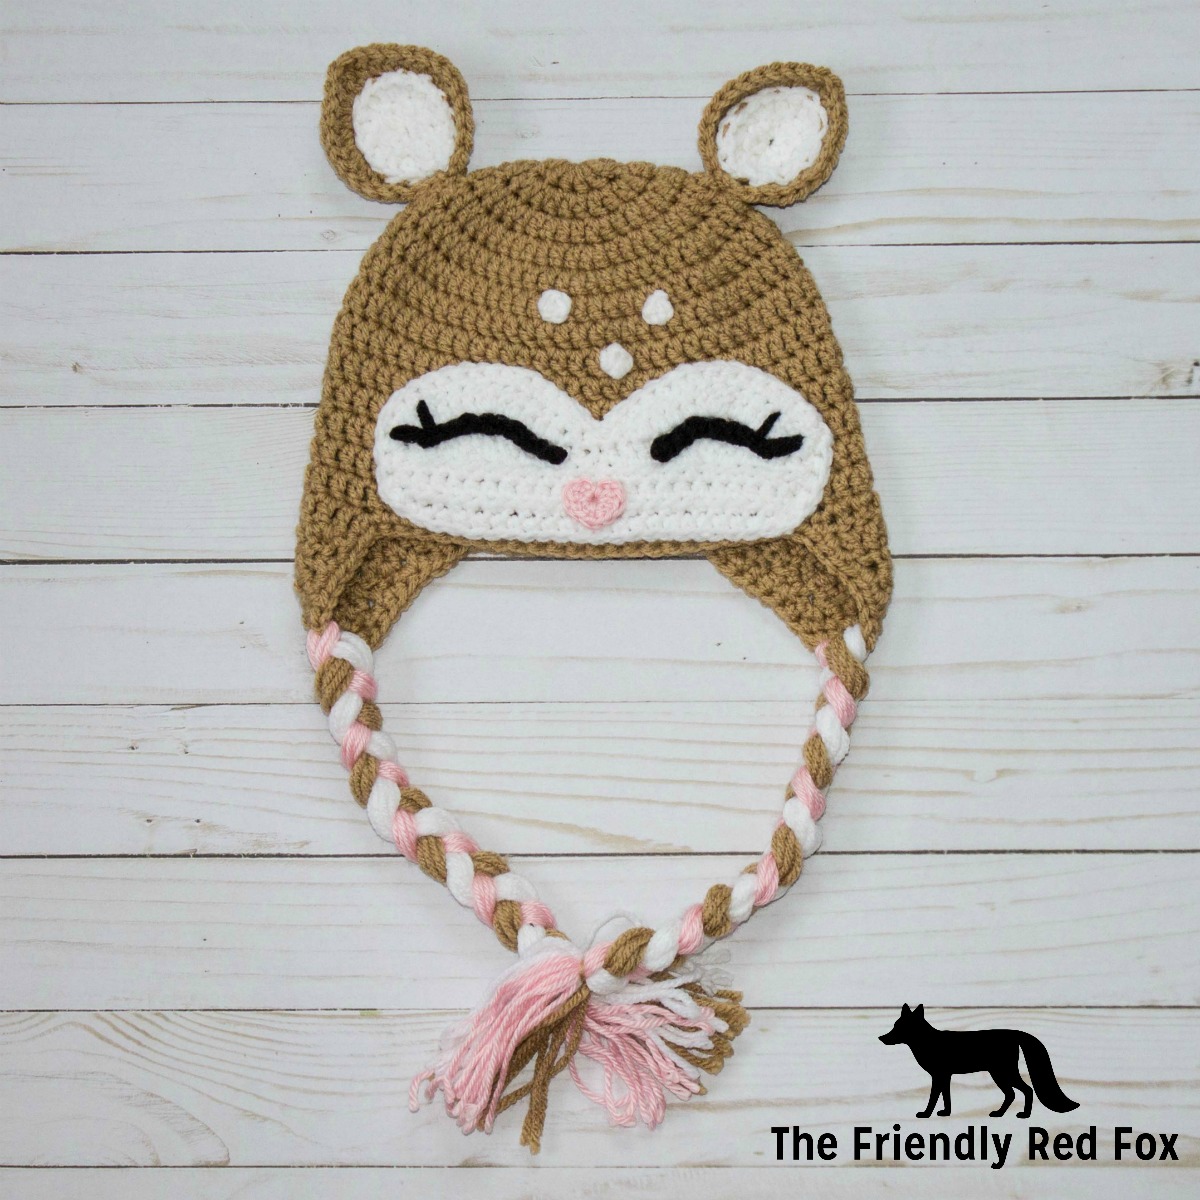
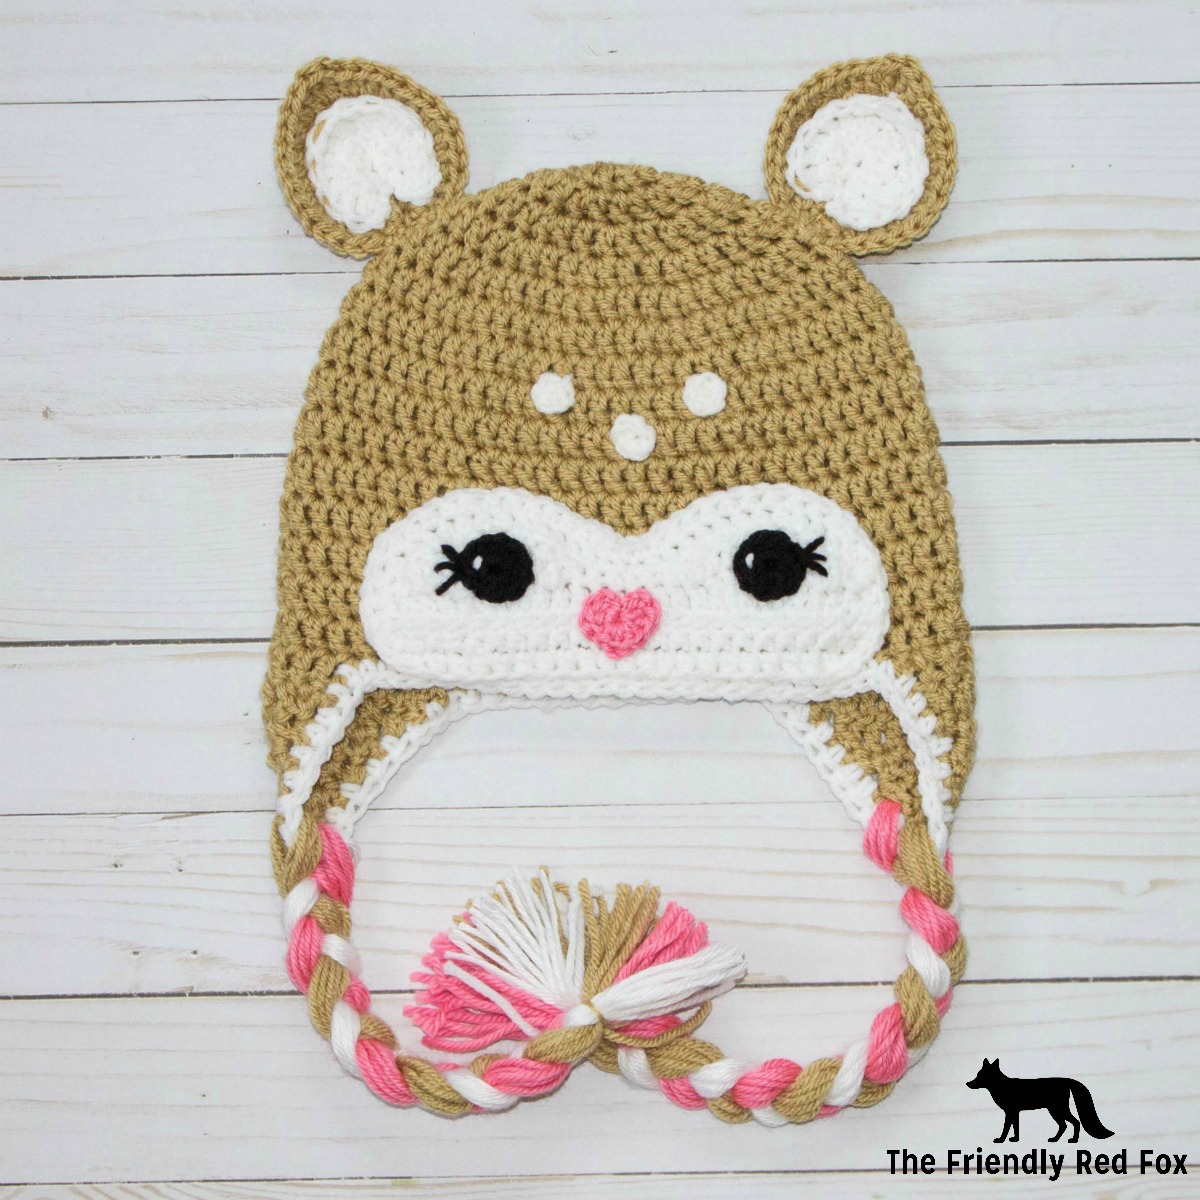
Free Crochet Little Deer Hat Pattern

This little crochet deer hat pattern came to me while my son watched Bambi on repeat. Really, I rather watch Bambi than Cars for the millionth time… But still. Lots of singing birds. I couldn’t help but think how cute is Feline?? I knew I wanted to make a hat with those sweet little spots. Thus, the Little Deer hat was designed and created!
[thrive_leads id=’2591′]
You will need:
Tan Worsted Weight yarn (I used Red Heart with Love and I Love this Yarn)
5.0 or a 5.5 hook (depending on what size of hat!)
White yarn
Small amount of black yarn
Yarn needle
Start with my pattern for a Double Crochet Beanie with Ear Flaps.
The Face
Use a 4.5 or 5.0 hook. If you crochet very loose, I recommend using the smaller hook.
Row 1: Chain 25
Row 2: Skip the first stitch and HDC. HDC in each stitch across. Chain 1 and turn. (23)
Row 3: HDC in each stitch across. Chain 1 and turn. (23)
Row 4: HDC, DC in the next 3, TRC, 3 TRC in same stitch, TRC, DC in the next 3, HDC, SC, HDC, DC in the next three, TRC, 3 TRC in the same stitch, TRC, DC in the next 3, HDC. Chain 1 and turn. (27)
Row 5: DEC HDC, DC in the next 4, 3 DC in the same stitch, DC in the next 3, HDC, SC in the next 5, HDC, DC in the next 3, 3 DC in the same stitch, DC in the next 4, DEC HDC. Chain 1 and turn. (29)
Row 6: DEC HDC. HDC in the next 11 SC, SLST, SC. HDC in the next 11. DEC HDC. (27)
Now single crochet around the piece for the toddler size. HDC for the child and adult size. Remember to crochet two stitches around the corner. To make the tops look rounded, SC in the middle three between the ridges.
Leave an extra long tail to sew on to hat. Make sure to apply eyes and nose before sewing.
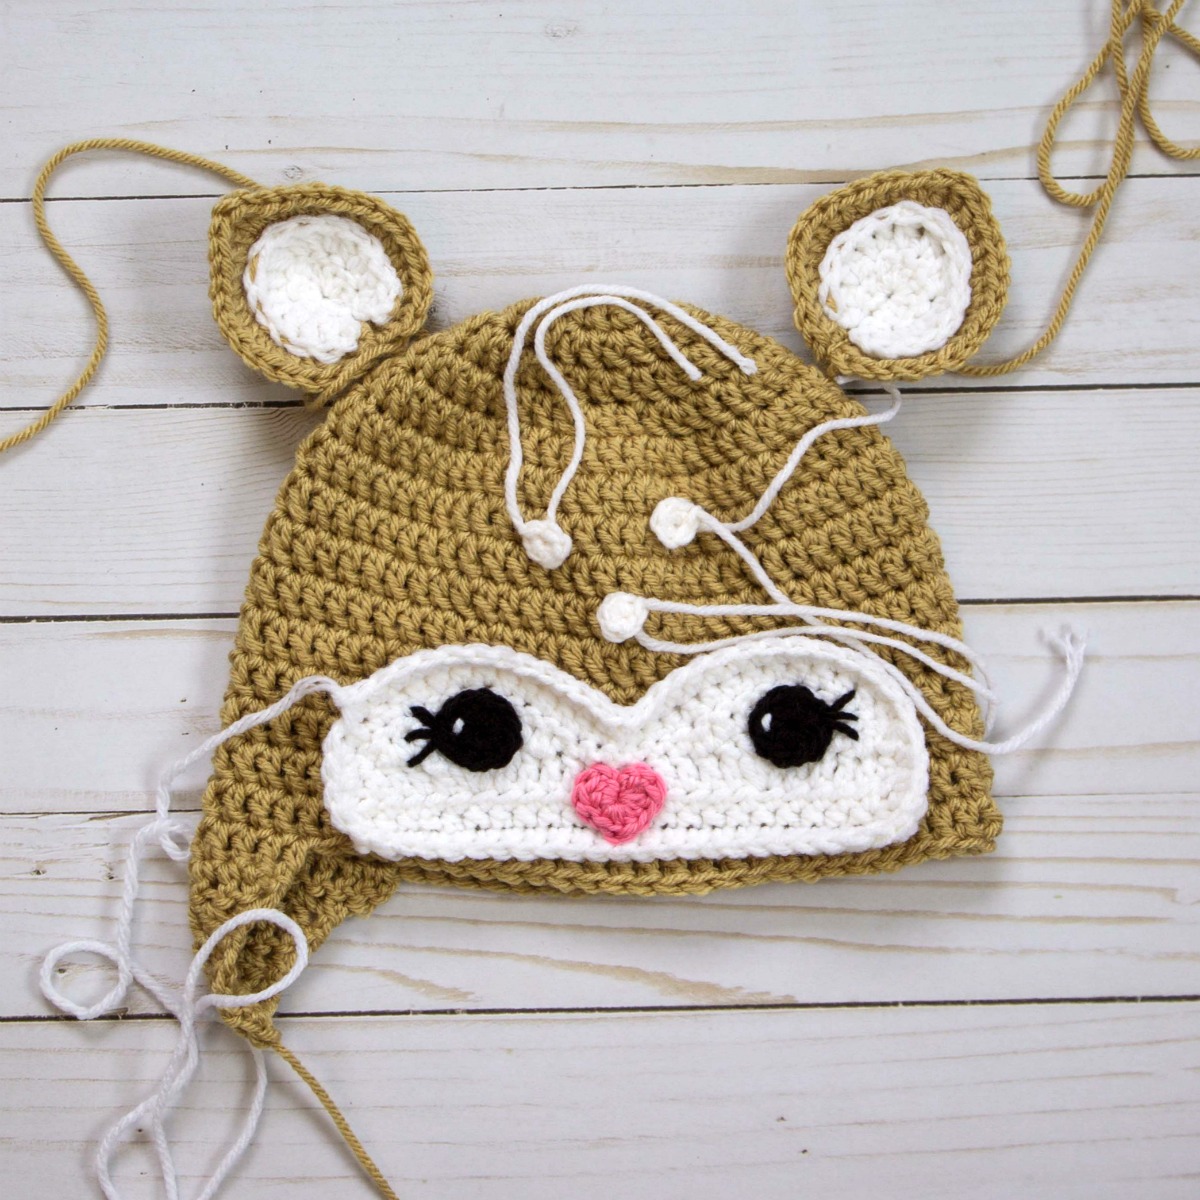
Nose
In a magic circle chain 2, 2 DC, 2 HDC, 1 DC, 2 HDC, 2 DC, Chain 2
and slip stitch to the middle. Pull tight. Ta Da! a heart! Sew in ends.
Place on the center of the face and sew on.
For Circle Eyes
10 HDC in a magic circle. Pull tight and slip stitch to the first stitch. Sew on a light reflection with scrap white yarn.
For Eye Lashes Only
In
black, chain the length you desire (I usually go about 10 chains).
Position on the hat and sew on. Every other stitch make a small lash by
coming up in the desired spot and then sewing down on to the chains.
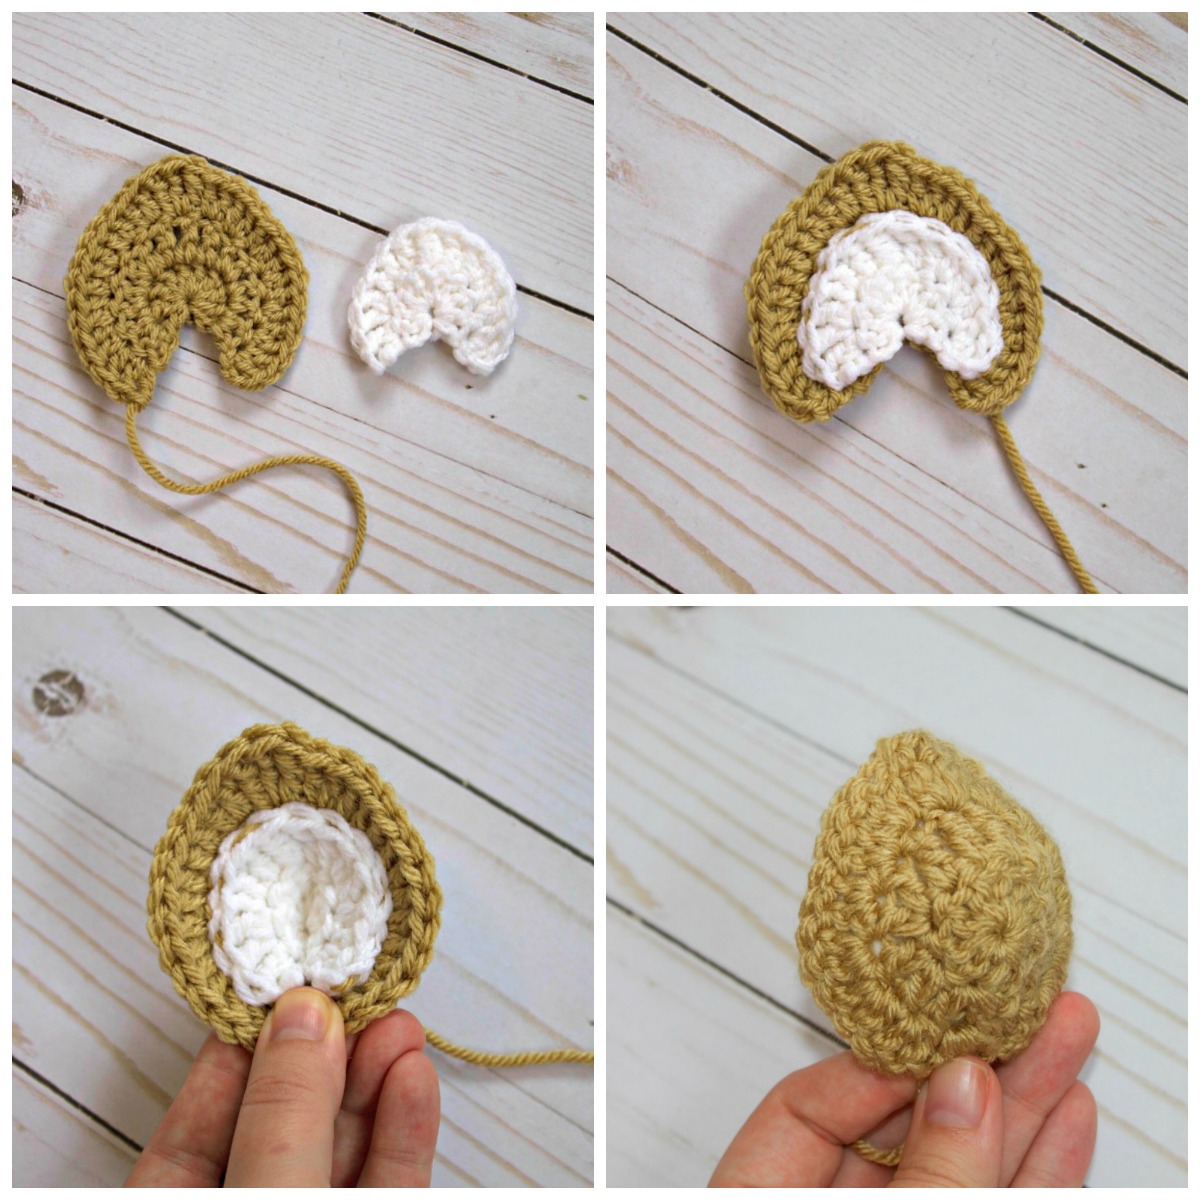
Ears
With tan:
Row 1: 9 DC in Magic Circle. DO NOT CLOSE! Pull tight. Chain 2 and turn. (9)
Row 2: DC INC in the next 3. TRC in the next three stitches. DC INC in the next 3.
Chain 2 and turn (15)
Row 3: DC INC in the next 7. 3 TRC in the same stitch. DC INC in the next 7. (31)
Fasten off. Leave a very long tail to sew. Bring the edges together so that you have a bowl-like ear. Sew together along the two straight edges.
With white:
Row 1: 9 DC in Magic Circle. DO NOT CLOSE! Pull tight. Chain 2 and turn. (9)
Row 2: DC INC in the next 3. TRC in the next three stitches. DC INC in the next 3. Chain 2 and turn (15)Fasten off.Bring the edges together so that you have a bowl-like ear. Sew together along the two straight edges, just like the tan part. Sew onto tan part, using the tan string from the large part of the ear.
Make two and sew onto hat.
I lined my ears three rows out from the middle.
For the little spots, I did 5 SC in a magic circle, then pulled tight. Sew on!