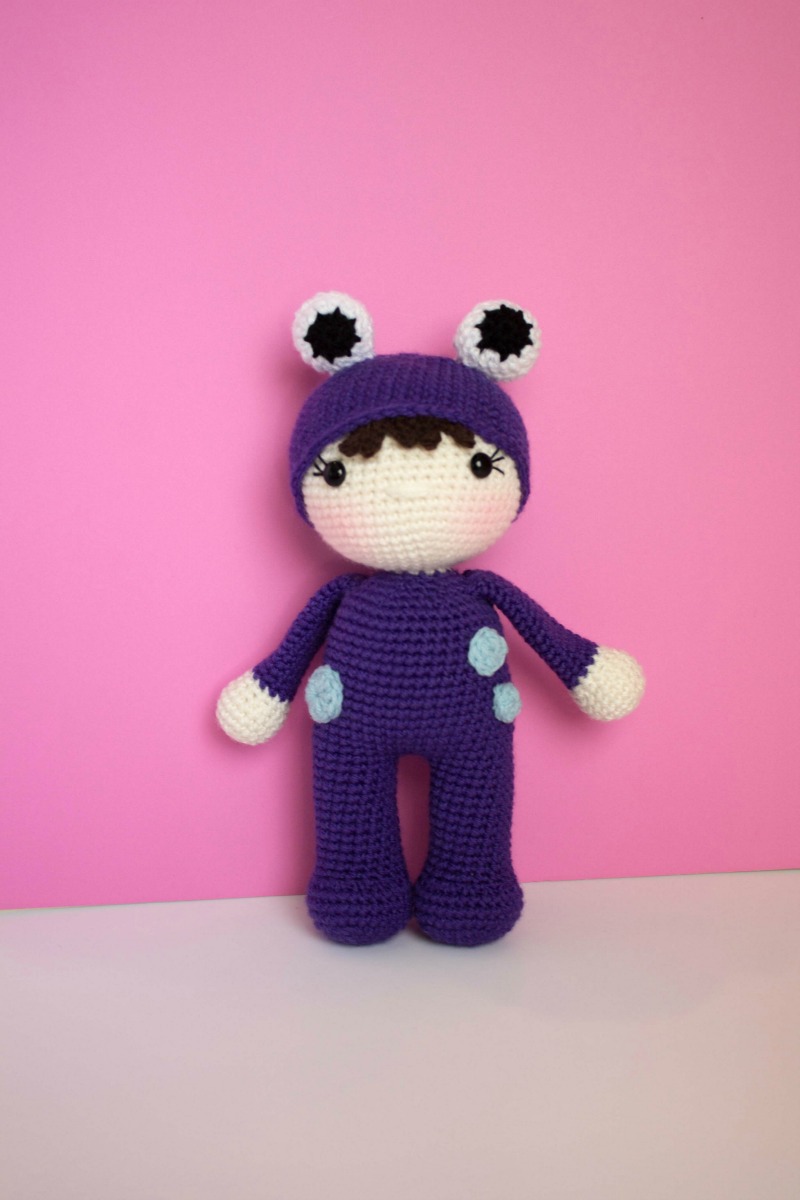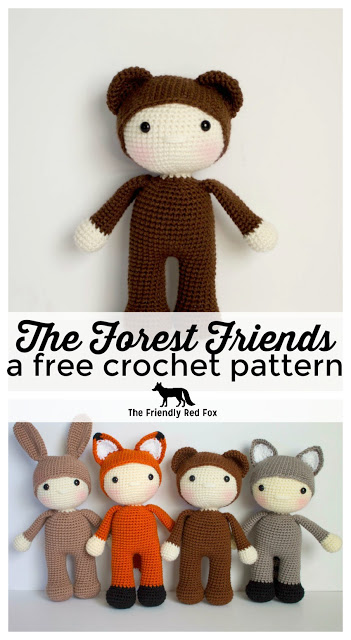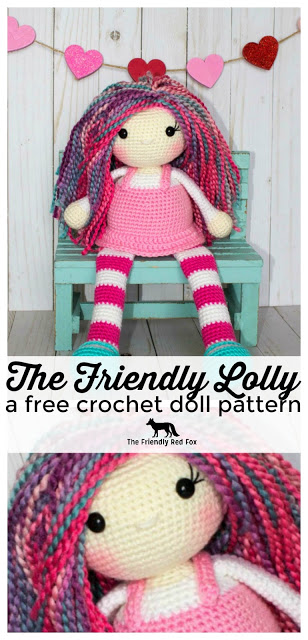
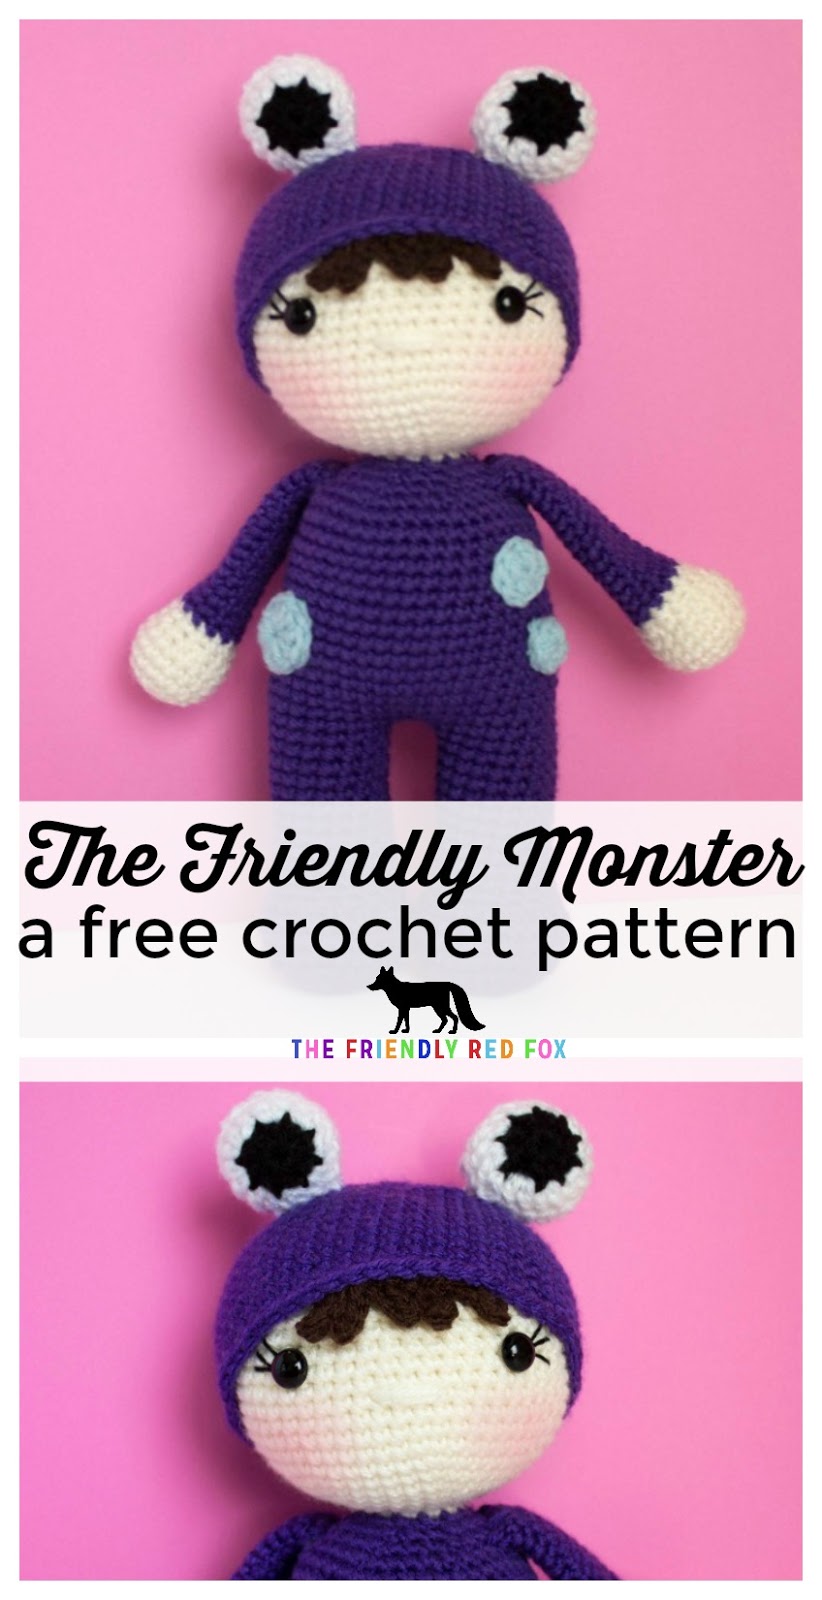
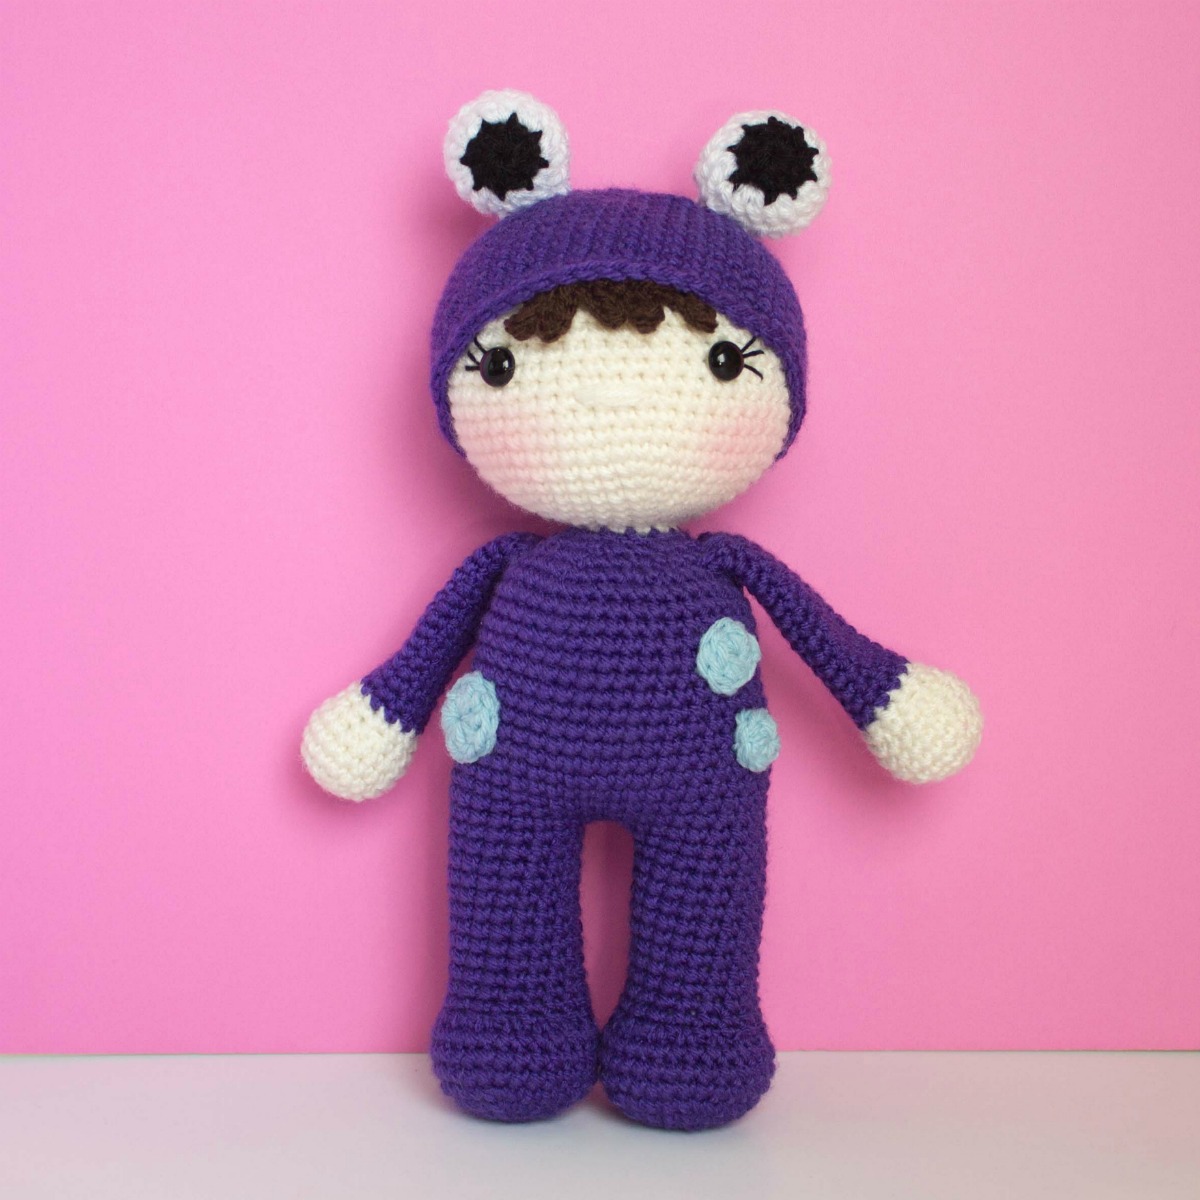
The Friendly Monster- a Free Crochet Pattern
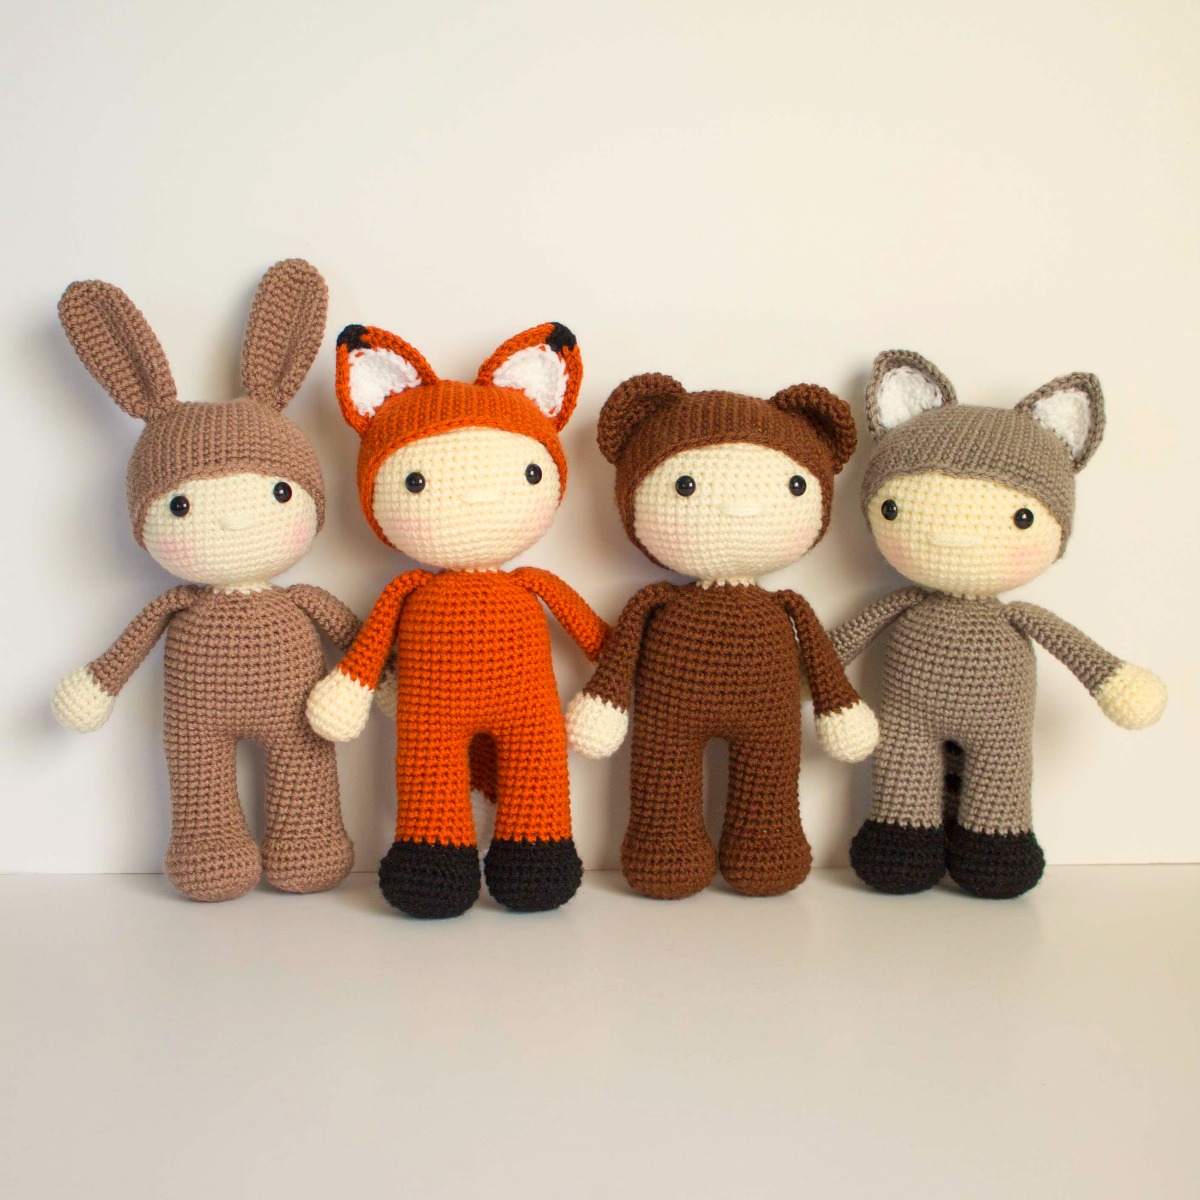
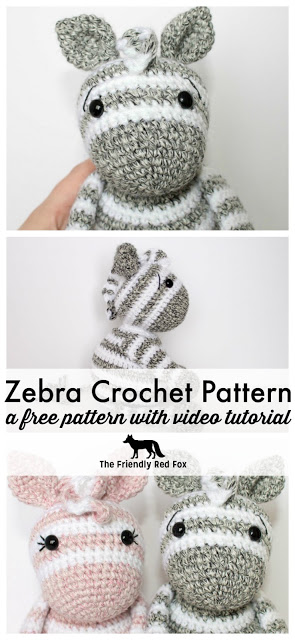
This friendly little crochet monster pattern is way more cute than scary! Her little monster costume makes you feel like she is going to say “boo!” at any minute. The free crochet pattern is ideal for those that love Monsters. I think she would be fun to make in a whole bunch of other colors. Maybe a solid red? Or blue? Leave off the bangs and eyelashes for a more “boyish” look like these.
Please note this pattern is only for PERSONAL USE. Please feel free to make as many
items as you wish for yourself, or as gifts. You may sell items made with this pattern but
PLEASE LINK BACK OR GIVE CREDIT TO ME AS DESIGNER. In no way can you
share, reproduce, or sell this pattern. Please respect my rights as designer.m
Don’t worry if you have any questions or concerns… Join the Friendly Crochet Club on facebook and please ask! I will be checking in often to address them!
Also, make sure you sign up for The Friendly Newsletter! This is THE BEST way to stay in touch, as sometimes my posts on social media can get lost in the shuffle.
Follow me on instagram for sneak peeks and updates.
You will need:
Approx 100 g size 4 yarn in outfit color and skin color
Crochet Hook in Size 3.75 or 3.5
Yarn Needle
Polyfil
10.5mm safety eyes
stitch marker

Abbreviations and Tips&Tricks
(Please
note that gauge is not overly important here. Unless you have wide gaps
in your fabric of single crochet, then go down a hook size until you
achieve tight stitches.)
*Written in US Crochet Terms*
SC– single crochet
SC INC– single crochet increase (2 SC in each stitch)
INV DEC–
Invisible decrease (put hook through the FRONT LOOP ONLY of two
consecutive stitches [two loops on hook] Yarn over pull through both
loops. [two loops on hook] Yarn over pull through two loops)
Magic Circle-
Make a loop, leaving a long tail to work with. Insert hook in center of
loop, yarn over and draw up a loop. Yarn over, pull through to make the
first chain (this does not count as a stitch!). Continue to crochet
over the loop and tail with the number of stitches called for. (If you
need 6 SC, then crochet 6 SC inside the ring.) Pull the tail to close
the circle.

Always move your stitch marker to the last stitch in the round. This pattern is worked in
continuous rounds. Stuff as you go.
Leg One
Round 1: In a magic circle, SC 6
Round 2: SC INC in each stitch around (12)
Round 3: SC in first, SC INC in next. Repeat around. (18)
Round 4: SC in first 2, SC INC in next. Repeat around. (24)
Round 5: SC in first 3, SC INC in next. Repeat around. (30)
Rounds 6-8: SC in each around. (30)
Round 9: INV DEC in the next 12. SC in the next 6. (18)
Round 10: SC in each around. Change color here. (18)
Watch this video on how to change color correctly.
Rounds 11-20: SC in each around. (18)
SC in the next two. Fasten off.
Leg Two
Round 1: In a magic circle, SC 6
Round 2: SC INC in each stitch around (12)
Round 3: SC in first, SC INC in next. Repeat around. (18)
Round 4: SC in first 2, SC INC in next. Repeat around. (24)
Round 5: SC in first 3, SC INC in next. Repeat around. (30)
Rounds 6-8: SC in each around. (30)
Round 9: INV DEC in the next 12. SC in the next 6. (18)
Round 10: SC in each around. Change color here if necessary. (18)
Rounds 11-20: SC in each around. (18)
Round
21 (This round attaches the legs and then you will begin the body): Sc
in next 12. Chain 3 and then SC in the next stitch of Leg One. Take care
to crochet over the tail left over by fastening off. SC in each stitch
around Leg One. When you come to the three chains, SC in each chain (a
total of three.) Then SC in each stitch around Leg Two. SC in each chain
back (3 stitches) to the other leg. In the last SC on the last chain
place your stitch marker.
Watch this video on how to attach the legs.
Round 22: SC around. (42)
Rounds 23-36: SC around (42)
Round 37: 4 SC, INV DEC, repeat around. (35)
Round 38: 3 SC, INV DEC, repeat around. (28)
Round 39: 2 SC, INV DEC, repeat around.(21)
Change to skin color.
Round 40: 1 SC, INV DEC, repeat around. (14)
INV DEC until you have 12 stitches on the round
Round 41: SC in each stitch around. (12)
From
here we will be increasing the head. From this point I am resetting the
number on the rounds. Round 42 of the body is now Round 1 of the head.
It will be easy to see.
Head
Round 1: SC in first, SC INC in next. Repeat around. (18)
Round 2: SC in first 2, SC INC in next. Repeat around. (24)
Round 3: SC in first 3, SC INC in next. Repeat around. (30)
Round 4: SC in first 4, SC INC in next. Repeat around. (36)
Round 5: SC in first 5, SC INC in next. Repeat around. (42)
Round 6: SC in first 6, SC INC in next. Repeat around. (48)
Round 7: SC in first 7, SC INC in next. Repeat around. (54)
Round 8-18: SC in each stitch around. (54)
Place the safety eyes in
between rows 13 and 14, nine stitches apart. Sew on eyelashes here, if
you want. This is also a good time to place the foam roller or dowel if
you are using one. Make sure to stuff the neck around the dowel as well
as you can.
Round 19: SC in the first 7, INV DEC in the next. Repeat around. (48)
Round 20: SC in the first 6, INV DEC in the next. Repeat around. (42)
Round 21: SC in the first 5, INV DEC in the next. Repeat around. (36)
Round 22: SC in the first 4, INV DEC in the next. Repeat around. (30)
Round 23: SC in the first 3, INV DEC in the next. Repeat around. (24)
Round 24: SC in the first 2, INV DEC in the next. Repeat around. (18)
Round 25: SC in the first, INV DEC in the next. Repeat around. (12)
Round 26: INV DEC around. (6)
Fasten off and carefully sew the remaining hole closed. Leave a long tail to make the nose. Learn how to make the nose here.
Bangs
Chain 5. In the second chain from the hook SC in the next 3 stitches. Repeat 5 times. Pin onto the head and attach along the top lines. Make sure that you make sure the hat will cover correctly before you attach.

Hat (With a size bigger hook)
Round 1: SC 6 in a magic circle.
Round 2: SC INC in each around. (12)
Round 3: SC in first, SC INC in next. Repeat around. (18)
Round 4: SC in first 2, SC INC in next. Repeat around. (24)
Round 5: SC in first 3, SC INC in next. Repeat around. (30)
Round 6: SC in first 4, SC INC in next. Repeat around. (36)
Round 7: SC in first 5, SC INC in next. Repeat around. (42)
Round 8: SC in first 6, SC INC in next. Repeat around. (48)
Round 9: SC in first 7, SC INC in next. Repeat around. (54)
Round 10-22: SC in each stitch around. (54)
Slip
stitch in the next two. Fasten off and leave a long tail to sew on the
head. Pull that hat on the head (it may be a snug fit but that is good!)
and sew along the edge of the hat.
Arms (I stuff only the hands, not the arms.)
With skin color:
Round 1: 6 SC in a magic circle.
Round 2. SC INC in each around. (12)
Round 3: SC in the first, SC INC in the next. Repeat around. (18)
Round 4-6: SC in each around. (18)
Round 7: SC in the first, INV DEC in the next. (12)
Round 8: SC in each around. (12)
Change to costume color.
Rounds 9-23: SC in each around. (12)
Fasten off and leave a long tail to sew on. I sew on between rows 37-38.
Monster Eyes
With black.
Round 1: 8 DC in a magic circle.
Change to white.
Round 2: DC INC in each around. (16)
Round 3: DC in each around. (16)
Stuff lightly here.
Round 4: INV DEC in each around. (8)
Fasten off and leave a long tail to sew on. Sew the remaining hole shut. Weave the end to the bottom of the eye. Sew onto the hat. I arranged my monster eyes right above the doll’s eyes.
Spots
In a magic circle, DC 10. Slip stitch to the first and fasten off.
In a magic circle, HDC 8. Slip stitch to the first and fasten off.
In a magic circle, HDC 6. Slip stitch to the first and fasten off.
Use the long tail to sew on to the doll.