
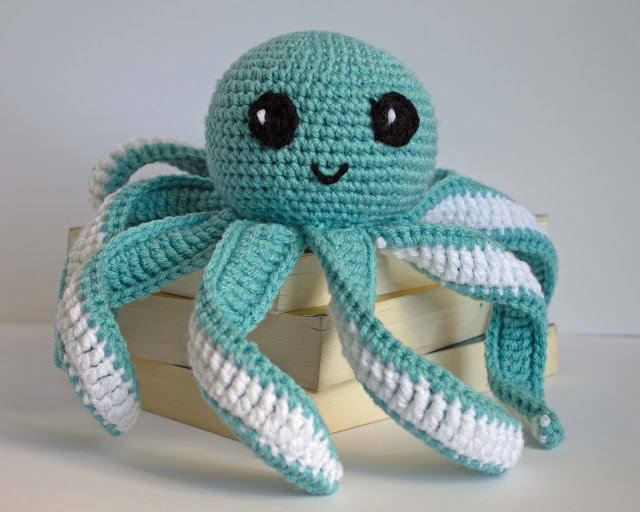
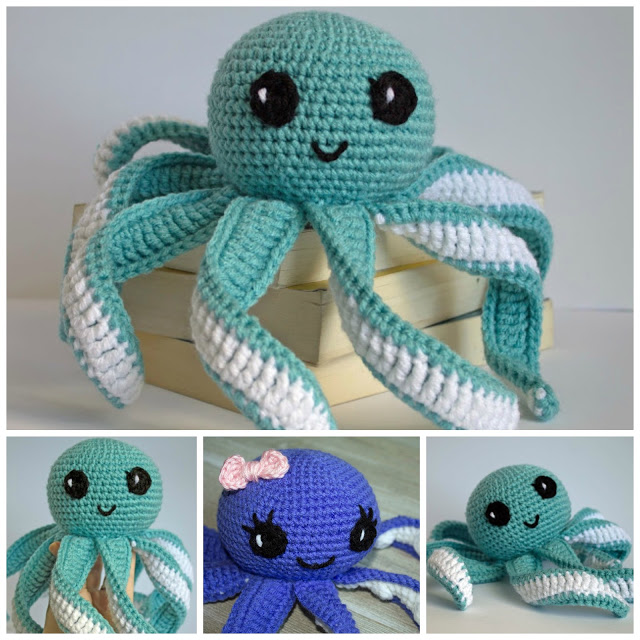
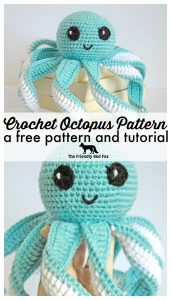
Amigurumi Octopus Baby Toy Free Pattern
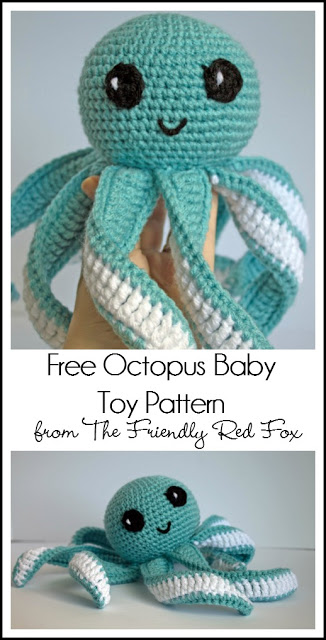

This amigurumi octopus was inspired by my son because I thought he needed a baby toy. My baby boy is growing so fast and grabbing onto EVERYTHING! Like pulling the top of my shirt down more than I would prefer (soooo awkward). So I was thinking it was about time to introduce him to some toys. That is when I came up with the idea for an amigurumi octopus! All those tentacles would be fun for little fingers. Then I added a rattle to make it fun to wave around. And with the eyes and smile, I think it is adorable so that is fun for me! My three year old actually has played with it more than my 3 month old… he seems to think it is a type of throwing star.
and tutorials? Sign up for The Friendly Newsletter

Of course you don’t need to add the rattle. It can be a fun softy for any age! I just like that added noise for my baby boy!
*this post contains affiliate links. this means that any purchase you make from the links contained in this post will go towards supporting me and my family. I only link what I have personally used and loved!*
You will need:
- Main Color size 4 worsted weight yarn (I used Red Heart with Love)
- Alternate Color size 4 worsted weight yarn
- size 4 (G) hook (I LOVE my Clover Amour Crochet Hook Set

) - Yarn Needle
- Polyfil
- Rattle Noise Maker
SC: single crochet
HDC: half double crochet
DC: double crochet
TRC: triple crochet
INC: two single crochet in one stitch
DEC:
Invisible decrease (Put hook through the FRONT LOOP ONLY of the two
stitches you are bringing together. Pull yarn through. You will have two
loops on hook. Pull yarn through both loops)
I created a video that goes through each part of the pattern! If you just want the written pattern, scroll down!
Eyes:
6 DC in a magic circle. With white scrap yarn, sew on cute eye reflections. Make 2.
Have scrap black yarn for the smile ready to go.
For the head:
Round
1: In a magic circle, SC 6. Pull tight and add stitch marker. (For the
rest of the pattern keep moving the stitch marker up to the last stitch)
Round 2: INC in each stitch around. (12)
Round 3: *SC in first stitch, INC in next* Repeat * * around. (18)
Round 4: *SC in first 2 stitches, INC in next* Repeat * * around. (24)
Round 5: *SC in first 3 stitches, INC in next.* Repeat * * around. (30)
Round 6: *SC in first 4 stitches, INC in next.* Repeat * * around. (36)
Round 7: *SC in first 5 stitches, INC in next.* Repeat * * around. (42)
Round 8: *SC in first 6 stitches, INC in next.* Repeat * * around. (48)
Round 9: *SC in first 7 stitches, INC in next.* Repeat * * around. (54)
Round 10: *SC in first 8 stitches, INC in next.* Repeat * * around. (60)
Round 11-18: SC in each stitch around. (60)
(Sew on the eyes and mouth here)
Round 19: *SC in first 8 stitches, DEC in next.* Repeat * * around. (54)
Round 20: *SC in first 7 stitches, DEC in next.* Repeat * * around. (48)
Round 21: *SC in first 6 stitches, DEC in next.* Repeat * * around. (42)
Round 22: *SC in first 5 stitches, DEC in next.* Repeat * * around. (36)
(Start to stuff and add the rattle)
Round 23: *SC in first 4 stitches, DEC in next.* Repeat * * around. (30)
Round 24: *SC in first 3 stitches, DEC in next.* Repeat * * around. (24)
Round 25: *SC in first 2 stitches, DEC in next.* Repeat * * around. (18)
(Finish stuffing)
Round 26: *SC in first stitch, DEC in next.* Repeat * * around. (12)
Round 27: DEC in each stitch around. Cut the yarn, leaving a long tail. Using the needle, sew the remaining gap closed. (6)
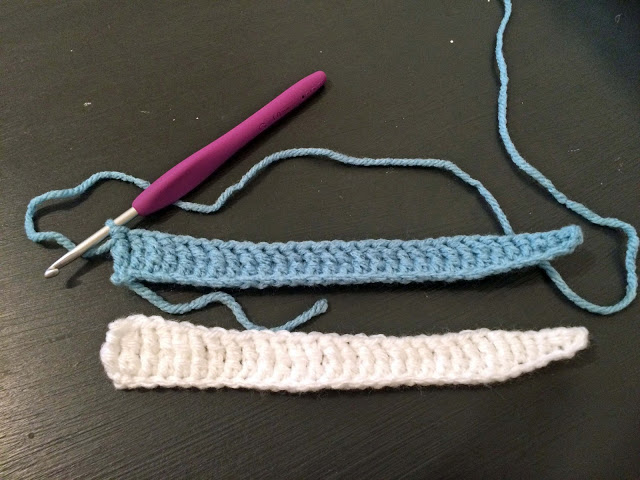
Tentacles:
With
the accent color chain 30 and turn. SC in second chain from hook. HDC,
HDC, DC, DC. TRC in the remaining chains. Cut yarn and sew in ends.
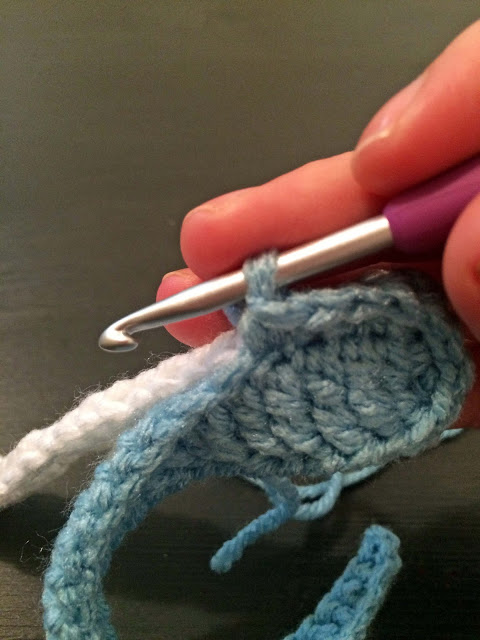
Repeat
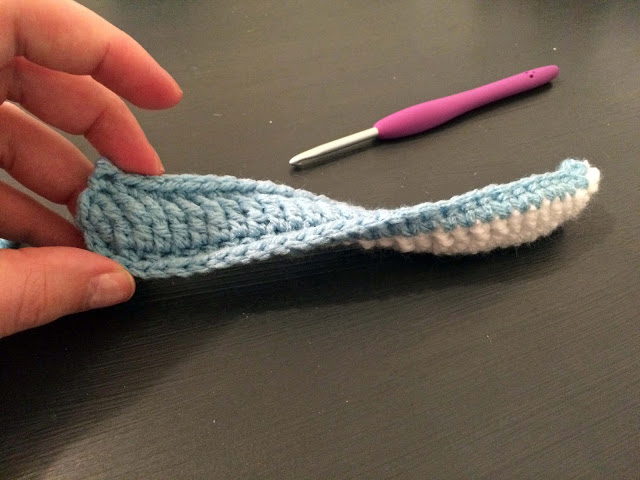
with the main color, but DO NOT CUT YARN! Line up the two pieces. SC
around the entire piece, with 2 SC where ever you need to turn. Leave a
long tail to sew on to the head.
Repeat 8 times.
Sew onto the head.

Want more crochet goodness? Check out these FREE PATTERNS!
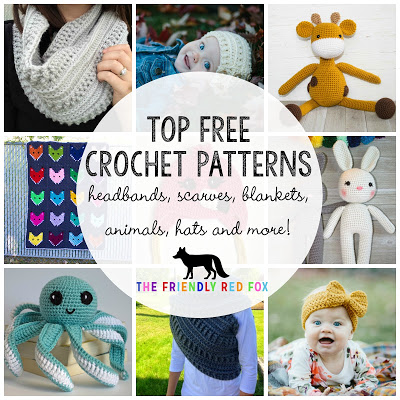

Like this pattern? Be sure to check out some of my other patterns!
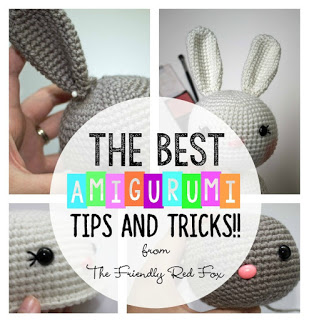
Ballerina Bunny
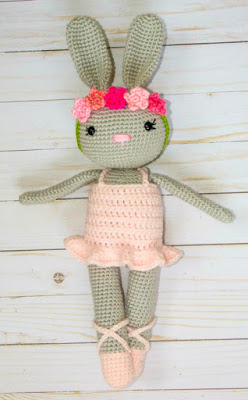

So these tentacles are confusing me. Am I supposed to repeat the. Hdc, dc, and trc? If so how? And why do your tentacles look straight, mine get all wavy.
sc 2nd chain from hook. do 1 hdc in the next 2 chs, 1 dc in the next 2 chs, then 1 tr crochet in the rest of the chains
I just finished this and I love it! Am I allowed to sell it, no? I posted my finished product to my crochet group and now have people wanting me to make them for them to purchase. I linked them to your pattern, because I wasn't sure.
Hi, I love this pattern, but I always have the same problem when crocheting a ball… it always looks kind of edgy, like a hexagon. Am I doing something wrong? I would be really glad if someone could help me 🙂
Both your baby and the octopus are adorable. I showed it to my daughter and she wants one and she's 36. Lol
Thank you for sharing the pattern.Adorable.
loretta 7/18/16
p.s. I wrote a reply and lost it,so you may have 2
Ive just finished 8 little tentacles and am excited to start the body tommorow! 🙂 thank you so much for this great pattern im sure my 3 month old is gonna love it when i finish it xx
Love this pattern. Thank you for sharing. I do not use a stitch marker, instead, I lay a strand of contrasting yarn across the first stitch of the row. When I get back to the stitch that has the yarn running through it, I lay the yarn across the top and crochet the first stitch It weaves through the work. I tie the tentacles to each other and turned the head upside down and placed the ring of tentacles where it sits evenly around the center and sew in place.
I'm having a hard time with these tentacles. How do you finish the ends? All it says in the directions is to SC in each stitch all the way around and do 2 in each corner, but adding SC to the top doesn't look right. Do you just chain across?
Sorry does anyone know weather this is in US or UK terms please
Thanks for the pattern. My baby girl loves it. now i have to make one for my son.
Hi i love the design but it would be so much easier for all of us if you were able to put up a tutorial which we could be copying while you showed us exactly what to do
What an adorable octopus! Amazing idea.
Thankyou for this great pattern I'm just finishing off mine I did him stripy …
Thankyou for this great pattern I'm just finishing off mine I did him stripy …
Absolutely love this pattern!