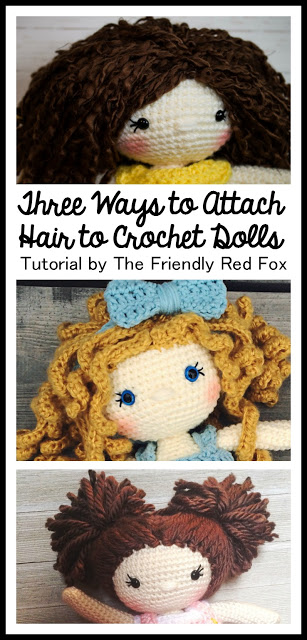
How to Attach Hair to a Crochet Doll
This post may contain affiliate links. For more information please read my policies.
For the patterns to these dolls please check out my shop on Etsy!
Or HERE on Ravelry
and tutorials? Sign up for The Friendly Newsletter
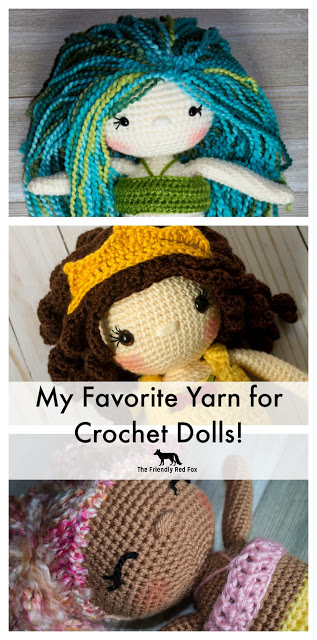
I get a lot of questions about how to attach hair to a doll. There are a lot of ways to do it, and other doll makers may have their own method, but these are my favorite, tried and tested ways to attach doll hair. It takes some time to attach hair to a crochet doll but the result is fantastic!
So let’s get started!!
Strands of Hair
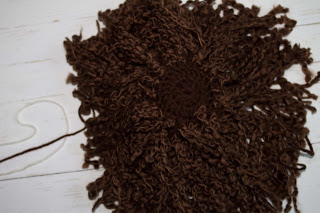
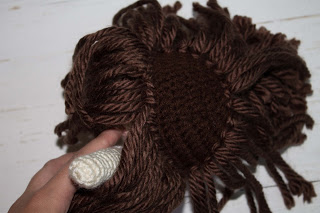
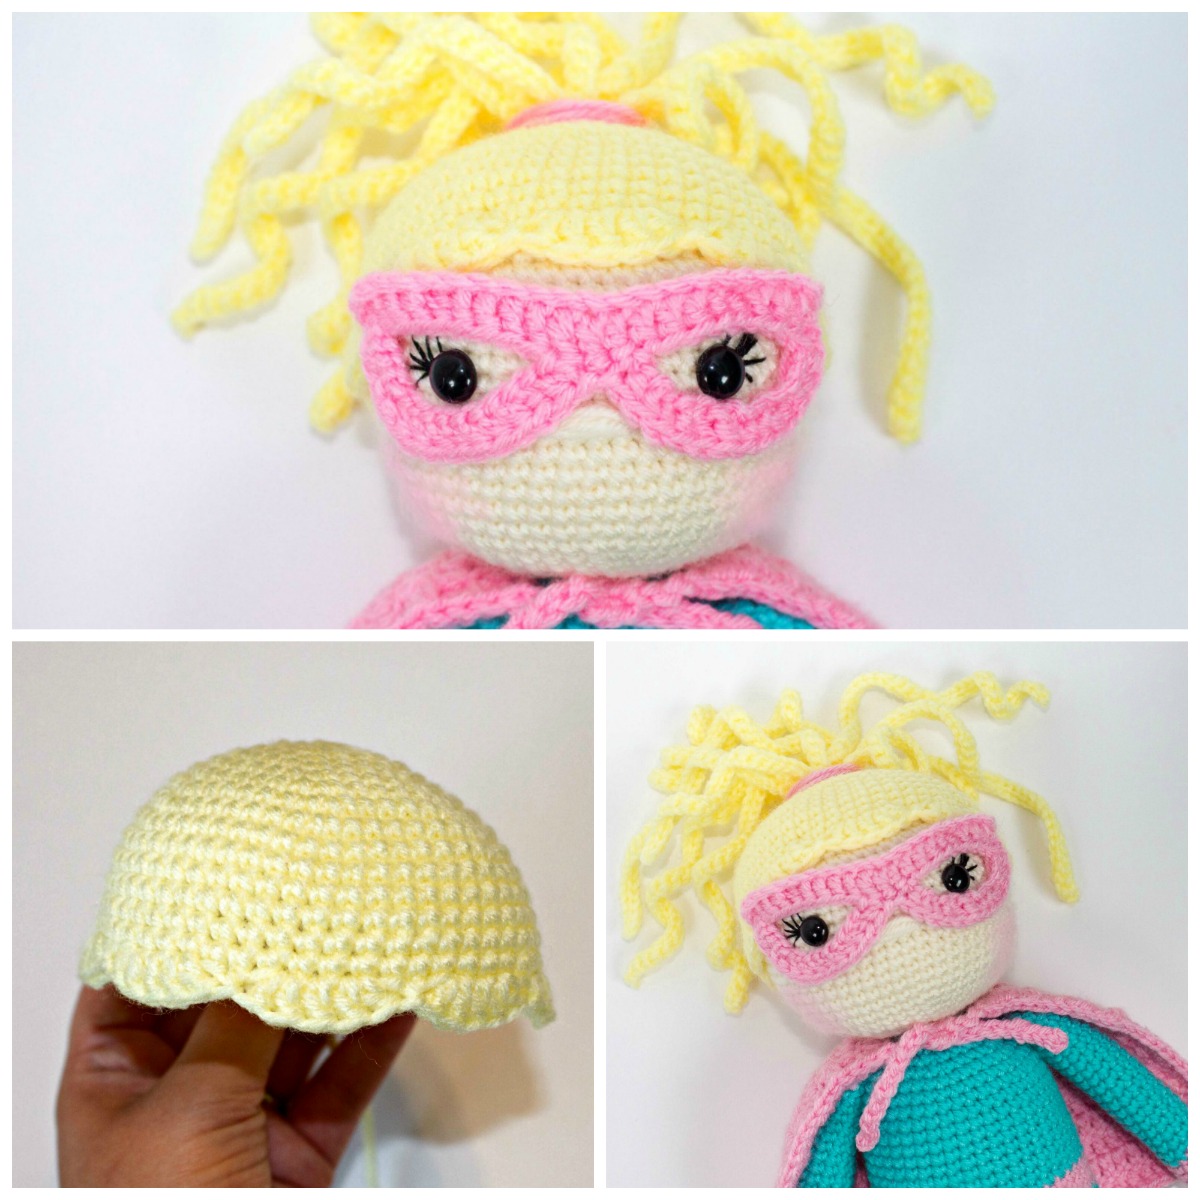
First I make a hair hat. Which is exactly what it sounds like. It
just basically cover the head so I don’t have to fill in every space,
but the skin color doesn’t show through.
This is a basic pattern. I use worsted weight yarn in a similar color to the bulky yarn if I am using bulky.
This
hat is not worked in the round. You will attach with a slip stitch to
the first stitch after each row. Using a larger hook (I used a 4.5mm)
Row 1: DC 10 in a magic circle
Row 2: DC INC in each around.
Row 3: DC in the first, DC INC in the next. Repeat around.
Row 4: DC in the first 2, DC in the next. Repeat around.
Rows 5-8: DC in each around.
Fasten off and leave a long tail for sewing onto the head.
use pretty much any kind of yarn you want BUT let me inform you that
attaching doll hair takes about as long as crocheting it. I prefer to
work with larger yarns like Lion Brand’s Hometown, their Homespun Thick
and quick, Hobby Lobby’s I Love this Yarn Chunky… You get the picture.
Roving is also really pretty (but I only use it if I can find a great
deal!). You can use a size 4 yarn as well! It just doesn’t take as much
space (obviously!) so I always double up. You can see the pictures in
the first method- that is what I did with Caron’s Simply Soft. I also
love to experiment with fun colors… Ultimately it is up to you! The
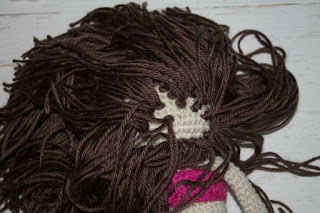
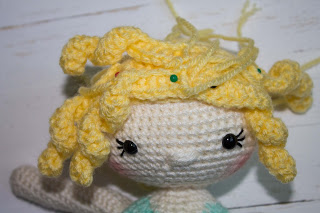
hair can add so much personality to a doll! If I am using a bulky weight yarn, I only attach a strand to every other stitch, except for the top row where I want it more filled in.
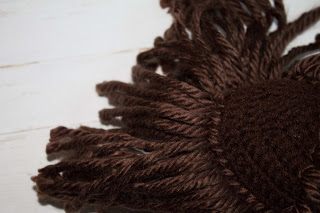
To save
time in cutting the hair into equal strips, I usually wrap it multiple
times around something. I usually use a DVD case or book and wrap the
long way. Then cut the yarn at one end. Voila! Tons of hair all the same
size ready to go!
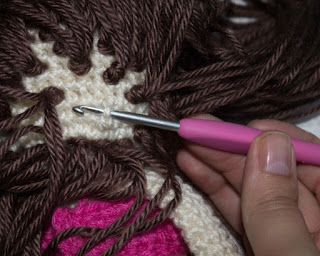
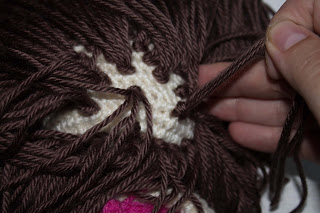
Pull it tight! Now repeat a lot, a lot of times! HA!
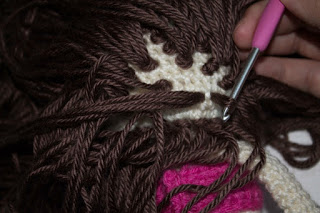
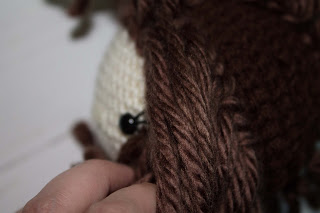
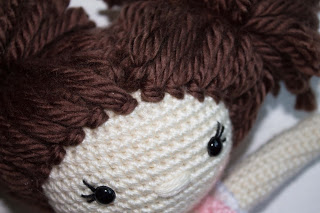
It is also helpful to go around the perimeter of the hair and then fill in. It just helps you make sure the edges are nice and pretty. I always use the natural curve of the line of stitches, you can see it here.
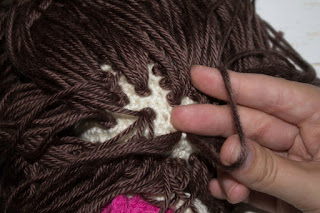
Then go down and around. I also skip a row as I am filling in. Having hair in every stitch is way too much! you will be surprised how quickly it fills in! The hair weighs quite a bit, too!
That way you don’t have to fill in every stitch and you won’t be able to see “bald spots” on the doll!
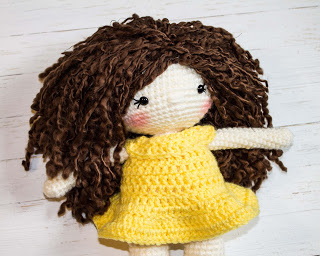
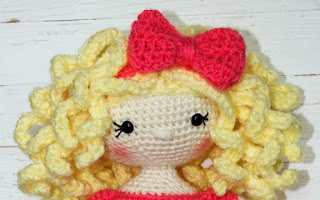
Ringlets
To make the ringlets chain just a little past the length that you want, as the stitches will make the length come up a little. Then place 2 DC in each stitch up. If you want looser curls, try 2 DC in the first, and one DC in the second and repeat til you reach the top. Leave enough of an end to sew on!
Now you will need to make about a million. Seriously. These are so cute but are kind of yarn eaters, so make sure have a good supply of whatever color you are using!
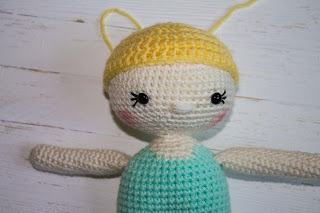
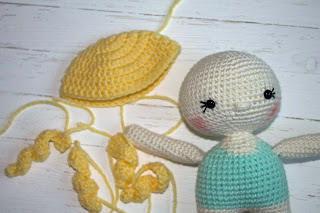
I also make what I like to call the “hair hat.” This sits like a hat on the dolls head, but I attach the ringlets to it. I like to do it this way rather than just on the head like the first doll because to cover the entire head would be CRAZY. Like serious, serious hair! So if you make the hat the same color then the head won’t show through and it will look fabulous. I usually start it off like I would for my other hats. The head of your doll may be different but here is a good start.
Using a size 5.0 or H hook:
11 DC in a magic circle, slip stitch to first. Chain 2.
2 DC in each stitch around, slip stitch to first. Chain 2.
*2 DC in the first, 1 in the next* repeat around, slip stitch to first. Chain 2.
DC in each around (do this one until you reach the size you want. for this doll I did three rows.)
Leave a long tail to sew onto the dolls head.
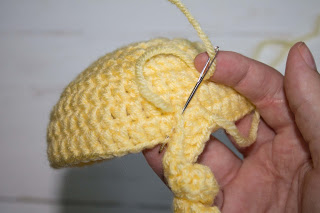
You would so the same thing if you attached individual yarn pieces like in number 1.
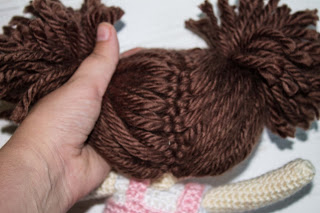
Pigtails and Ponytails
This method is faster but you don’t have the option of changing the hair, which is just fine depending on the doll.
Make the doll hat like you would for the ringlets. If you are using a thicker yarn, use the same color but in a size 4. Then attach the hair like in #1 but only along the outside.
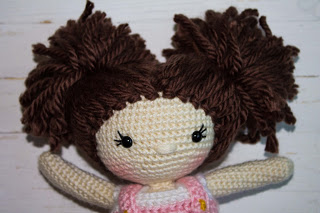
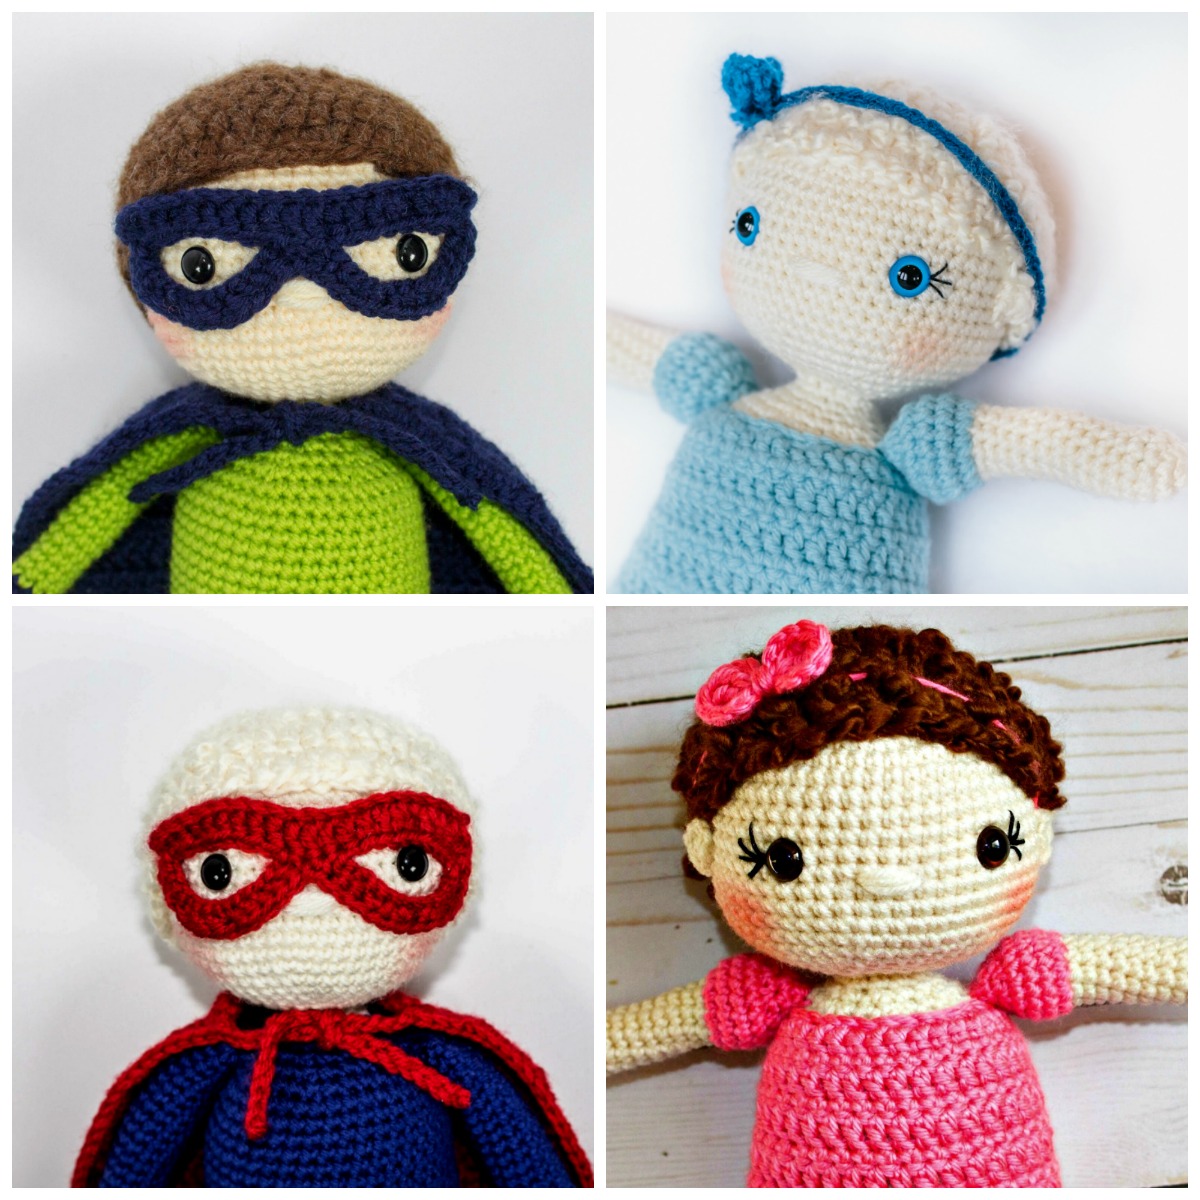
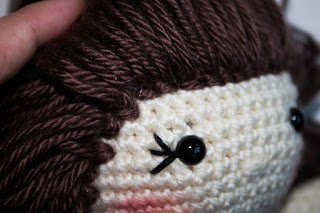
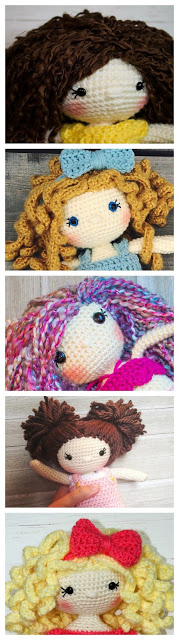
See how fun the hair makes these dolls! There are so many options, when you take in account the kind of yarn, the style of attaching it, and adding headbands or flowers! Such a fun part of the doll!


Thank you so much! I am finishing up my very first doll for a granddaughter and I wasn’t liking the pattern’s hair process so I went searching. I’m so glad I found you! Your instructions are easy to follow and you gave many options I can use on future projects. I am forever grateful. Blessings!
Theresa (Gramma T) in Montana