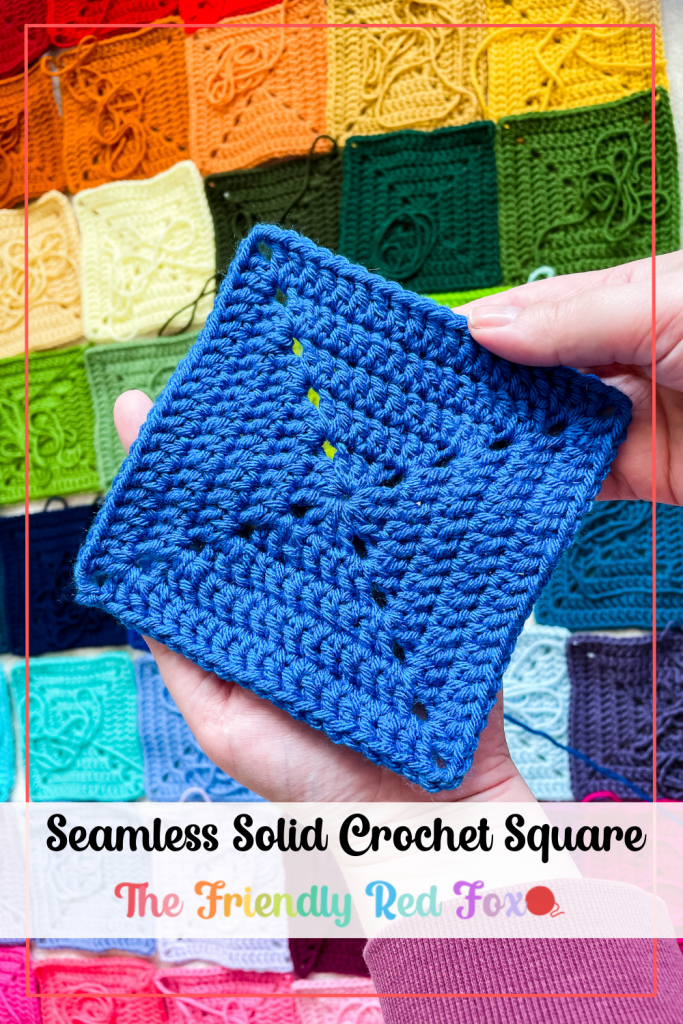
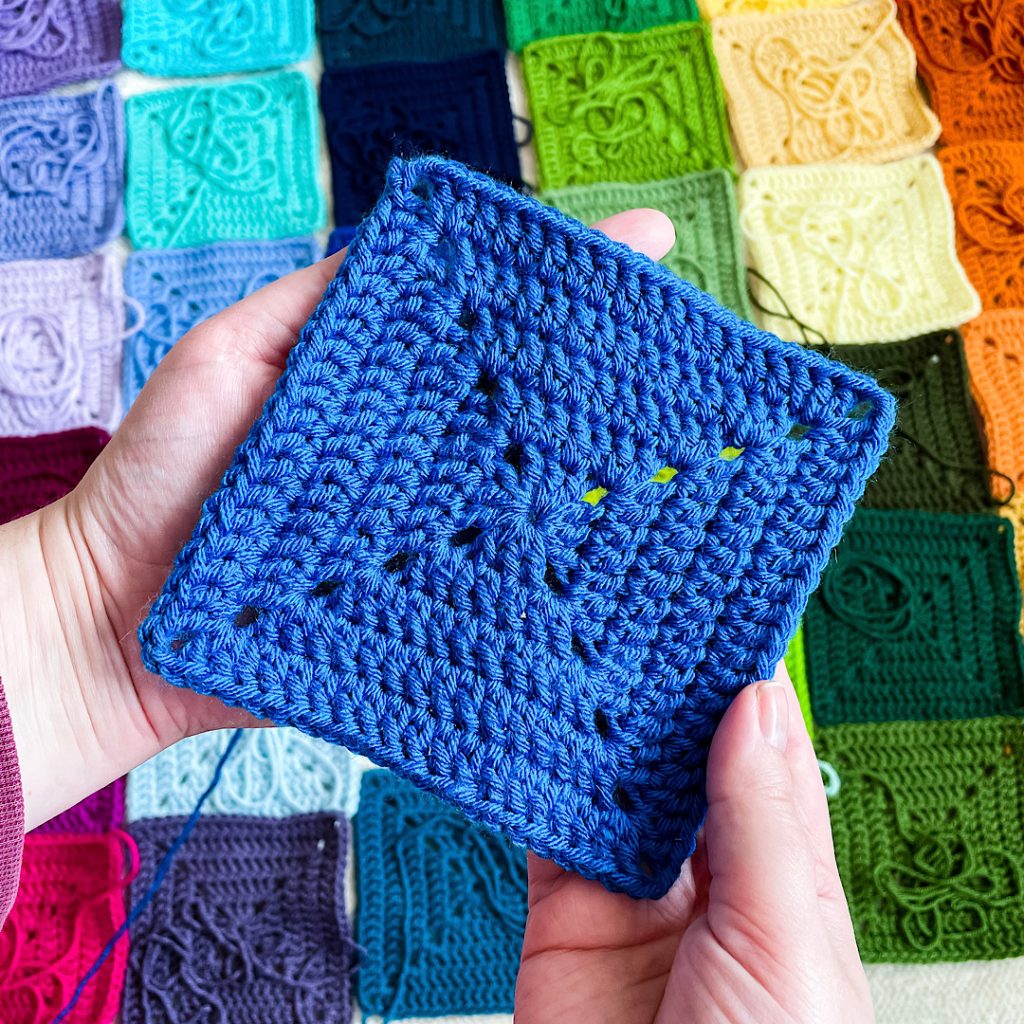
Solid Seamless Granny Square
I love the look of the traditional solid granny square. With the right colors, I feel like the solid geometrical shape is so timeless. But I never loved the seam I was left with, or the fact that I needed to weave over to the corner to begin the sewing process. So I went to the internet to find a solid seamless granny square. I found a few, but didn’t love the long and involved process or the finished look. I was left to devise my own solid, seamless granny square and I am pretty thrilled with the results!
The basics are the same. If you are familiar with most solid crochet square patterns, you begin with 3 DC (American Terms) on each side, with a chain 2 for each corner. To increase you will have (2 DC, chain 2, 2 DC) in each corner gap. Then a single stitch in each stitch across until you reach the corner gap. Then repeat! So each side increases by 4 every time. With that basic knowledge, I will share my tweaks to make it seamless and beginning/ending at the corner every time. I created a video, or scroll down for a step by step with pictures!
[adthrive-in-post-video-player video-id="RipcXt7R" upload-date="2022-05-09T22:10:18.000Z" name="Seamless, Solid Crochet Square" description="Use this technique to avoid a seam on the traditional solid crochet square." player-type="default" override-embed="default"]DC- double crochet (American terms)
ch- chain 2
Row 1: In a magic circle, chain 2 (treat this as a DC now and each time going forward.) 2 DC into the circle, ch 2 (3 DCs in circle, Ch 2) 3x for a total of 4 sides. (12DC total, 3 per side.)
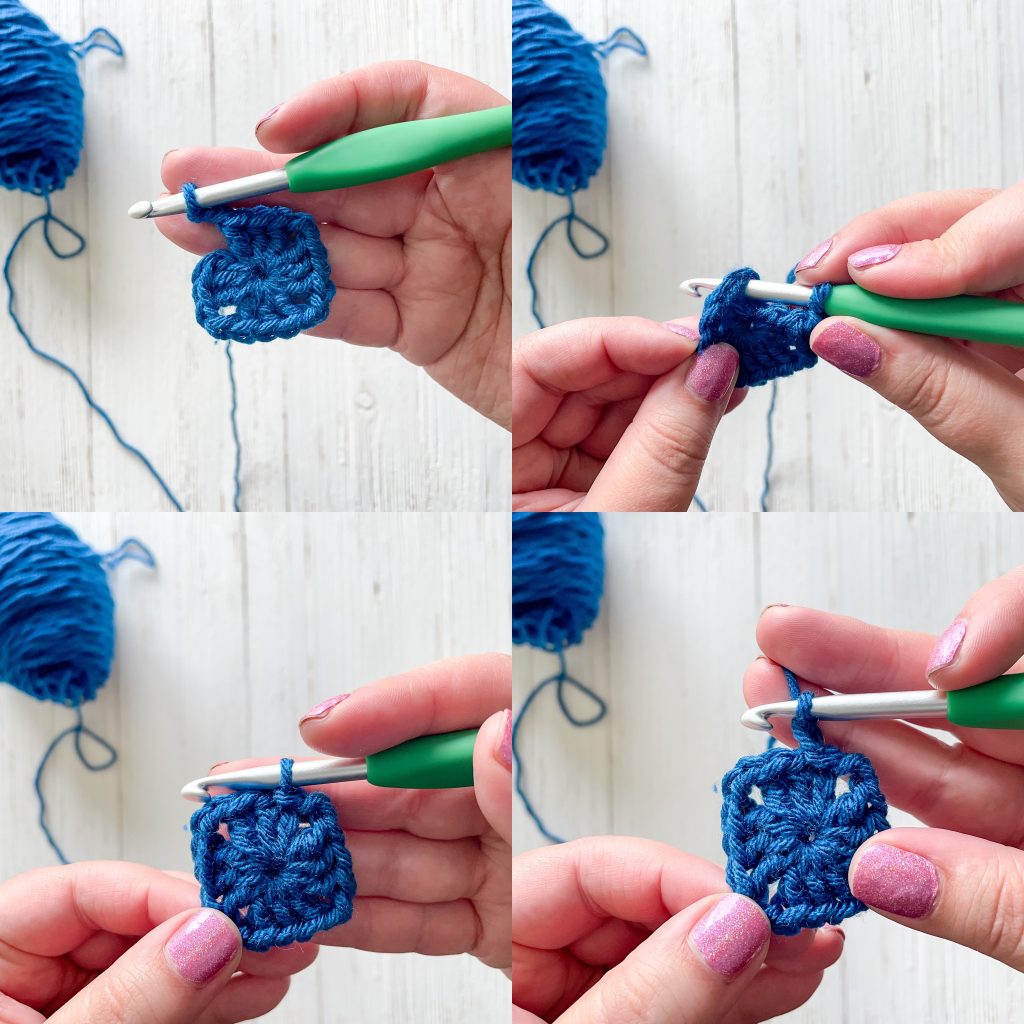
Row 2: Turn the square around. Slip stitch into the corner gap. Chain two. Turn the square back around so you see the front. DC in the same corner gap. DC in each of the the 3 st. (2DC, Ch 2, 2 DC) in each corner (the previous row’s chain 2 space.) Repeat for a total of 4 sides. (28 DC total, 7 per side)
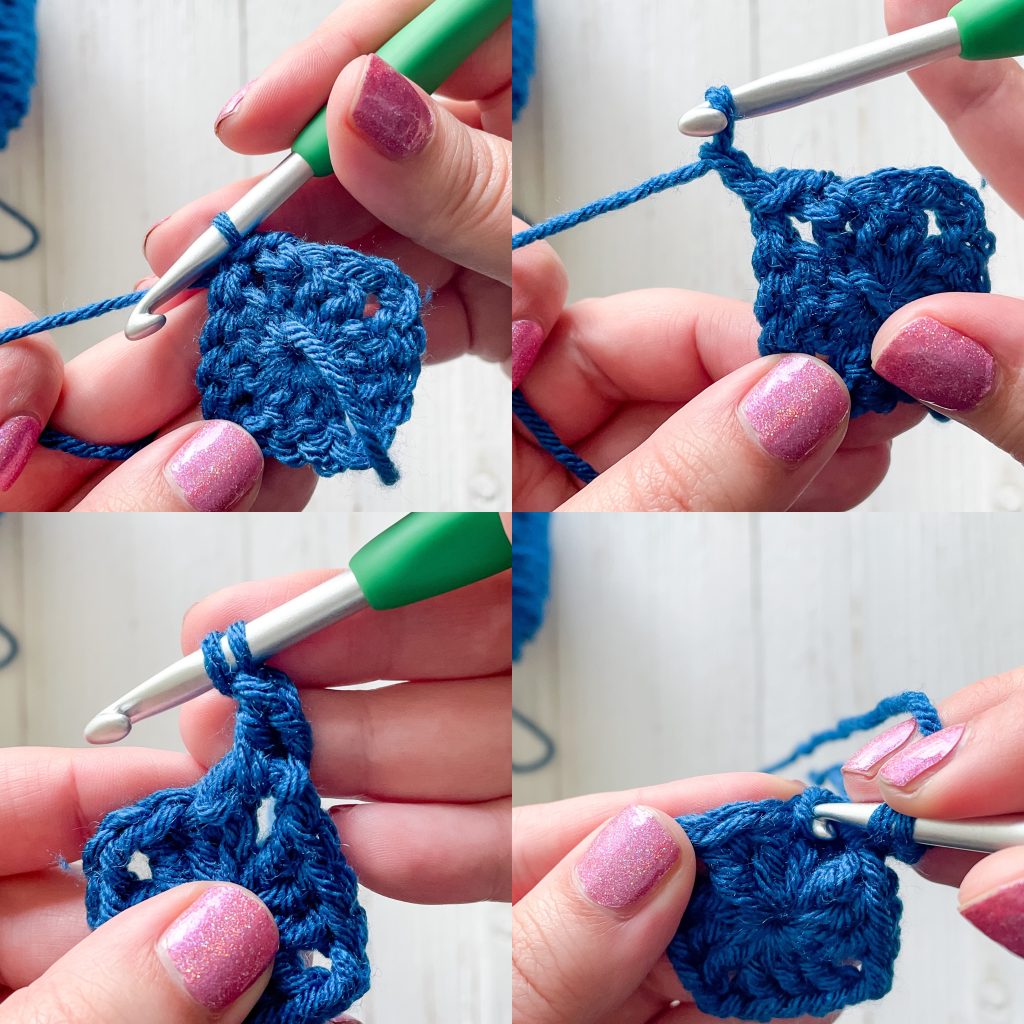
You can now continue the same pattern to make as big a square as you want. Remember, you DC in each stitch across the side with (2 DC, ch 2, 2 DC) in each corner. You will use the slip stitch back, chain 2 method for every row to avoid the seam.
If you are having trouble with the method of getting back to the corner, I highly recommend watching the video. Sometimes seeing it in action helps make it click!
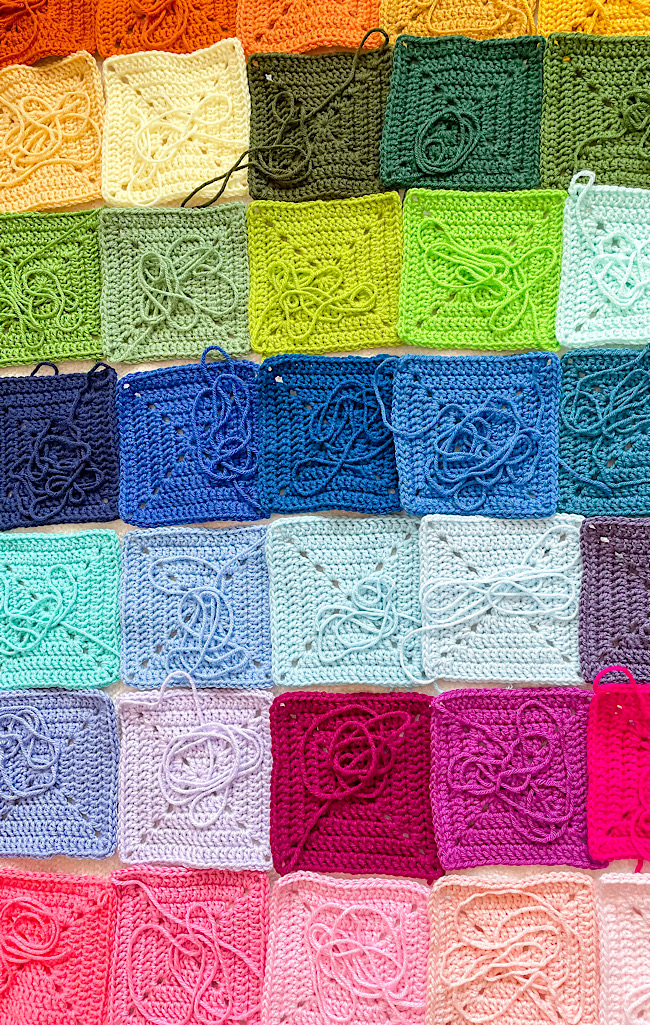
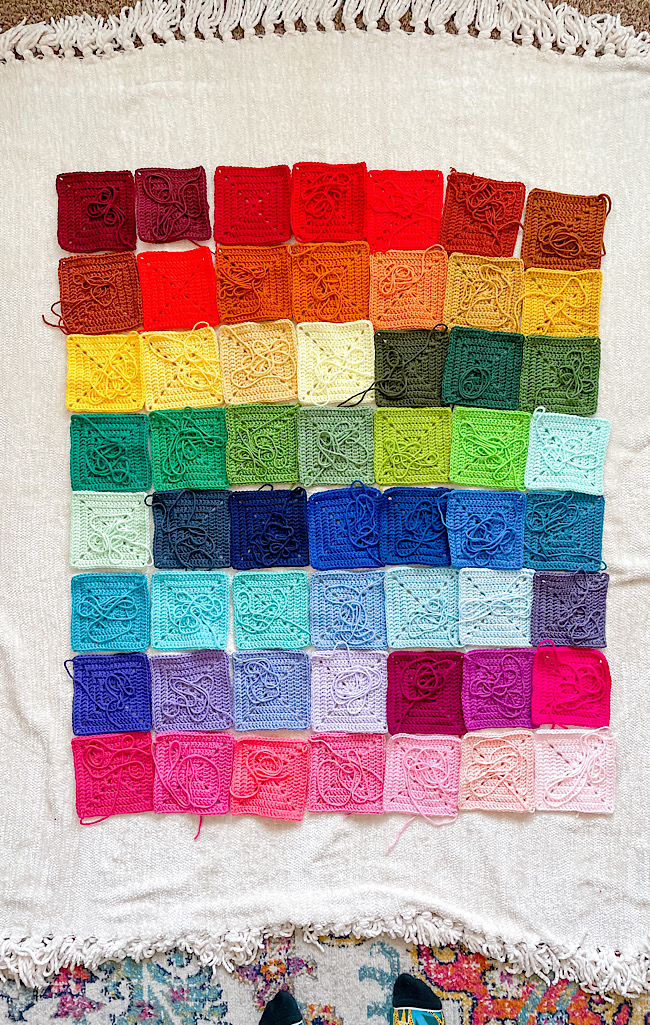
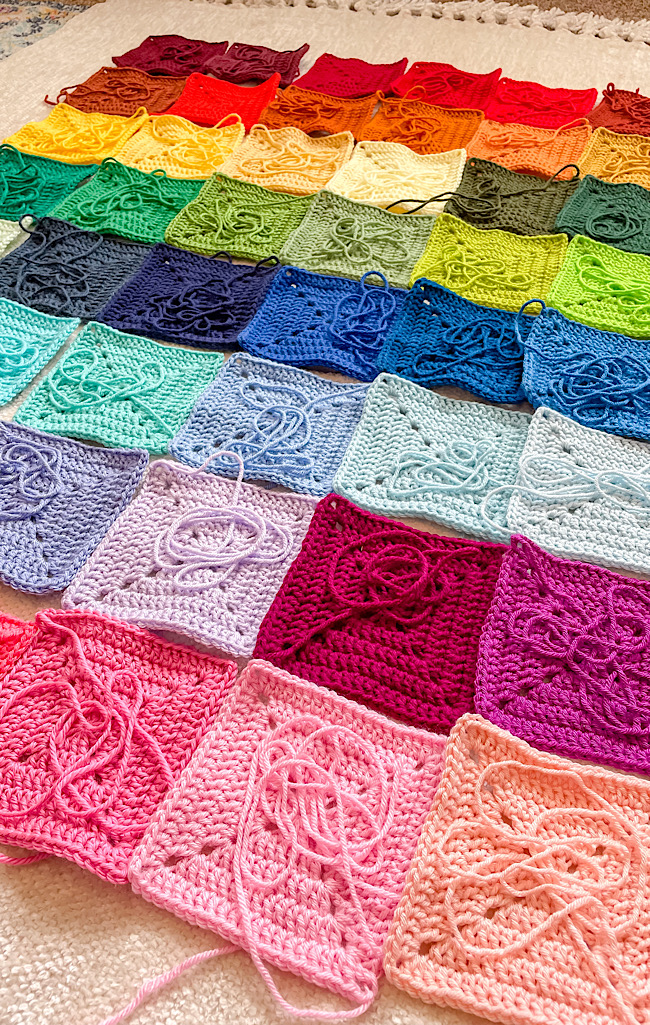
There are a lot of things you can do with a seamless solid crochet square, but I chose to use my scrap yarn to make a rainbow blanket! It was a perfect time to try out this technique. I really loved working on it. It was the perfect project for me at the time- easy and mindless, but the colors made it so it wasn’t too monotonous!

All the crochet animals and other are very beautiful Thank you
A video was mentioned, but I can’t seem to locate it. Was hoping to watch the end of round 1.
It’s at the top of the pattern (after the description/my latest videos section)! If you’re using an ad-blocker, you may not be able to view it.
I love your pattern. Do you care if I use your pattern to make products to sell on my etsy shop. I would love to link this blog to my shop as well. Thank you
As long as you link back and credit the pattern, I’m totally fine with you selling as a small business. Thank you for asking!
What size crochet hook works best for this granny square?
I used a 5.5mm in the video, but you can use whatever works with the gauge of your yarn and how you want your tension!
Thank you 😊
Thank you so much for the granny square variant. It’s so well written and makes logical sense when I read it.
Can I stop around row 2? I want to make smaller squares.
Of course! You can make them however large or small you want!