No Sew Crochet Baby Turtle Pattern
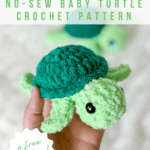
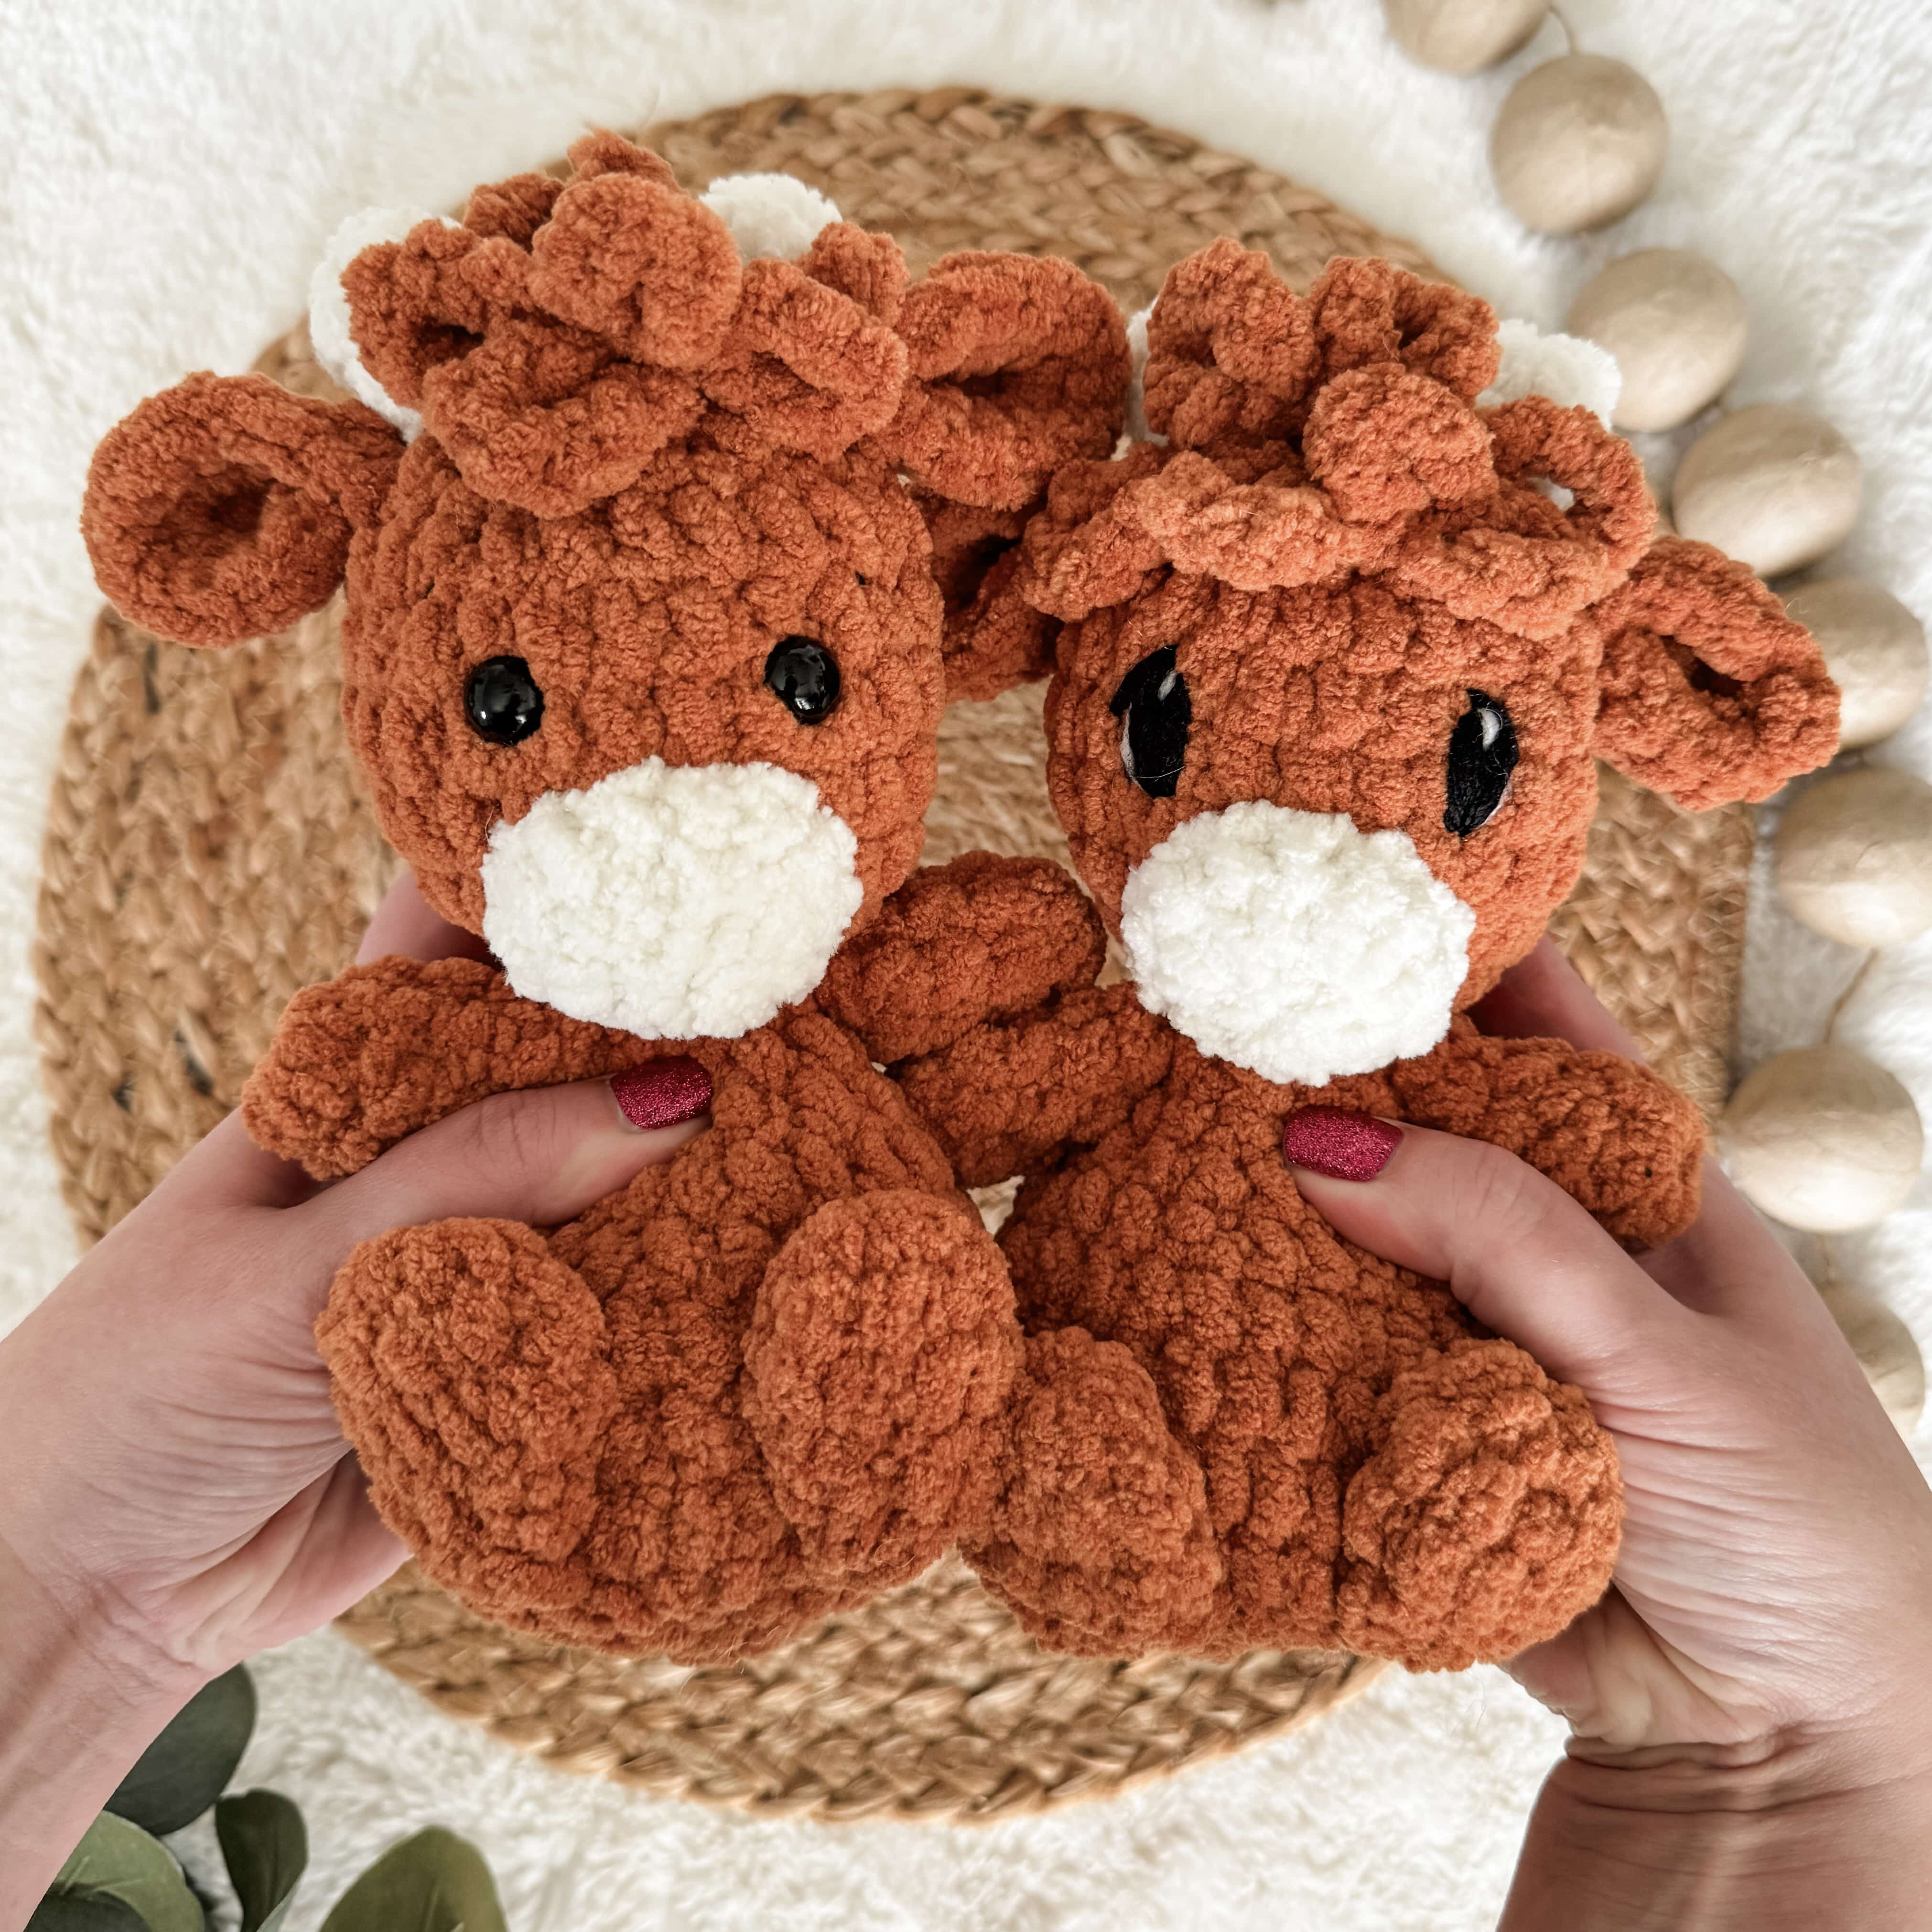
This crochet baby turtle pattern is no-sew, and you can make it in under an hour! Tiny and cute, this would be a perfect market make or a last minute gift idea!

Learn how to make Crochet Baby Turtle Pattern
What is better than a crochet baby turtle pattern? How about one that is no-sew and can be made under an hour? Plus, you can make a mommy or daddy sized one with the larger plush pattern that I shared a year ago! These little guys are addicting-I would be surprised if you only make one!
JOIN MY NEWSLETTER TO RECEIVE…
A free email course-Amigurumi 101
This free amigurumi email course gives you what you need to master the basics of amigurumi, along with some extra tips and tricks!
I know that there are some really awesome crochet turtle patterns out there, but none of them really had what I was looking for. That was what inspired me to make the original version.
So when I started designing this crochet turtle I had three objectives, just like the larger version. I wanted it to be no sew, obviously. I also wanted this to be a super quick project… My goal was under an hour! And it needed to be as small as I felt comfortable going with blanket yarn. Of course, I also wanted to make something that was super cute.

This crochet baby turtle pattern would be a great pattern if you like to sell what you make. Once you make your first crochet turtle, you will want to make a second! The plush yarn really helps it work up quickly, and you will be under an hour a turtle in no time.
I know you are wondering… how long does the baby turtle take to make? I did make one in 35 minutes, but it was like, my fifth one. I do think once you figure out the pattern once, it would be pretty easy to make one under an hour!
While the no sew aspect makes it slightly more complicated, it is super gratifying to see it come together! The only reason you need a needle is to weave ends. You make the fins and head first, then as you crochet the shell/body you attach as you go! Even the ridge of the crochet turtle shell is created by working the front loop on one row, then the back loop on the next one!
Want the ad-free, printable PDF?
Find it on etsy
Get it on Ravelry

The plush yarn may be a turn off for you… but I really hope you give it a try! I tried three different types as I was trying to get this pattern just right. Hobbii’s Snuggle Bunny, Premier Chunky, and Michael’s Sweet Snuggles Lite. They all worked great, and I like them all for different reasons. The Sweet Snuggles Lite makes the crochet turtle quite a bit bigger. It is closer to the popular blanket yarn, if that is helpful. Hobbii and Premier are super similar to each other. I would use a 4mm hook when using those, but it also depends on your tension.
You may also notice that the beginning of the turtle starts with 8 stitches in a magic circle, instead of the typical amigurumi 6. This helps prevent the circle from forming a cone shape. Rounded crochet turtle shells only!

How to make a Crochet Baby Turtle Step by Step
Ready to make this crochet turtle? This post contains some affiliate links for your convenience! Read my full disclosure policy.
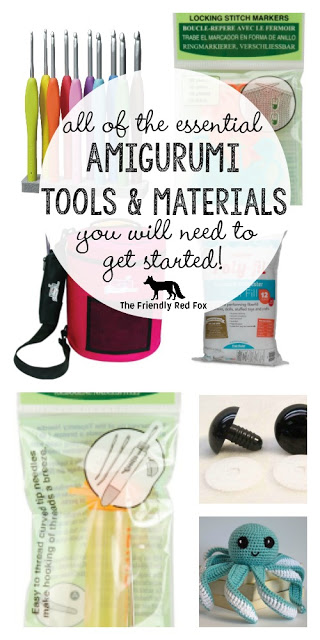
Materials you’ll need
Abbreviations
SC- single crochet
SC INC- single crochet increase
INV DEC- Invisible decrease

Crochet Turtle Pattern
Fins (make 4)
Using body color:
Round 1: In a magic circle, SC 5. DO NOT JOIN
Round 2: Chain 1 and turn. SC INC in each across. Fasten off. (10)
Weave the middle tail from making the magic circle to the end with the finished tail on two of the fins. For the other two, weave both ends to the other side. The ends will go inside the turtle as you attach.
Watch the video tutorial for making the fins here.
Turtle Head
Using body color:
Round 1: In a magic circle, SC 8.
Round 2: SC INC in each around. (16)
Round 3-5: SC in each around. (16)
Attach safety eyes between rounds 2 and 3, about 5-6 stitches apart.
Round 6: INV DEC in each around. (8)
Round 7: SC in each around. (8)
Fasten off and weave the end inside. Lightly stuff before you attach it to the body.
Crochet Turtle Body
Start with the shell color:
Round 1: In a magic circle, SC 8.
Round 2: SC INC in each around. (16)
Round 3: *SC in the first, SC INC in the next*. Repeat around. (24)
Round 4-5: SC in each around. (24)
Round 6: In the front loop only SC in each around. (24) Change to body color before you begin the next round.
see the notes below for a tutorial on attaching the fins and the head
Round 7: In the BACK LOOP of ROUND 5, SC in the first 10. Attach the bottom half of the turtles neck with slip stitches in the top 4 stitches. SC in the remaining 10 stitches.
Go here for a video tutorial on how I attach the head.
Round 8: SC in the next two. Attach the first fin through the next two stitches. SC in the next 3. Attach the second fin in the next two stitches. SC in the next. Attach the head going through the bottom 4 stitches using SC. SC in the next. Attach the third fin stitches in the next two. SC in the next 3. Attach the fin in the next two. Finish the round with the last two SC.
Begin to stuff here. Before you stuff the body, make sure the head and neck have enough stuffing. Continue to stuff as you close. Watch the video below for a full tutorial on round 8.
Round 9: SC in the first, INV DEC in the next. Repeat around. (16)
Round 10: INV DEC in each around. (8)
Sew the remaining hole closed. Fasten off and weave in the ends.

.
Notes on Attaching the Head
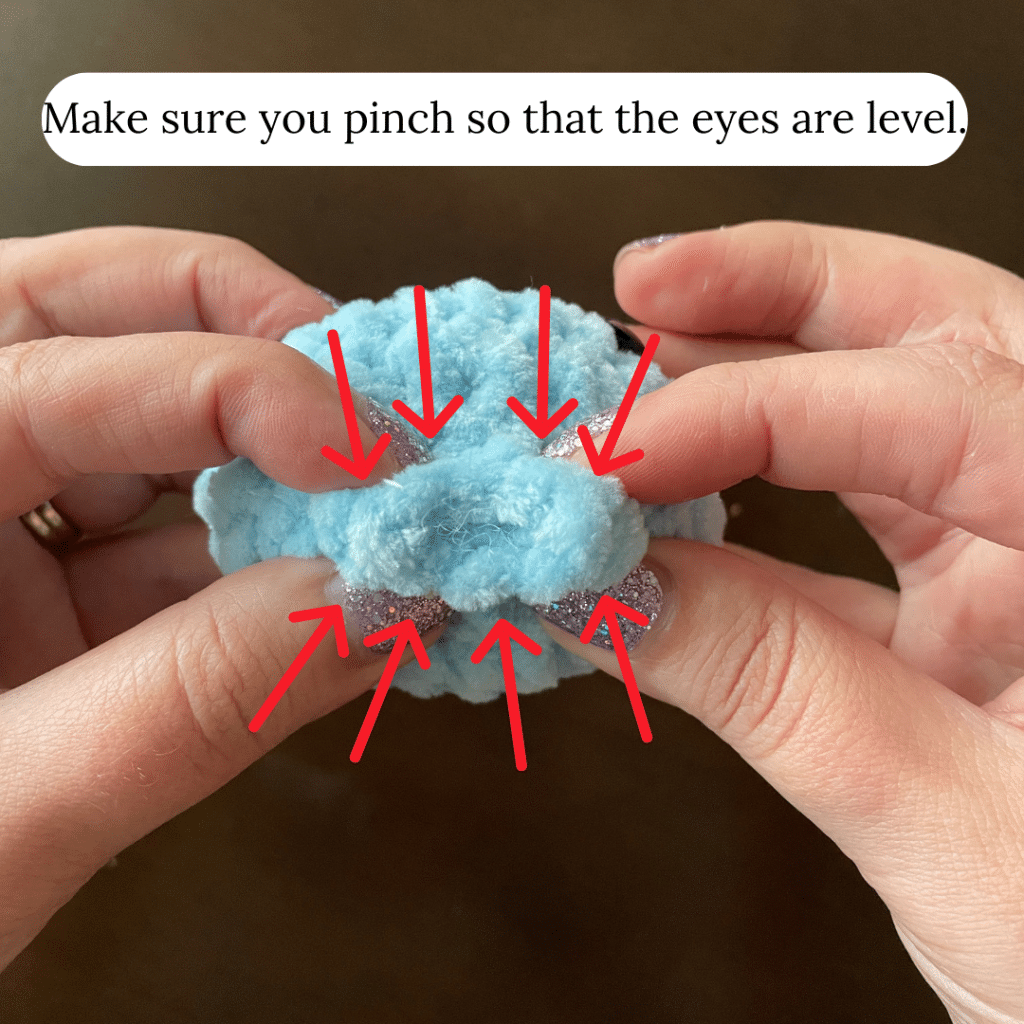

When you attach the head on row 9, you are only going through 4 of the 8 stitches of the turtle’s neck. To find these stitches, flatten the opening so that it is level with the eyes. The top four stitches, when attached, should have the eyes level and on top. For the top stitches you will use slip stitches to attach it to the body. Put your hook through the first stitch on the turtle and then through the corresponding stitch on the body. Pull up and through. You will repeat that three more times for a total of four.
You will attach the bottom half of the head on the next row. This time you will SC in each of the four bottom stitches across, just like it was a normal part of the row. This leaves a small opening. Make sure you stuff the neck and head pretty well.

You will attach the fins using SC as you go around. You use the first two stitches on each fin to attach to the body. Each fin takes two stitches on the round to attach. The flat edge of the fin will be facing the tail end of the turtle, and the rounded SC edge will be facing forward. When you begin, the first fin you are attaching is the right back one.
When you attach, you want to make sure that the single crochets are underneath the fin, because those stitches will be used on the next round. An easy way to double check is to see if the fin is touching the shell as you single crochet. You should see the SC in an unbroken row beneath the fin.
To attach go through the fin and then the body. Pull through both and single crochet as normal. On the right side you attach through the first stitch and then the second one. On the left side you attach through the second stitch and then the first stitch.
Notes on Attaching the Fins

The ends will go inside the turtle shell, which is why they are woven to the side. This will help you keep the top up when attaching.

Flip the fin up so that the top now touches the shell and the ends are inside.

On the right side you attach the top stitch closest to the tails, first.

On the left side of the turtle, you will attach the second stitch away from the tails first.

Go through the fin and then through the shell. SC as you normally would. Repeat through the second stitch.

This is what it should look like when you are done with this fin attaching round.

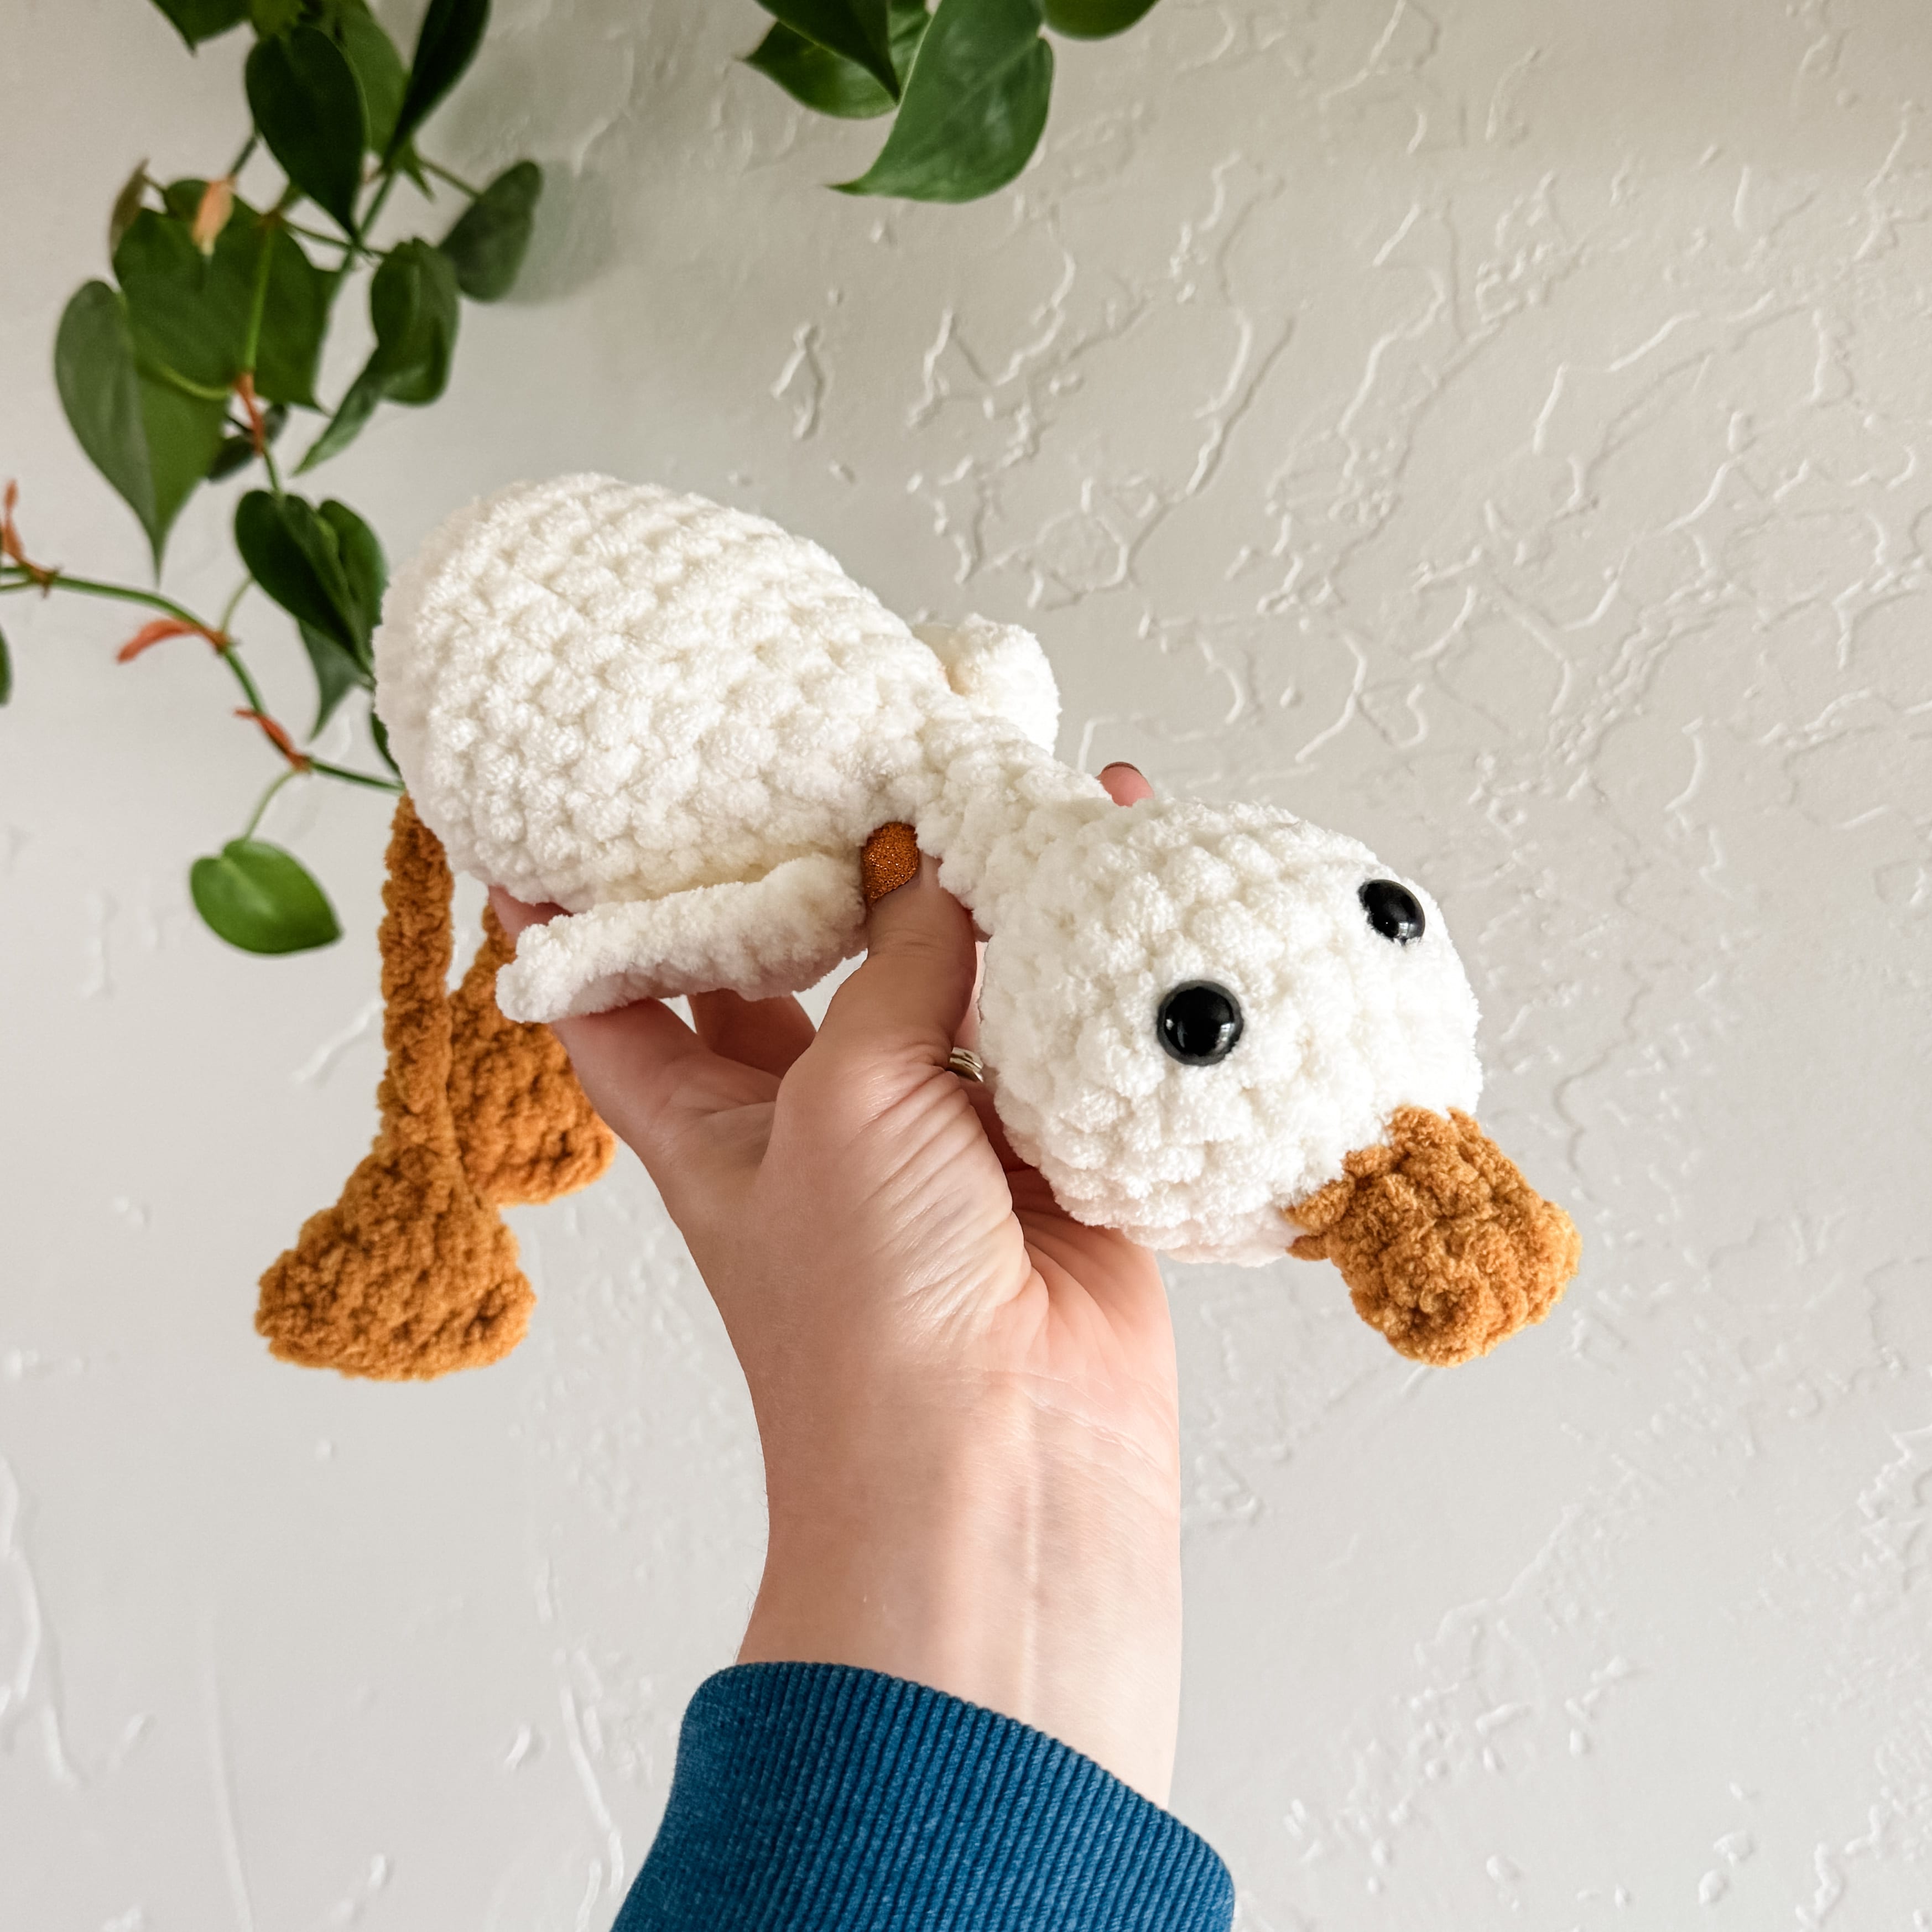
I can’t wait to see your finished crochet baby turtles!
Answers to your questions about making the No Sew, One Hour Crochet Turtle Baby
Q: Do I have to use plush yarn?
A: No, but your project will be much smaller. This was designed specifically for this type of yarn, and the shape may be slightly off.
Q: Can I sell finished items from this pattern?
A: Of course! I hope you sell lots and lots! I just ask that you credit me with the design, especially if selling online.
Did you make this crochet pattern?
We would love to see what you have created so mention @thefriendlyredfox or tag us using #thefriendlycrochetclub so we can see your creations!

So I made your bigger turtle, first time using parfait chunky yarn (I love it!) but I made the mistake of putting the head on upside down. Now that I read your tips here, I’m off to make some babies with the head on correctly!
I can’t wait to see them all! I’m glad my tips were helpful to you!
do you blo in round 6 behind the flo?
Yes!
If you make your amigurumi inside out then you have to change it and do blo first then flo second. It took me a long time to realize I was working inside out because I was self taught
tysm for making this pattern i love it so much and have used it so many times
What yarn size do you use?
It’s size 6 – I use mostly Bernat Blanket and Premier Basix Chenille!
Thank you for this pattern! I love turtles! I’ve made two so far and plan to make more. I don’t have Instagram to share pics with you, though
Are the fin ends just left unsecured inside the body or do you secure them somehow? Cute pattern! Thank you.
You can tie them inside to help secure them if you want!
Can you help me I keep getting stuck in the shell. In round 3 it says sc and then sc inc around (24) but every time I do it back to the first sc I’m getting 30 and it’s mucking me up in when I get to the fins. What am I doing wrong? This is my 1st amigurumi.
It sounds like you’re super close, but I think there may be a little mix-up with reading how the repeat is written in the pattern. When it says something like “*SC in the first, SC INC.* Repeat around”, the entire sequence— both the SC and the SC INC — should be repeated through the round. Not just the INC. Fixing that will get you 24!
I love this cute little turtle. It was much quicker to do than the big one. I definitely struggled putting the fins on and I had to redo about four times. I don’t know why my brain just can’t figure it out quickly lol. But I eventually got it and it’s very cute. I don’t have a public social media to share the picture with you, but it came out great. Thank you for all your great patterns.
I love this pattern, have made many of them, they are very cute and super quick and easy to make