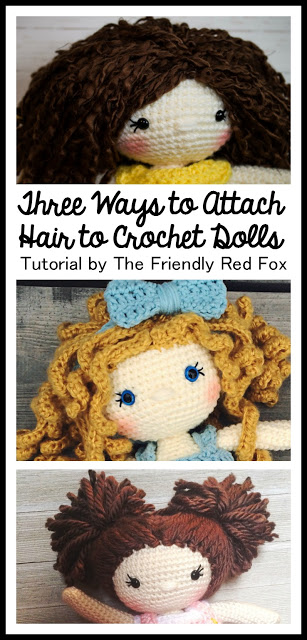
How to Sew on Doll’s Heads

The question I get the most from people is how do I keep the head from wobbling when I sew on the head? The dolls heads do get a little floppy, especially after adding on all that hair! I have three tips (and a no sew option!) that may help!
Stuff It. Stuff it Good
You have no idea what a big difference this makes. You think you stuffed the neck enough? Well, you probably didn’t. Seriously. Stuff until you can stuff no more! The polyfil kind of decompresses over time anyway so you want it FULL. Not so full that the stitches start to separate, but you will be able to tell. This goes for the neck AND the head. A lot of times people are unhappy with how their heads look and its almost always because they under-stuff. You might think it will help to be lighter. It won’t.
Sew It. Sew it REAL good.
I had someone tell me that they only sewed it on once, and did I think it needed more? YEP. Everything I sew on my amigurumi, legs or arms or whatever, I sew over like 3 or 4 times. The heads I do at least 5 or 6. I do my best to keep the stitches small so it doesn’t look messy, but those extra rounds make a BIG difference. And after I sew around I sew THROUGH. I go from the back of the neck, pulling my needle through the bottom of the head and out the front. Then again from the front to the side, then side to side… Until I have made a star like pattern. Make sure you get the bottom of the head as you go. That definitely helps anchor it!
Use the Bent Tip Needles
I LOVE my bent tip Clover Needles. They are a serious game changer when it comes to amigurumi sewing, but especially the heads! The little bent tip makes it easier to get through the stitches of the neck to the head. They really do make a difference! I have found them at Hobby Lobby and JoAnn’s and of course Amazon if you are looking online!
How to attach Head Without Sewing
If you are one of those people who hate sewing on the head, then this tip is for you! You can decrease one more row on the body. This is for all of my patterns… Other doll patterns may have a different number. Continue to follow the pattern for the head from row 3 or from the row that has the same number of stitches that the body now has (if you have 12 stitches, start from the part on the pattern that has 12 stitches). See how the neck expands out? Then once you begin your row of single crochets it will go up!
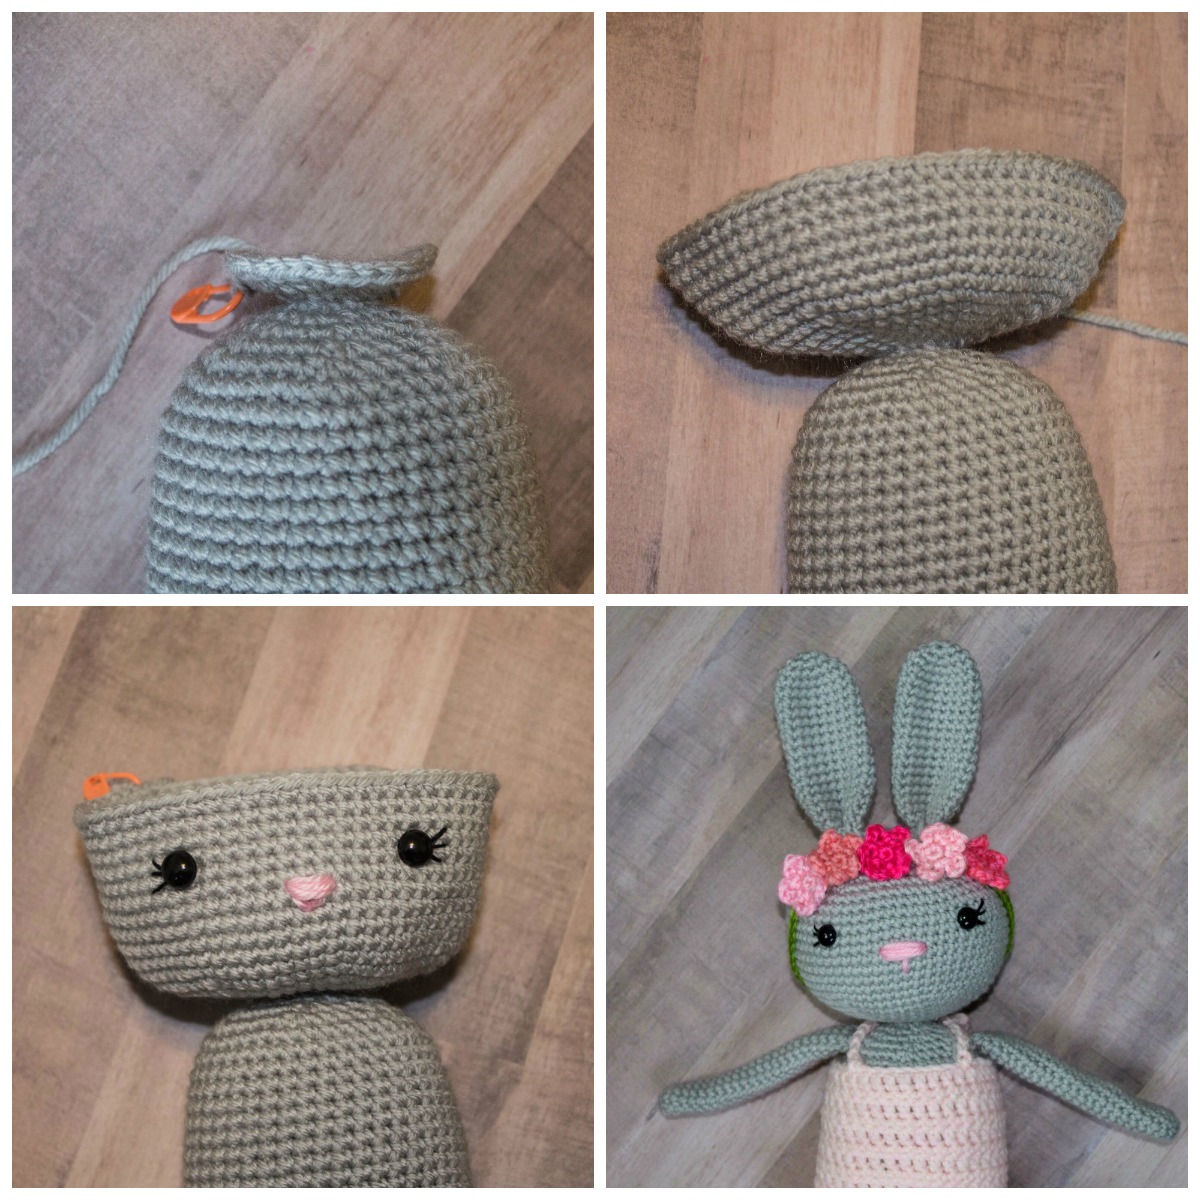
Remember that stuffing is your friend. pack. Pack! PACK! Make sure that
you attach the eyes and nose before you run out of room. When you reach
the top, you will have a slightly bigger opening. Carefully sew it
closed. Then, when I sew on the arms I take the long tail and sew the little gap between the head and the neck, bringing the head down closer to the body. This extra step makes a big difference! I only do the front, since it is the back that is heavier with all that hair!
You can also add something to the neck. My newest and most favorite way is to use a foam hair roller. Yes, the kind that is used to curl hair! I get 6 for $1 at the Dollar Tree. They are the smaller, skinnier kind. If you aren’t close, I did find these on Amazon, although some of them look too big!
Just stick them through the neck and stuff as well as you can around it. I needed to bend mine over because it was a little too big but it was no problem! This is by far the sturdiest I have ever seen my doll heads.
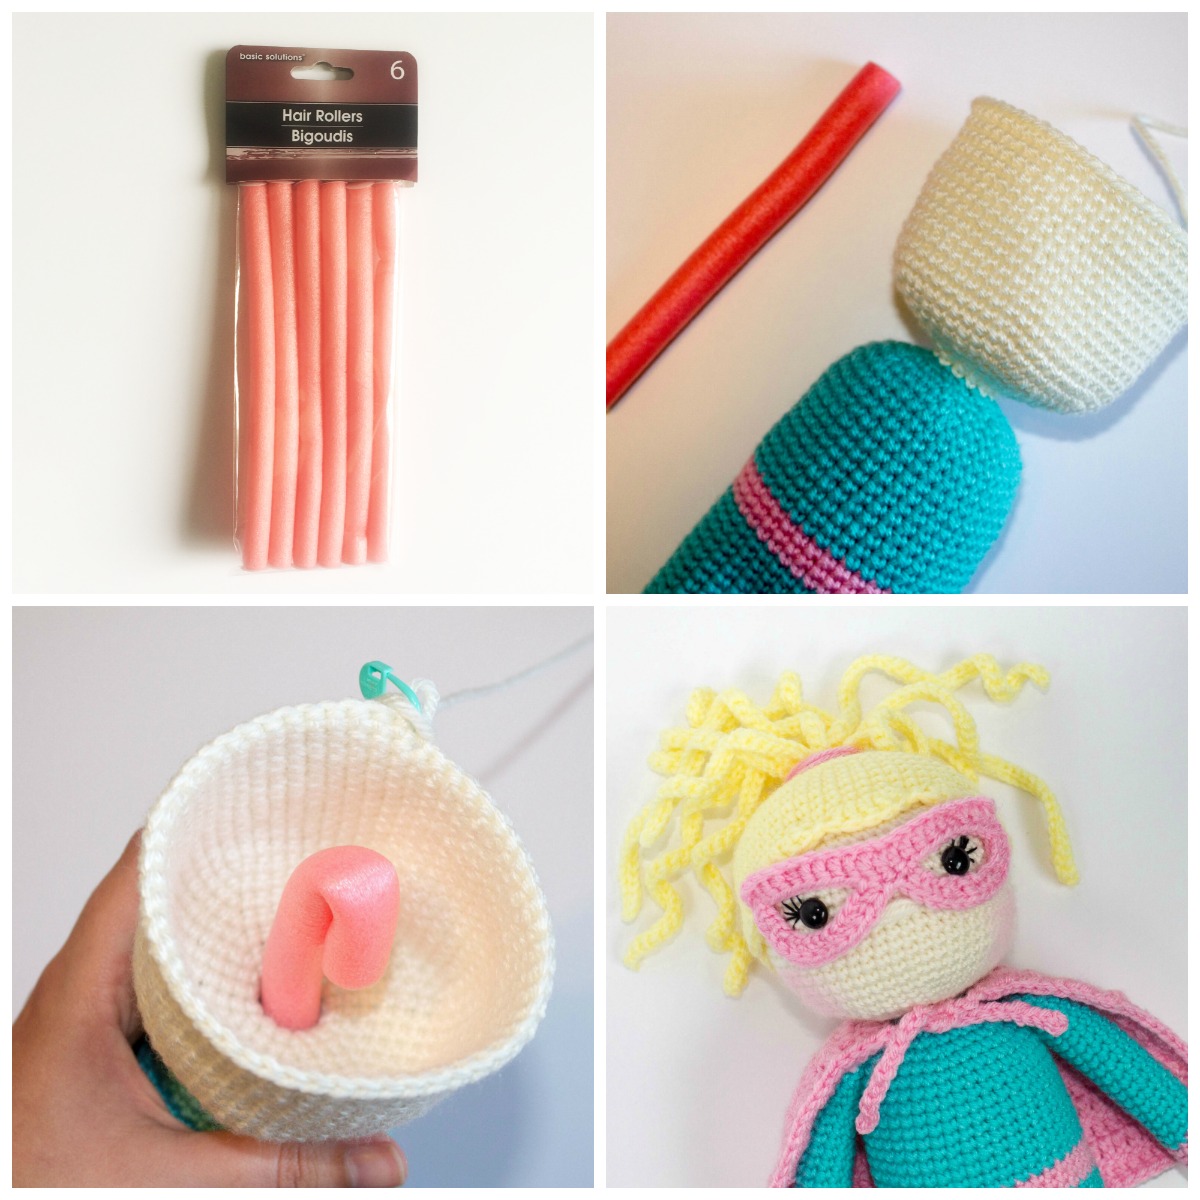
You can also try a wooden dowel cut to size. Or crochet a little tube one or two stitches smaller than the neck.
You can watch the Facebook Live video I did to see me demonstrate these tips!