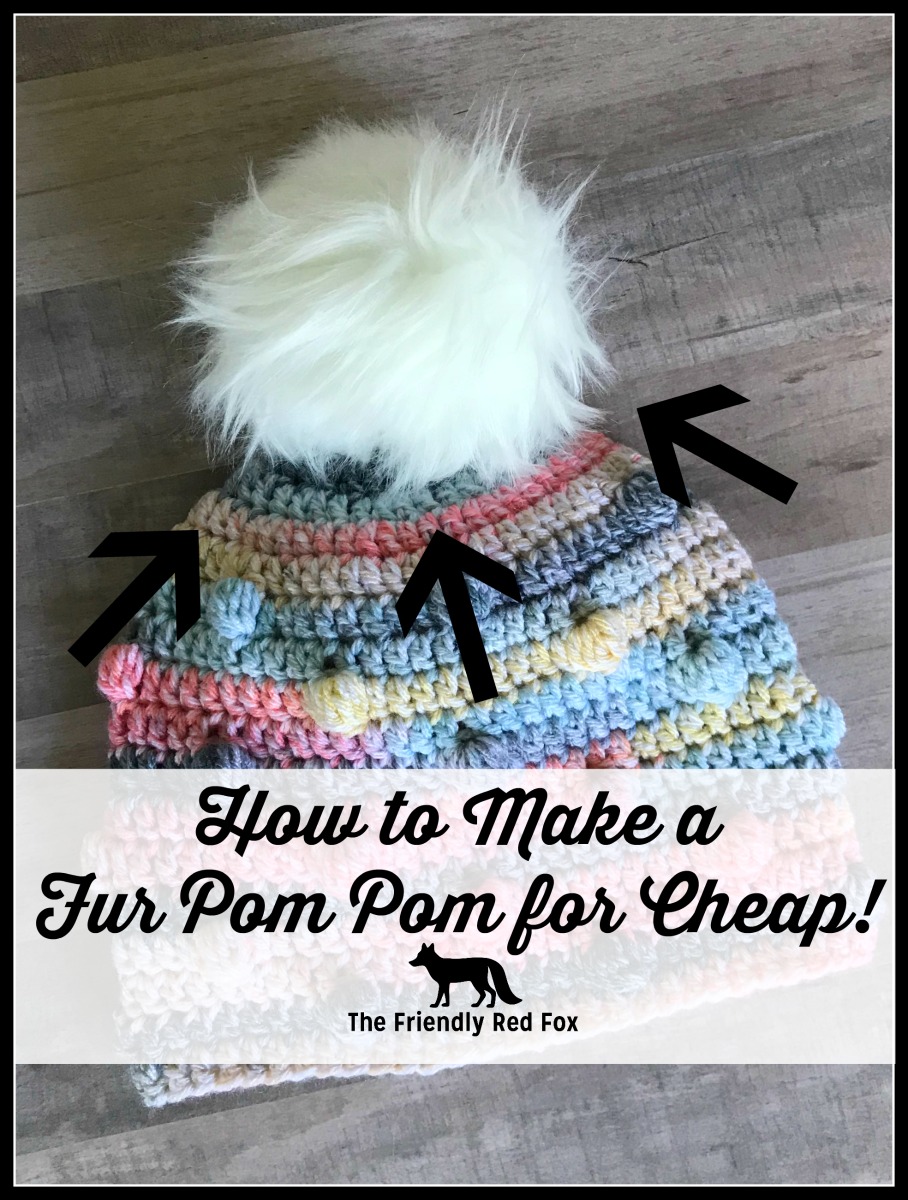
How to Make a Fur Pom Pom for Cheap
I love a good hat topped with a good pom pom! They are so in style right now, I see them on pretty much every hat in the store. I recently made the Bobble Hat and just really felt like something was missing. I was going to do a yarn pom (which I LOVE as well) but I felt like the yarn I was using was too variegated and I didn’t love how it came out. That’s when I decided to try a fur pom. But those fur pom pom’s can be so expensive. So I figured out how to make a (whole bunch of) fur pom pom for cheap!! And it is super easy! Don’t worry if you aren’t an expert sewer. You don’t need to be!!
[thrive_leads id=’2591′]
So I spent 4.20 on a quarter yard of furry fabric at Walmart. From that I can make about 11 (maybe 12 if I was a smarter cutter the first time!) 6 inch poms. That is about 38 cents a pom pom! You do need a good pair of scissors, thread, needle and some stuffing so let’s say it comes to about 50 cents. Still way better than I have seen in stores.
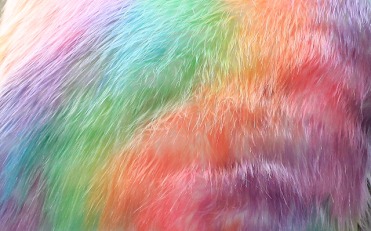
I also love that I can choose different colors! Like check out this rainbow fur! All the heart eyes, right? I got it from this Etsy shop.
It is pretty easy once you start, but I will share some tricks that I found to be helpful.
- Before you cut, shake the fur so that it is standing more vertical than horizontal. That will keep you from trimming the fur too much on the side of your pom.
- Cut over a surface like newspaper or poster board. You are going to get a few fluffies! (also be prepared to maybe vacuum or sweep!)
- Shake the cut circle over the garbage before you begin sewing. Then you don’t get any extra fluff caught in your thread.
Ok, are you ready to make a fur pom pom?
How to Make a Fur Pom Pom
- Using a bowl or something similar in the size you want, trace a circle on the back side of the fur.
- Using good fabric scissors, cut it out.
- Using strong thread (I used embroidery) sew a running stitch around the outside of the circle, about a cm in.
- Pull both ends of the thread so that the circle bunches up.
- Stuff with polyfil or your preferred stuffing.
- Pull the thread ends tighter so that it is as close to closed as you can get. Sew it closed and tie off.