Best Amigurumi Tips and Tricks for Doll Faces
There is a lot that goes into making crochet dolls face… Every little detail is what makes the doll unique, special. Those details are my favorite part of making amigurumi- dolls or otherwise. The face deserves a lot of attention because it can change the whole aspect of the doll! When I started out, I had a lot of missed steps and trial and error. Now I feel much more confident when it comes to making the faces… and I am going to share the tips and tricks I have learned!
If you are looking for a SUPER thorough guide with carefully curated patterns to help you learn amigurumi, I literally wrote the ebook for you! Over 40 pages of tips and photo tutorials, and 7 patterns. Four of the patterns you can only find in this book! But if that isn’t your thing, scroll down!
If you are looking for a doll pattern be sure to check out my Etsy Store and my Ravelry Shop!
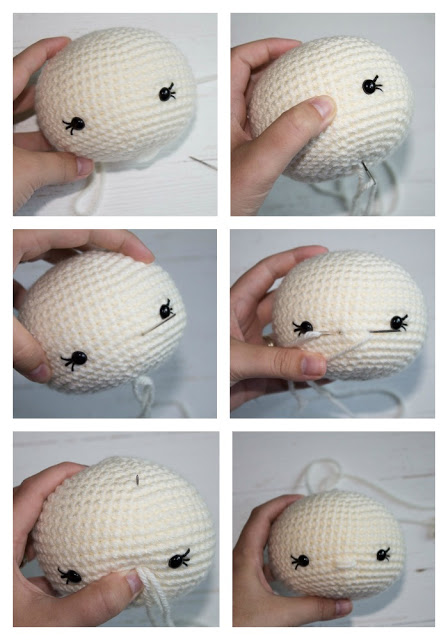
1. Safety Eyes
They come in different sizes and colors. The eye is attached to a screw like thing that you will poke through the stitches and then there is a washer that you will place on the back. Push the safety eye through the stitches. Then tighten the plastic washer onto the back.
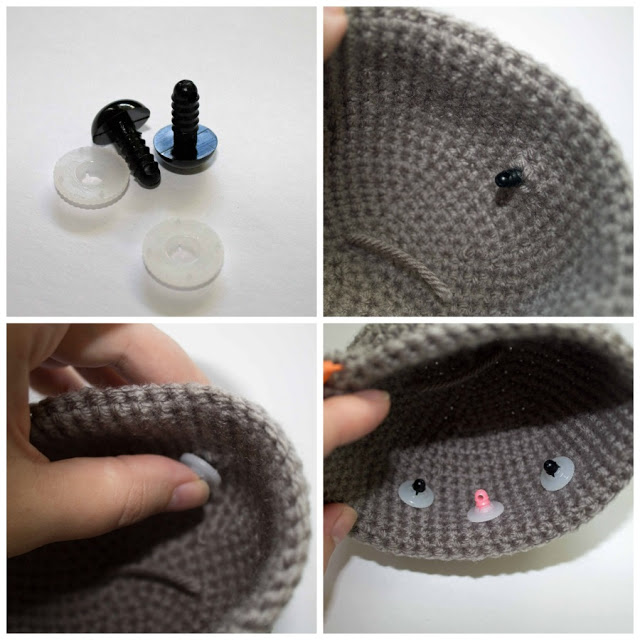
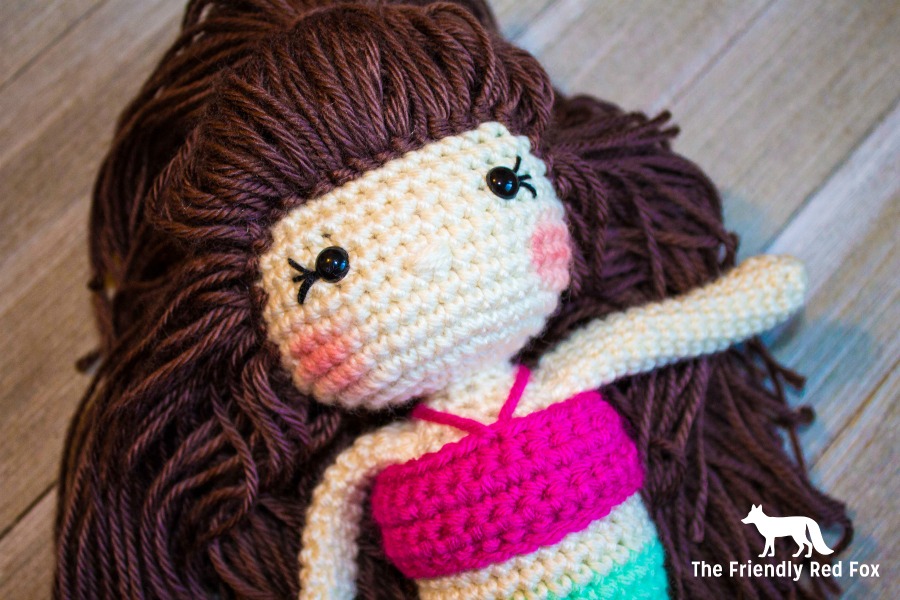
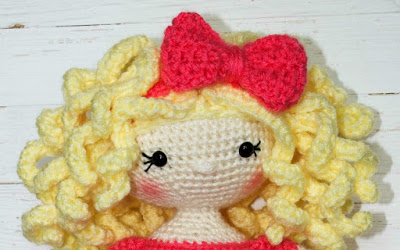
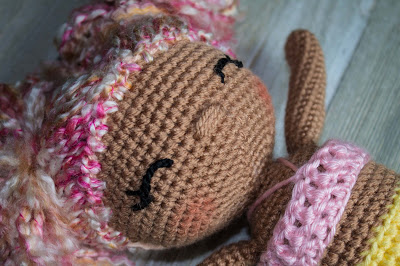
They are called safety eyes because once you place the washer on the back you cannot take them out so they are safe to play with! So you need to be ABSOLUTELY sure you like where they are before you stick that washer on! It helps to use the rows and count stitches so they are placed exactly where you like. Also, make sure you remember to place the eyes before you close! (This has happened to me- oops!)Also (before you put the washer on!) sew on some eyelashes! Always sew the eyelashes on before you stuff- this gives you more room to work!I use embroidery thread to sew on eyelashes. I rarely split the threads because my projects are usually fairly large. For smaller projects it might be better to split the thread. And I can get away with using my yarn needle to sew them on, since that is what I always have handy! Try to get under the edges of the eye to make sure there is no gap between the thread and the eye. I make an effort to sew each lash into the same hole under the eye to keep them uniform. For an idea of spacing, I try to hit the stitch even with the top, then the one down (middle) and then the stitch even with the bottom. You can see it in this picture. Tie it in the back and do the other eye!
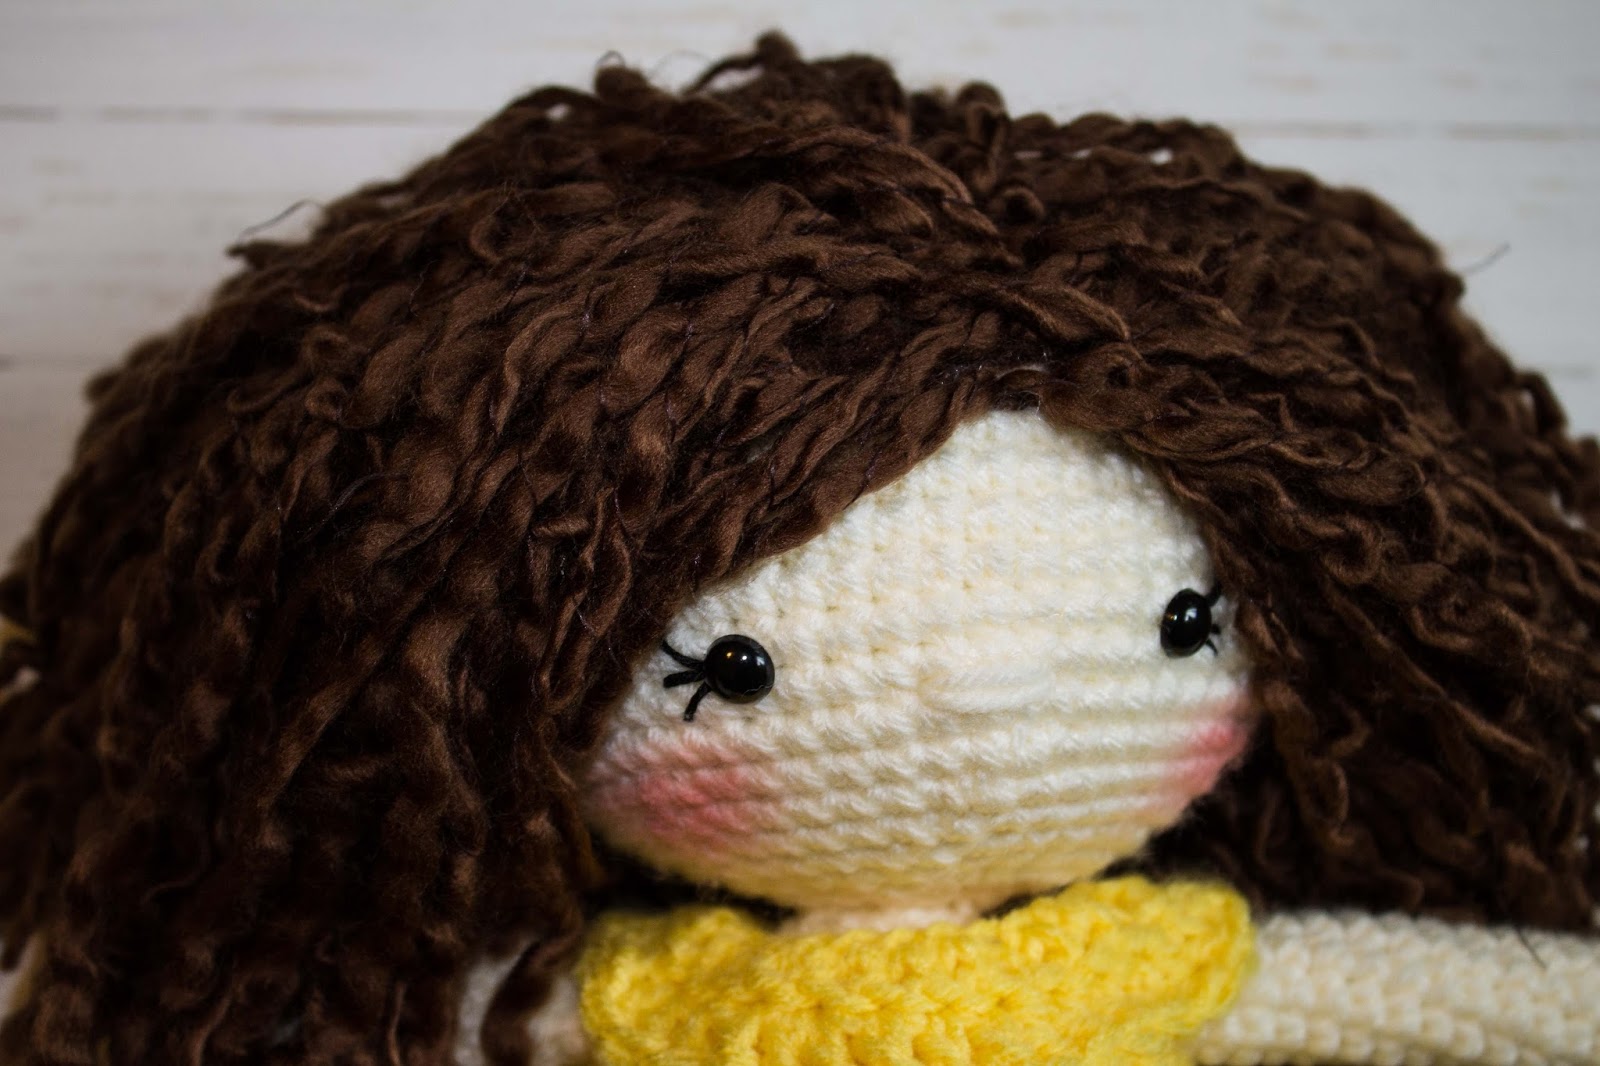
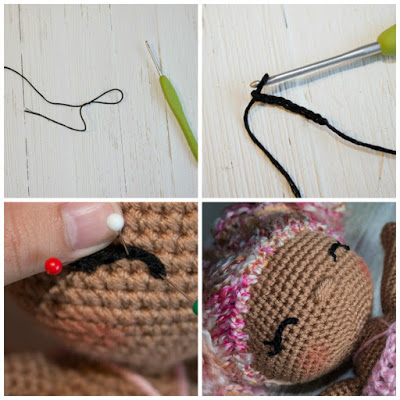
First, chain to the desired length of the eyelash (lid? I don’t know! The rounded part!) using a small hook and embroidery thread. I used my smallest hook, a B (2.25 mm). I chained as tightly as I could! Then cut it leaving a long tail to sew with. Attach it using pins (this is optional but helps me get it how I want!). Then sew in each chain using a regular embroidery needle! You can use a yarn needle if that is all you have on hand, but I think it looks cleaner with a smaller one. Then sew on the eyelashes! I go over it twice, using the same entry and exit points. Then tie off! Remember to do this before you close the doll head! I always do my eyes before I start decreasing.
2. The Nose
Push the needle up to the space you want to have the nose. I go one row down from the eyes, and three stitches in. Pull the yarn through. Go over three more stitches and insert needle. Pull through. Repeat until you have the size nose you want (I usually do 3-4 passes.) Then push the needle through to the top of the head. If you have to make a few passes that is fine. Cut yarn. Don’t worry if it pokes out- the hair should cover it.
3. The Cheeks
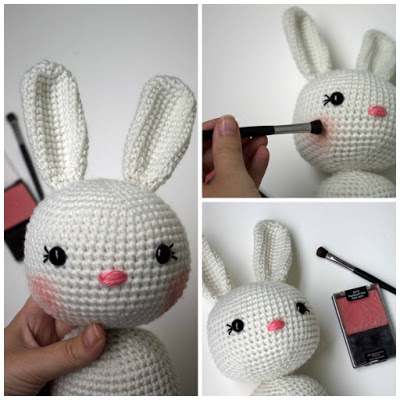
I use blush for all of my cheeks. I love how fun and girly a little blush gives a project! I had tried a crayon before and while that does work, I could never get it dark enough without making the yarn fuzzy and worn. Some have suggested paint and watercolor… It does not come out the same. So I use just a light coating of cheap blush from the dollar store! It does wear off eventually… But it is so easy to reapply and takes so little time that it doesn’t bother me. I rather my dolls have subtle, pretty cheeks that requires a small amount of upkeep than the opposite.
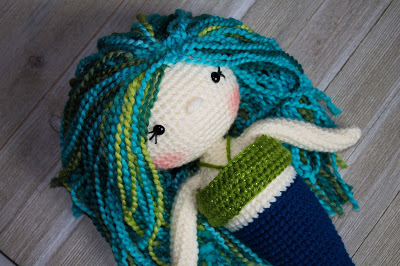
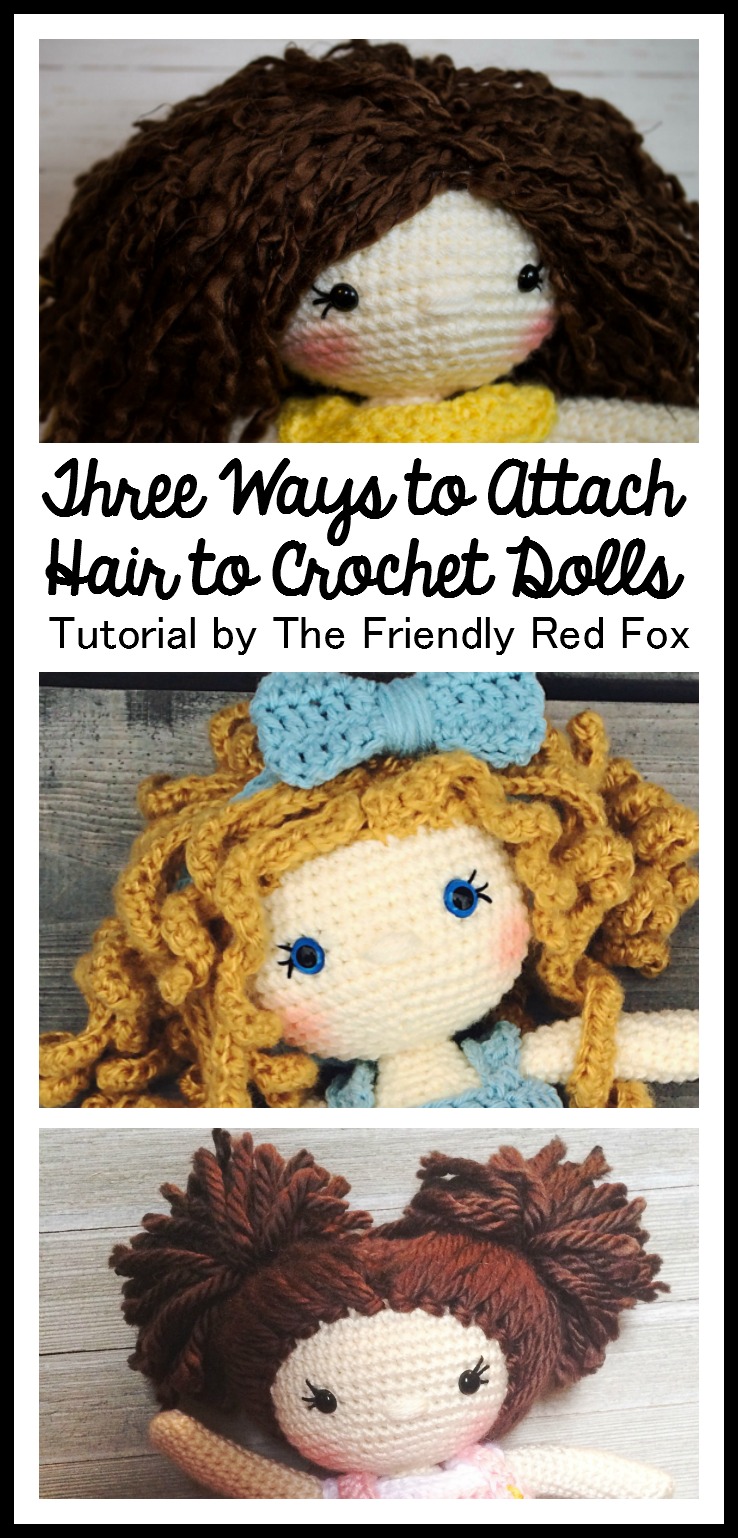
For a tutorial on how to attach hair to a doll check out this post that shows three different styles!

If you have any questions, pop over to The Friendly Crochet Club! This is the best place if you have any questions!!